



R&F Handmade Paints
R&F Paints are world renowned for their high quality Pigment Sticks (oil paint with a touch of wax) and Encaustic Paint (wax paint you need to use hot).

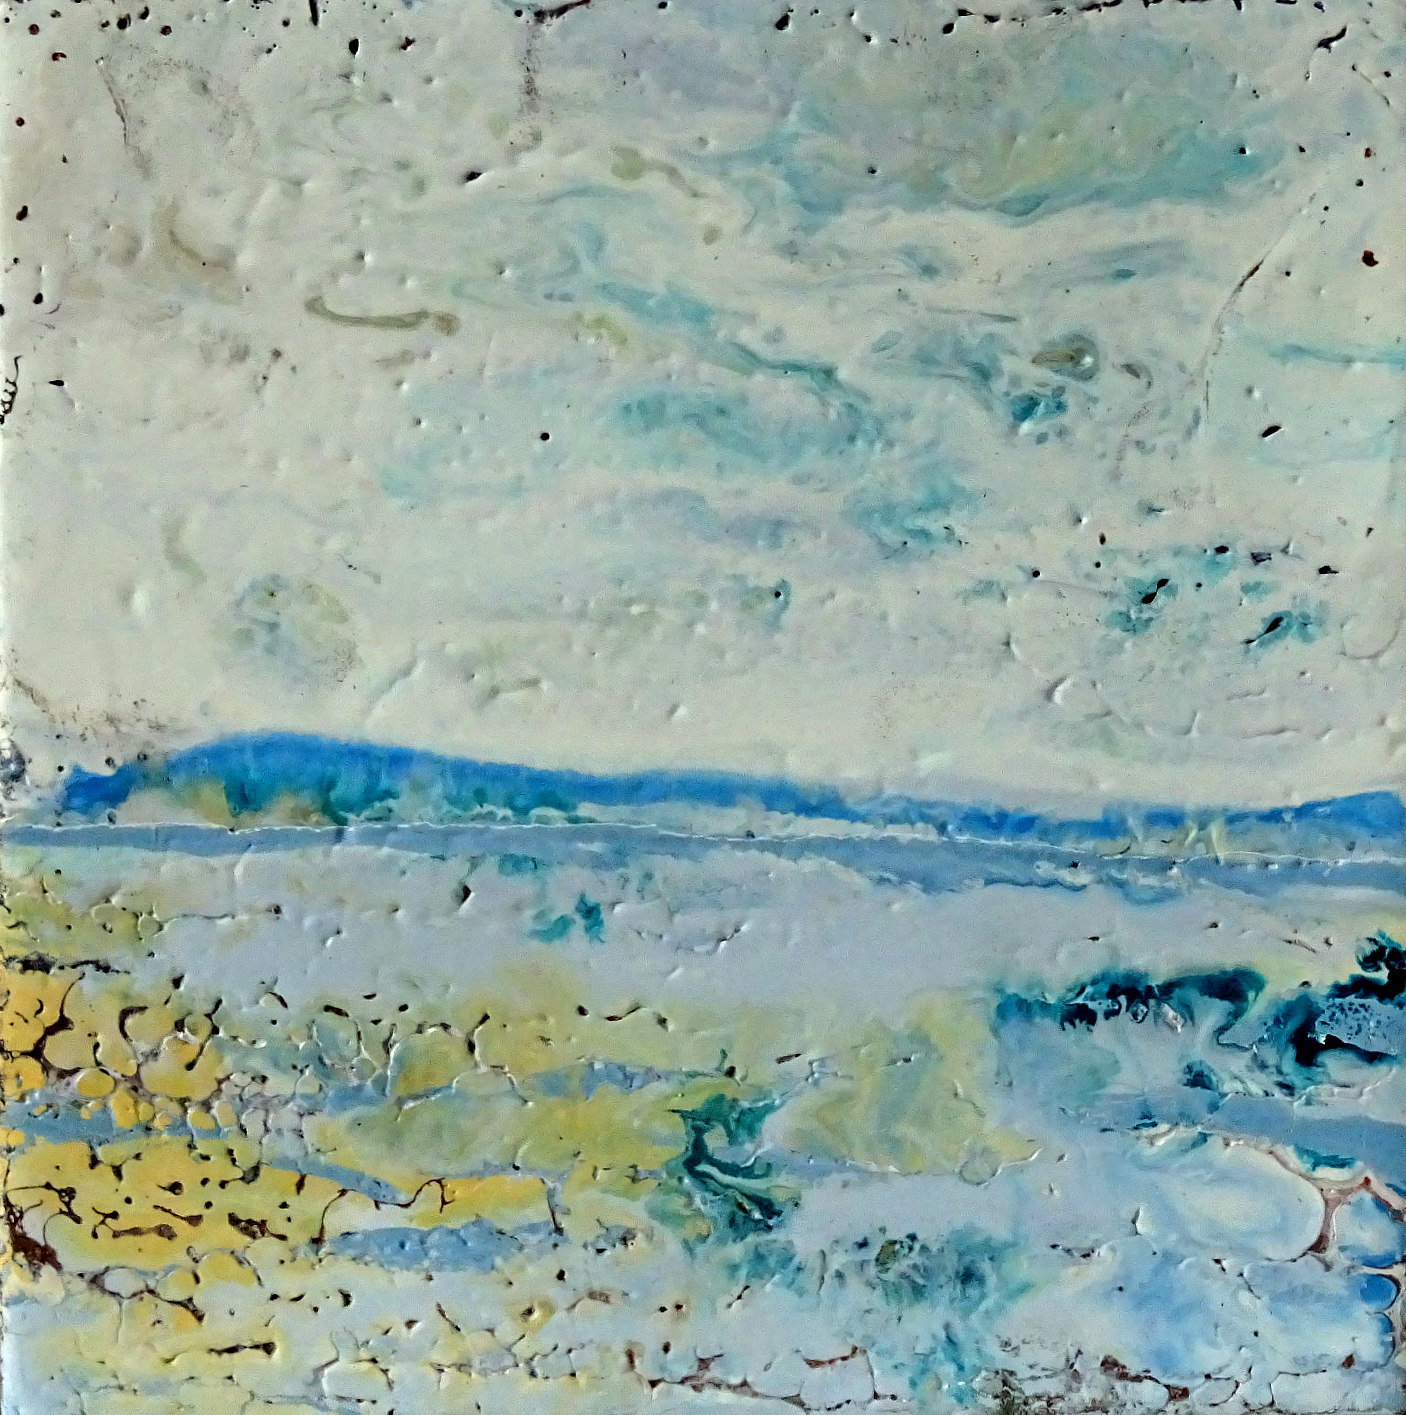
I love the look of encaustic paintings, especially the ones with translucent layers, catching light and mystery. I have longed to try painting with wax but wasn’t sure I wanted to invest in the paints and any specialised equipment as I am primarily an oil and acrylic painter. But since I use the oil and acrylic in translucent layers trying to capture that same elusive light and mystery, I thought I would give it a shot.
I am excited about beginning and have been reading up on encaustics in a number of books that we stock (and a few that you cannot get in the UK), as well as on the web. I like the idea that heat is the solvent for encaustic paints. The paint consists of pigment dissolved in beeswax with a small amount of hardener (either dammar resin or carnauba wax). The kind of beeswax and its purity matter to the longevity of the work.
The word encaustic is ancient Greek for “burning in” which refers to the process used after painting on each layer, where you heat the whole painting to fuse the top layer to the layer underneath. I thought that encaustic might be fragile, either melting like a Christmas candle in the loft or chipping and flaking like a candle dropped on the floor. But it turns out that it is quite durable, perhaps more so than an oil painting, and the hardener in the medium means it won’t melt until a very high temperature, or as I heard someone say once: “If your encaustic painting is melting, your house is on fire”.
The surface you paint on needs to be rigid to avoid the cracking that would happen on a flexible surface and it needs to be porous so the wax adheres well, has something to grip onto. Acrylic primers and gessos will not work. Genuine rabbit skin glue gesso applied warm on a wood panel or encaustic gesso on a panel, watercolour paper glued with acrylic gel onto a wooden panel, or canvas stretched over a panel are all good choices. You can also paint the wax directly onto the wood or canvas without gesso, the first layer of wax will just soak in more.
There are a few simple steps to the process: prime your surface with a layer of wax to paint on, then heat the whole painting to fuse each layer to the layer before. So it is: paint then fuse, paint then fuse. With a final “burning in” to heat the whole artwork so the layers become one thick piece of wax. You can buff up the final painting for a shine; it doesn’t need to be varnished. Then either paint the edges of the panel to make it presentable for hanging or frame it in a floater or tray frame to prevent chipping the wax overhang off the edges.
As with all artwork, care must be taken to insure it is treated properly. It will not be affected by moisture. Heat over 150 degrees Fahrenheit will cause melting and cold below 40 degrees Fahrenheit will cause the wax to separate from the support.
The ability to use additional materials is quite interesting. You can use encaustic with a bit of oil colour (too much will keep the encaustic layers from sticking to each other), oil pastel, oil paint sticks, and dry pastels and charcoal – painting or drawing directly on the wax. You can paint the waxes over a watercolour painting, ink drawing or photograph. You can transfer photocopies to the wax, wetting the paper and rubbing it away, like an acrylic transfer. You can embed objects like leaves and paper collage in the layers of wax. You can incise lines and fill them with oil colour, wiping away the excess.
A few other things I found out in my research:
- When fusing, very high heat can burn the wax or make is so liquid that the image blurs, so the key is to have it just hot enough to melt and not any hotter.
- Clay tools are used to scrape away ridges of overlapped wax to make it smoother before heating, or to gouge areas to make it rougher for added texture, or to make gouged shapes to fill in with oil paint or another colour of wax.
- Brushes are not cleaned, but left filled with the hardened cooled wax and are then forever used with wax of similar colours, they melt when they are heated again. The usual choice for brushes is hog bristle because the hairs are sturdy enough and can also withstand the heat unlike synthetic hair brushes. Scrapers and wedges are also used to push the hot wax around.
Materials:
- Pigment Sticks (oil paint with a touch of wax) and Encaustic paints and medium
- Wooden panels from Jackson’s or Ampersand.
- Real rabbit skin glue gesso that you apply warm (not acrylic gesso or acrylic primer, read about the difference in our Glossary under Gesso) or R&F Encaustic Gesso, both types will be absorbent enough for the wax to stay stuck when it cools. Or you can glue heavy watercolour paper on to your wooden panel with acrylic soft gel or a thick layer of PVA glue, the paper will also give you an absorbent enough surface for the wax to stick to.
- Hog Bristle brushes
- Catalyst Blades and Wedges – they are made of heat-resistant silicone
- Clay carving tools
- Heat gun
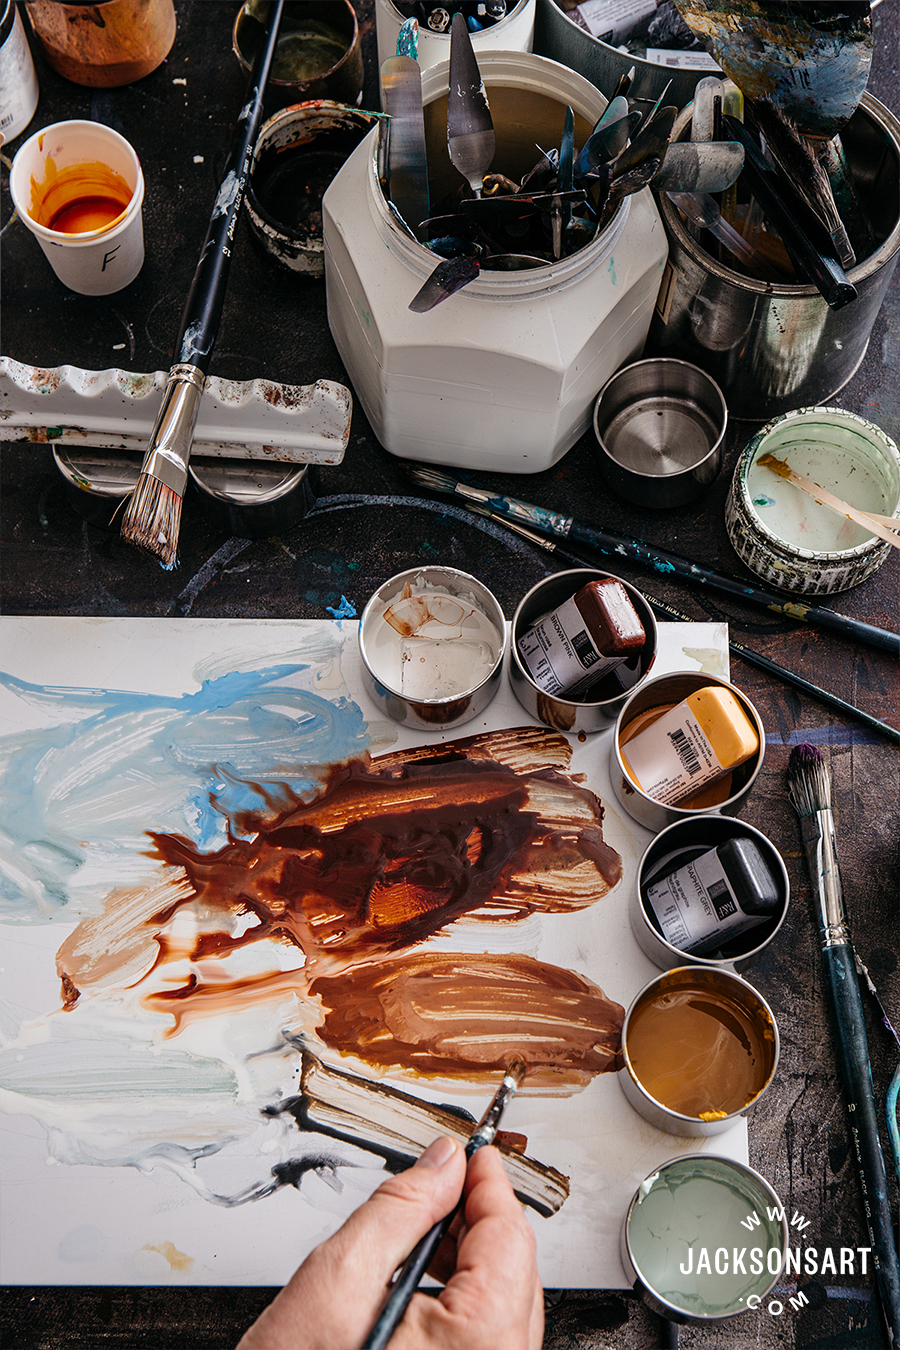
- A hot plate with metal tray to melt your paints directly on or a hot plate with metal tray with metal cups that you melt the paint in or a flat iron with no steam holes (travel iron) – you melt the paint directly on the surface of the iron.

1 thought on “R&F Encaustic Paints”
Pingback: An Introduction to Encaustic Wax - Jackson's Art Blog
Comments are closed.