For this project artist Charles Evans combines Winsor & Newton Watercolour Markers, Watercolour Sticks and Professional Watercolours to create a painting of Venice. All of these mediums can be used seamlessly together, because although some are more suited for larger areas and some for finer details, they are still all watercolour.
Integrating Winsor & Newton Watercolour Sticks and Markers into your Watercolour Artwork
By Charles Evans
The Watercolour Markers are an extremely versatile medium. You can draw directly onto the paper and then wet it with a brush or you can use a wet brush to stroke the colour off the tip and paint directly on. Dip the end of the marker into water to achieve a lovely wet-into-wet effect or simply draw on and leave it as-is. There are two ends to each Watercolour Marker, providing both a fine point and a broad stroke.
The Watercolour Sticks are equally effective. Simply draw directly onto the paper, dip into water and paint on, or take the paint off the stick using a wet brush.
I’ve found both of these mediums extremely useful on courses, such as on painting holidays when you don’t want to take all of your kit with you. Instead, a handful of Markers or Sticks and one brush will do perfectly!
Follow this step-by-step guide to incorporating Sticks and Markers into your watercolour artwork.

In this first image, I’ve drawn a simple outline and put the sky wash on. I pre-wet the sky area using my 38mm Cotman Flat Wash Brush, and then using Professional Water Colour, quickly dropped in some Yellow Ochre followed by Light Red and finally from the top, French Ultramarine mixed with Light Red. I repeated this last mix for a few sharper, darker clouds before washing my brush out and sucking out a few clouds. I then let this dry before starting on the buildings.
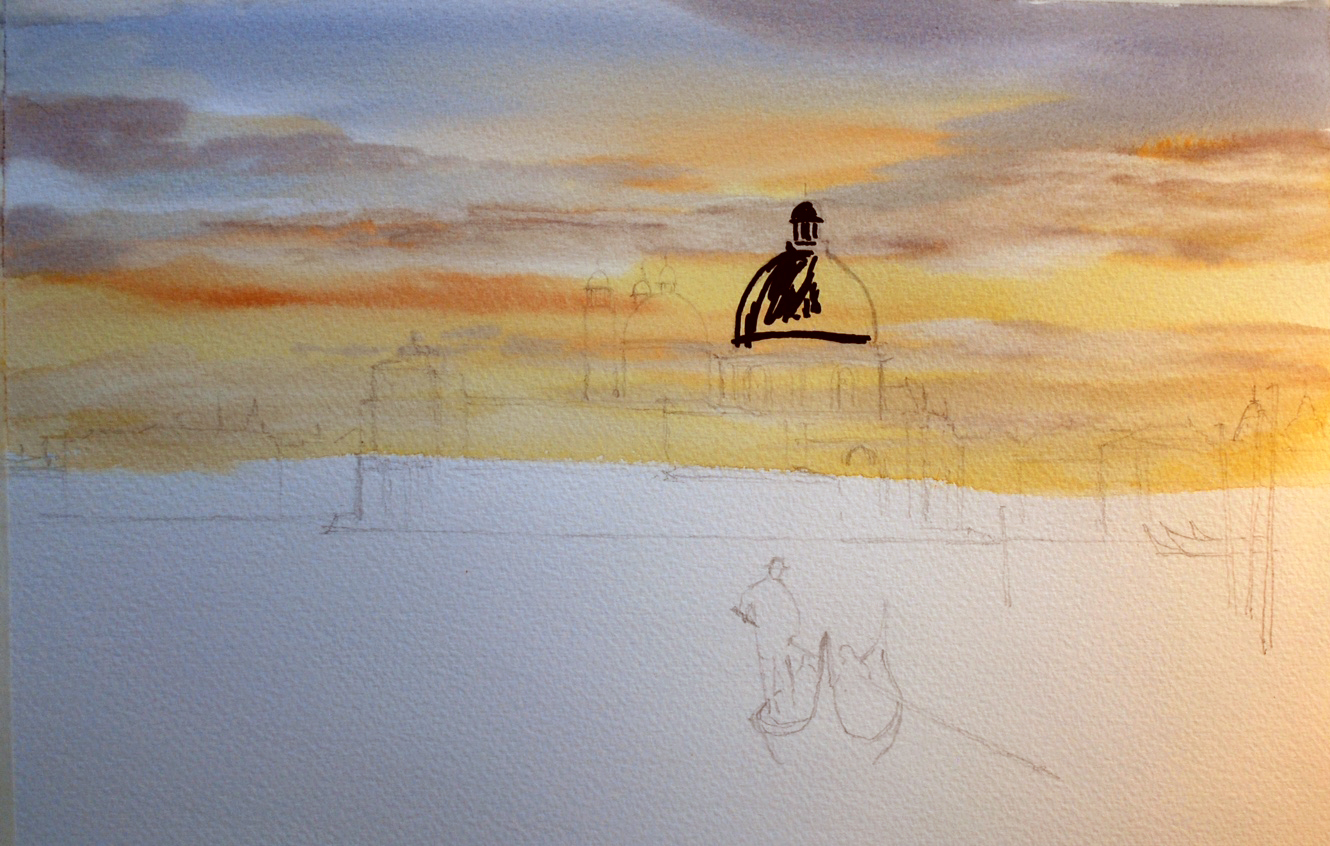
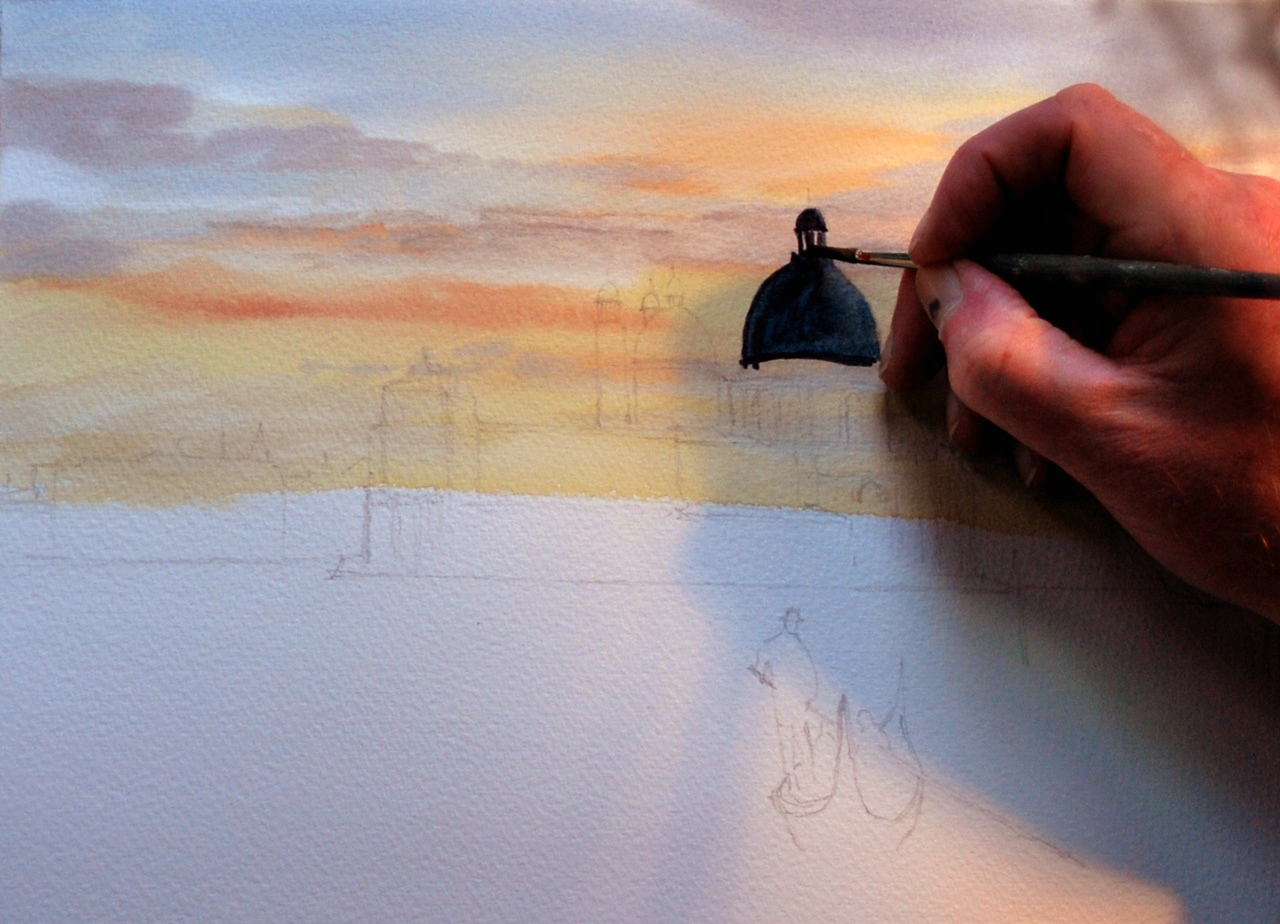
Now it’s time for the Watercolour Markers. I very simply drew into the outline using my Payne’s Gray Marker and then watered it down on the paper to fill in the dome. Rather than blocking out the whole dome, I added a little colour and then spread it around with water.
Next, I used the same process for the more decorative parts of the building using the Raw Sienna and Raw Umber Markers. I put one colour on top of the other and merged the colours together using a wet brush, giving that lovely stone colour.
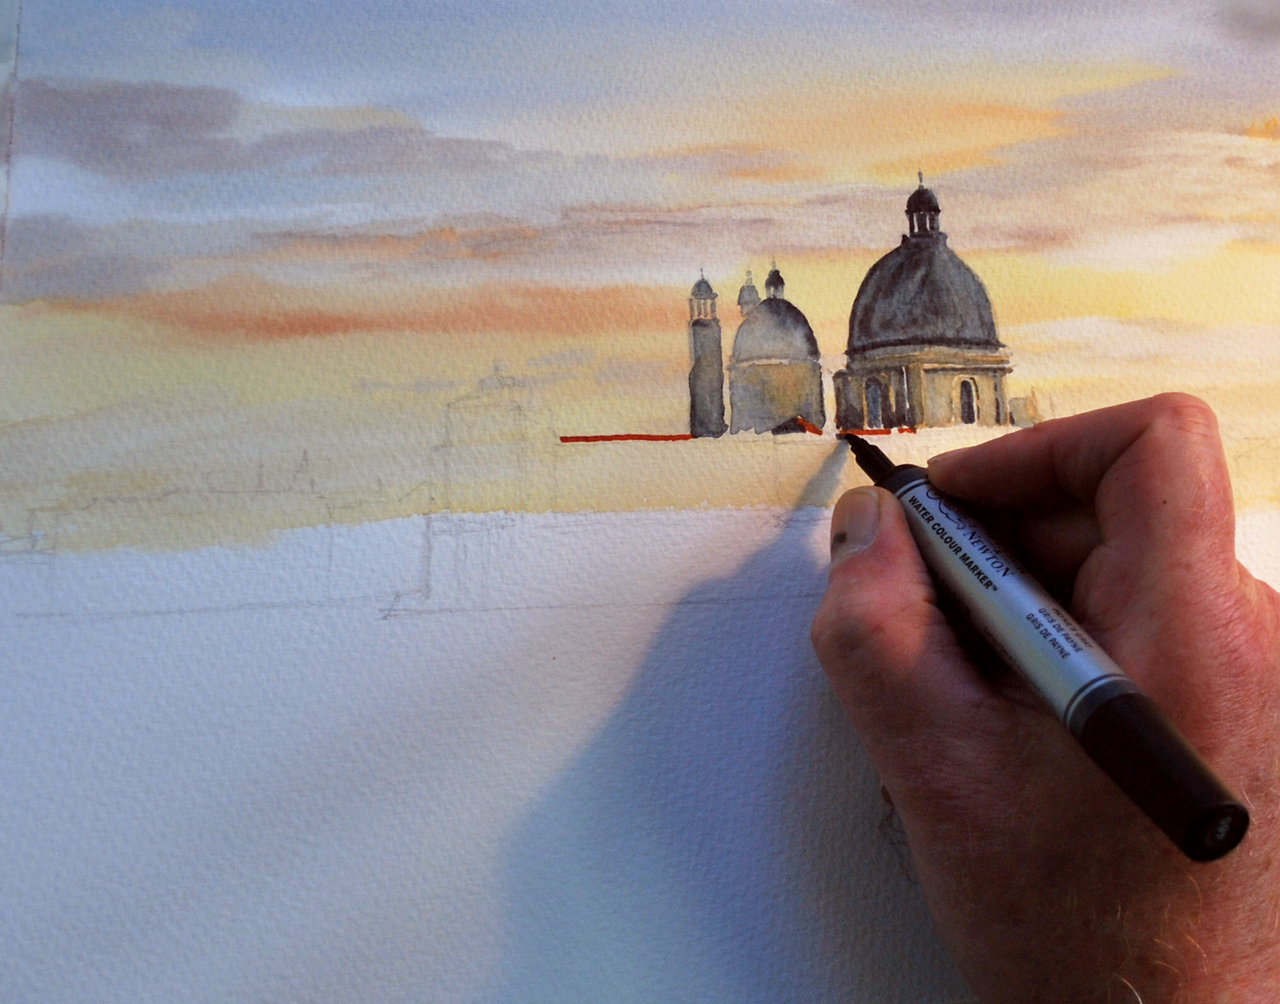
At this stage, I drew a fine line with the Burnt Red Marker, which is a great colour for terracotta roofs, and again loosened the colour with a wet brush.
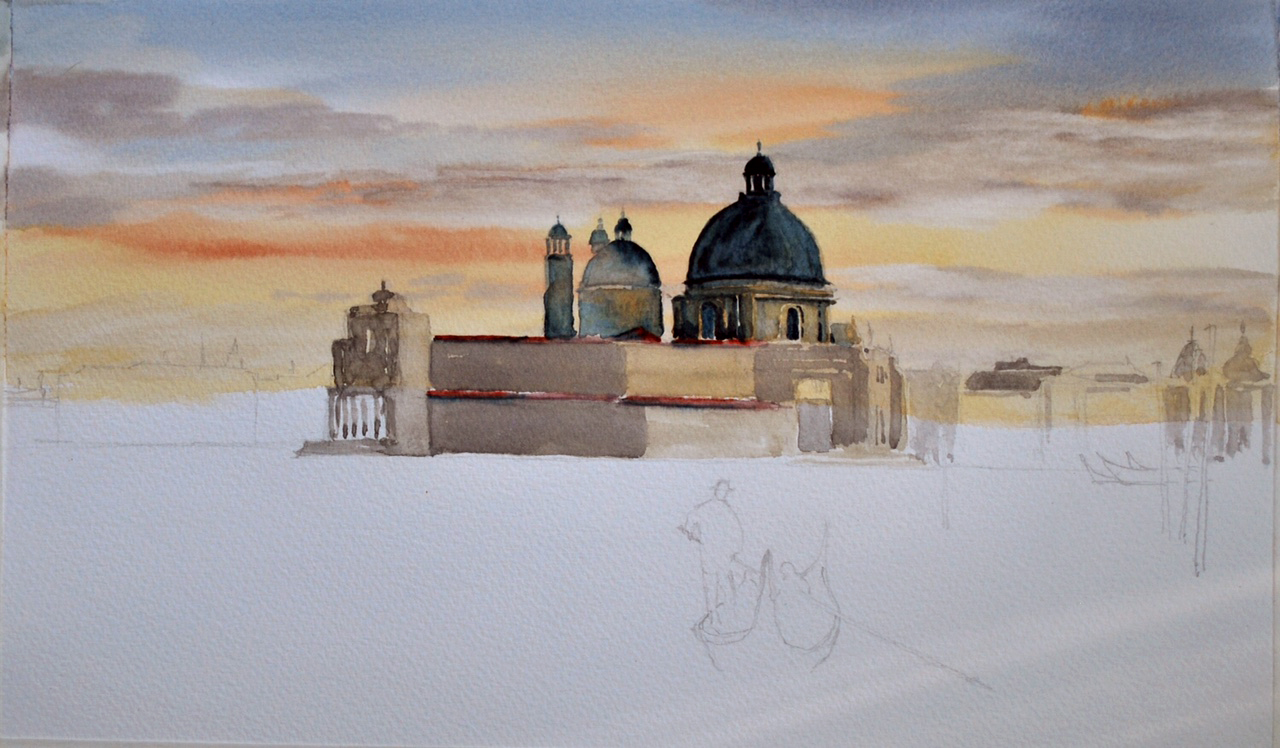
On the side of the building that is cast in shadow, I popped a little Payne’s Gray on top.
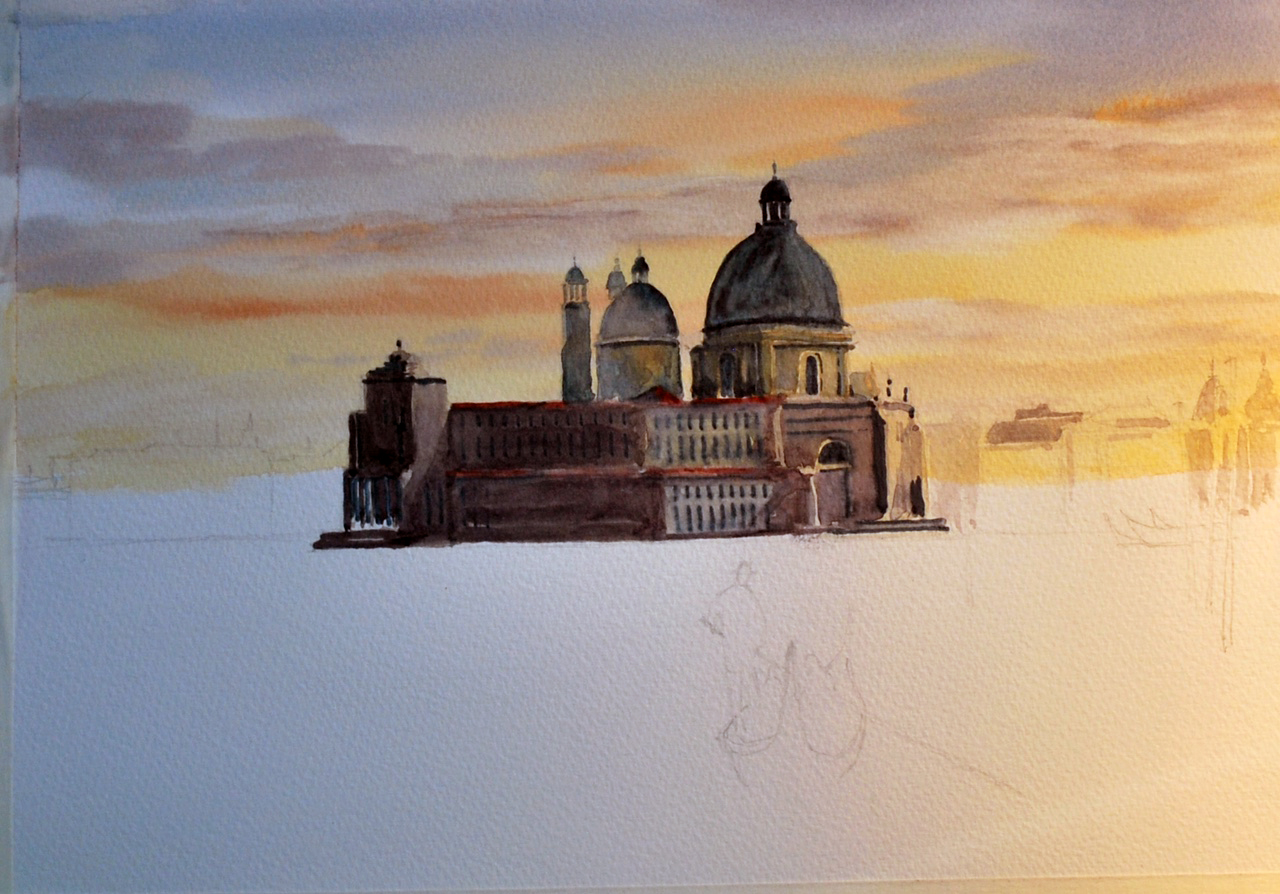
I changed back to Professional Watercolour and with my 19mm Cotman Flat Brush, blocked in the main parts of the building with big strokes of Raw Umber mixed with Raw Sienna, and added more Raw Umber to the darker sides. Importantly, I let all of this dry before I continued with this area. While it was drying, I carried on with some of the background buildings using the same mix, but weaker.
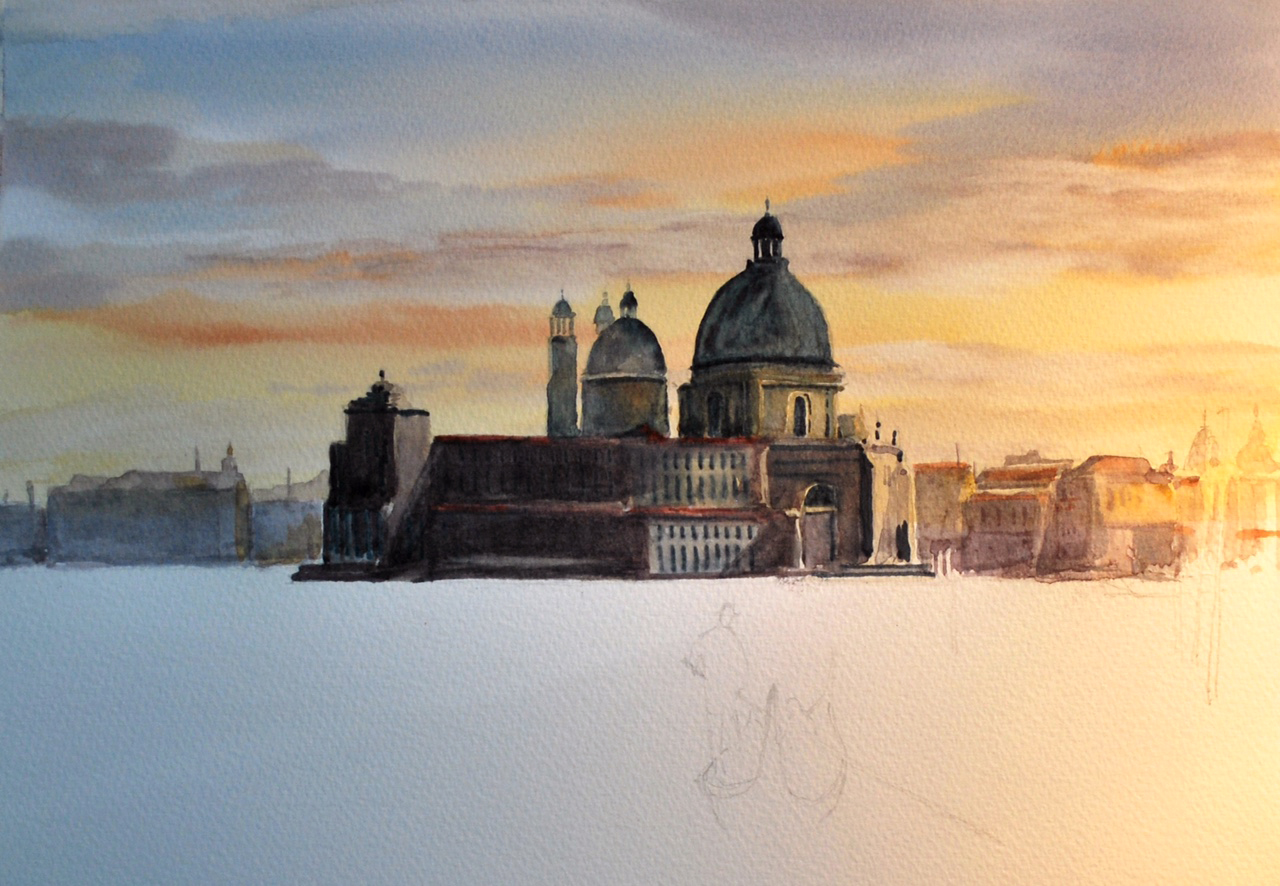
I went back to the main building with the Payne’s Gray Marker and added a few strokes for the windows and other detail. Then, I mixed Dioxazine Violet and Payne’s Gray on a brush. To do this, simply rub the nib of one marker with a wet brush and then repeat with the other marker, mixing the colour together directly onto the brush. With this mix, I created the shadows and darker sides of the building. I put some of this mix on the more distant buildings too, but again much weaker. At this point, I put any detail I needed into the distant buildings using Raw Umber and Burnt Red Markers. I didn’t fuss too much over with these, as they needed to stay in the distance and too much detail or strength of colour would bring them further forward.
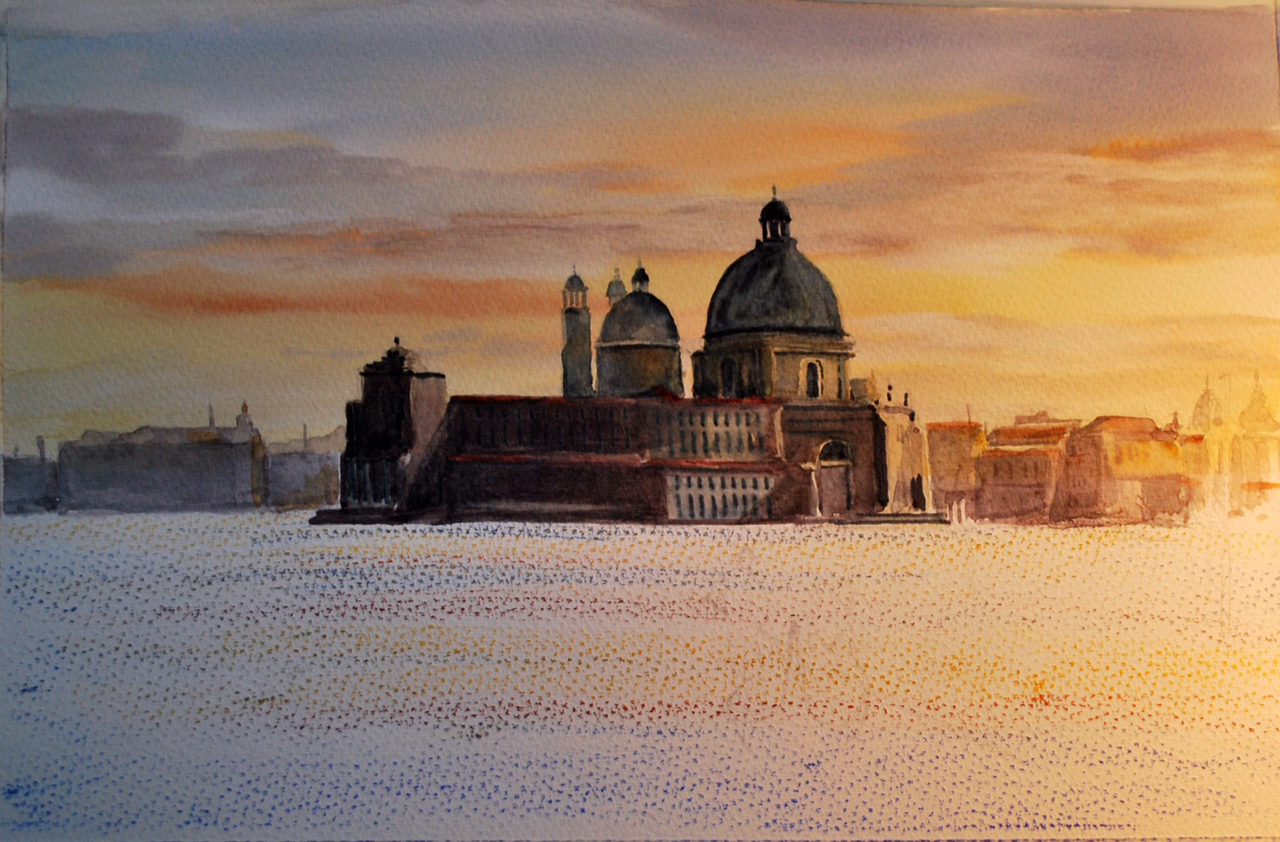
Then it was time to fill in the water, and I used the Watercolour Sticks for this. I peeled some of the wrapping away and used the stick on its side, rather like using a pastel stick. I drew on French Ultramarine, then a few strokes of Indian Red and a few strokes of Raw Sienna. Here, you can see the dry colours as I’ve stroked them on. With my 19mm Cotman Flat Brush and plenty of water, I then gently stroked over these colours to merge them, creating a very pleasing colour for the water.
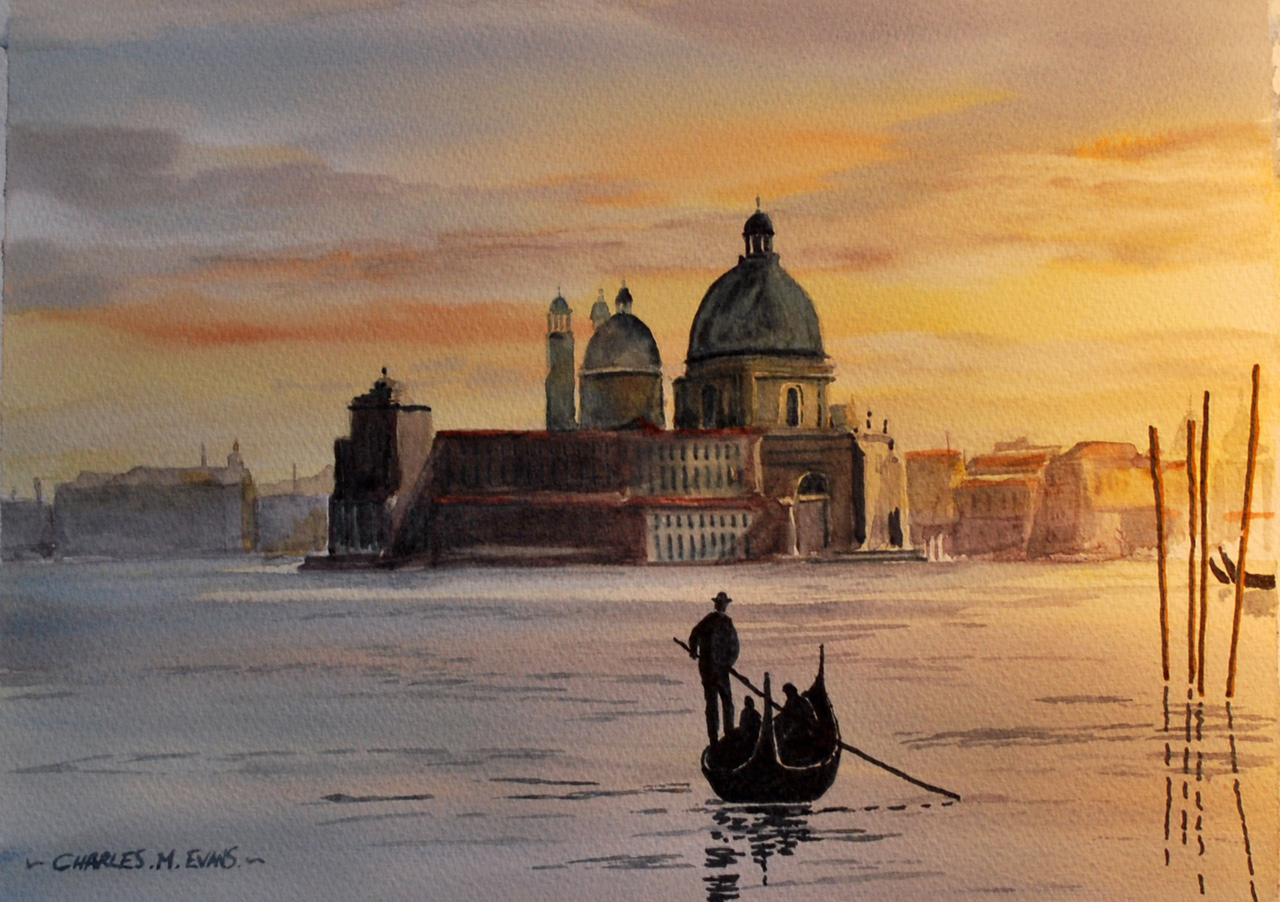
To finish the picture, I used a Payne’s Gray marker to fill in the gondola, and then left the colour as it came out of the marker instead of wetting it afterwards. I also did the same for the wooden posts, but popped a touch of Raw Umber onto these too. Finally, with a few darker strokes of French Ultramarine mixed with Light Red from the sticks, I added a few darker ripples on the water here and there.
Click on the underlined link to go to the current offer on Winsor & Newton Watercolour Markers, Watercolour Sticks and Professional Watercolours on the Jackson’s Art Supplies website. Postage on orders shipped standard to mainland UK addresses is free for orders of £39.