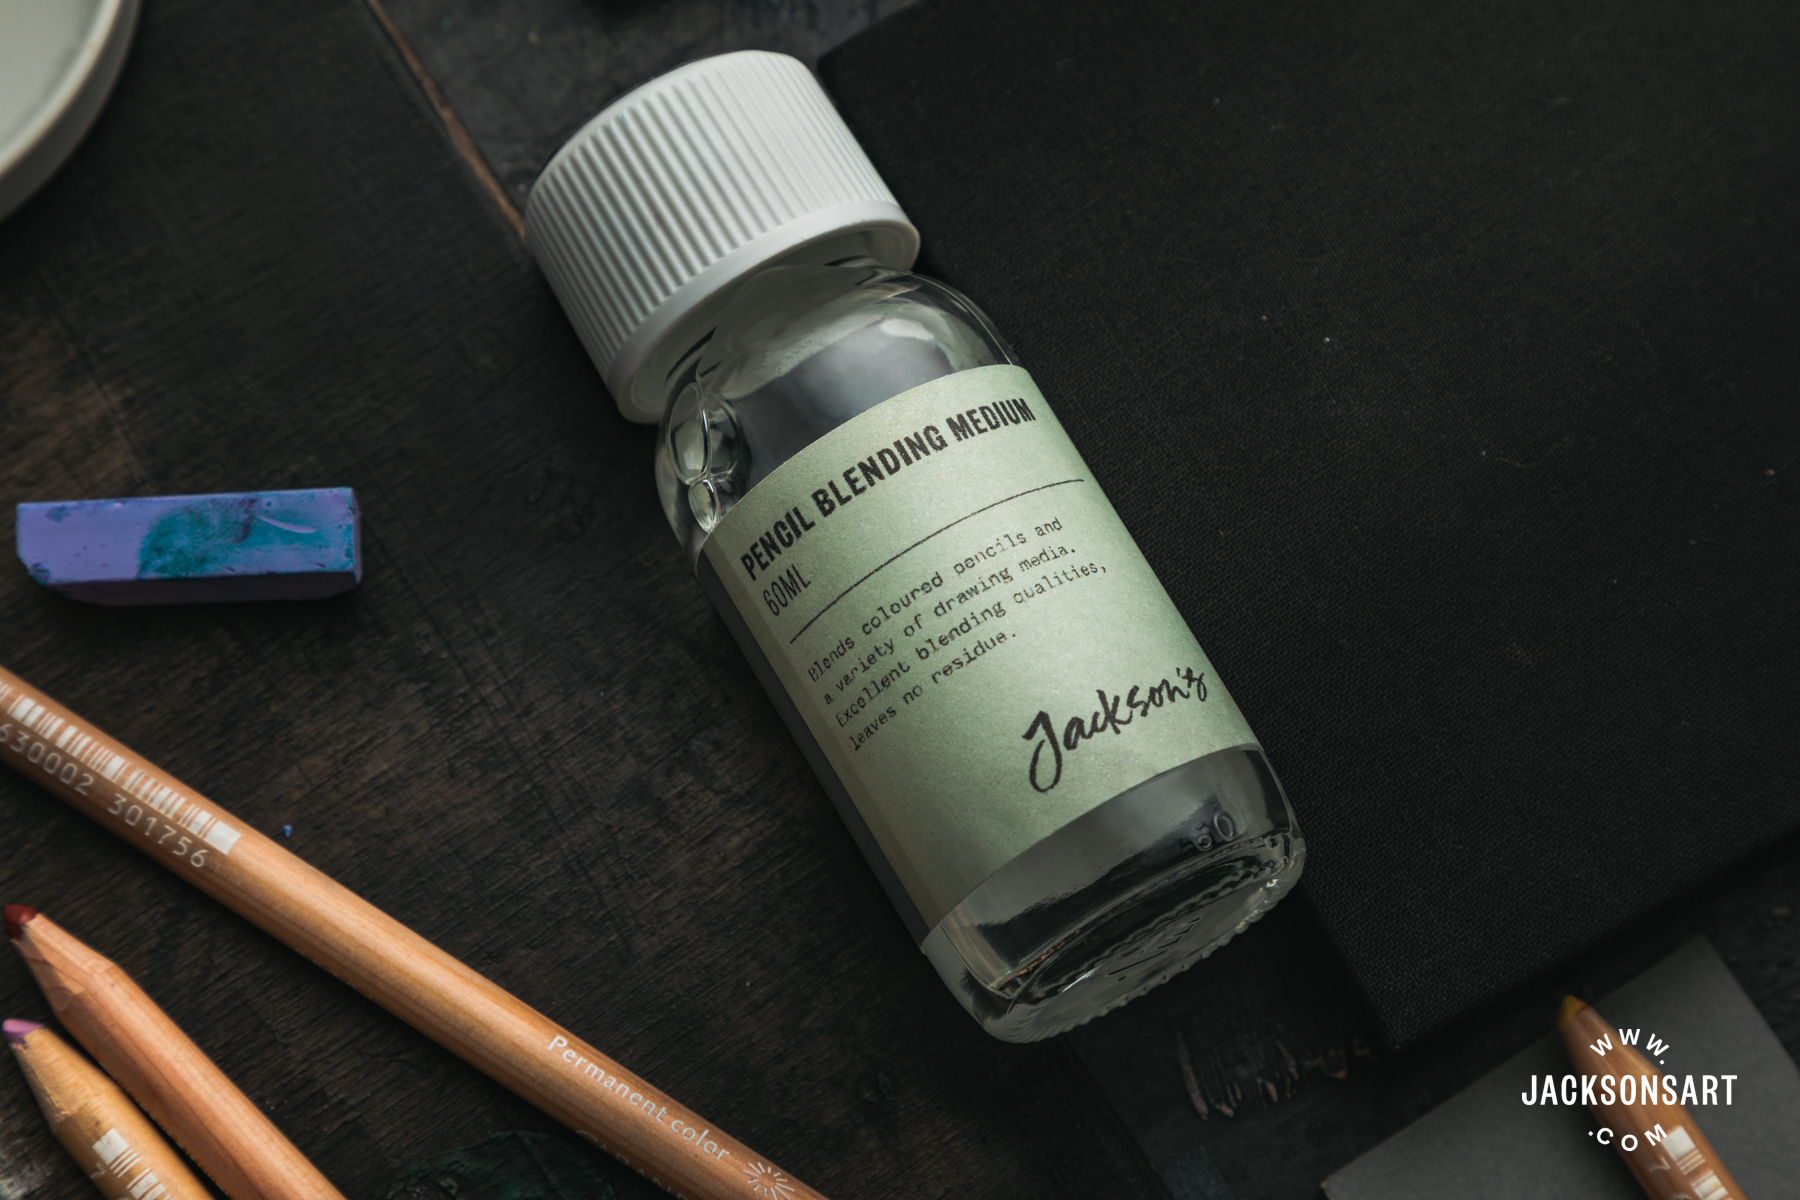
With coloured pencil on the rise, Brush & Pencil products have become increasingly popular. We caught up with award-winning artist Alyona Nickelsen to hear about how she creates various textures by working into pencil with brushes, sponges and the Brush and Pencil Blender.
Alyona Nickelsen is a highly skilled coloured pencil artist who has published two highly regarded books on coloured pencil, ‘Coloured Pencil Painting Bible‘ and ‘Colour Pencil Painting Portraits‘. Her work has been exhibited in many national and international shows, won numerous awards and has been displayed in many private and public collections throughout the United States. Alyona is a Signature Member of Colored Pencil Society of America (CPSA), Full Member of Catharine Lorillard Wolfe Art Club and Juried Member of International Guild of Realism. Below are some examples of her work.


When working on abrasive surfaces, such as sanded papers, efficient coverage of the surface requires a different approach than traditional coloured pencil application. Traditional application considers a pencil as a tool that generates a controlled mark on the surface. In this case, the controlling mechanisms are: the size of the point (sharp, dull, flat), the pressure of the drawing hand applied during the process (light, medium, hard), the type of the stroke (linear, circular, striking) and the placement of the strokes (scarce or tight).
Since a natural “forte” of colored pencil is the creation of a sharp distinct mark, covering a large area with smooth and even marks or generating a blurry “out of focus” edges are significant challenges and require constant sharpening of the point, maintenance of light pressure and even distribution of the marks on the surface. This is very wasteful of pencil medium and a time/effort consuming process.
In my own technique, I treat the core of the coloured pencil as a vehicle of controlled pigment delivery onto the surface. I then use brushes and sponges to distribute the pigment and create specific types of marks.
Seamless Transitions:
To make a translucent seamless transition on a significant area, such as a background, I deliver the pigment by barely touching the surface with coloured pencil. With this method the size and the shape of the coloured pencil point does not make a big difference, so the core can be more economically exposed from the casing with the simple use of an x-Acto knife instead of wasteful sharpening in the electric sharpener. The delivered pigment is then spread with a large, rounded sponge or a flat scrubbing brush. The use of Powder Blender allows the pigment to “move” smoothly on the surface and makes even pigment distribution simple. Powder Blender is an inert, transparent and dry lubricant that doesn’t affect the coloured pencil medium in any way. It simply assists in a smoother movement of brushes and sponges on the gritty surface during the blending process. Powder Blender and other Brush and Pencil products are available on Jackson’s website.
Small, Smooth Areas:
To evenly spread pigment within a smaller area I use smaller sponges or small flat scrubbing brushes. Again, the sharpness of the pencil point here makes no difference since the pencil core is just lightly scrubbed onto the surface and the shaved off pigment is then spread with a brush dipped in Powder Blender.
Sharp, Precise Marks:
To make a sharp crisp mark, I sharpen the point of the pencil in an electric sharpener and apply a slightly heavier pressure.

When working on abrasive surfaces, blurry edges and a seamless coverage of the surface can be created quickly and effortlessly. Due to the nature of sanded papers (the sharp edges of the grit), the pencil should be applied lightly and scarcely. In this manner, the pencil is literally ground against the tooth of the surface allowing the pigmented particles to drop into its crevices. Then, with Powder Blender and a sponge applicator or a flat scrubbing brush, the shaved particles are moved around and spread very thinly. This process is reminiscent of working with watercolours or oil paint in very thin layers, but without any liquid (or its attendant problems) involved. And, since no liquid is involved, there are no time restrictions for correcting, adjusting and erasing of coloured pencil. But then, this is a topic for a different time.
- It is better to apply coloured pencil in the darkest areas first and then spread it with sponges or brushes toward the lighter areas.
- To create a light-smooth application, avoid hard pressure when you apply pencil or when you blend it with sponges or brushes. The more you press on a sponge or a brush, the more you are “pushing” coloured pencil deep into the grit of the paper. The less pressure you apply on a sponge or a brush, the easier pigmented particles will move around on the surface.
- You don’t need a large amount of Powder Blender – a little goes a long way.
- When using large sponges for blending the background, place a bit of Powder Blender in a shallow container or bend a piece of aluminium foil to make a rectangular container and then dip them in the Powder Blender.
Read more about Alyona’s techniques in her books, or find out more about Brush and Pencil products on Jackson’s website.