



Oil painting mediums can deteriorate when exposed to air. They can also leak in transportation. If they are solvents they can evaporate.
So some special containers are sometimes used for oil painting mediums.
For those who encounter the lids of these containers for the first time, opening them may seem baffling.
These photos and instructions should help get you past the initial confusion so that you see that they are really quite simple to deal with. Once you know how, it’s easy.
Note: to prevent any dust entering the opening during the seal removal I recommend that you wash the top before you open your container.
Pull out nozzle style opening

Pop one side of the ring up.

Pop the other side of the ring up.

Use the two rings as finger holes and pull the nozzle out. This will require some wiggling. (If the red cap fails to grip you may need a pair of pliers to pull the nozzle up.)

Remove the red cap.
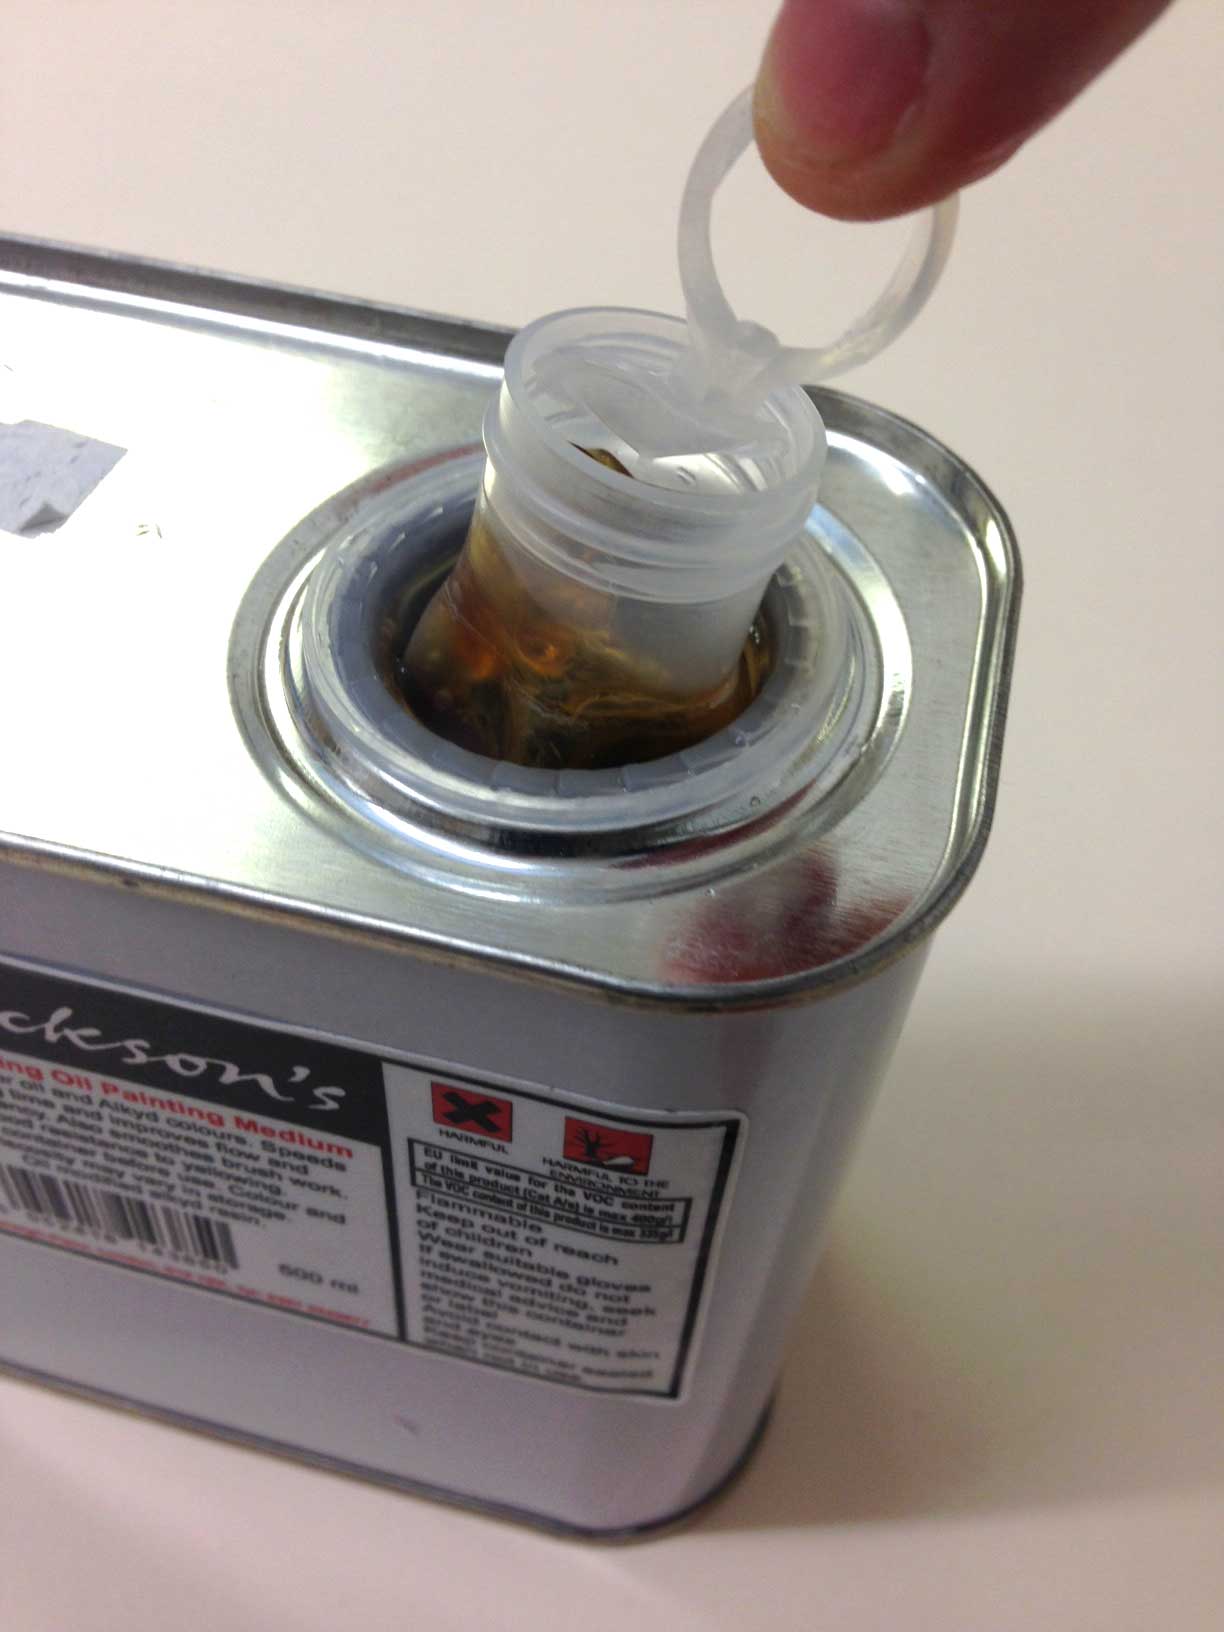
Pull the ring on the inside seal and discard it.

Use your product by pouring from the nozzle. Afterwards leave it extended.
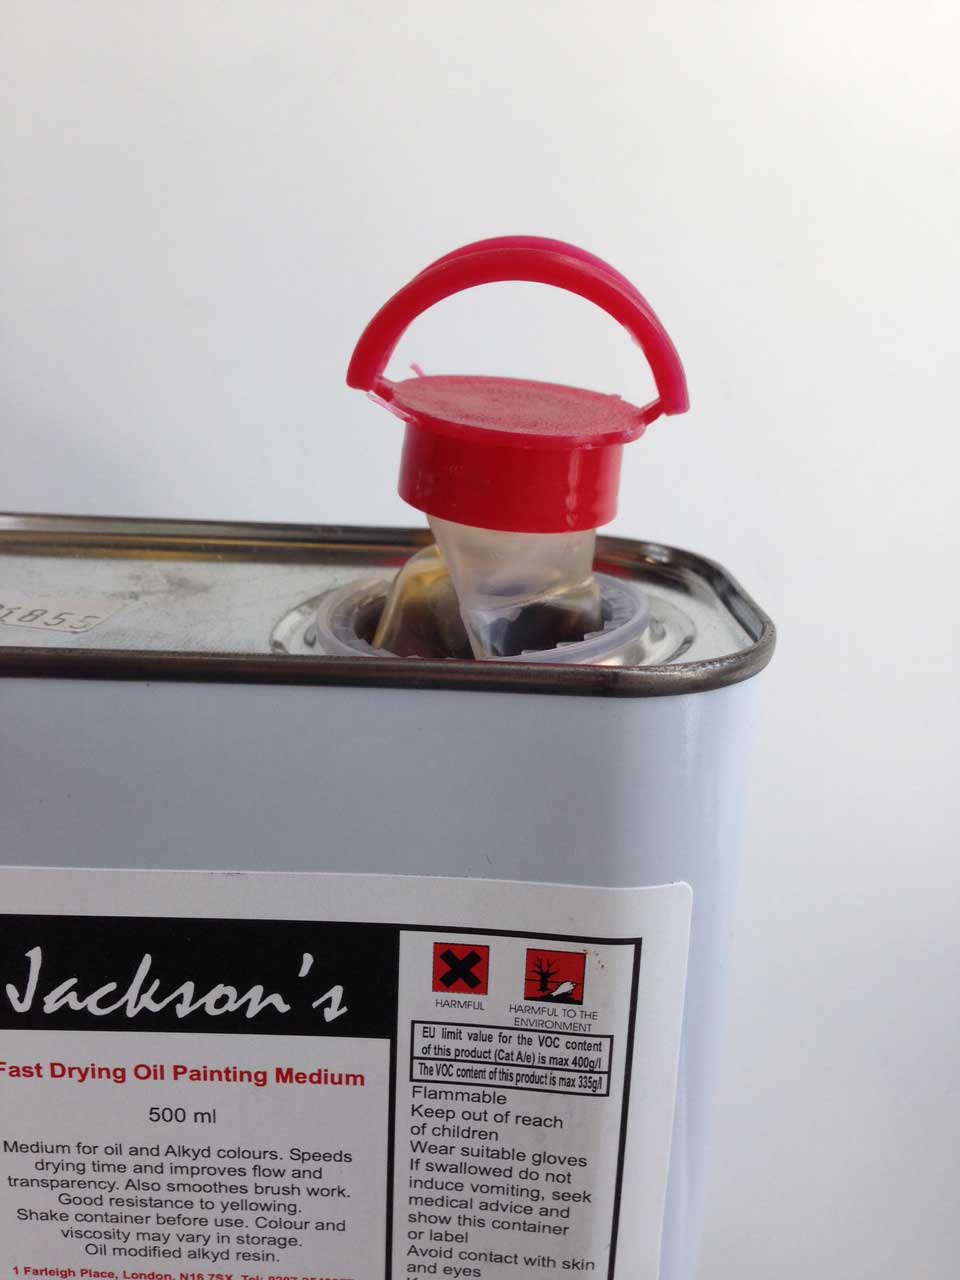
Replace the red cap. This is your lid while on the shelf in your studio.
Metal inner seal style opening
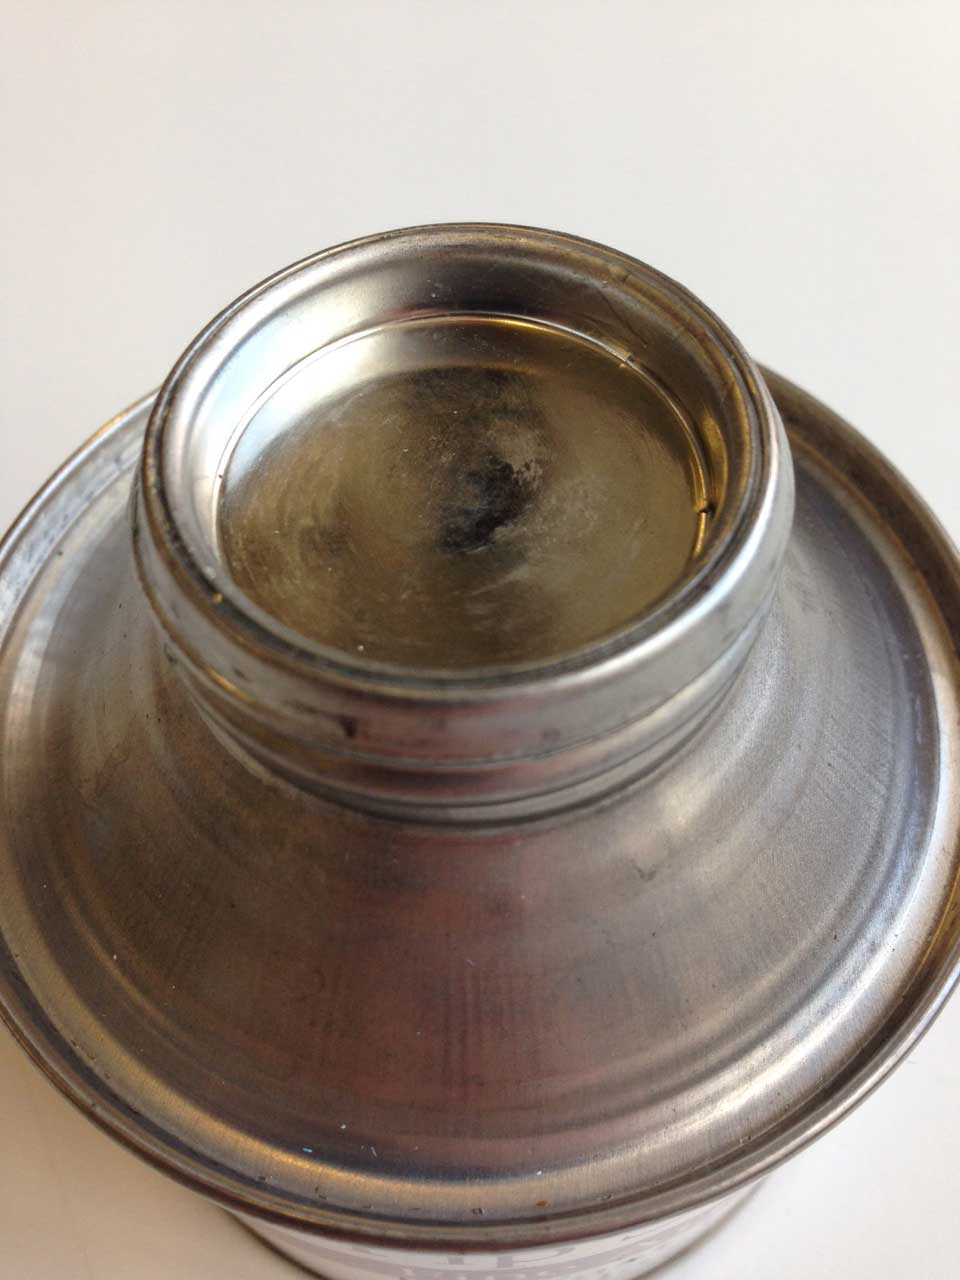

Puncture the centre of the metal seal with a screw driver by placing the tip in the centre of the seal and give the back of the handle a smart tap.
As soon as you have pierced the seal prize it up.

Remove the metal seal.
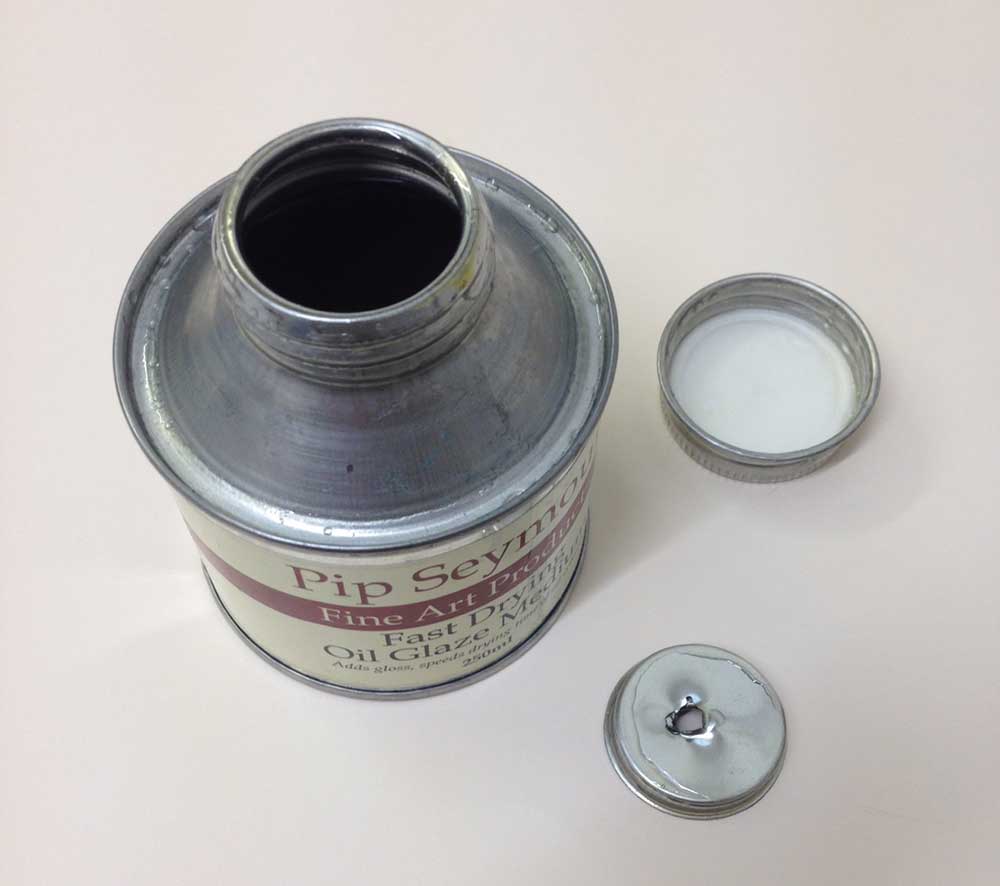
Discard the metal seal.
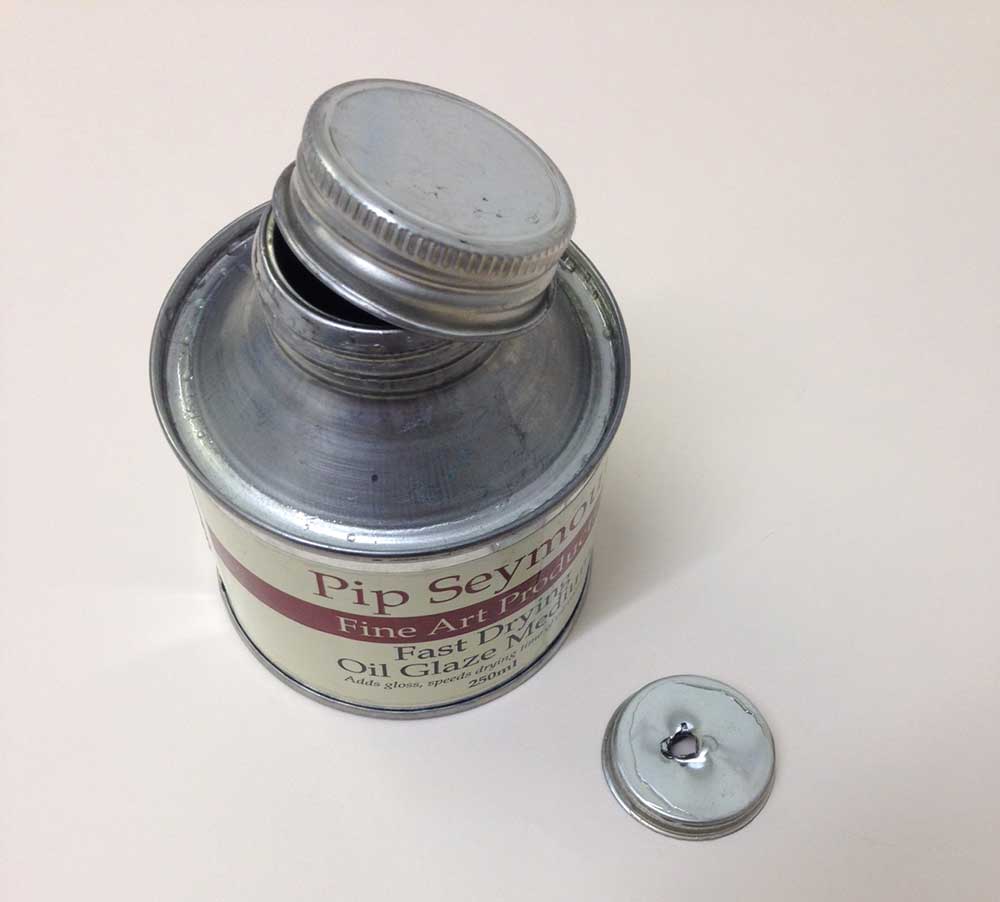
Replace the screw-on lid. This is the lid you will use on the shelf in your studio.
Click on the underlined link to go to the Oil Painting Mediums Department on the Jackson’s Art Supplies website.


2 thoughts on “How to Open Professional Oil Painting Medium Containers”
The information relating to the nozzle-style openings could do to be printed on the tin itself!
Had a tin like the top one for something else – this was the
only website I could find with instructions! Thank you!
Comments are closed.