Sugar lift (or lift-ground) etching is a direct way of creating expressive, painterly marks in printmaking. In this article, I will introduce lift-ground and sugar lift and explore some of the materials and combinations you can try for your prints.
What is Sugar lift or Lift-ground Etching?
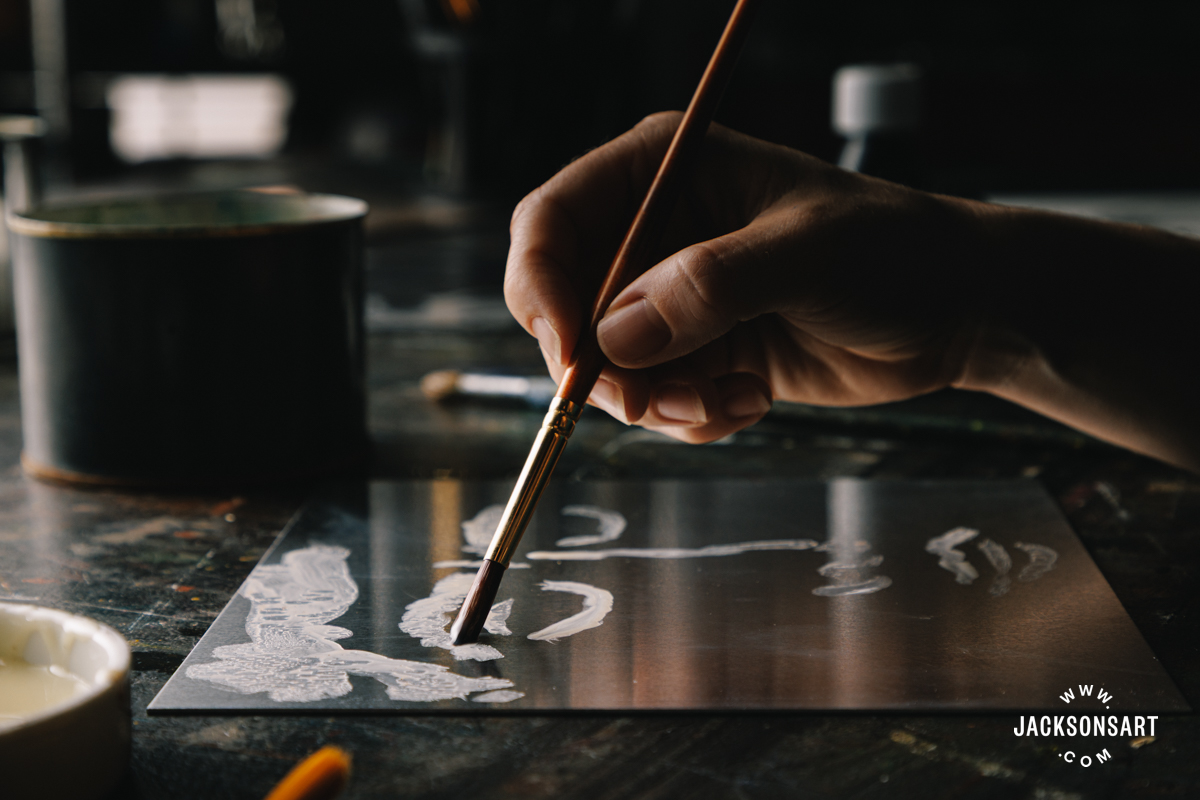
Sugar lift, or lift-ground etching, is an expressive method of mark-making in etching. The process begins by applying a watersoluble solution to the plate, usually made with saturated sugar, although other mixtures can also be used. This solution is painted on with a brush or pen, and sometimes even dripped, dribbled, or splattered onto the plate.
Once the solution has dried, the entire plate is coated with an acid-resistant ground. The plate is then placed in a bath of warm or hot water for a few minutes. The marks made with the sugar solution will swell in the heat and lift away the acid-resistant coating. This process reveals the bare metal beneath, preserving the original drawn or painted image on the plate.
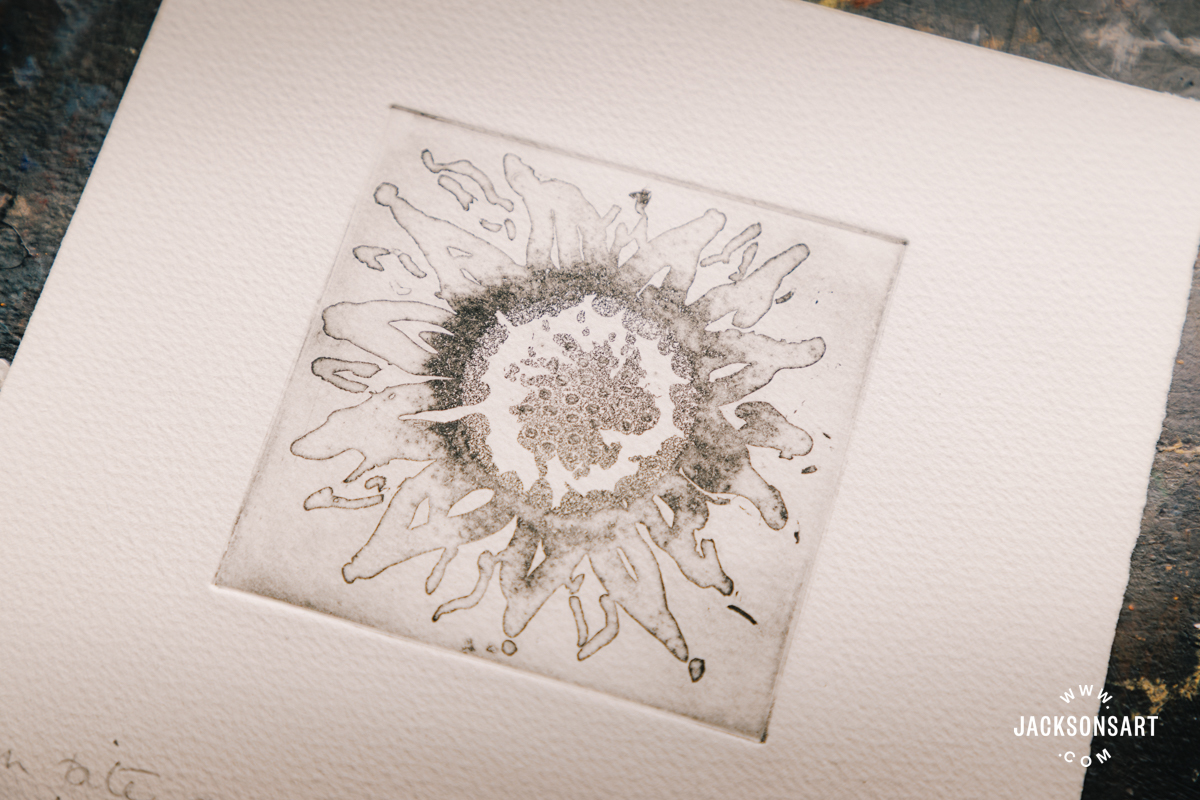
At this stage, an aquatint is applied, and the plate is etched. The aquatint creates a continuous tonal effect, while the length of time spent in the acid determines the depth and darkness of the tone. Finally, the acid-resistant coating is removed before printing.
One of the defining qualities of sugar lift is that the artist’s original brushstrokes and gestures are transferred faithfully to the final print, though in reverse. This ability to capture spontaneous, expressive marks is a large part of the technique’s appeal.
The First Sugar Lift Etching We Know of
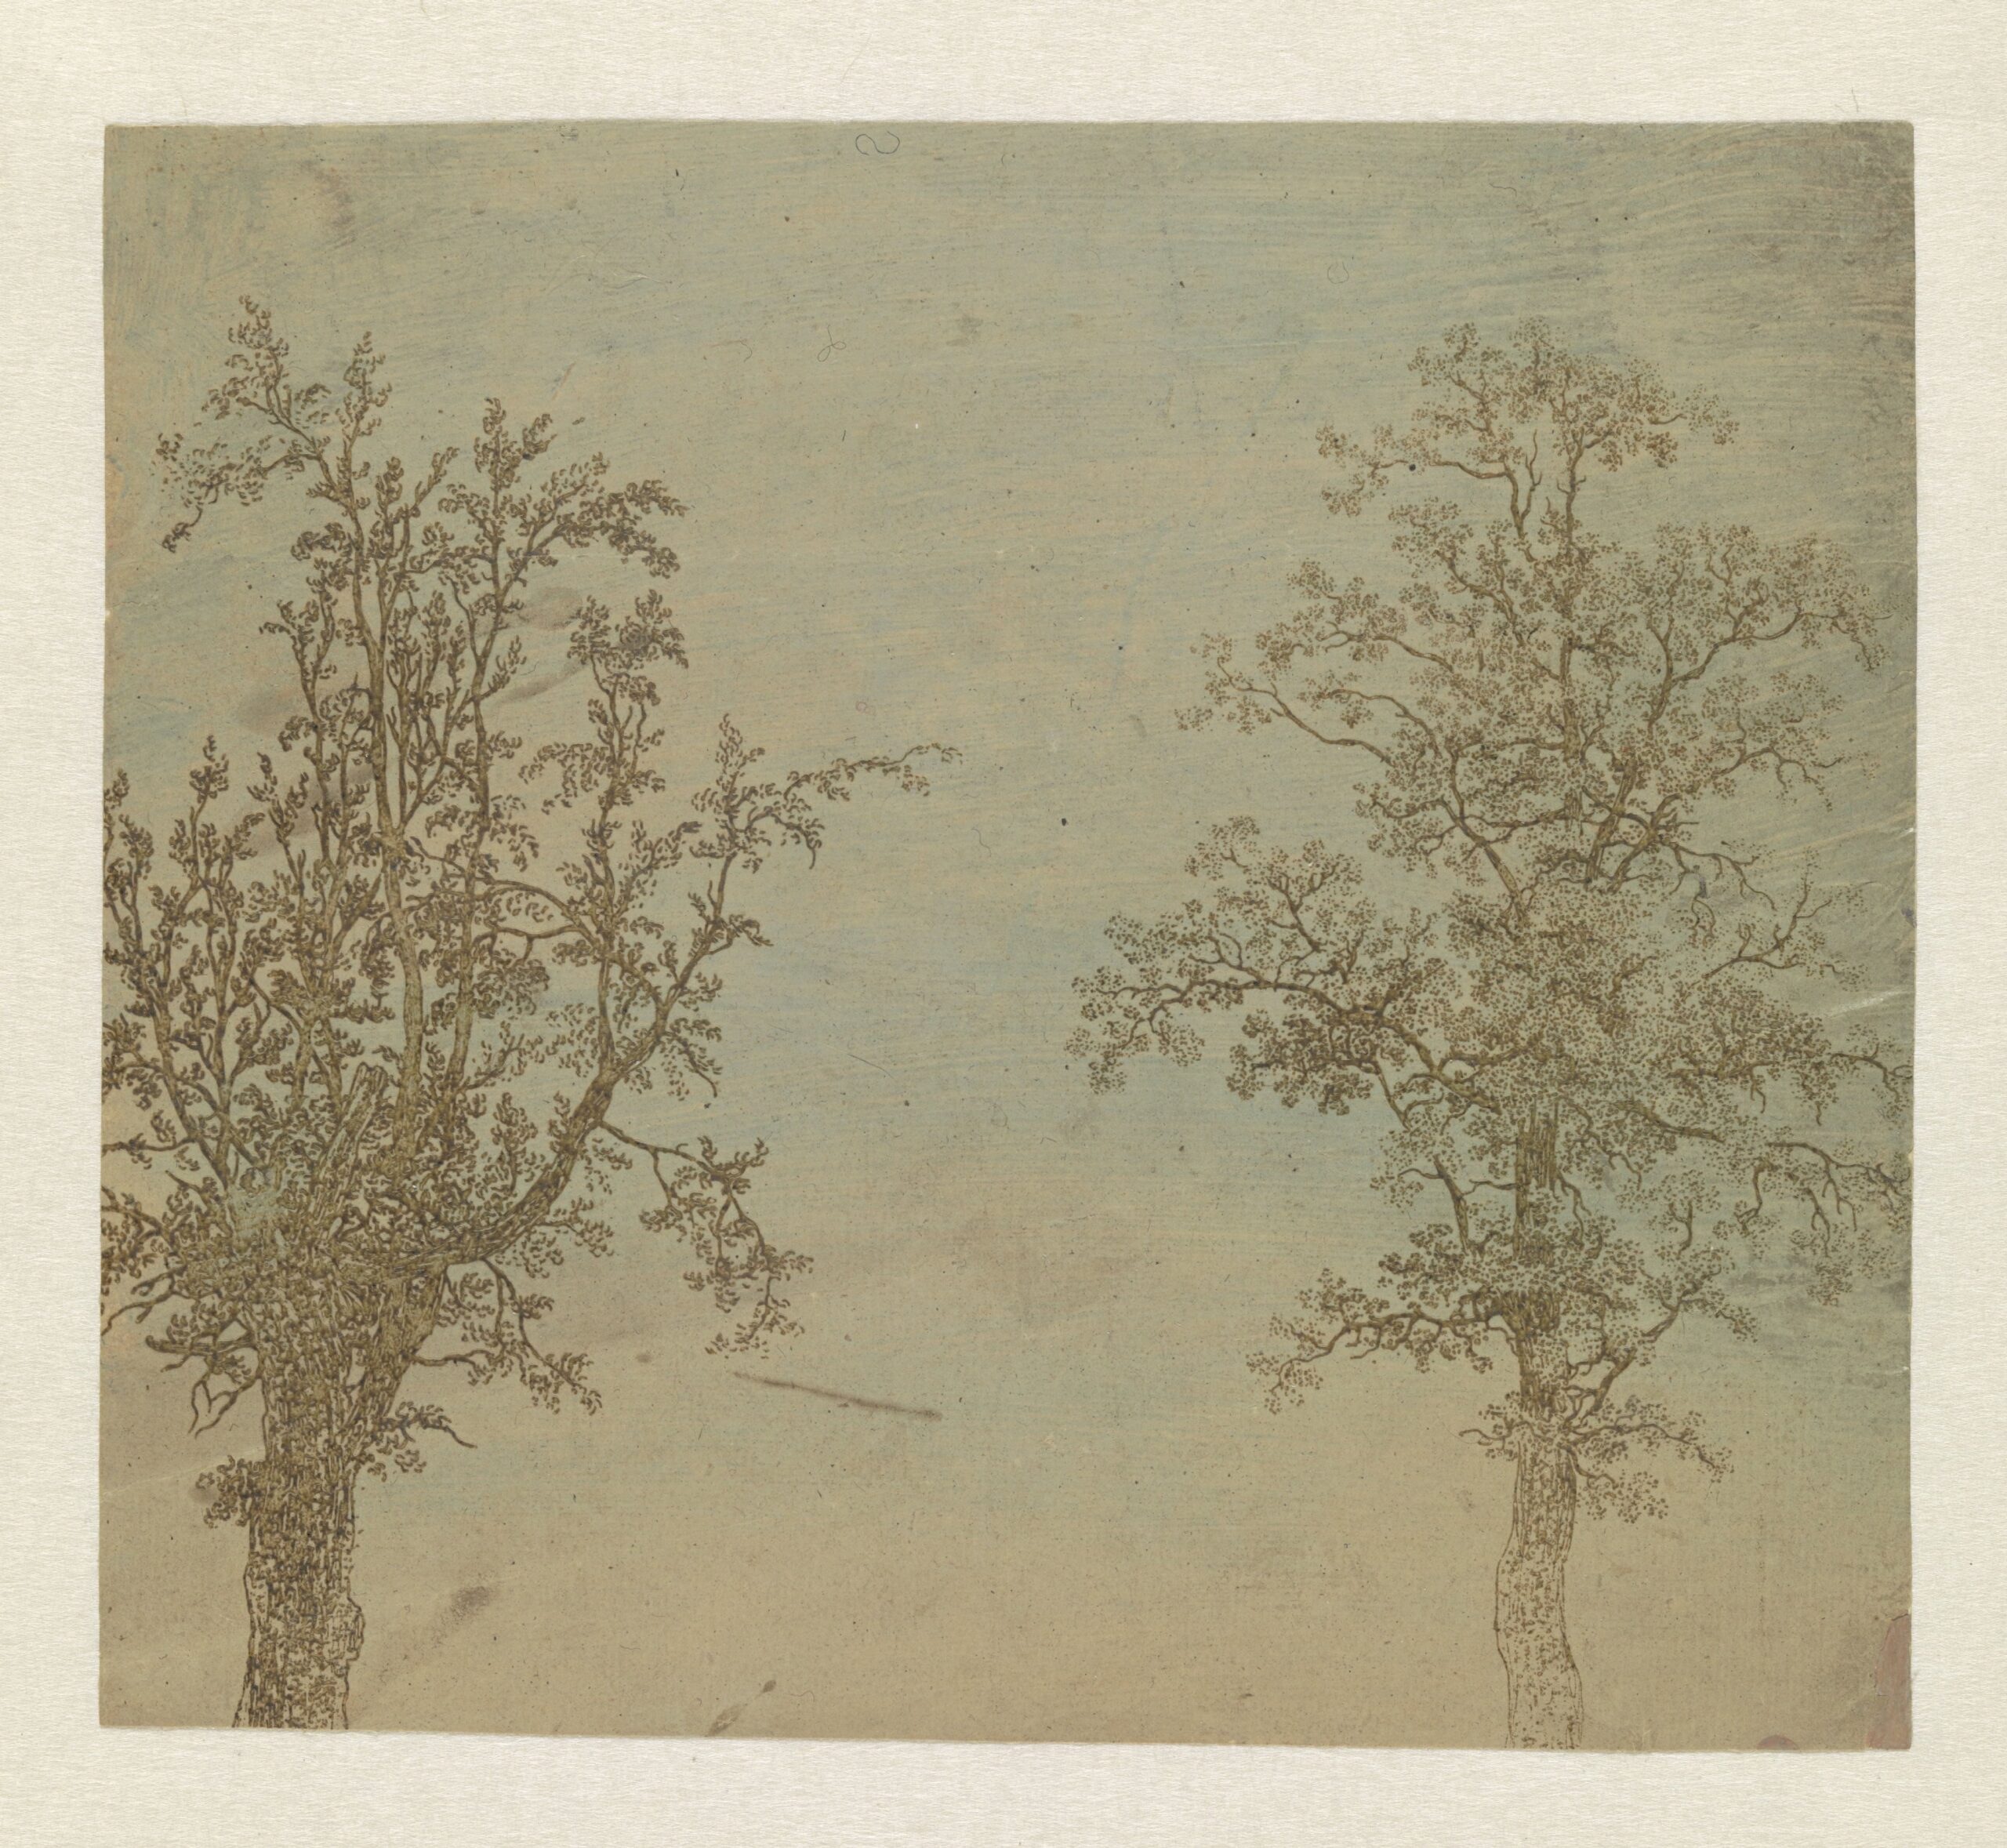
Hercules Segers
Lift-ground etching, printed in green on prepared paper, 15.2 x 17.3 cm | 6 x 6.8 in
Rijksmuseum
In its simplest form, an etching is produced by drawing with a hard implement through a waxy ground, exposing the metal beneath to the etchant in which the plate will be bitten. But imagine you want to create a print with marks more akin to your brush or pen sketches – an etching that captures painterly, expressive mark-making beyond what is possible when drawing through a ground with a needle. This may have been what was on the mind of Hercules Segers (c. 1589–1638), an experimental painter and printmaker who employed an array of techniques and materials that were unusual for the time. Segers’ work was collected by Rembrandt and is believed to have had a significant influence on his printmaking practice.
It is thought that these small prints by Segers are the first lift-ground etchings, possibly using a sugar lift solution. Marks appear to have been applied by pen or fine brush. The lifted areas of the lines have a granulated tone, but it is not known exactly how this was done. Aquatint was a later invention, but it is difficult to be certain of the techniques used at a time when artists often worked in secret and rarely documented their processes.
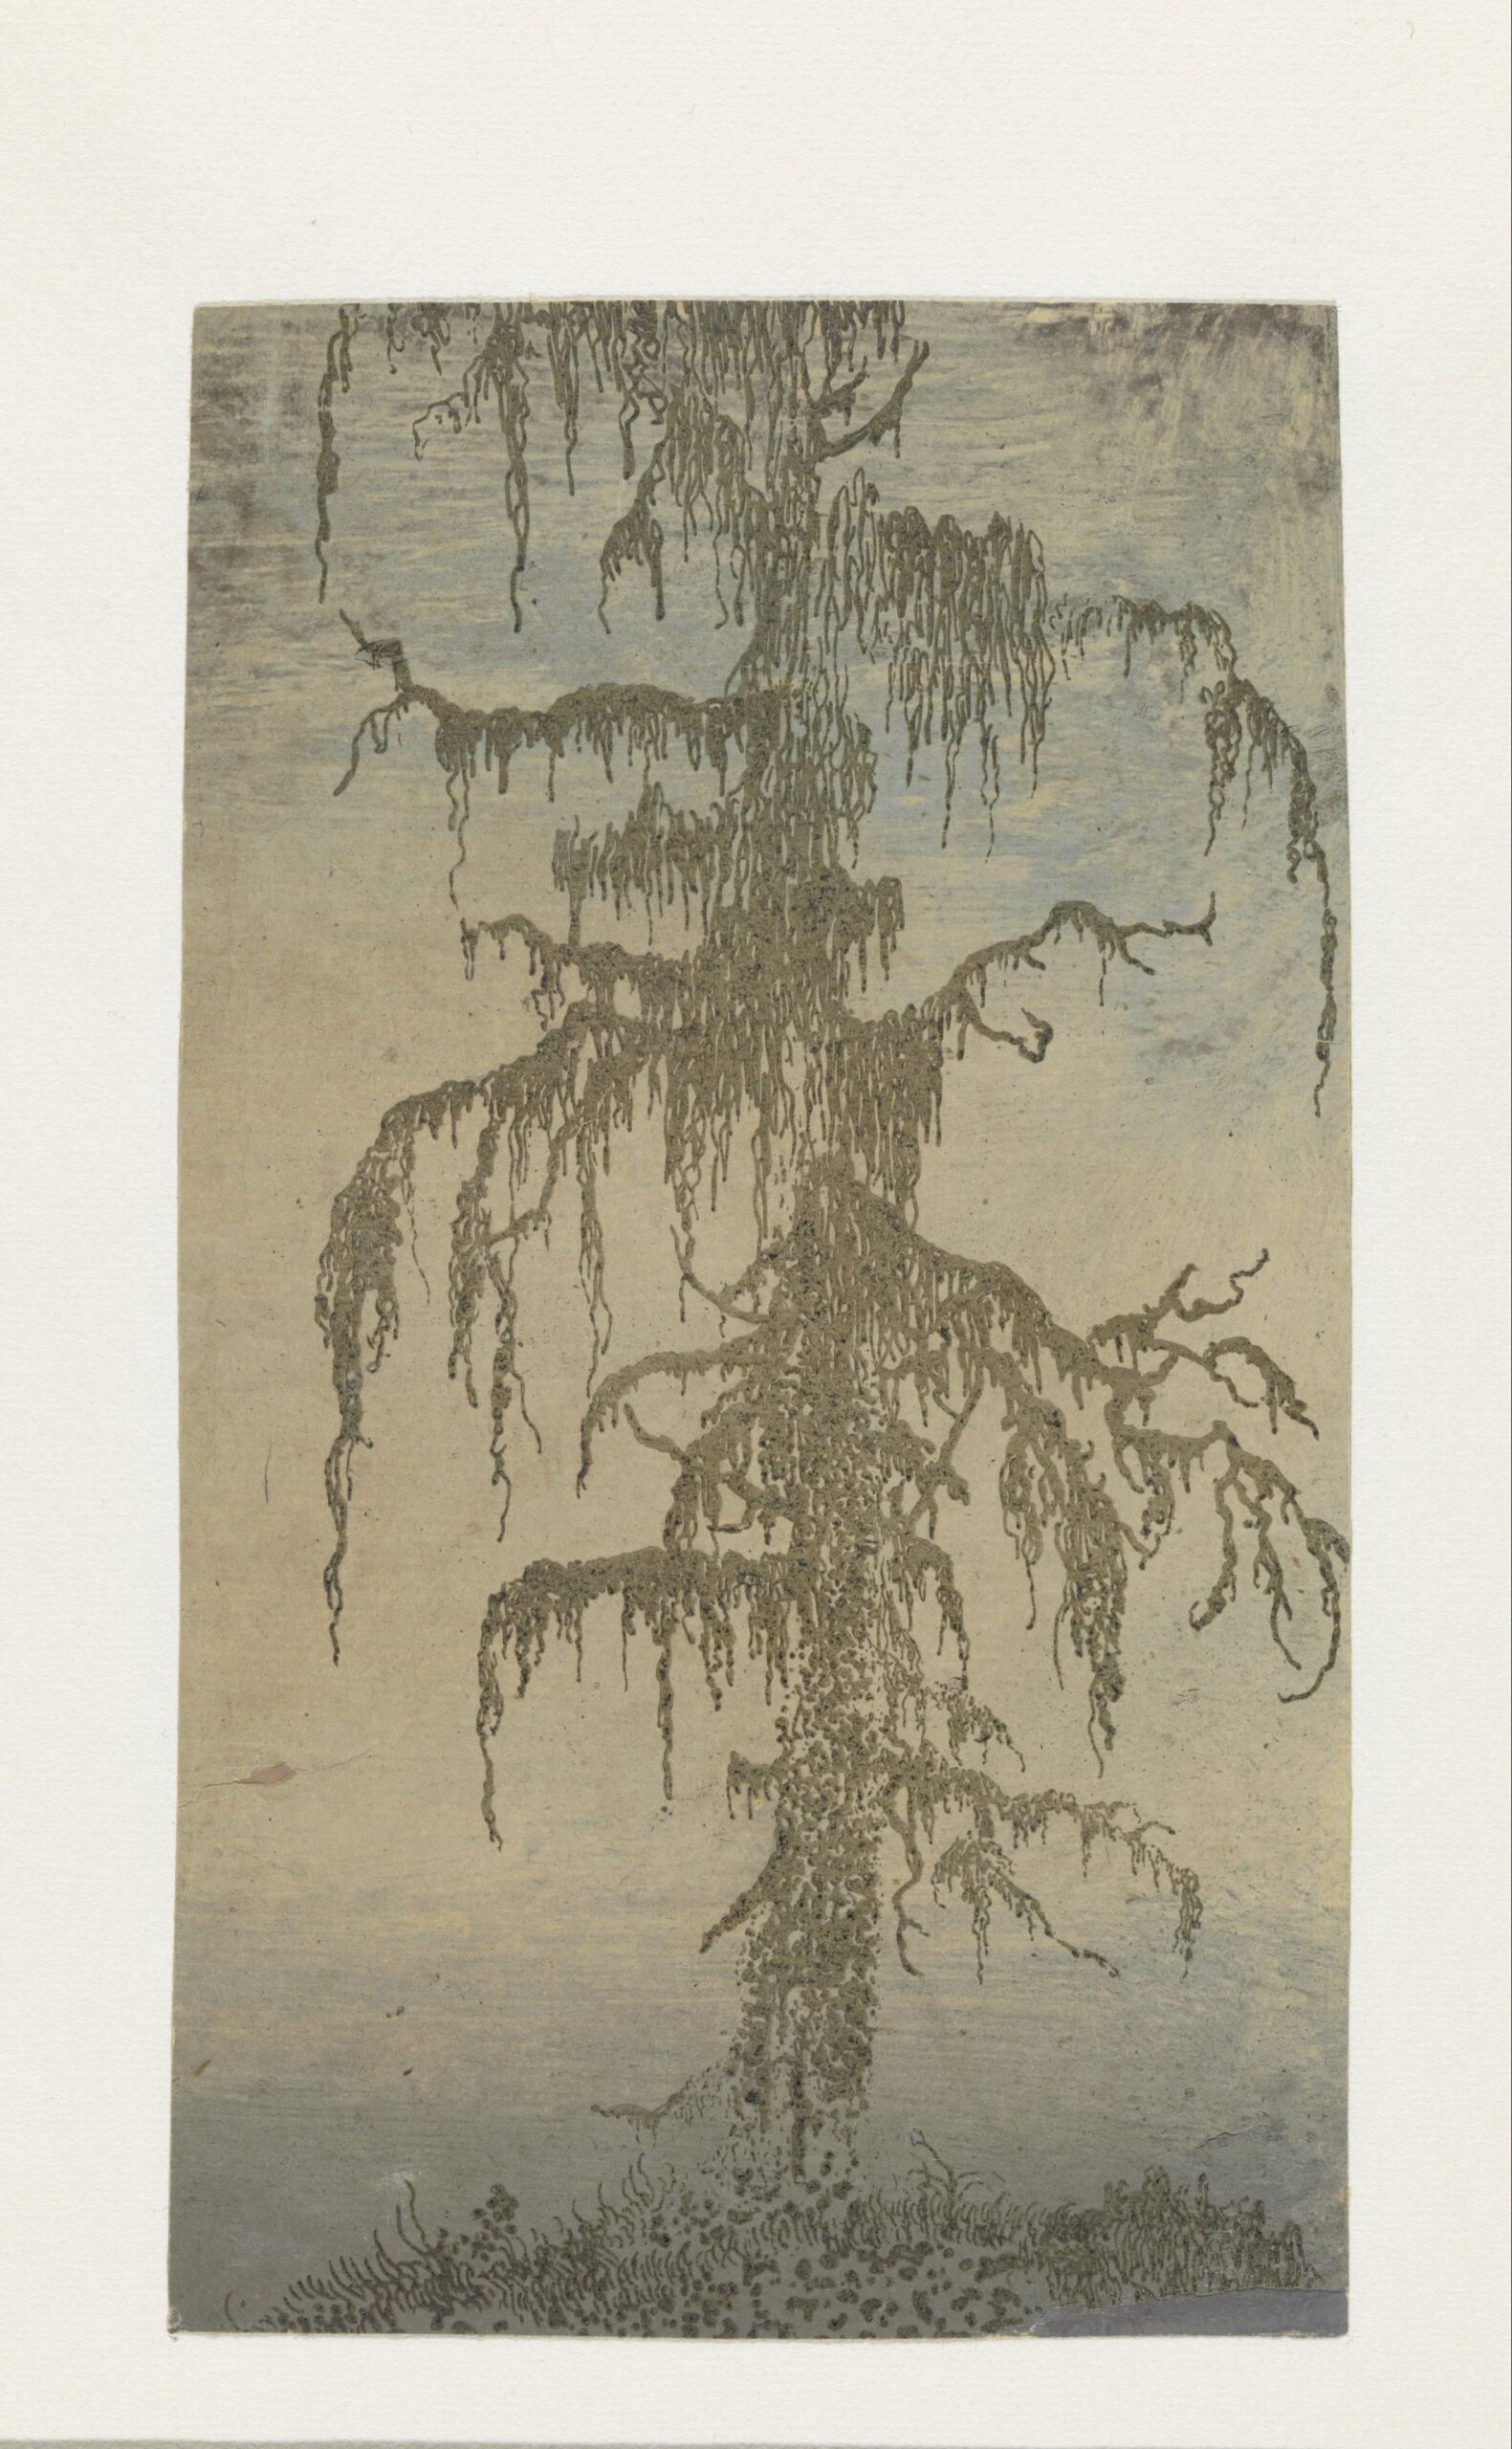
Hercules Segers
Lift-ground etching, printed in green on prepared paper, 16.8 x width 9.8 cm | 6.6 x 3.9 in
Rijksmuseum
Sugar lift, as an expressive form of mark-making in etching, came to the fore in 20th-century Paris. The master printers of Atelier Lacourière-Frélaut shared the method, along with many other innovative techniques, with some of the great pioneers of modern art. Working in collaboration with artists such as Picasso, Matisse, Miro, and Chagall, the master printers would bring the artist’s vision to life in printed form. Many of their expert techniques were introduced to the artists they worked with, and in some cases – notably Picasso and sugar lift – these artists embraced these techniques, creating some of the finest examples of graphic art ever known.
What is in a Sugar lift Solution?
Sugar lift and its alternatives, collectively referred to as lift-grounds, are generally viscous, watersoluble solutions that will expand and dissolve in warm or hot water. The solution must be able to expand enough to blister and break through the coating applied over it.
Sugar lift consists of a saturated sugar solution, often coloured with ink or gouache, and sometimes a small amount of gum arabic. It also includes a surface tension breaker to prevent the mixture from beading on the smooth surface of the etching plate. A small amount of soap or detergent can be used for this purpose, or even saliva.
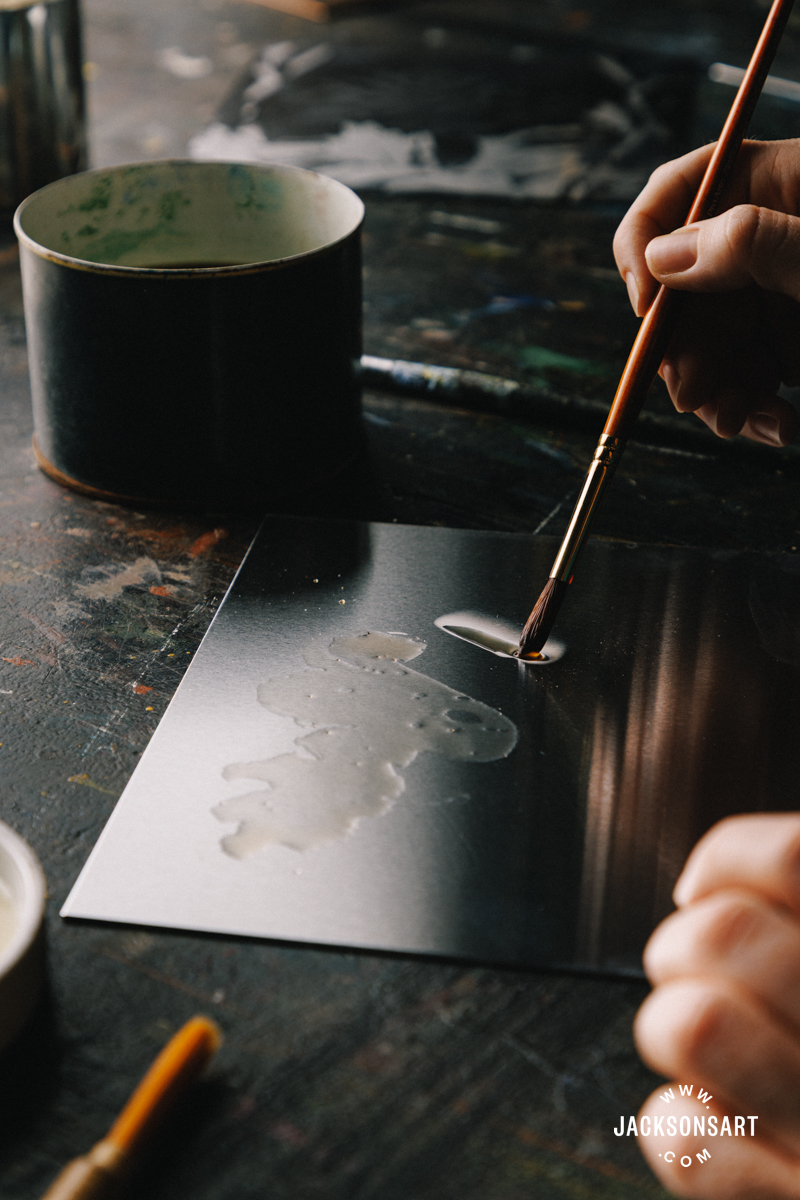
One recipe, said to have been prepared for Picasso at Atelier Lacourière-Frélaut, was described as follows:
‘In a saucer, dissolve four or five sugar lumps in water, squeeze in half a tube of gum gamboge watercolour and mix, spit into the mixture to break the surface tension’
What Are Your Main Considerations When Working With Sugar lift?
For this article, I have experimented with a few of the lift solutions and acid-resistant etching grounds that are available. Your main considerations will be the consistency of the lift ground, how you prefer to apply it, and how visible you would like it to be while working. You should also consider how it interacts with the acid-resistant ground applied over it, and how effectively it lifts off the plate during processing. There are quite a few variables and approaches with this technique, and this by no means covers all the options. As you do your own research and experimentation, you will see what I mean.
The Etching Plates
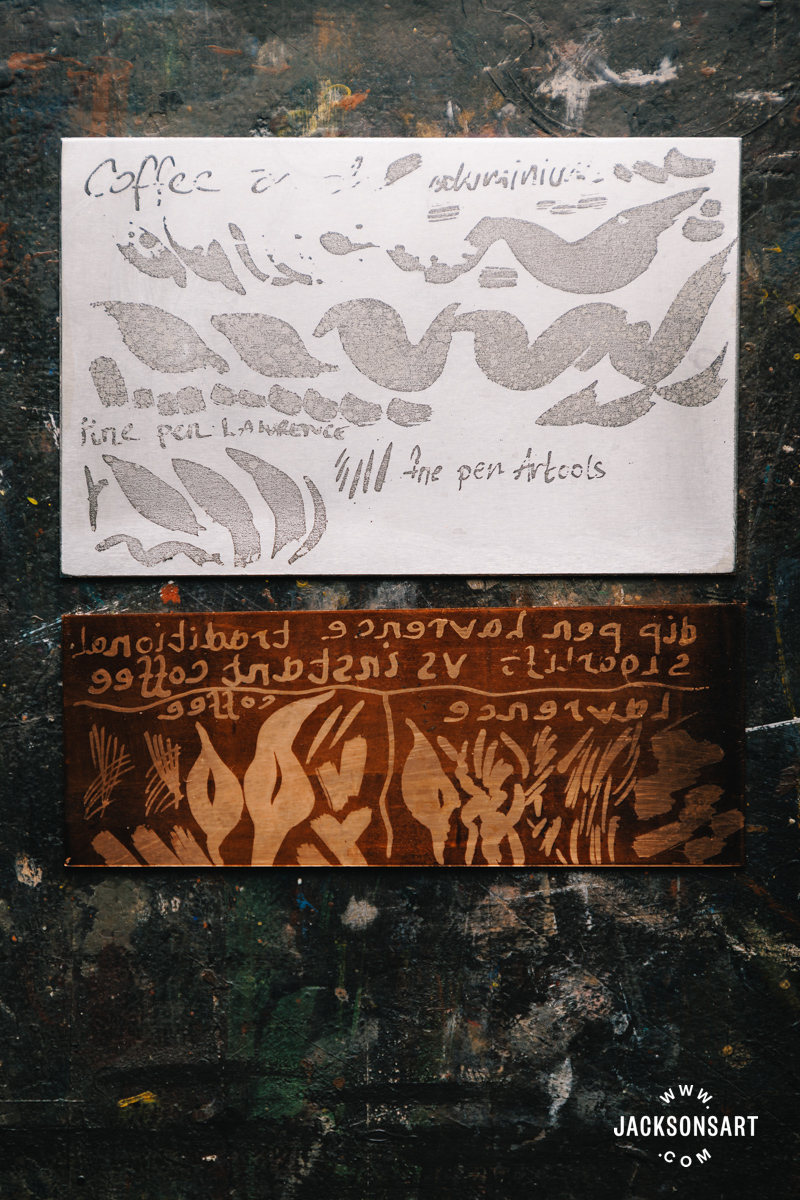
I worked with two plates: a Jackson’s Polished Copper Etching Plate and the Printmaking Collective Aluminium Etching Plate. Aluminium plate bites in a granular manner – holding ink within this textured matrix. This means that areas of open bite will print with a tonal quality and do not require aquatinting. For this reason, aluminium etching plates can be described as self-aquatinting.
In contrast, polished copper will require aquatinting to create tone in the broad exposed areas. This is usually applied after the lift ground has been removed. It is possible to apply the aquatint first, but if you are drawing your lift ground with a pen and nib, this may damage the aquatint, and the aquatint may also interfere slightly with the lift ground as you paint it on.
You can read more about the aquatinting process in this blog article.
Bottom: Polished Copper Etching Plate
Sugar lift on Polished Copper Etching Plate
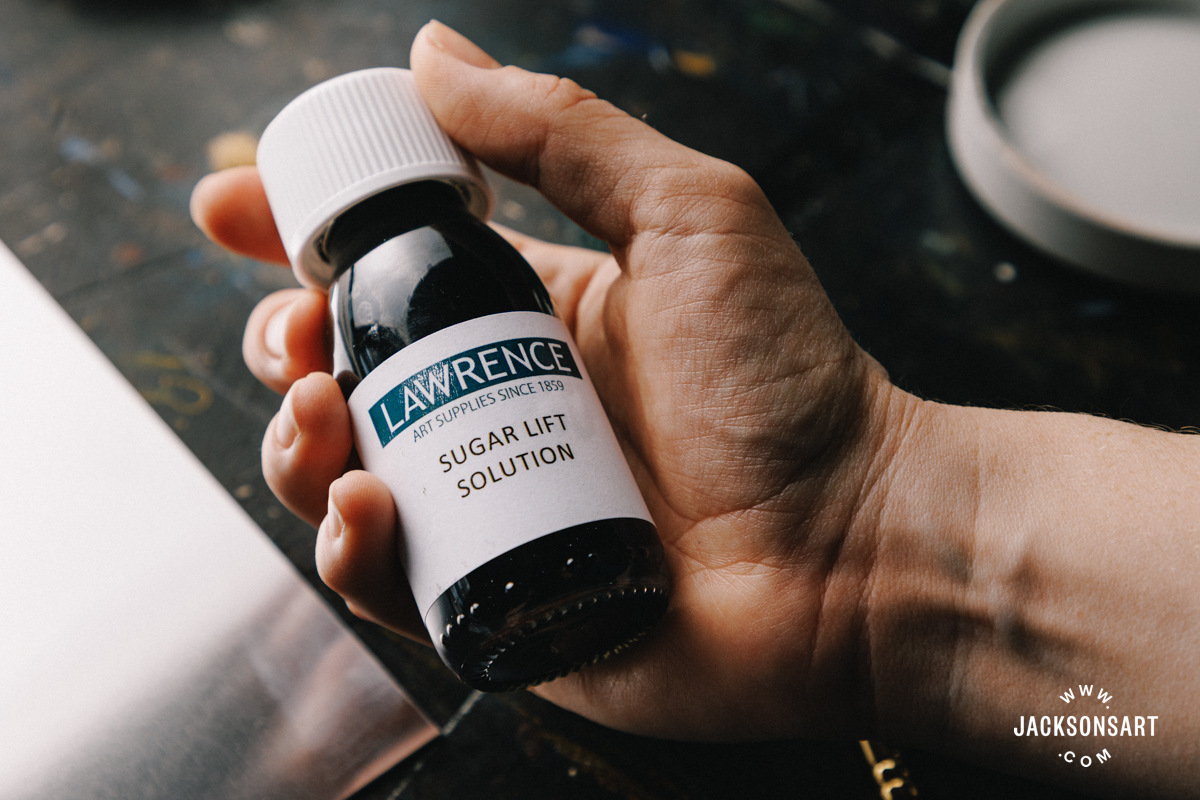
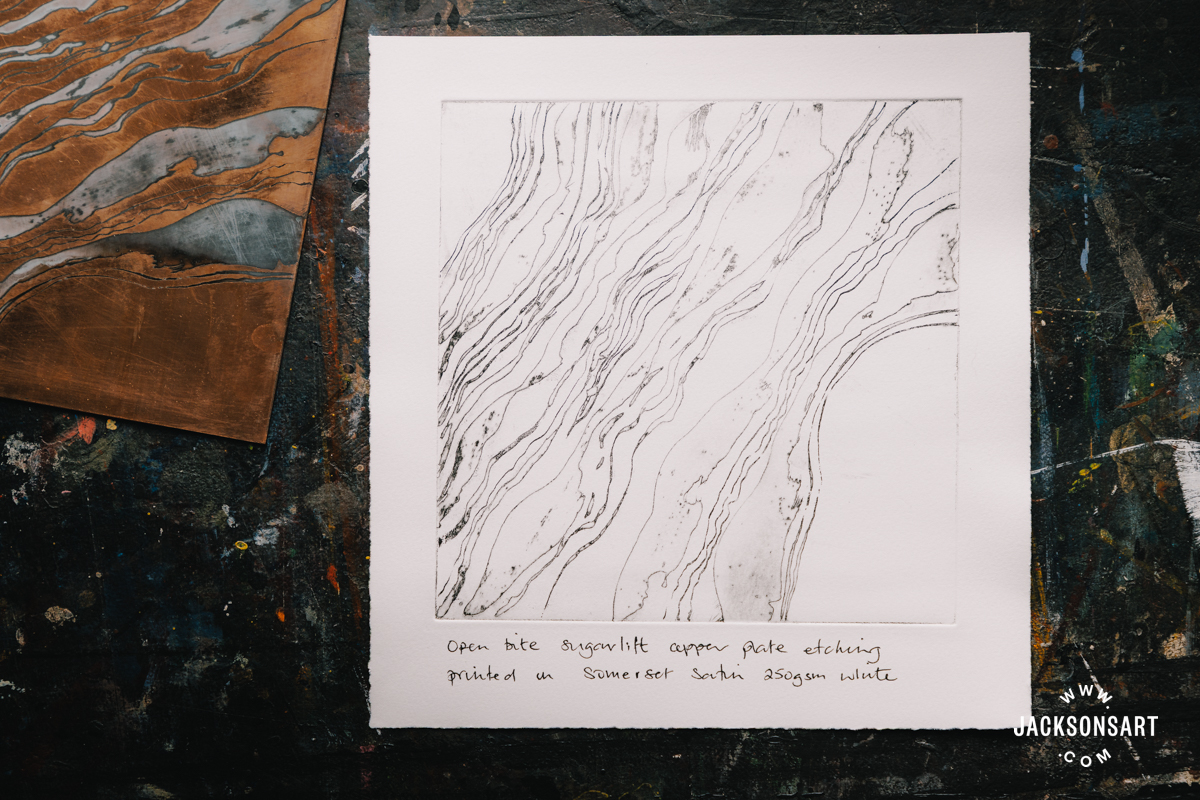
Working on a polished, thoroughly degreased copper plate, I used Lawrence Sugar Lift Solution, which is the closest we have to a traditional recipe. This solution worked very well with a dip pen as well as a brush. The brushed marks retained their shape and texture due to the solutions’ consistency.
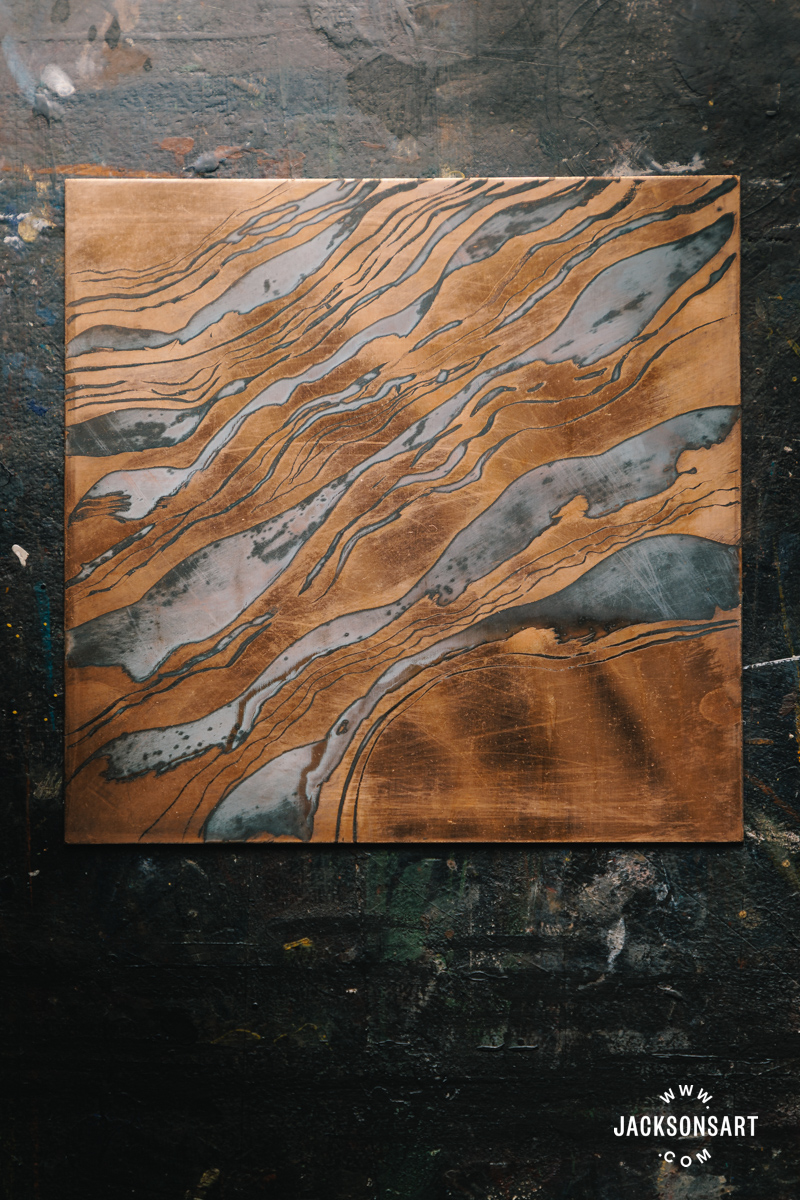
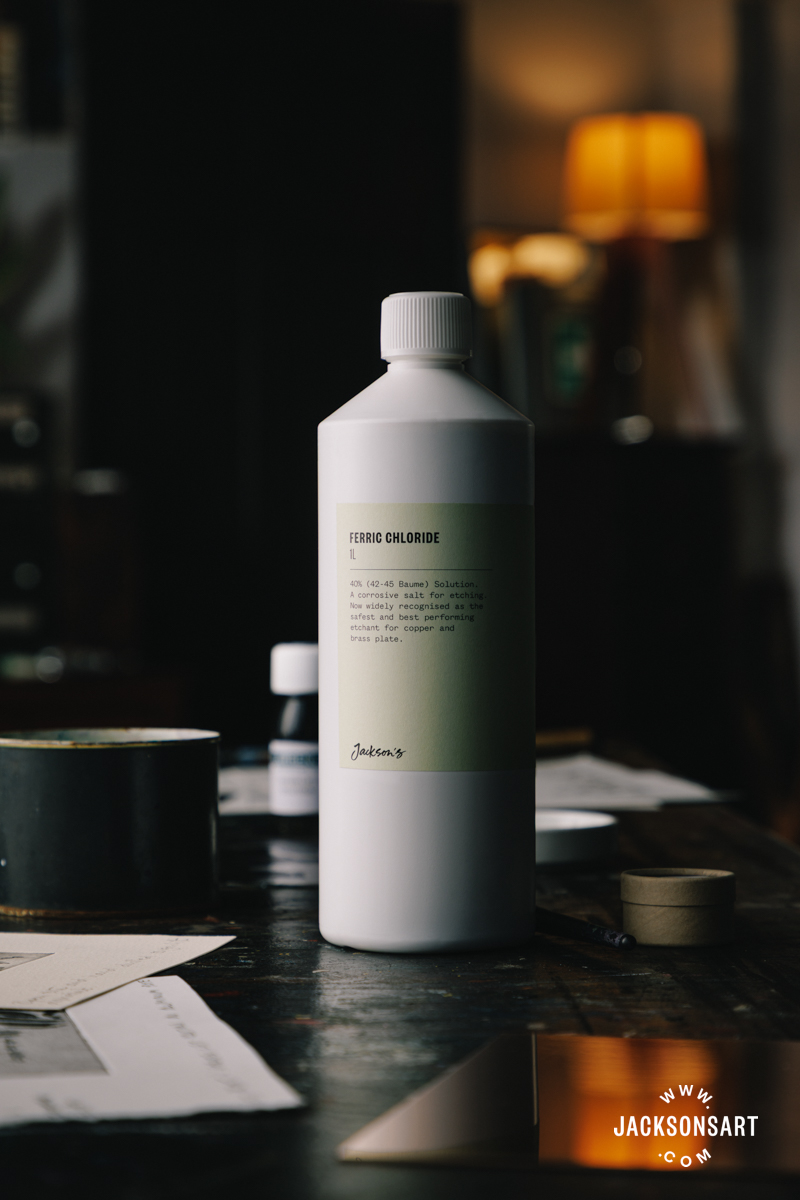
I applied broad brushmarks onto the plate, alongside fine lines drawn with a dip pen, as I wanted to create an open-bite print with no aquatinting. The sugar lift drawing was then covered with Jackson’s Black Straw Hat Varnish, thinned with about 40% methylated spirit, which works very well to allow the sugar lift to break through. I then etched the plate in ferric chloride and printed it.
You can see even the finest lines printed black without the need for aquatint, and the wide, open-bite brushmarks retained ink around the edges and picked up some of the texture within the brushmarks.
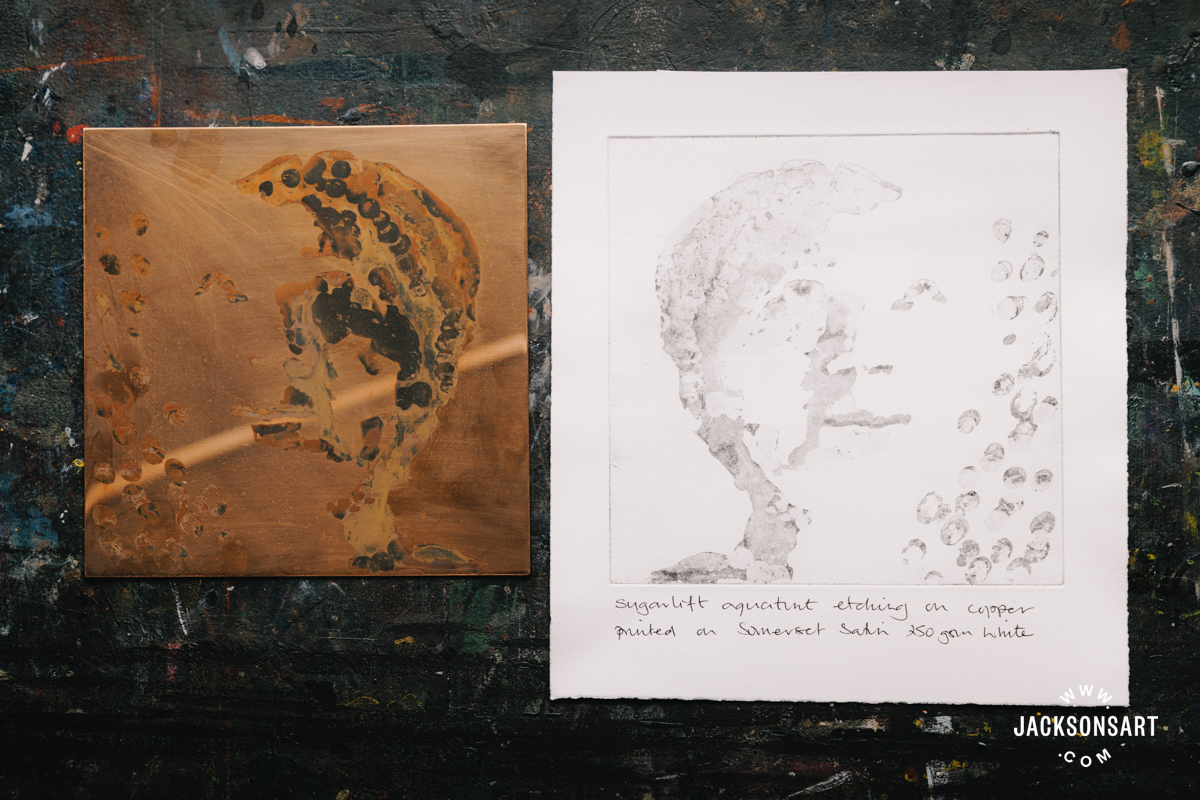
For the next copper plate etching, I made use of the most traditional combination of materials: the Lawrence Sugar lift, applied by both brush and finger, followed by an application of Rhind’s Hard Ground rolled onto the dried and warmed plate.
The lifting through the hard ground faithfully captured all the details of the marks made with the sugar lift solution, including my fingerprint marks. The solution came away very easily without the need for brushing or wiping away the hard ground in the warm water bath.
Then I applied an aquatint to this plate, and etched it in three stages to create tonal variation within the lifted areas.
Sugar lift on Aluminium Etching Plate
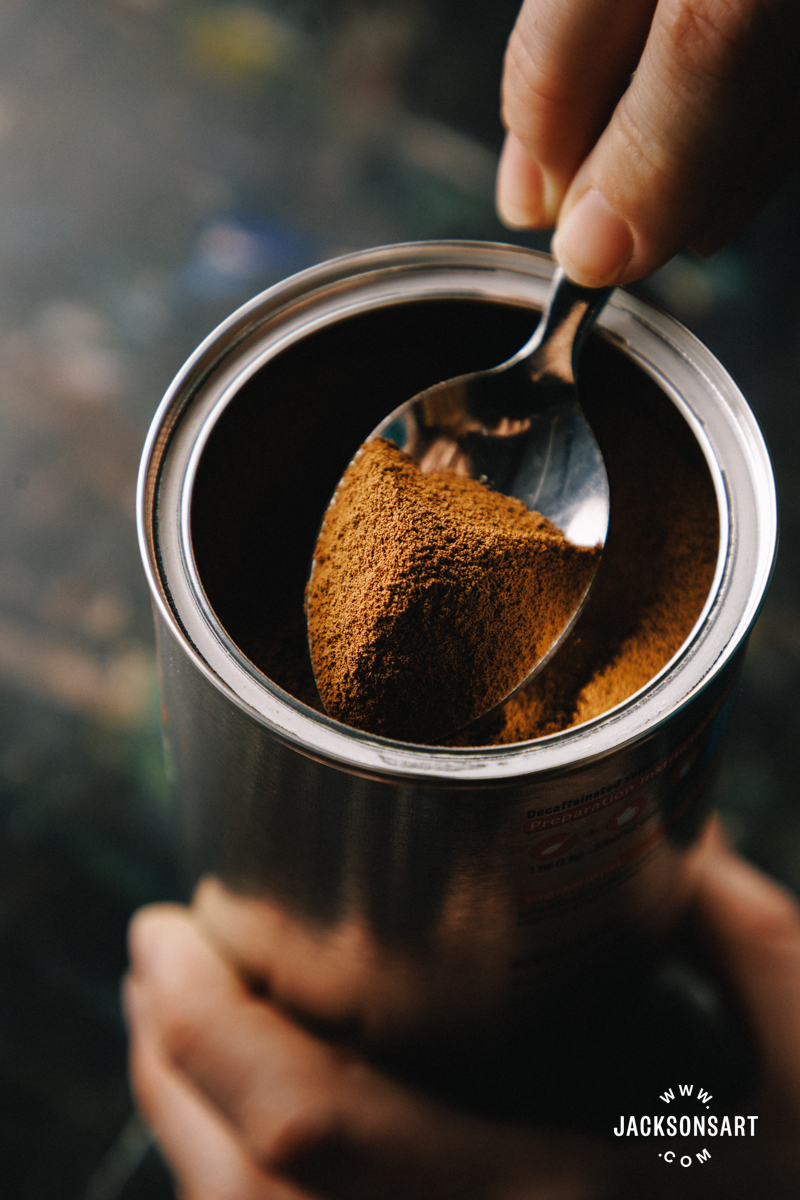
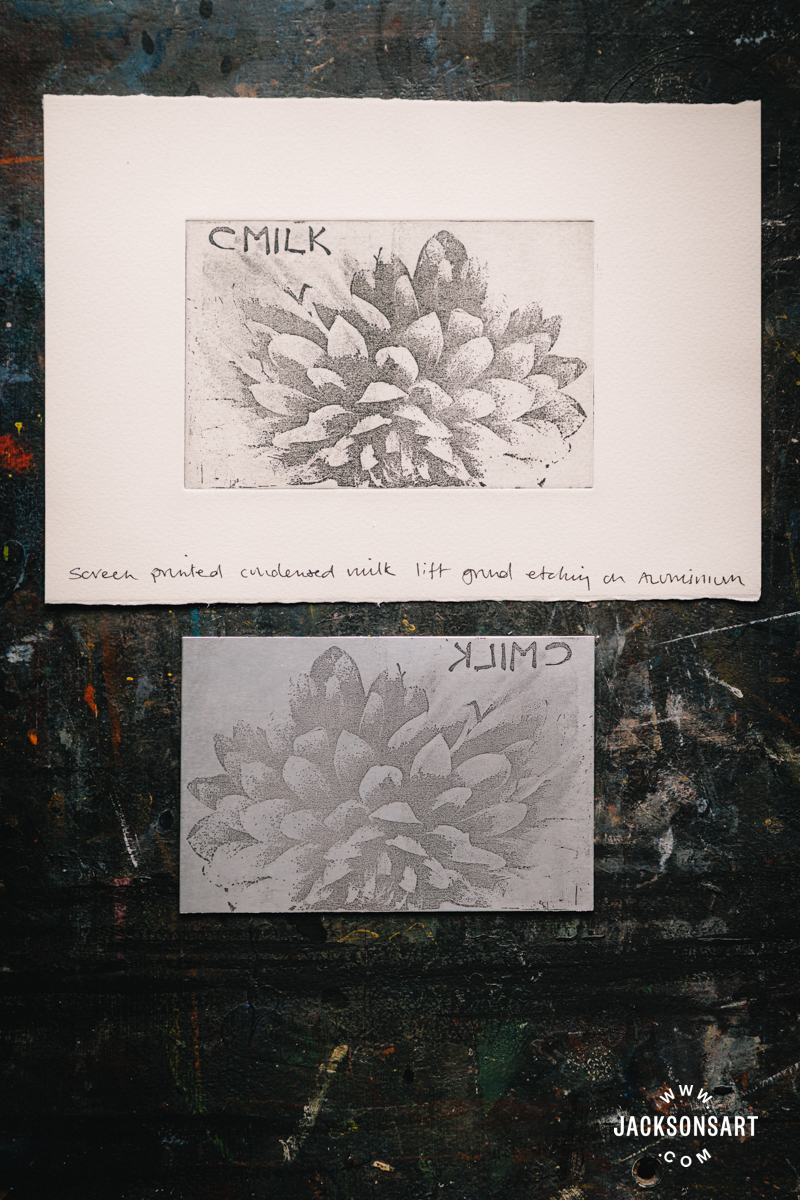
Aluminium is lightweight, inexpensive, and ‘self-aquatinting’, so a great option for etching. On these plates, I wanted to try alternative solutions that stand in for traditional sugar lift. In researching, I came across some intriguing ideas – such as using instant coffee and even sweetened condensed milk. The condensed milk idea particularly grabbed my attention, as I saw it could be applied to the etching plate by squeegeeing it through a photo silkscreen in the same way as screen-printing ink. The condensed milk is just the right consistency to do this, but it can also be thinned to the desired consistency for applying it with a brush.
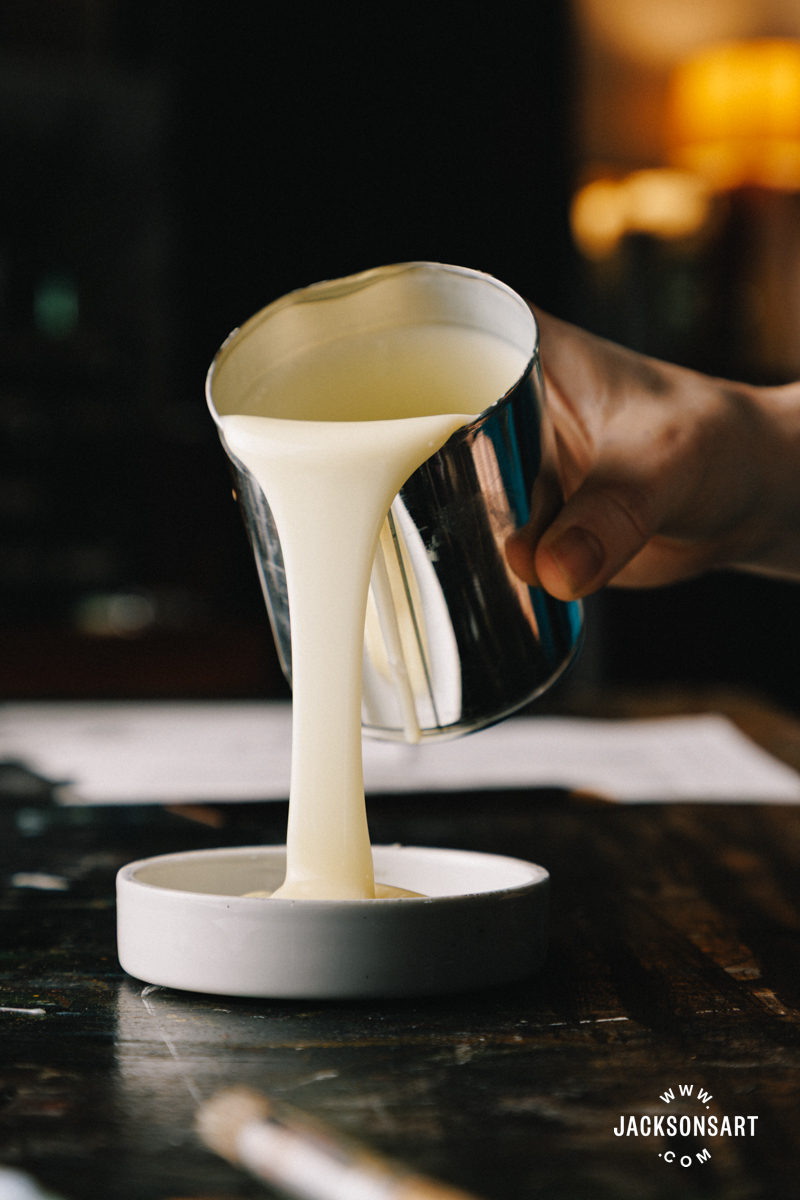
I used a Jackson’s Aluminium Ready Stretched Screen with 120T mesh, and although this is a fine mesh count, the condensed milk still printed effectively onto the aluminium etching plate.
Instant coffee, however strong the mixture, remains a watery consistency. It is great for dip pen work and for fine splashes and splattering, but at the edges, the brushed-on marks might self-level a little bit. Again, these differences will be for you to judge in relation to your image making. I also found that the coffee solution was a little harder to lift through the acid-resistant grounds, although this occurred mainly with fine lines.
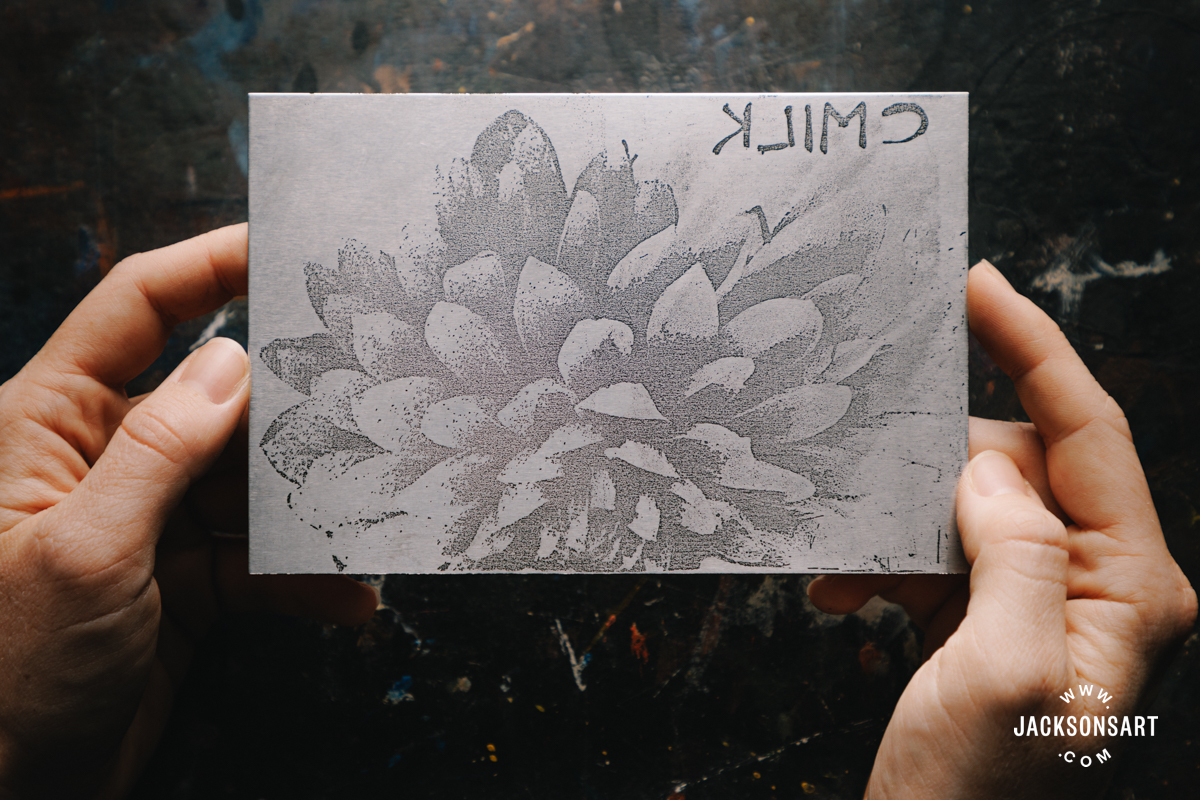
This print is a good example of how a lift solution can be affected by different coverings of acid-resistant ground. When screen printing condensed milk through such a fine mesh, only a very delicate layer is transferred onto the etching plate. The left side was covered with dark straw hat varnish, with the excess poured off. Although it didn’t disrupt the painted letters, it did slightly disrupt the very delicate layer of condensed milk within the part of the image that contains the flower. The right side was covered with Rhind’s Hard Ground rolled onto the warmed plate, and this left the delicate deposits of condensed milk in place.
Working with sugar lift or lift ground is a direct painterly method of making positive marks on your etching plate. It can sensitively record brushmarks from fine to bold, as well as the most delicate of pen drawings. Plus, you have the advantage of washing off the drawing and starting over.
There are many other options out there for lift grounds and acid resists that I didn’t try, including Camp Coffee, acrylic etching grounds, and B.I.G. Etching Ground, which also works well with a coffee lift. In exploring this painterly technique, you will find yourself weighing up several variables and experimenting with what works best for your own practice and suits your set-up.
Further Reading
Etching for Beginners – What You Need to Get Started
Introduction to Aquatint Printmaking
Intaglio Printing with the Fome Etching Press
Shop Art Materials on jacksonsart.com