



This article is Part Two about the Schmincke Pouring Medium discussed in our earlier blog article, featuring some great images from the Schmincke studio.
Schmincke have created an Acrylic Pouring Medium for use with the very popular Pour Painting technique. The spectacular results can easily be achieved by beginners and the process is fascinating enough for experienced acrylic painters to enjoy.
For the Pour Painting technique acrylic paint colours are mixed with a special pouring medium and using gravity and chance the colours swirl on the surface and make surprising marbled patterns. You can thin paints with water or polymer medium to get them to a consistency for pouring but the results will be much better if you use a pouring medium instead. Because acrylic shrinks by 40% as it dries, pour painting with something other than a Pouring Medium can cause unattractive cracks in the surface of the paint. Another advantage of using pouring medium instead of another medium or water is that all brands of pouring medium have a special consistency – they are a bit sticky and just thick enough to allow swirly mixing without being too runny and the surface stays thick and shiny like a resin when it is dry.
Pour Painting Methods
There are many techniques you can use, alone or combined, for pour painting. The examples shown here use the Flip Pour method where all the colours are layered into one cup and poured all together onto the surface.
Schmincke Pouring Medium

The Schmincke Acrylic Pouring Medium has been designed for the pouring technique. The fluid, glossy, clear medium has good flow properties. It dries to a transparent, non-sticking and water-resistant layer and can also be used as final varmish for acrylic paintings. After drying of each layer, it can be poured in several layers on nearly all free of grease surfaces. As always when trying a new material I recommend testing and experimenting until you find what it can do for what you want.
Schmincke Pouring Medium is ready-to-use and can be applied plain or mixed with acrylic colours. It is mixable with all Schmincke acrylic colours and other brands of acrylic colour. The consistency of the medium makes it difficult to mix in heavy body acrylics – there can be blobs of un-mixed paint left in the mixture – it is much easier to use fluid acrylic or acrylic inks to colour the medium. The Schmincke Aero Color Inks are ideal as they are concentrated and the bottle comes with a pipette for dispensing just a few drops. Like all acrylics and mediums using below 10C can cause problems with proper drying of the paint film.
You will need
Schmincke Acrylic Pouring Medium – available in 250ml, 500ml or 1 Litre
Acrylic colours of your choice, 4-6 colours
A painting surface like stretched canvas
Sheeting for covering your working space (it can get quite messy)
Several plastic or paper cups to use as mixing and pouring containers
Spatulas to stir the colours
Push pins or something to raise the canvas off the table
Disposable gloves
Apron (it can get quite messy)
Optional spirit level
Preparation
Even though the flow of the pouring medium slows down within a few minutes it continues to move very slowly during the 24 hours it takes to finish drying, which means if your surface is not pretty level your design can slide and change from how you left it when you were finished. So it is important to choose a level surface where the picture can remain for a day to dry. You can use a spirit level to check your drying area. Cover your work area with sheeting to catch the overflow, an apron or similar protective clothing is a good idea as well as wearing gloves.
Raising the surface
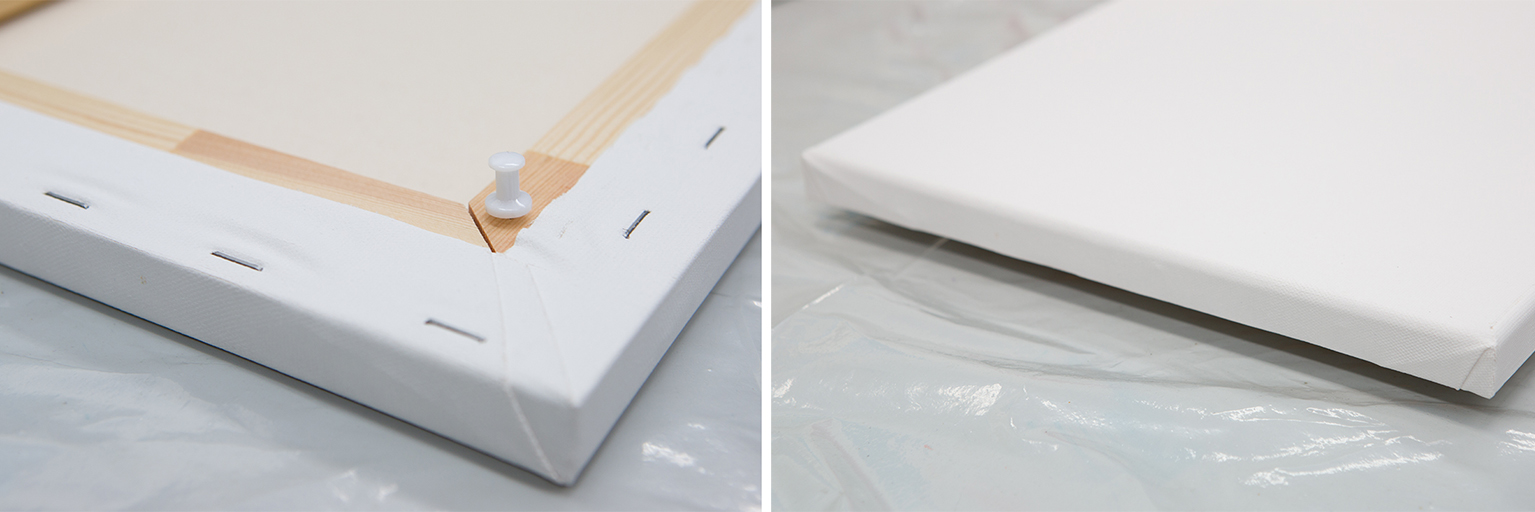
The canvas should be raised above the table to prevent sticking to the table after the medium flows over the edge. Push pins are great for this. Simply push them into the back side of the wood in the corners. Or you could set the drying canvas on a small pot or brick instead.
Mixing colours with pouring medium
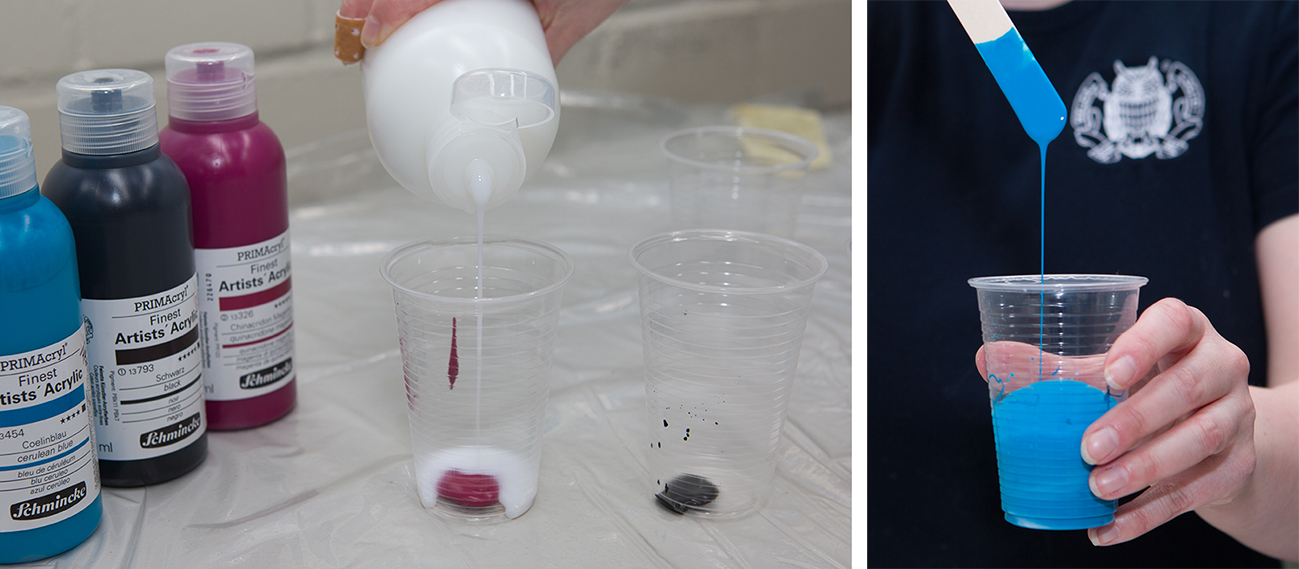
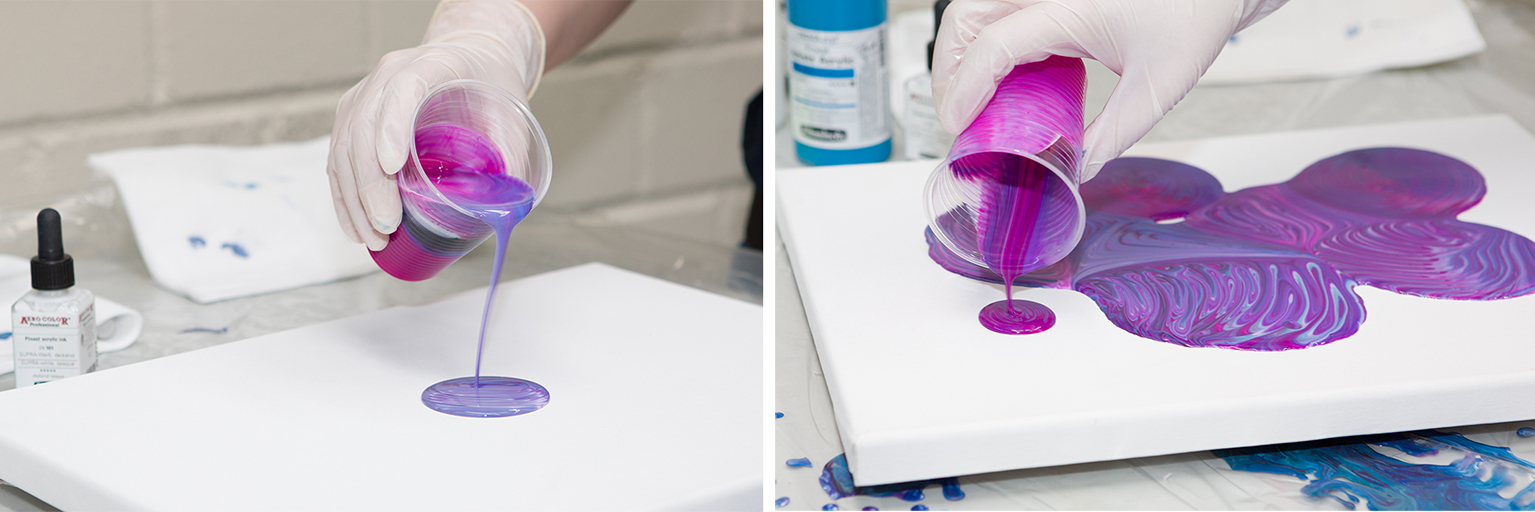
Think in advance about the colour proportions and mix the appropriate quantity of each colour. Using one cup for each colour pour your colours and the pouring medium into the cups, 3 parts medium to 1 part colour, depending on the viscosity of the colour. Stir with the spatulas, the consistency should be of fluid honey or syrup. When using heavy body colours, first mix 1 part of colour with 1 part of medium to avoid clumping. Then add the remaining part of the medium and stir again.
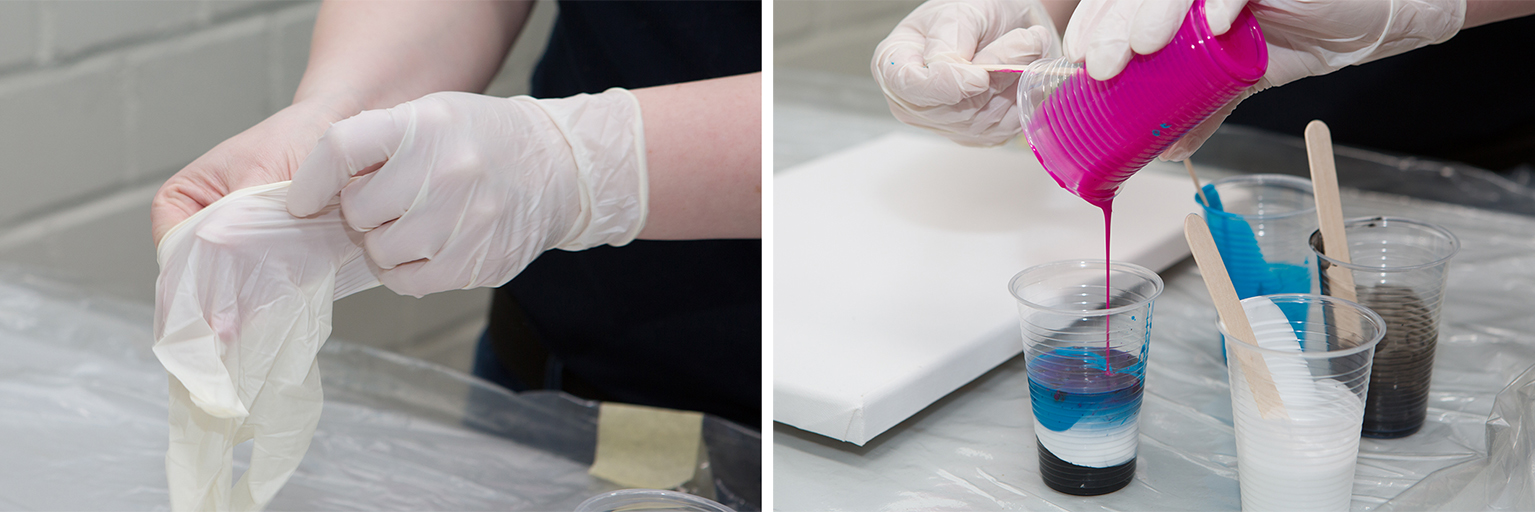
Create a layered cup for the dirty pour
Pour the mixed colours in layers in a separate cup. Do not stir!
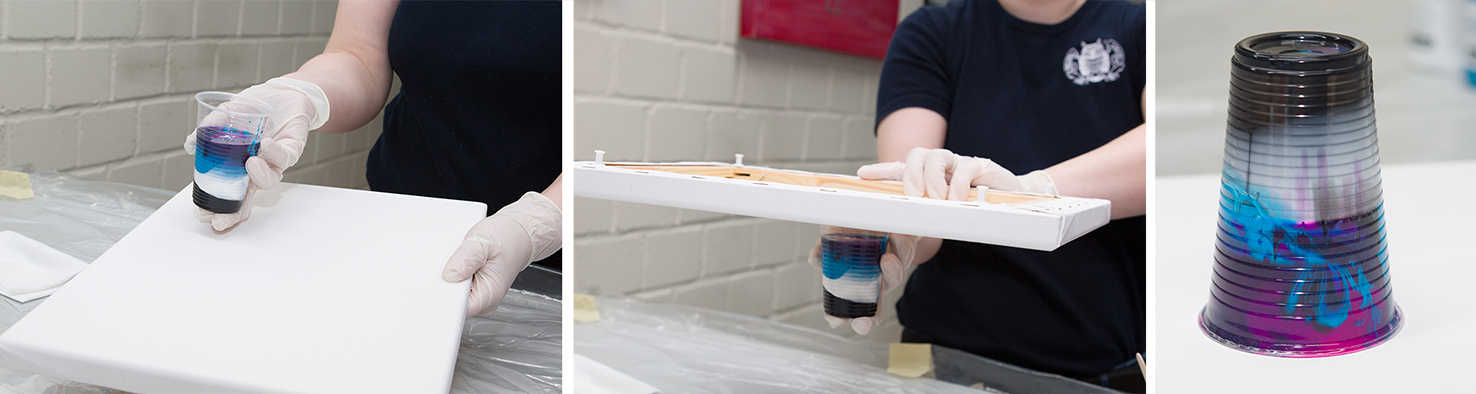
Flip the cup of colours
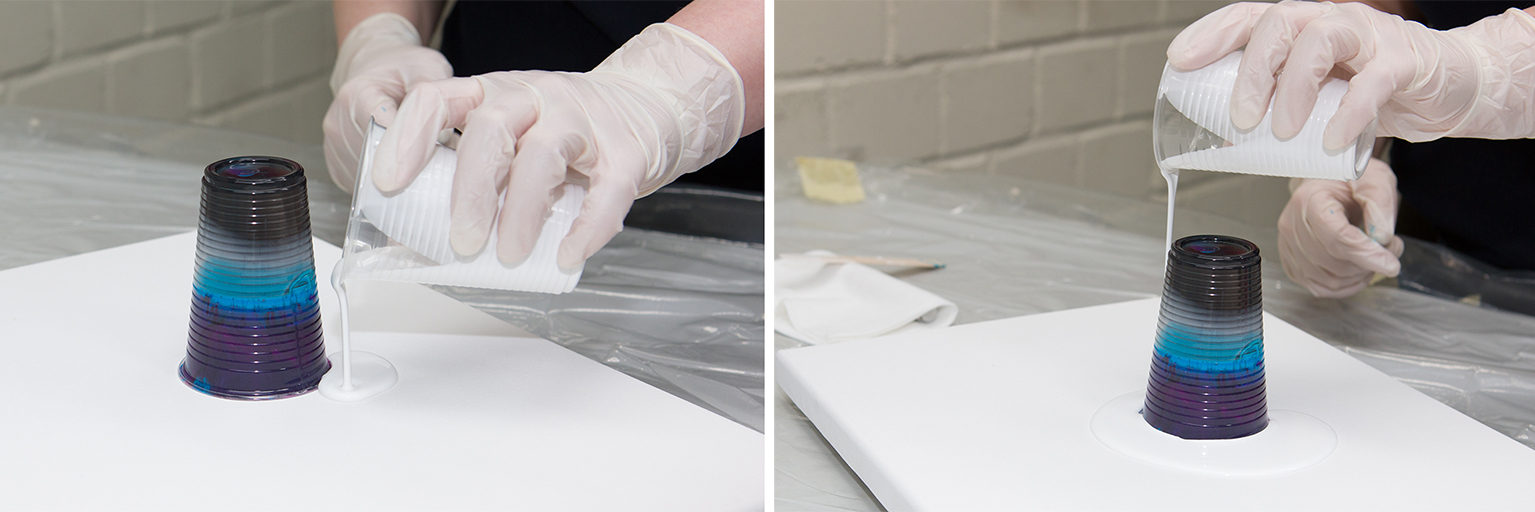
Put the canvas like a lid on top of the cup and then holding them together flip it over so the cup is upside down on the canvas. Wait a moment to let the colours settle inside the cup. Optional idea: Spread an additional mixture of pouring medium mixed with white on the canvas around the cup to enhance the colour flow.
Let the colours flow
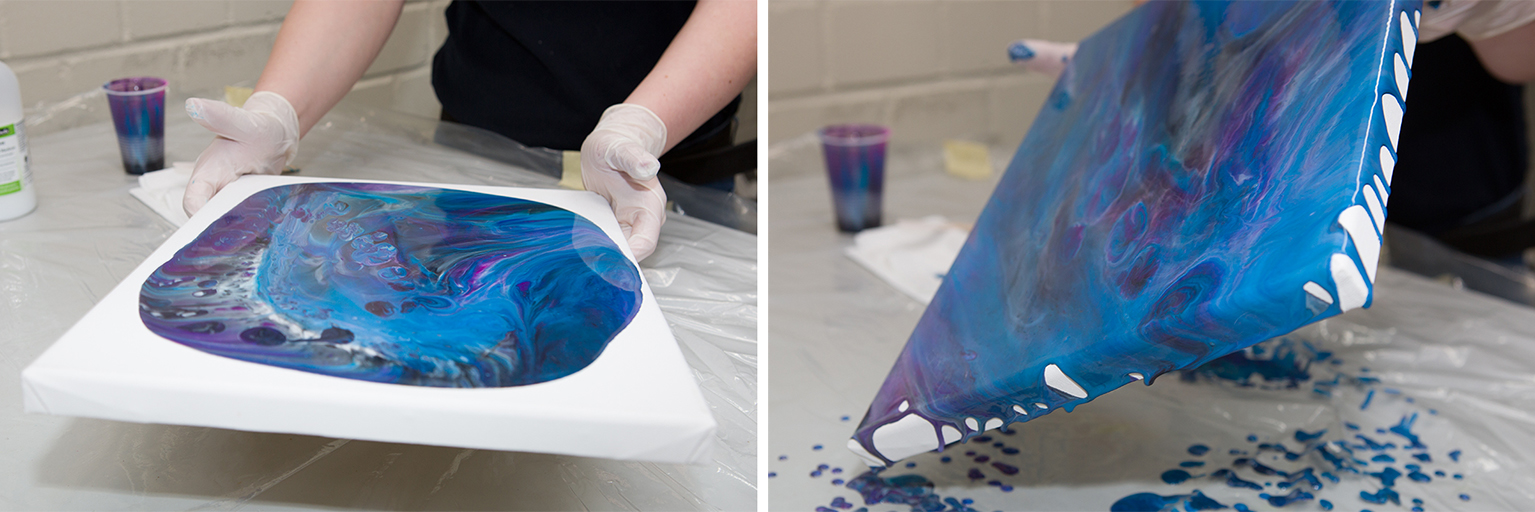
Raise the cup carefully. The colours immediately flow in all directions and flow in bizarre formations. To enhance the colour flow, you now can pour another mixture of medium and white around the already flowing colours. Tilt the canvas carefully to let the colours flow to all directions. Pay attention that the colours do not mix completely while flowing or you can lose the interesting design.

Drying
Let the picture dry in a complete flat level position (8–24 hours). During the drying period the colours will move further, so do not be surprised if the painting looks different after drying. When dried the surface becomes satin-glossy. If you would like to have a high glossy surface, you can use a second layer of Pouring Medium or acrylic gloss varnish.
Variation
Instead of flipping the cup onto the canvas, you can directly pour the layered colours from the cup onto the canvas. A slight moving of the cup in different directions during the pouring process leads to special colour formations. You can also pour each colour individually instead of layering them.

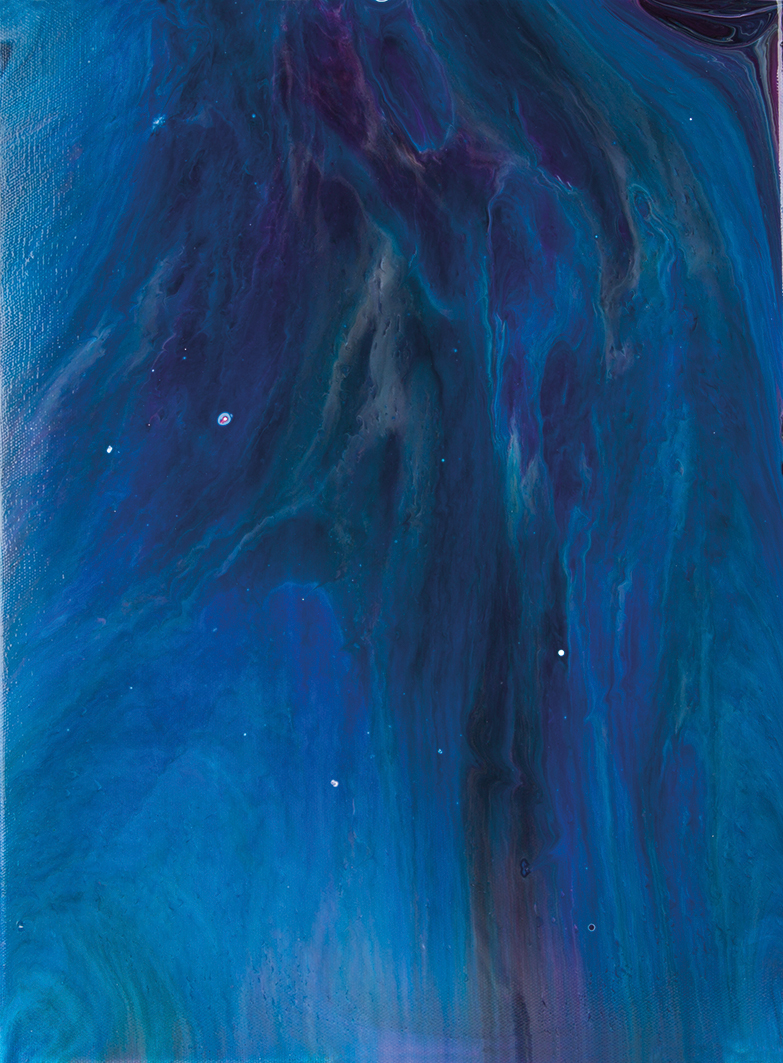
Some examples from the Schmincke studio
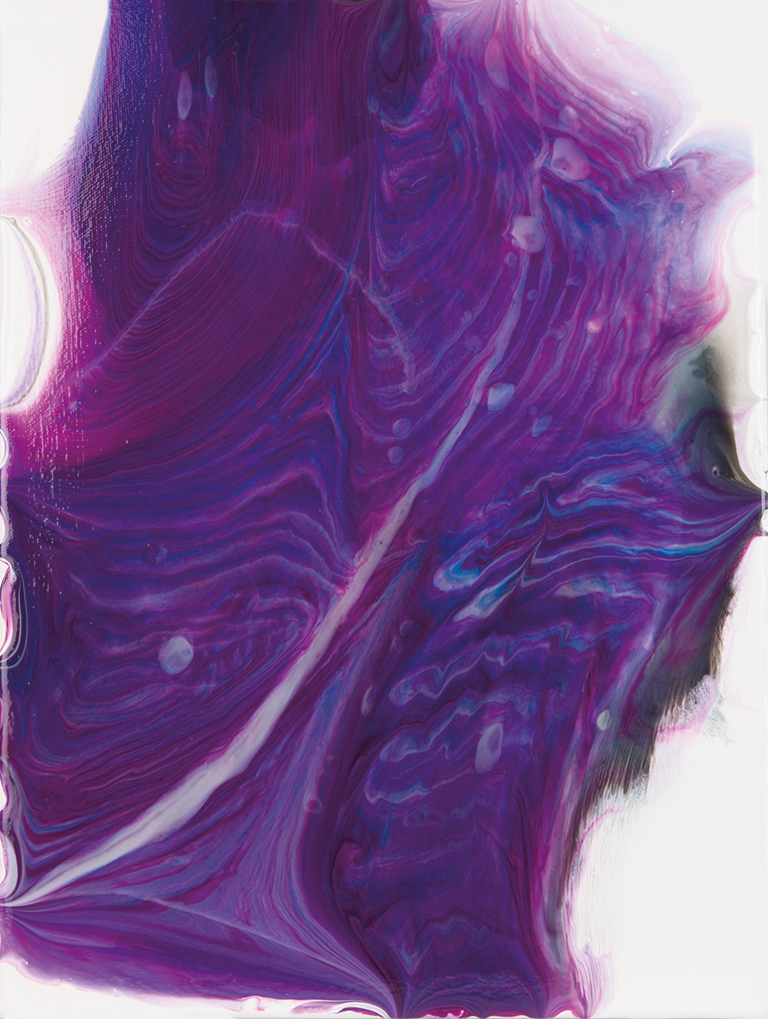
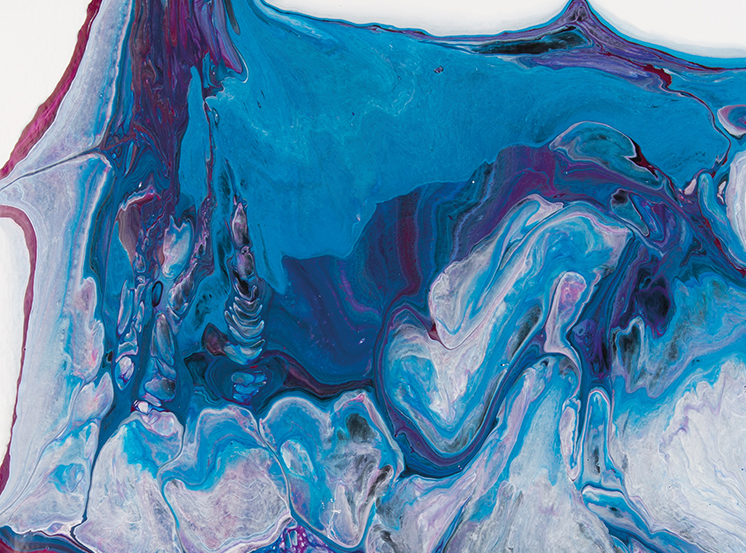
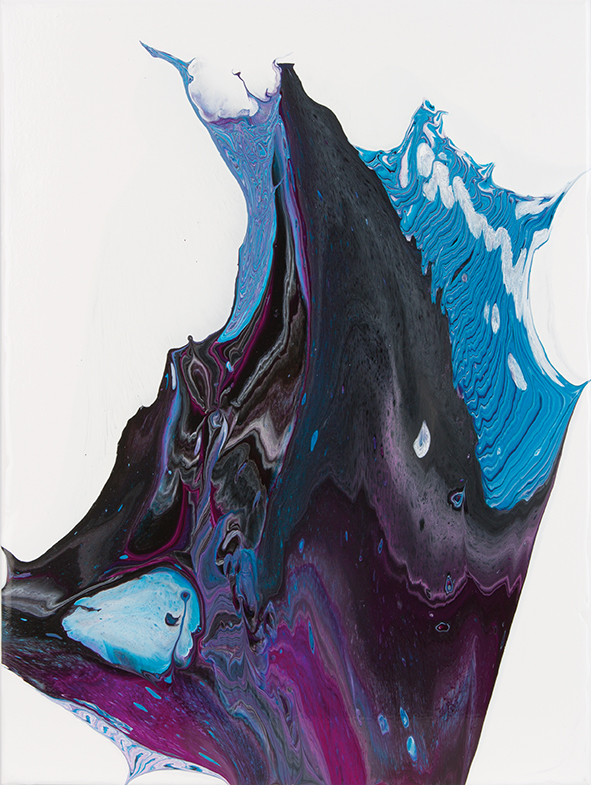

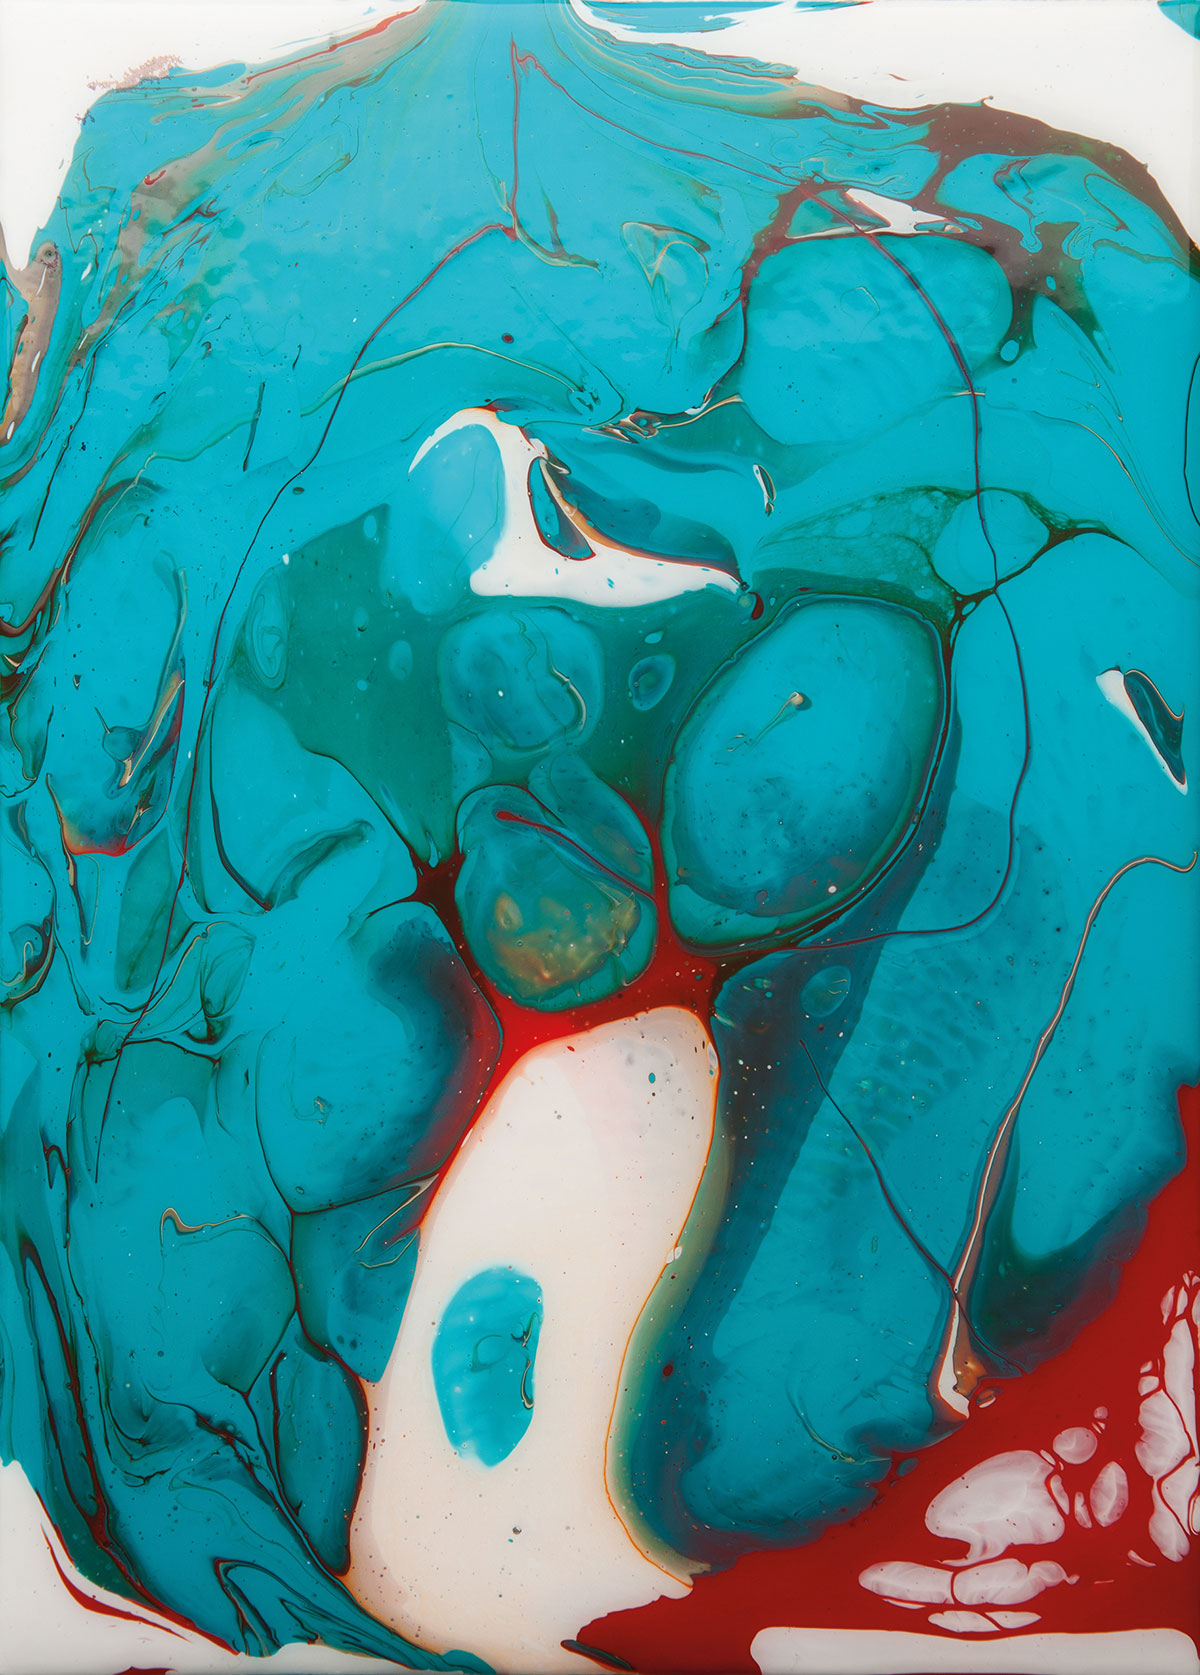

Schmincke Acrylic Pouring Medium at Jackson’s Art


3 thoughts on “More Acrylic Pour Painting with Schmincke Pouring Medium”
A very good article about the
Schmincke Pouring medium. It’s
expensive but really good
Thanks Melanie
I prefer to have some negative spaces with my pours, I try to control them bit more too.
Comments are closed.