



Jackson’s Circular Painting Panels provide a rigid, archival surface that is superb to paint on in any medium. The shape is ideally suited for Acrylic Pour Painting as the first pool of paint is often in a circle that the artist goes on to stretch to fit a rectangular format. Painting on a rigid surface is very good for oil painting because it reduces the chances of later cracking and with a coat of watercolour ground these panels would be perfect for watercolour painting.
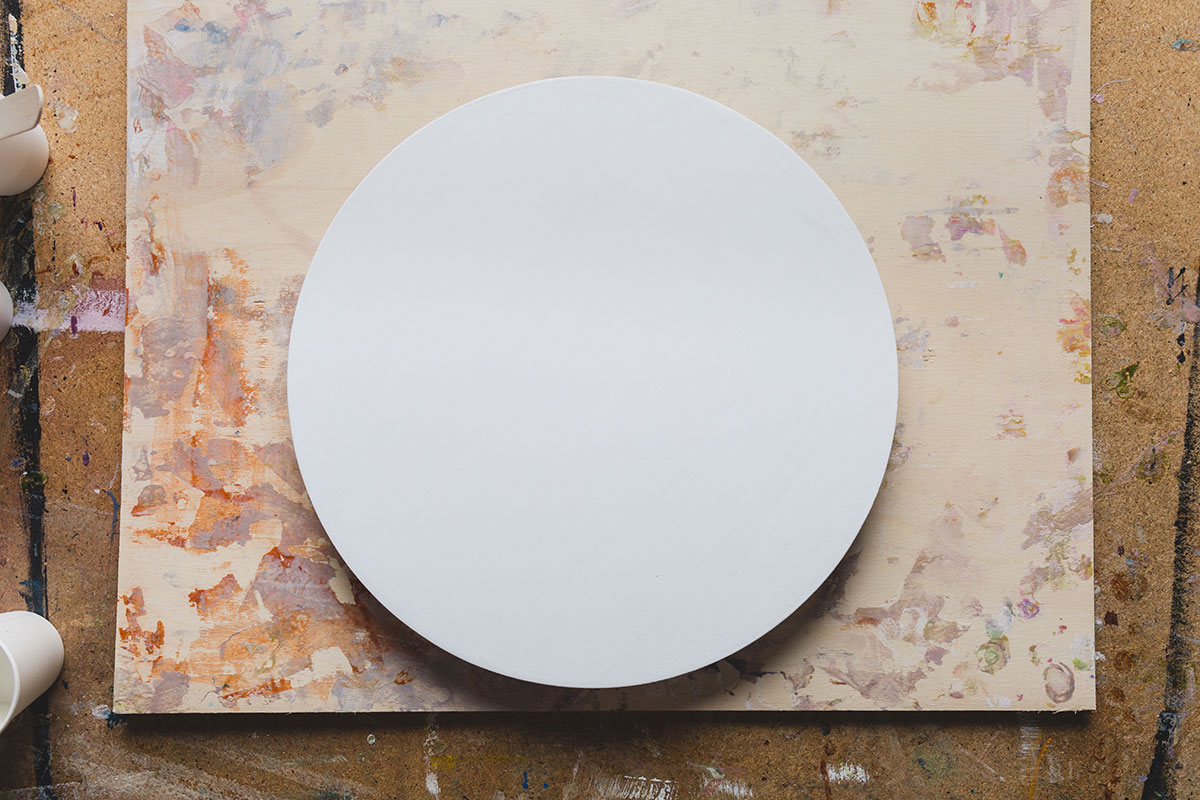
The process of preparing the Jackson’s Circular Painting Panels for painting couldn’t be much simpler. Use regular PVA glue to attach a Jackson’s Smooth Wooden Panel to the back and then apply a few coats of gesso primer and you have an amazing surface to paint on. In a weekend you can prep a whole stack so you’ll always have them ready for painting!

Shown here is the step of pour painting where you pop any bubbles by either running a butane torch quickly over the surface or misting it with alcohol.
A round format would add an interesting compositional element to an oil, acrylic or watercolour painting and might work especially well for a single round subject such as an open rose, the moon or a face. The format would also work well for anything in a radial format such as a mandala.


Preparing your panel for painting

The Jackson’s Circular Painting Panels are five layers of wood laminated to create a 6mm thick plywood. This makes it very strong so it will not warp even if you only prime one side. The wood is cut out smoothly with a good edge finish but you may want to give it a light sanding if you wish it to be pristine. They are available in three sizes: 30cm, 40cm, 50cm diameter.
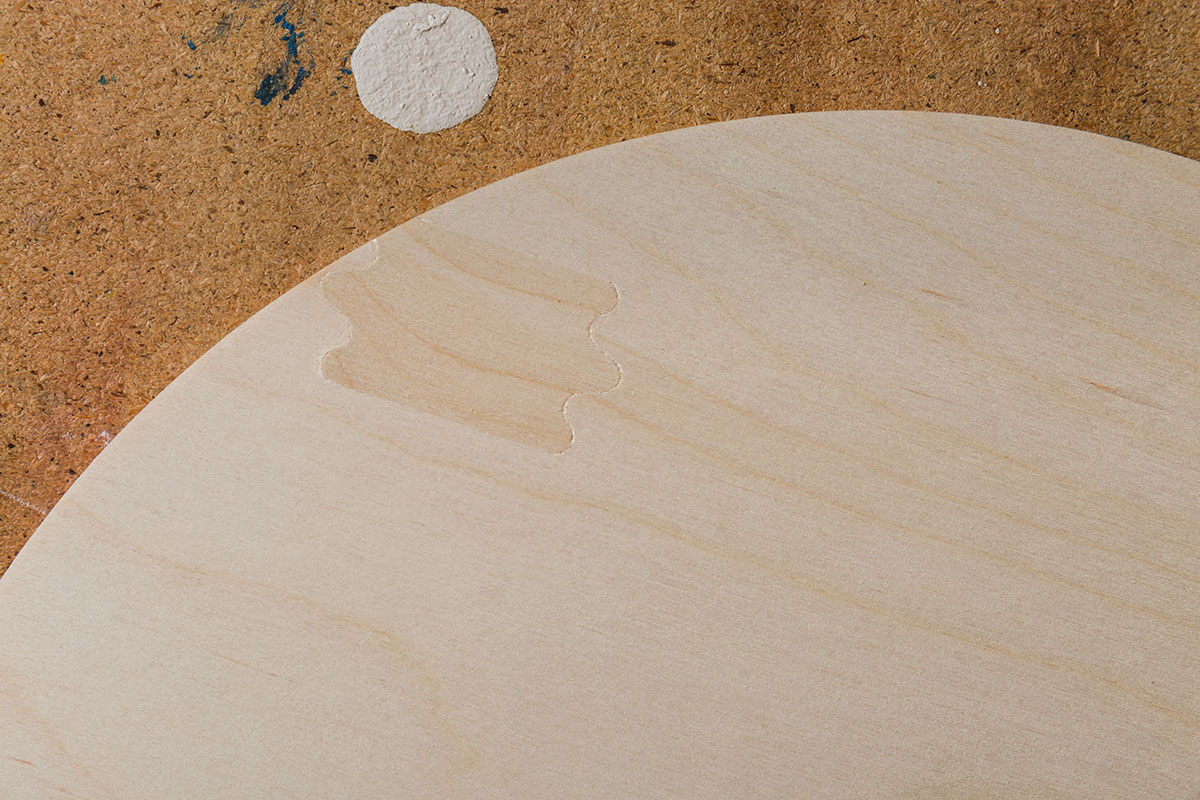
When you first unwrap the panel give it an inspection. Which side is smoother? Are there any patched knot holes? The side with knot hole patches, if there are any, is good and you can use it as gesso will cover it in a few coats, but the reverse side will be the better side for most uses. If one side is smoother you will probably wish to choose that side, or give it a bit of sanding to remove any roughness. You should probably sand the edges a bit just to make sure it is all smooth. I used 80 grit sandpaper for both the wood and later for the gesso, but you could try a finer grade if it works better for you.
Adding a cradle to the back for hanging

If you wish to hang your panel on the wall you can get it framed or you can easily affix a small batten of wood to the back that allows you to screw a hanging method into the back and hang the painting floating from the wall. Adding a square cradle on the back is an even neater solution – you can hang directly on a nail or you can screw into the wood to attach d-rings with a cord or wire if you wish to hang on a picture hook. Jackson’s Smooth Wooden Panels are a great choice for this and you can choose the depth – 20mm or 50mm – depending on how far you want the panel to float from the wall. It is very easy to attach wood onto the back of the panel with PVA glue. The key is that is must be under pressure whilst drying or the glue will dry as a separate layer and they will pop apart. For this cradle I brushed a thin layer of PVA onto the whole surface of the square panel and with the circular panel face down I positioned the square on the back in the centre. The pressure can be applied using spring clamps or by laying a board over the top and adding weights such as heavy books or bottles of water. Then leave to dry overnight. Test that it’s securely attached the next day by trying to pry it off with your fingers.
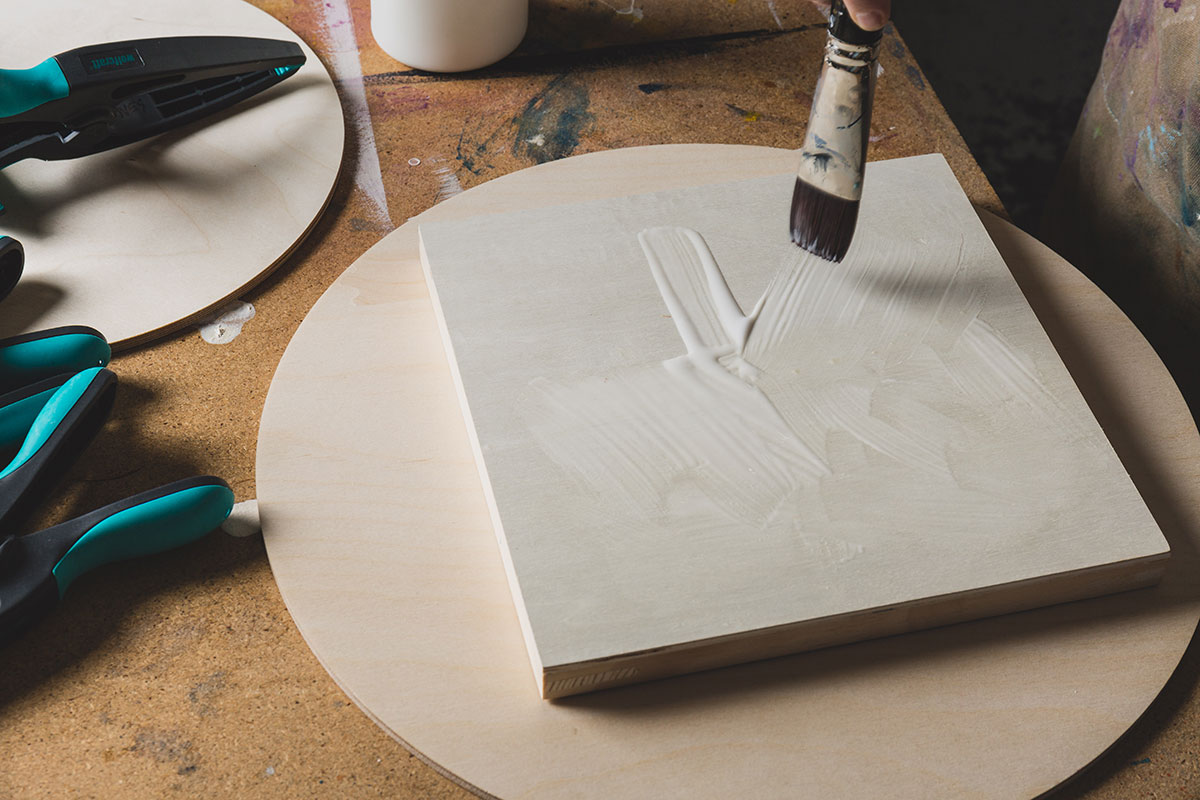
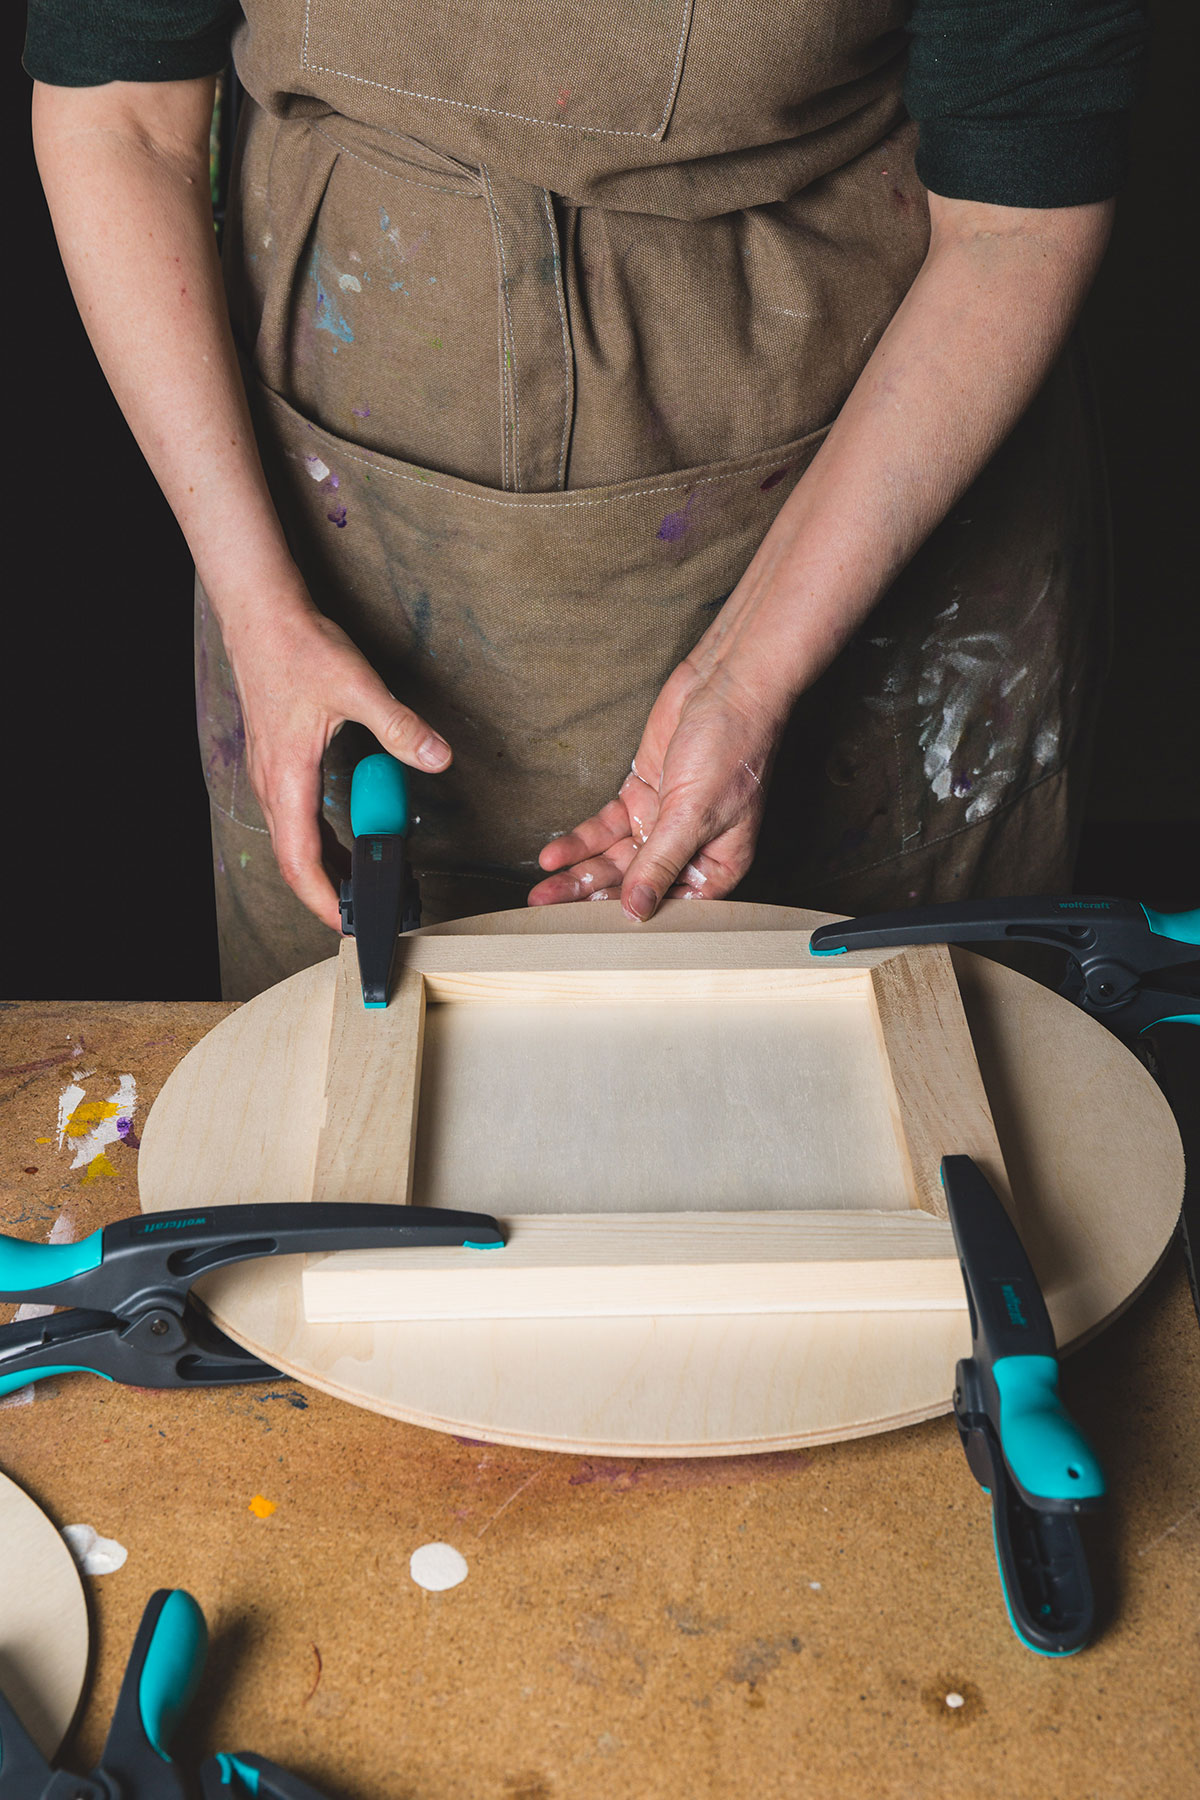


When choosing square panels for the cradling consider the depth you’d like – 20mm or 50mm from the wall – and then the size that fits best on the back. I found these sizes worked well: a 30cm circular panel takes a 4-inch or 6-inch square back panel, a 40cm circular panel takes an 8-inch or 10-inch square back panel, a 50cm diameter circular panel takes a 10-inch or 12-inch square back panel.
If you are using the panels for acrylic pour painting you will want to wait to add your d-rings and cord, if you plan to use them, until after the painting is dry as they will make it harder to level the painting, which is a very important step of the process for this type of painting. And although you could wait to glue on a cradle after you have painted on the panel, it is probably a good idea to add the cradling to the back before you paint as you risk damaging the surface of the painting by adding it after.

Priming the panel

The next step in preparing the panel is to seal it and give it a ground. Except in special circumstances an acrylic gesso primers will do both steps in one. The first coat should be brushed on with a small amount of gesso and quite a bit of water. This allows the first layer to penetrate the wood well. After each layer is dry – apply two to four more light coats with a little water in, I find using a wet brush is often enough. I like the Jackson’s Mottler brush for this as it is wide and soft. I stir the gesso and scoop out a dollop onto the centre of the panel and spread it over the surface then go back and smooth it with a brush or palette knife. Smooth each successive layer in the opposite direction to the last to avoid creating grooves. If you thin it with water a bit, most of the brush marks you see will disappear as the gesso dries and shrinks. If you add too much gesso to the surface and try to smooth out a thick layer the brush marks stay as ridges. A very heavy layer can also crack as it dries. Many thin layers are better than a few thick layers (and they will dry faster, too). You can sand between coats of primer and at the end if you want a very smooth finish. The special circumstances I mentioned above would include artwork that uses transparent layers with almost no colour and lots of water which could draw some small amount of colour from the wood. In that case you may want to apply one coat of gloss acrylic medium to seal the wood from any amount of surface induced discolouration (SID), which might show discolouration in paint with little pigment in it.
If you prefer the wood colour instead of white gesso you can use a clear primer. If you wish to use the panel as a watercolour surface you can apply one or two coats of watercolour ground. Apply the watercolour ground after two coats of acrylic primer because the absorbent ground needs to be painted on a sealed surface, not bare wood.
For stirring the gesso, mixing paint with pouring medium in cups, scraping paint across the board, and even tucking under the edge of the surface to make it more level I use these versatile wooden stir sticks. They are handy to have in the studio for loads of things.

Preparing a stock of painting panels
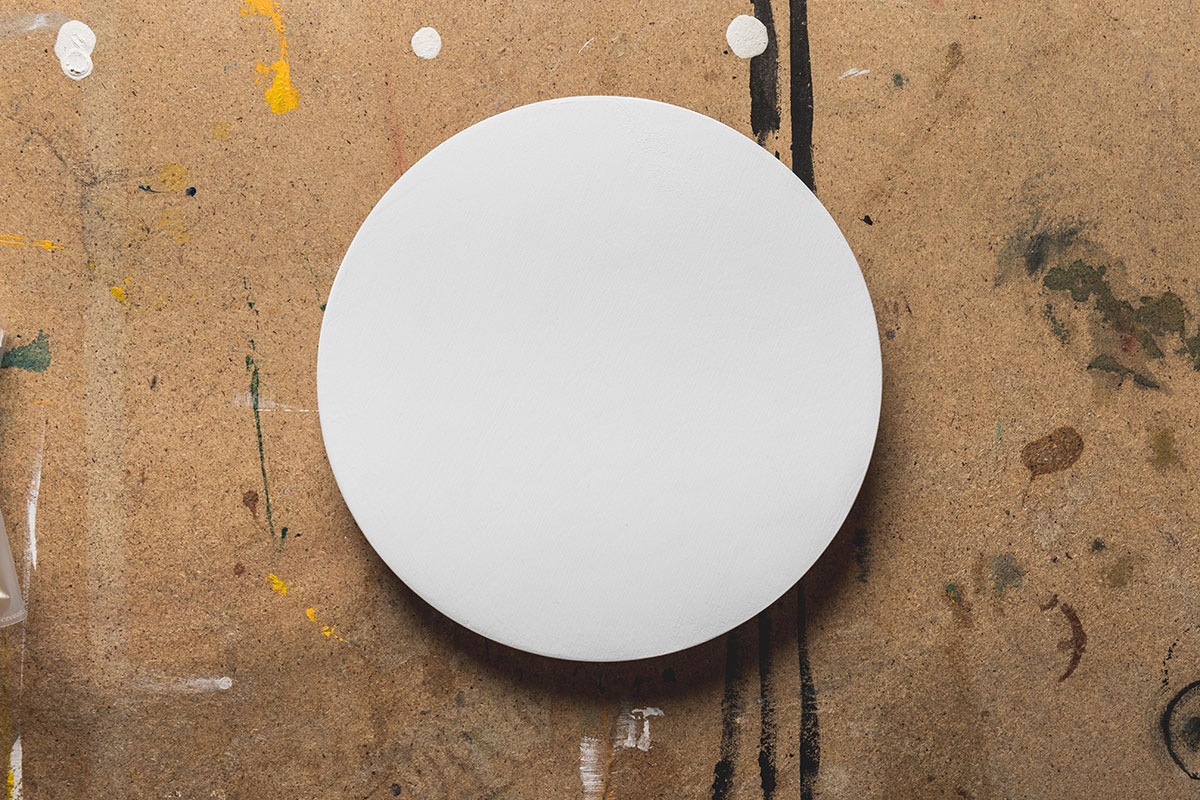
In a single weekend you can prepare 10 or 20 panels for future painting that will be just to your specifications. You can glue the hanging wood to the back and stack a few together and apply your weight to the stack, make a few stacks and leave overnight. If you set up an assembly line for the priming by the time you get to the end of gessoing the group, your first one may be dry enough for the next coat. It is a simple process that doesn’t need any specialist equipment and preparing these yourself will save money and get you just the surface you want. You can choose if you wish to add a cradle or a batten to the back or use it flat, whether you want to use a larger or smaller cradle for it to float close to the wall or further away, the type of primer & how many coats and choose to gesso on the edge or leave wood showing instead (you can add wood wax to the edge to seal it and give it a nice finish).
Acrylic Pour Painting on the circular panels
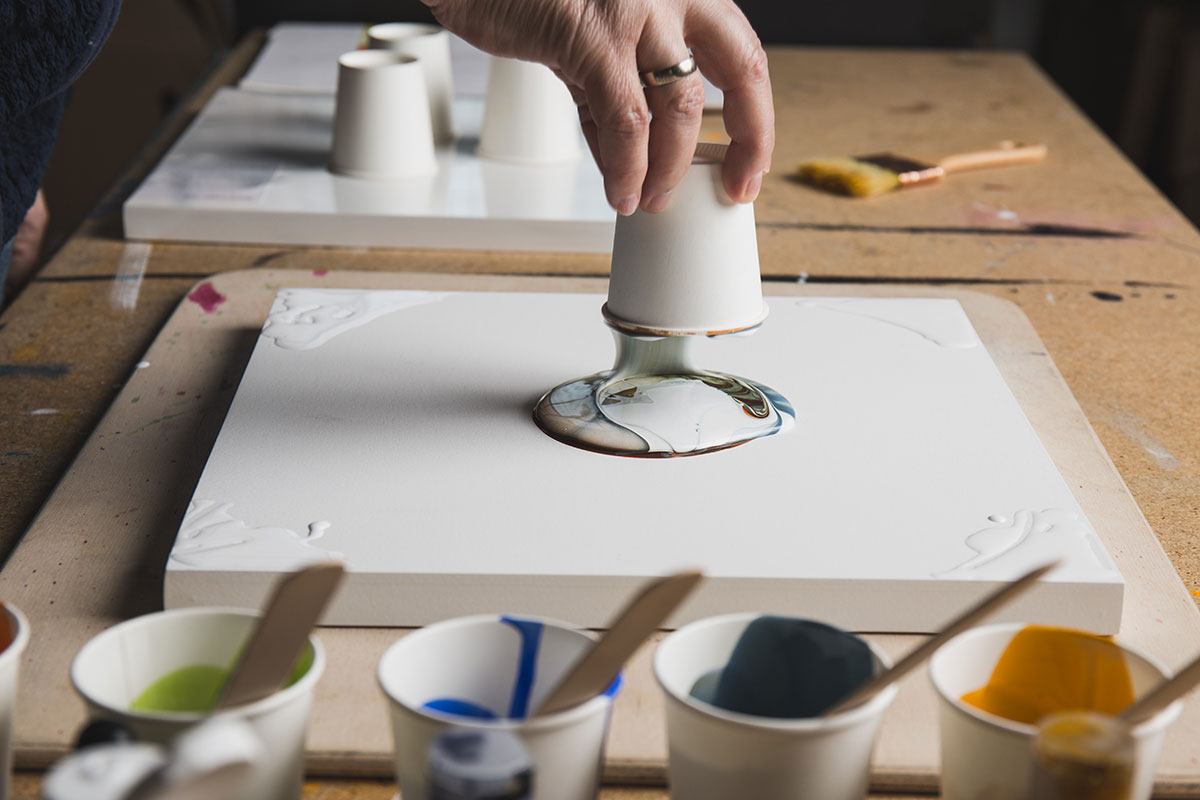


I have noticed when doing acrylic pour painting that a flip cup pour naturally forms a circular puddle of paint and that sometimes tilting it to stretch it to the corners doesn’t always benefit the pattern that had formed. So I did a few test paintings to see if I could get just the right amount of paint on the surface to get a circular painting to the edge but not over and if I could do one that did flow over the edges but kept the same circular pattern as the original. It worked really well! These panels can add just that extra something to a pour painting. As always the main tip for pour painting is to spend some time levelling the artwork so that your final image doesn’t shift too much or pour off the surface as it dries! Read our other posts about Acrylic Pour Painting for lots more information.

You can do a pour painting on the circular panels without first adding the hanging wood to the back if you let the painting fully dry for a week or so – you can then decide what kind of cradle you wish to attach to the back. Take care to prevent putting any dents in the paint, so you will want to not have you clamps or weights directly on the surface but be sure to have a large panel completely flat on the painting, possibly with some cling film or something that won’t stick to acrylic on the painting first. But it would be simplest to add the cradling to the back before you paint to prevent any damage to the painting and because the cradle acts as a convenient handle while you are moving the panel around, it also raises it above the surface of your table and it gives you an edge to push a bit of card under to level it.

Jackson’s Circular Painting Panels at Jackson’s Art
Click on the underlined link to go to the current offers on Jackson’s Circular Painting Panels on the Jackson’s Art Supplies website.
Click on the underlined link to go to the current offers in the Pouring Technique Department on the Jackson’s Art Supplies website.
Postage on orders shipped standard to mainland UK addresses is free for orders of £39.



6 thoughts on “Don’t Be a Square – Preparing Circular Painting Panels”
Do you think it might be possible to use these circular panels
as woodcut panels? The grain looks interesting – and a
circular print would be fun.
Hi Jane!
A circular print woukd be beautiful, wouldn’t it!
I have seen some great prints done with plywood. It depends on how much you care about the wood grain being part of the print or how much you want to sand it.
I would give it a try, experiments often turn out to be the best work.
If you’d like to share, I’d love to see the results.
could these work with watercolour
Hi Ruth
Yes, these would work well with watercolour if you apply a watercolour ground. There are a few lines about it in the article that should be helpful.
Hi Julie, I’m looking for round canvasses
for alcohol inks. Would these work if
painted white then primed with latex
primer? Many thanks!
Hi Olivia,
My understanding is that alcohol inks work best on a non absorbent surface, such as Yupo paper, or indeed latex paint, so this could be a good idea for your work, otherwise you could glue a sheet of Yupo to the front of a panel…
Many thanks
Lisa
Comments are closed.