



It seems like an impossible feat to find an artist’s surface that works with virtually all mediums, yet the Ampersand Claybord fulfills it. The ingenious surface is archival, acid-free, and warp-proof, with a highly absorbent, smooth finish that works beautifully with an array of techniques and materials. In this review, I tested the Claybord with the widest range of mediums I’ve ever used for a single review – acrylic, oil, ink, watercolour, printmaking, graphite, coloured pencil, markers, and collage.

Testing Ampersand Claybord in Painting, Drawing, Printmaking, and More
About the Ampersand Company
The invention that marked the beginning of the Ampersand company was the Claybord itself. This unique coated artists’ panel was invented by Charles Ewing, who sought to create a rigid surface for his own artworks that would allow for a combination of ink and scratchboard techniques. He was friends with Elaine Salazar, a graduate student at the University of Texas. She believed in the potential of the Claybord with her background in art history, and alongside three classmates won a national business competition with their plan for the development of the Claybord. The prize allowed them to found Ampersand with Charles and his wife, Barbara, in 1993.
Ampersand Art Supply still operates in Texas, less than 20 miles from where it was founded. Since its inception, they have developed countless more high quality artist surfaces, including the Aquabord and Gessobord.

Properties of the Claybord
Ampersand Claybords are hardboard panels coated with a unique Kaolin clay ground formula. Kaolin clay is named after the location it was primarily mined from in history – the Gaoling (‘Kao-Ling’) mountains in China. It was and still is an essential ingredient in the manufacture of porcelain and whiteware. It’s also a very common ingredient in papermaking as a coating or filler, and is even found in some skincare products. Ampersand use Kaolin clay mined in the USA for their Claybords. It’s combined with other ingredients to form a versatile, acid-free, pH-neutral, and absorbent surface, which is sanded to an ultra-smooth finish, making it excellent for fine details. It’s similar in handling to the clay gesso grounds used by artists in the Renaissance.
This specialised Claybord ground traps pigments in the top layers of the fine mineral clay surface. Since the surface is very absorbent, it dries quickly, allowing artists to work rapidly. This isn’t to say that the colours will sink and dull, as the nature of the ground keeps colours true and brilliant on the surface.

Claybord is made with wooden hardboard that is treated with Ampersand’s Archiva-Seal. This seals the hardboard prior to adding the kaolin clay coating, ensuring that an artist’s work will withstand the test of time and eliminate any support-induced discoloration. Ampersand’s hardboard is formaldehyde-free and comes from FSC-certified forests.
Ampersand Claybords are available cradled or uncradled, which simply refers to the bracing frame bars attached to the back of the panel. A cradled Claybord can be hung straight on the wall from a nail, whereas it’s advisable to frame the uncradled version, especially for larger-sized artworks. Cradled panels, in general, have greater stability than uncradled ones and prevent the substrate from warping. The Claybord cradles are of exceptional quality – constructed by hand in Ampersand’s factory from premium 13-ply birchwood.
Ampersand uncradled Claybords are available in sizes from 4 x 4 in to 18 x 24 in, and are 3 mm thick. The cradled panels are available from 8 x 8 in to 18 x 24 in, in two thicknesses – 22 mm and 38 mm.

Comparing the Claybord to Canvas with Acrylic and Oil Paint
I began my tests of the Claybord with acrylic and oil paint by making side-by-side comparison swatches with a piece of primed canvas. The difference between the acrylic Phthalo Blue applied to the canvas and Claybord is the most apparent. On canvas, the diffused area lost all the bristle marks from the brush, while on Claybord, they were perfectly retained. This effect is a point of personal preference, but it’s certainly visually compelling to see the entire mark made by the brush.

The swatches of Phthalo Blue oil paint on both surfaces also look very different, this time most noticeably in payoff. Again, the brushmarks have been much better retained on the Claybord surface, but the colour also appears slightly less warm, and sunk in much quicker. After half an hour, my swatch on canvas still appeared slick and shiny, whereas the Claybord had already taken on a semi-matt appearance. Since the Claybord is very absorbent, you’ll be able to layer paint on top of it much quicker without making the surface too slick.
Testing the Claybord with Acrylic and Oil Paint
I started work on my first Clayboard with a portrait underpainting using acrylic Van Dyck Brown (Hue). I noticed immediately that all of my brushmarks were very quickly absorbed by the surface, and that they would dry very pronounced. I worked loosely, and you can see all of the evidence of my process in the dried marks. The paint flowed very easily over the surface of the panel since it’s so smooth, allowing me to work quickly. To deepen the girl’s hair and the background I applied a second layer of Van Dyck Brown. It also dried very rapidly, but had slightly more tooth from the previous layer of acrylic to attach to. If you don’t like your work to have lots of visible strokes, I’d advise pushing past this initial blocking in stage.

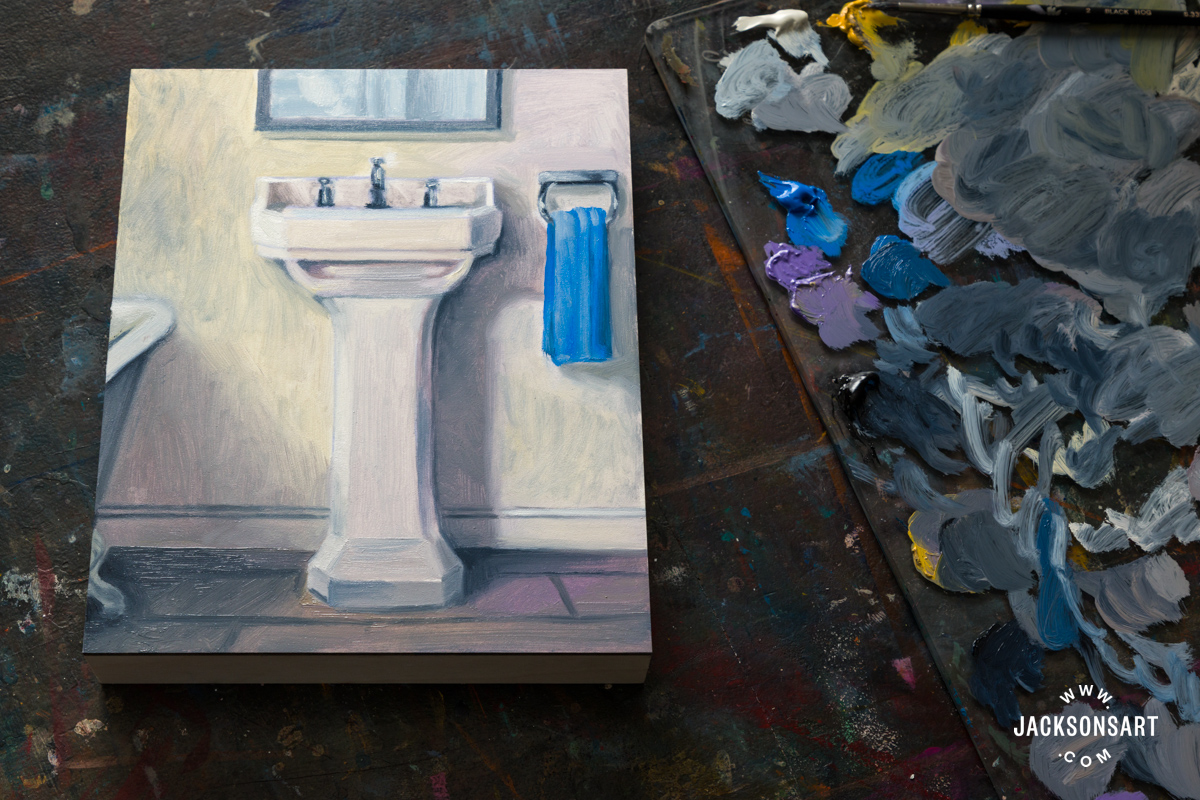
Next, I worked on top of my acrylic underpainting in oil, layering in the tones and colours around my subject’s eyes and forehead. I found that the oil paint applied beautifully to the Claybord surface, and caught the pigment despite its smoothness. In a couple of highlighted areas beneath the eye and on the peak of the forehead, I diluted my paint with a touch of turpentine to see how transparency appeared on the surface. The whiteness of the ground paired with the texture of the underpainting gave these sections life and movement. After two weeks of drying time, I felt that my painting still had the same vibrancy of colour as when I first applied it.

Comparing the Claybord to Hot Pressed Watercolour Paper with Watercolour and Ink
I repeated the same comparative swatch test, this time with Jackson’s Hot Pressed Watercolour Paper next to the Claybord, with watercolour and ink in Alizarin Crimson. I chose the hot pressed watercolour paper because its surface finish is the closest in smoothness to the Claybord.
The watercolour on Claybord dried in an unpredictable organic pattern, where the pigment pooled together in circles and flares. This gave the finish a unique character that I think may be impossible to replicate on paper. On the watercolour paper, the same swatch of paint dried very flat and even, with no variation of mark or tone. The colour on the watercolour on the paper also dried much darker than on the Claybord, where it has retained a fresh, bright hue. The ink swatch on Claybord also has a stronger payoff, and the brushmarks have been retained. As you can see on the paper, the same colour appears duller because it’s a more absorbent surface, and the brushstroke has completely dissipated. The Claybord will be very exciting to use if you’d prefer watercolours and inks to have more texture.

Testing the Claybord with Watercolours and Ink
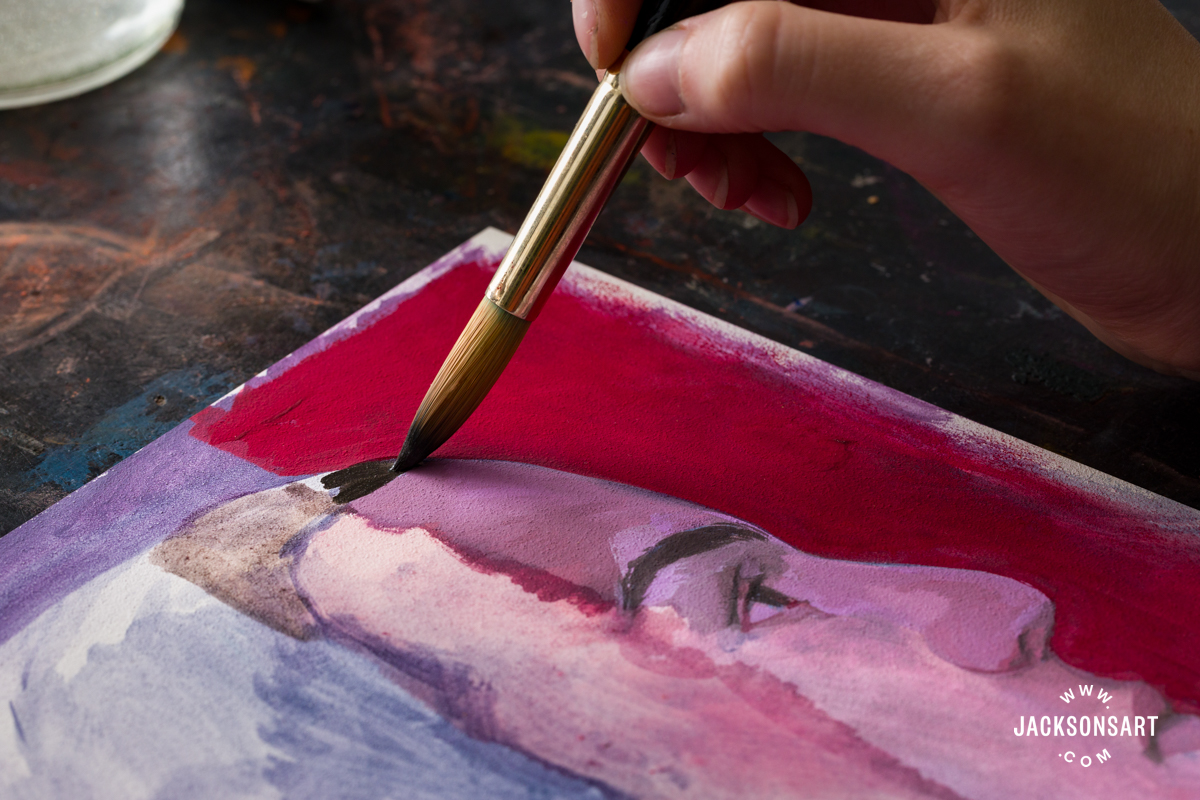
To test working in watercolours and ink on the Claybord, I chose to start my painting with a selection of Daniel Smith watercolours, in Phthalo Blue, Quinacridone Pink, Jaune Brilliant No.1, and Terre Verte. The surface of the Claybord is very slick on application, with no tooth, so the watercolour paint slipped and pooled across it very fluidly. It took some time for the paint to dry down, and it was almost impossible to apply in solid blocked areas. This surface is perfect if you enjoy the visual effect of painting wet-on-wet.

As you paint, the pigment doesn’t flood outside of your brushstroke, but will produce random fluid patterns within your stroke. I tried to test painting on it wet-on-wet by brushing on the shape of a leaf before dropping pigment onto it, but it doesn’t bleed and disperse like it would on hot pressed watercolour paper. Any areas that you load with lots of water will take an especially long time to dry, and the pigment will be pulled around these areas, giving the whole surface a dappled effect.

It is possible to lift the watercolour paint whilst still wet, but you have to be careful to avoid staining colours if this is your preferred technique. These will be harder to shift back to the white of the panel, but otherwise any mistakes or highlights can be brought back with a clean brush, sponge, or rag whilst the paint is wet. I also tested lifting once the paint was dry, which allowed me to lighten the area, but I wasn’t able to bring it back to the original white of the panel entirely. However, Claybord can be sanded back with steel wool to reveal the white below, which I demonstrate further along in the article.

If you try to layer the paints whilst they’re still wet, the surface is so slick that you may remove the previous application of paint with it. The Claybord functions best with watercolour applied in dried layers, or in one single layer. I added a second layer to some areas of my painting once the first was dry, and they adhered beautifully without shifting the pigment below. Glazing is made easy, since the dried paint becomes secured to the surface.
To test the Claybord with ink, I applied Dr. Ph. Martin’s Hydrus Liquid Watercolour in Alizarin Crimson, and Royal Talens Ecoline Watercolour Ink in Indigo, in the passage to the left between my leaves and flowers, to create tonal depth in the painting. The brushmarks in the ink dried more quickly and appeared more visibly than in the watercolour. I think it could be useful to layer ink on top of watercolour to pick out more specific details, or to insert areas of deeper colour.

Once your painting is dry, you can also scratch back into it to create drawn lines by revealing the white ground again. Ampersand makes their own tools for this purpose, which were primarily designed for use with their Scratchbord panels, but you can also use any sharp implement with a hard edge. I used the edge of a palette knife to fluidly scratch some linework into the leaves, applying very little pressure. If you accidentally splashed a mistake on your work, the ability to gently scratch it off and continue working is a great asset of the Claybord.

Removing Paint on the Claybord with Steel Wool
Once your painting is dry, you may dislike something you’ve added enough to want to remove it completely. One of the characteristics of painting on Claybords is that you can remove the paint and bring back the white of the ground by rubbing it with steel wool. Here I demonstrated removing the lower left corner of my acrylic and oil portrait by rubbing at the surface, and applying medium pressure in a circular motion. The scratchy texture from the steel wool also creates an interesting drawn texture that may appeal to some mixed media artists as a mark-making technique.

Testing the Claybord with Collage and Relief Printmaking
Claybord is perfect for mixed media work because of its highly absorbent surface, dense hardboard substrate, and the added support of the cradled backing, which prevents warping no matter how many materials you layer on. To test a couple of the more experimental uses of the Claybord, I wanted to combine collage and relief printmaking on the surface.

To begin, I added a watercolour wash to some sheets of Daler-Rowney Layout Paper, which I wanted to collage because it’s very thin. I let this dry, before tearing it into swirling shapes to stick to the Claybord using Arcare Neutral pH Adhesive, applied with a soft brush.

Next, I inked up a lino block of two trees and placed it face down onto my panel before rubbing the back evenly with a spoon.

The print transferred onto the Claybord and collaged paper with ease, and I didn’t find there to be any discrepancy in the adhesion of the ink between them. The Claybord creates a brilliant opportunity for relief printmakers to experience printing their work beyond paper, onto a cradled panel, which can be hung straight on the wall without a frame.

Testing the Claybord with Graphite, Coloured Pencils, and Marker Pens
I was pleasantly surprised with the ease and colour payoff when drawing with graphite, coloured pencils, and pens on the Claybord. I was worried that the surface would be too smooth to have enough tooth for the pigment to adhere to, but I had the complete opposite experience. The clay ground caught my pencils beautifully, producing deep tones and strong colours without having to apply lots of pressure or build up several layers. I worked with a Jackson’s 3B Graphite Pencil to draw the jar on the left, finding it very easy to blend the pencil with my finger, too. You can see examples of two graphite gradients on the top left: the first without finger blending, and the other smudged out.

Next, I used an assortment of coloured pencils for the smaller jar on the right – Caran d’Ache Museum Aquarelle Pencil in Light Cadmium Red, Faber-Castell Polychromos Pencil in Deep Cobalt Green, Holbein Artists’ Coloured Pencil in Apricot, and two Derwent Procolour Pencils in Midnight Blue and Middle Ultramarine.

Just like drawing with coloured pencils on paper, it was impossible to smudge them with my finger. Although I did find that it was possible to build up soft blends of colours together, and found it satisfying to be able to press hard in some areas with the pencils without fear of damaging the surface, like I would on paper.
Finally, I applied a few marker pens to the surface – two Kuretake Kurecolor Twin WS Markers in Light Brown and Dawn Grey, and a Royal Talens Ecoline Brush Pen in Prussian Blue. I found that the Kuretake pens applied slightly inconsistently, and I could accidentally rub the previous layer off when drawing over the same spot. The Ecoline Brush Pen applied much more evenly. I think this is because the Ecoline pens contain a watercolour paint rather than an alcohol ink. For your own work, it’s worth testing some pens on a small Claybord before committing to a larger artwork, to check that they distribute the way you’d like. After completing this drawing stage, you could easily layer watercolour, oil, or acrylic paint on top of your drawing without the worry of working on an unsuitable ground. It’s hard to imagine a comparable support that works so well for so many mediums.

There’s no greater reassurance for artists than finding a surface that you can guarantee will work with virtually all of your materials, without any extra prep work. The Ampersand Claybord is so liberating to use with the knowledge that all of your experimentation is preserved on an archival, warp-proof, and acid-free ground that is also ready to hang straight on the wall with a cradle. In addition, even with graphite, ink, or watercolour, you can use a fixative and display artwork without the need for glass. The colour vibrancy and texture supported by the surface is brilliant to behold, and will give you a new appreciation for your palette. For painters, draftsmen and mixed media artists alike, the Claybord is an essential surface to experience.
Further Reading
Ampersand Painting Panels are Extraordinary Surfaces For Your Art
Tips for Setting Up an Oil Painting Palette
Preparatory Drawing Methods for Painting
Shop Ampersand on jacksonsart.com


3 thoughts on “Testing Ampersand Claybord in Painting, Drawing, Printmaking, and More”
I just recently bought a Slama Press, so the idea of relief printing on a board now seems very doable and an exciting prospect. I can’t imagine any water colourist enjoying working on it, though.
Great review. I appreciate the time it
must have taken to complete it.
I love using clay board, particularly with
watercolour and gouache.
Comments are closed.