




Wood engraving is a relief printmaking technique where an image is carved into an endgrain block of hardwood – the density of the endgrain wood allows for very fine detail to be translated in the finished print. In this film, wood engraver Duncan Montgomery takes us through the fundamentals of this printmaking method, introducing important concepts, and providing demonstrations and tips to help you get started with this intricate printmaking technique.
Contents
0:00 Introduction
0:20 What is Wood Engraving?
1:42 What’s the Difference Between Woodcut and Wood Engraving?
2:11 What Woods are Used?
2:39 Caring for Wood Blocks
3:30 Preparing the Surface for Engraving
4:18 Transferring a Design to the Wood Block
6:51 Types of Engraving Tools
9:57 Using a Sandbag to Support the Block
10:47 The Engraving Process
14:14 The Printing Process
18:23 Adjusting You Block After Printing
19:31 Cleaning After Printing
19:48 Looking After Your Tools
22:00 A Summary of the Wood Engraving Printing Process
22:45 Credits
Film Extract
Hi, my name’s Duncan Montgomery. I’m a printmaker specialising in wood engraving, and I’m here in the Jackson’s Studio to show you what wood engraving is and how to get started.
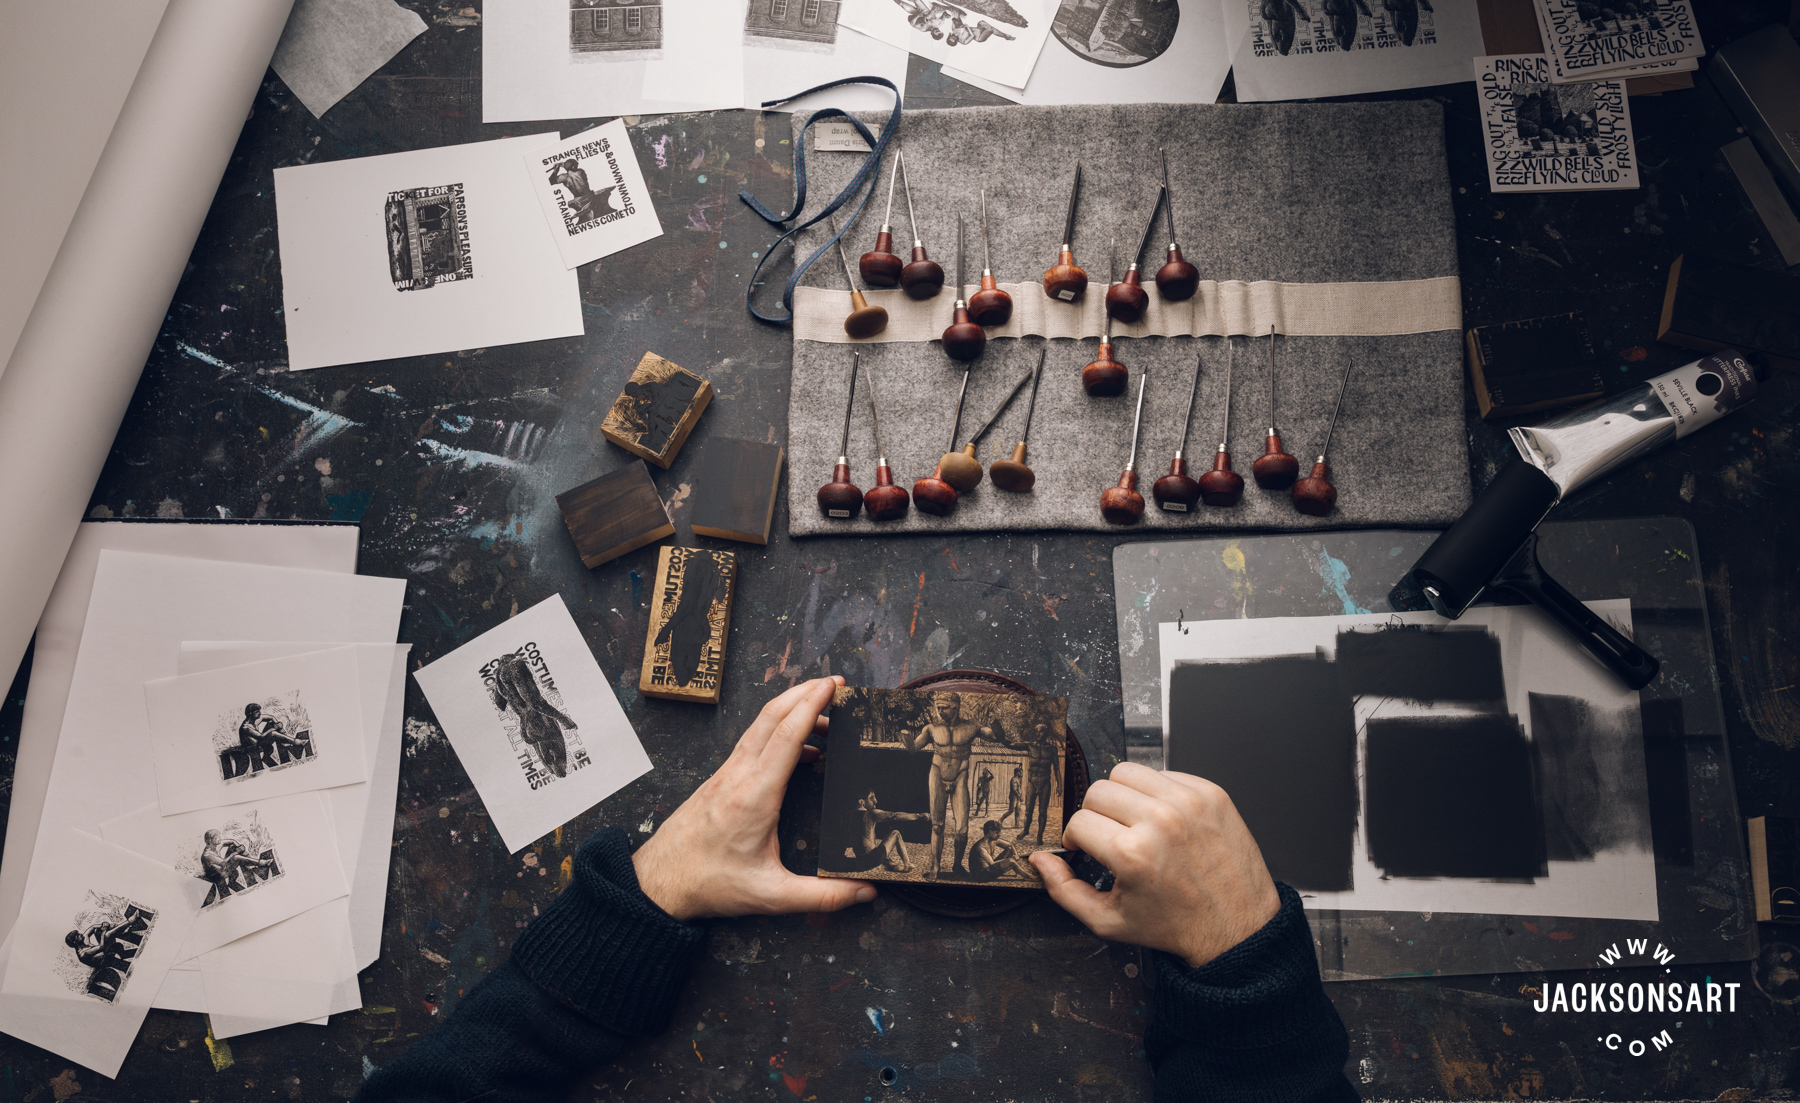
What is Wood Engraving?
In essence, wood engraving is the process of printing from a flat block of wood, into which you’ve cut a design. It’s a form of relief printmaking like linocut or woodcut. This means the ink is transferred from the raised surface of the block onto the paper, and the print will be white in the areas where you’ve cut the surface of the block away. It’s out of that interplay of black space and white space that you’ll make your print.
That description makes it sound like a pretty simple and rudimentary form of printmaking, and to an extent that is true. But wood as a material is capable of holding very fine detail, far more detail than lino, for instance. A tiny chip or scratch from the surface of your block will tend to show up in the finished print. As a result, wood engravers can use different shades of grey, as well as black and white, by stippling the surface of the block or engraving lines across it.
The wood is relatively expensive, slow to engrave, and can hold a lot of detail. Your average wood engraving tends to be quite small. You’d be more likely to design a card, a book illustration, or a book plate as a wood engraving rather than a poster. Really big, bold work is better suited to other printmaking methods like lino, woodcut, or screen print.
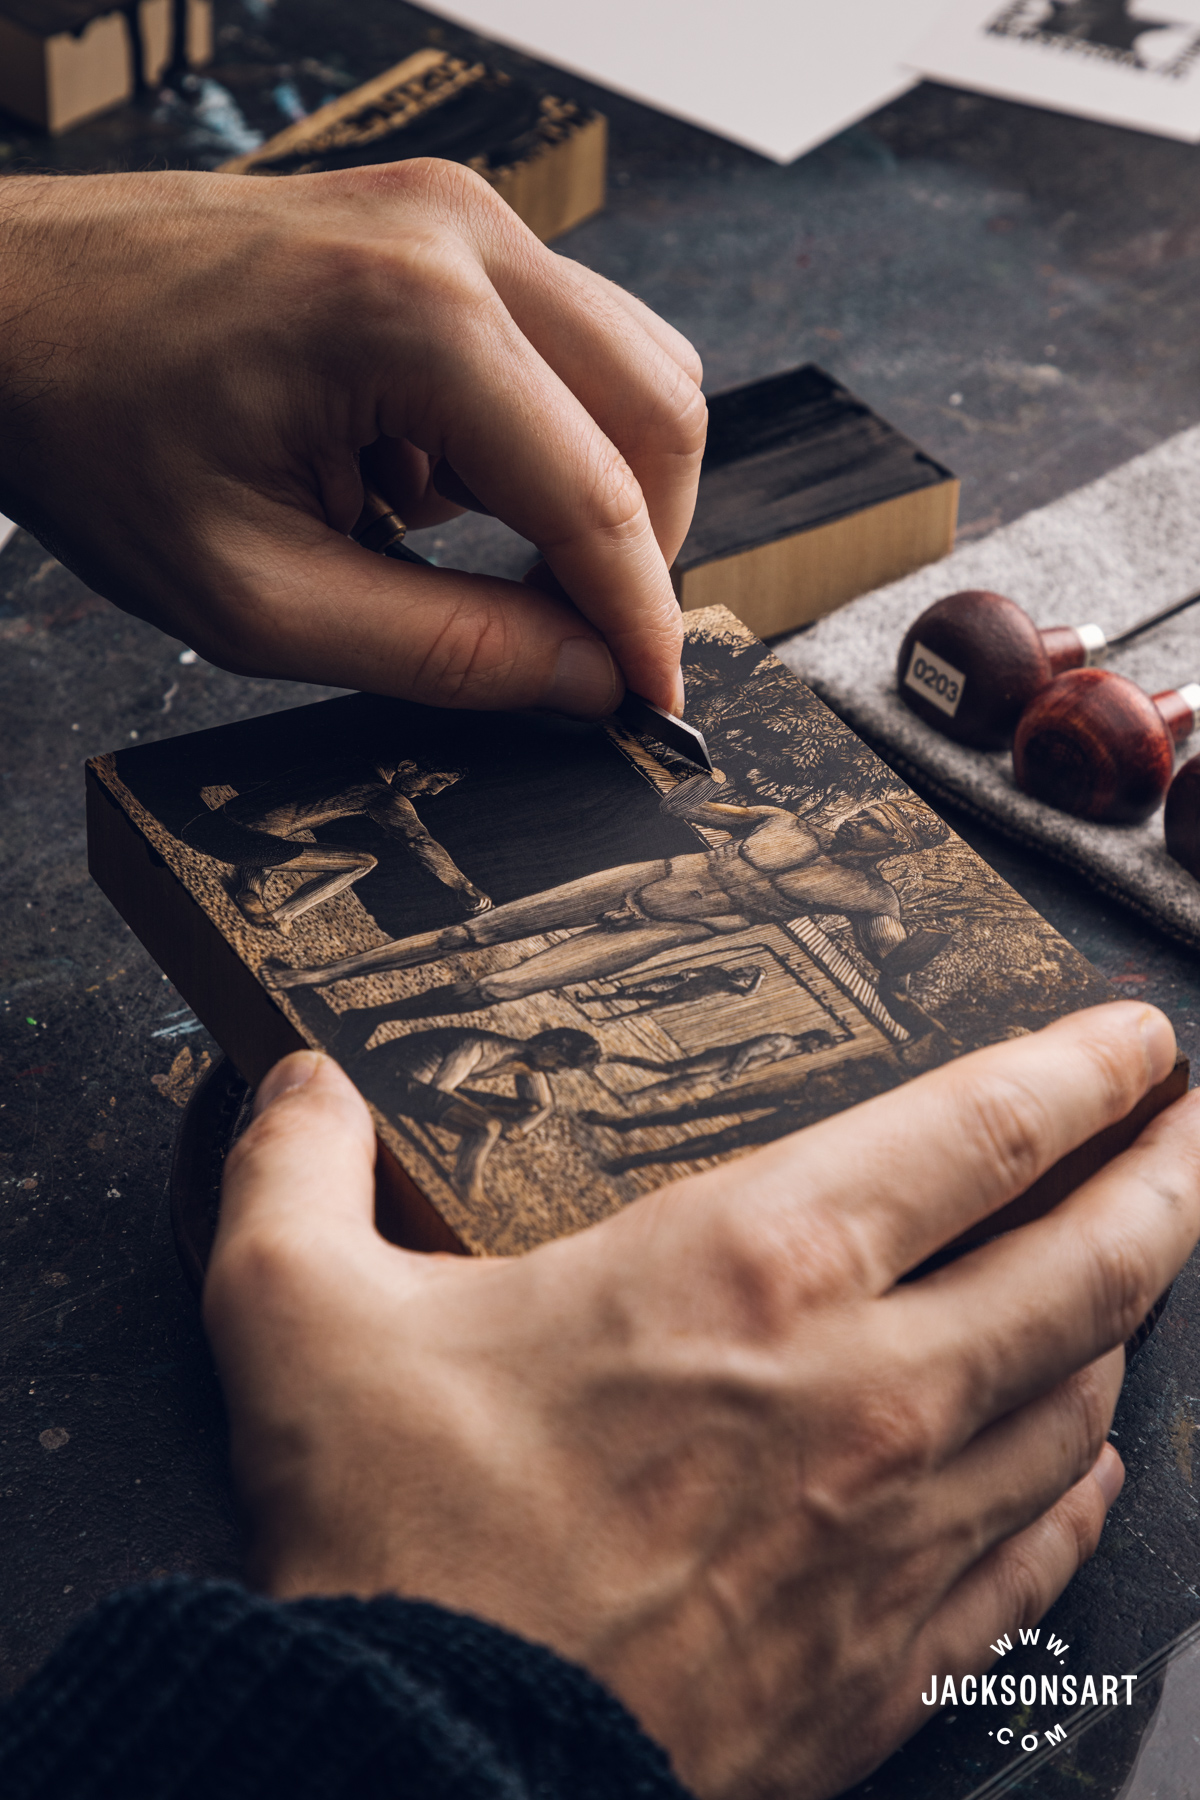
What’s the Difference Between Woodcut and Wood Engraving?
The difference is essentially that woodcuts are made on planks of wood – sections of wood that are cut in the direction that the tree is growing, which is softer and less even in density than an endgrain woodblock.
Wood engravings are done on endgrain woodblocks, so you’ll be cutting a circular section of the tree, perpendicular to the direction that the tree is growing. That means that the surface is hard and even in density, and it can hold a lot of detail. You’re looking for slow-growing and therefore very dense hardwoods like maple, holly, or pear wood, and originally boxwood, which is very much the luxury option these days due to its rarity. Lots of those trees have been cut down.
Wood Engraving Blocks
Jackson’s sells lemonwood blocks made in England by Chris Daunt, who is the UK’s only professional block maker, or at least the only one I know of. They’re really high quality, and frankly, I found that lemonwood is capable of practically anything.
Wood blocks aren’t really fragile, but they are a natural material. There are a couple of things that you want to avoid when storing them. Chiefly getting them wet or exposing them to sudden or very wide swings of temperature.
You may notice that with the larger blocks, they’re composed of two or more pieces of wood that have been joined together. Which is not something to worry about. The block should be solid. You’re unlikely to see anything but the faintest line in the print if anything. But if you get the block wet or if you heat it up or cool it down quickly, those two pieces can expand and contract at different rates. And that forces them apart.
Even wood blocks made of one piece of wood can warp if you don’t treat them well. So don’t leave them on the radiator or the airing cupboard. Look for somewhere dry and moderately cool. It’s a good idea to keep them out of direct sunlight even when you’re engraving.
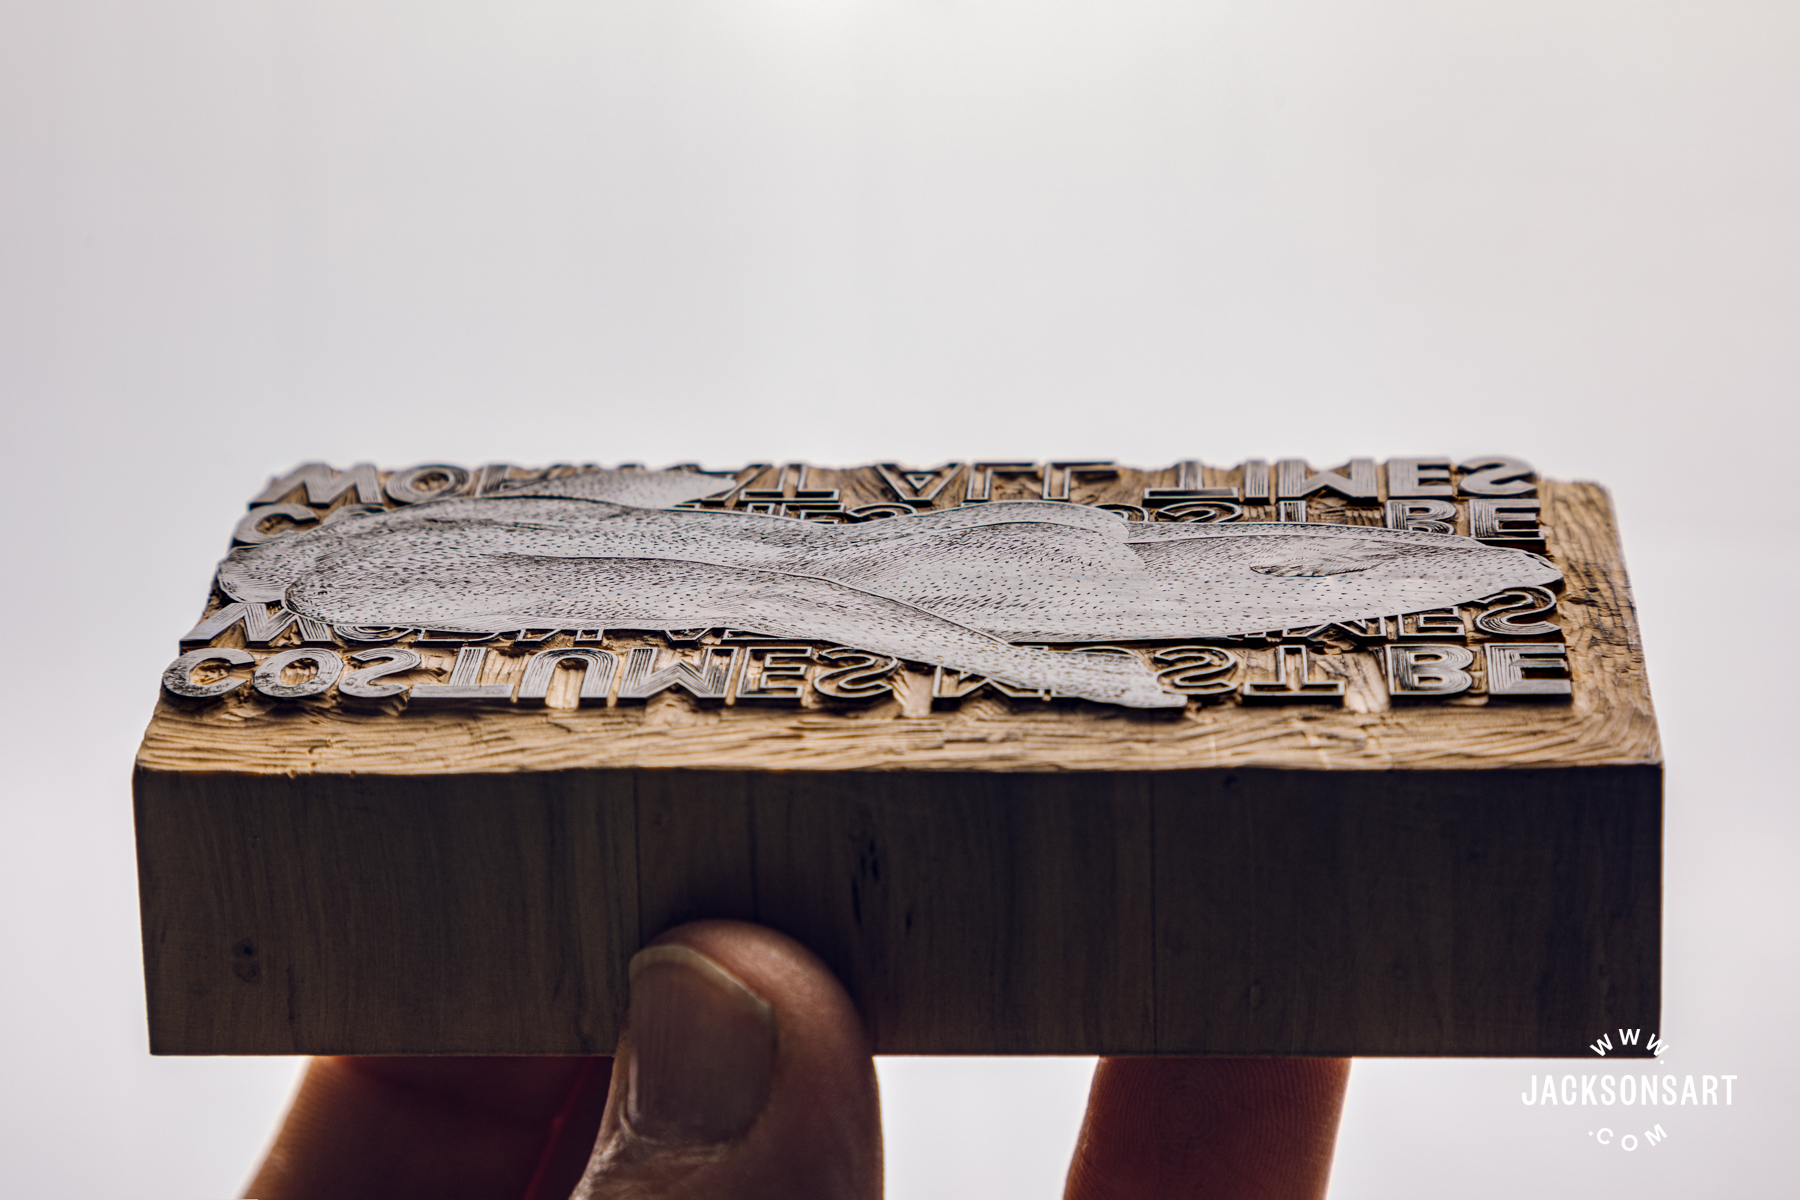
Preparing the Surface for Engraving
I prepare the block for engraving by applying a layer of black watercolour to its surface, which is necessary so you can see where you’re going when you’re engraving. You can also roll on letterpress ink if you prefer, which is probably slightly better for the block in all honesty. I would avoid using pen ink, as I’ve found on occasion that the ink stains not just the surface of the blocks, but also the wood below, which ruins the wood block, really, because you can’t see any of the cuts that you’ll make. Normally, you’d make a cut, and then it’ll show the colour of the wood. Whereas if it’s stained below the surface, you won’t be able to see where you’re going.
I tend to draw around the edges of the block and then use fineliners to draw within this area so that you know that you’re designing on the same scale. You might want to make something quite bold that you can easily trace. Once the drawing’s done, I stick some tracing paper over it and trace the drawing. Remember that the print will flip when you take a print from the block.
You can make little notes on the surface of the block, which has been painted black, so you’ll be able to see the graphite, then draw around and connect the dots as it were.
Or, you can put a lot of graphite on the other side of the drawing with a 4B or 6B pencil. And then you flip it and draw through on the other side. Don’t press too hard because you’ll risk slightly scoring into the surface of the block, and the block really needs to be totally flat. But just hard enough to transfer your drawing.
So now you have your drawing transferred onto the surface of the block. You’re ready to go; you can pick up your tools.
Wood Engraving Tools
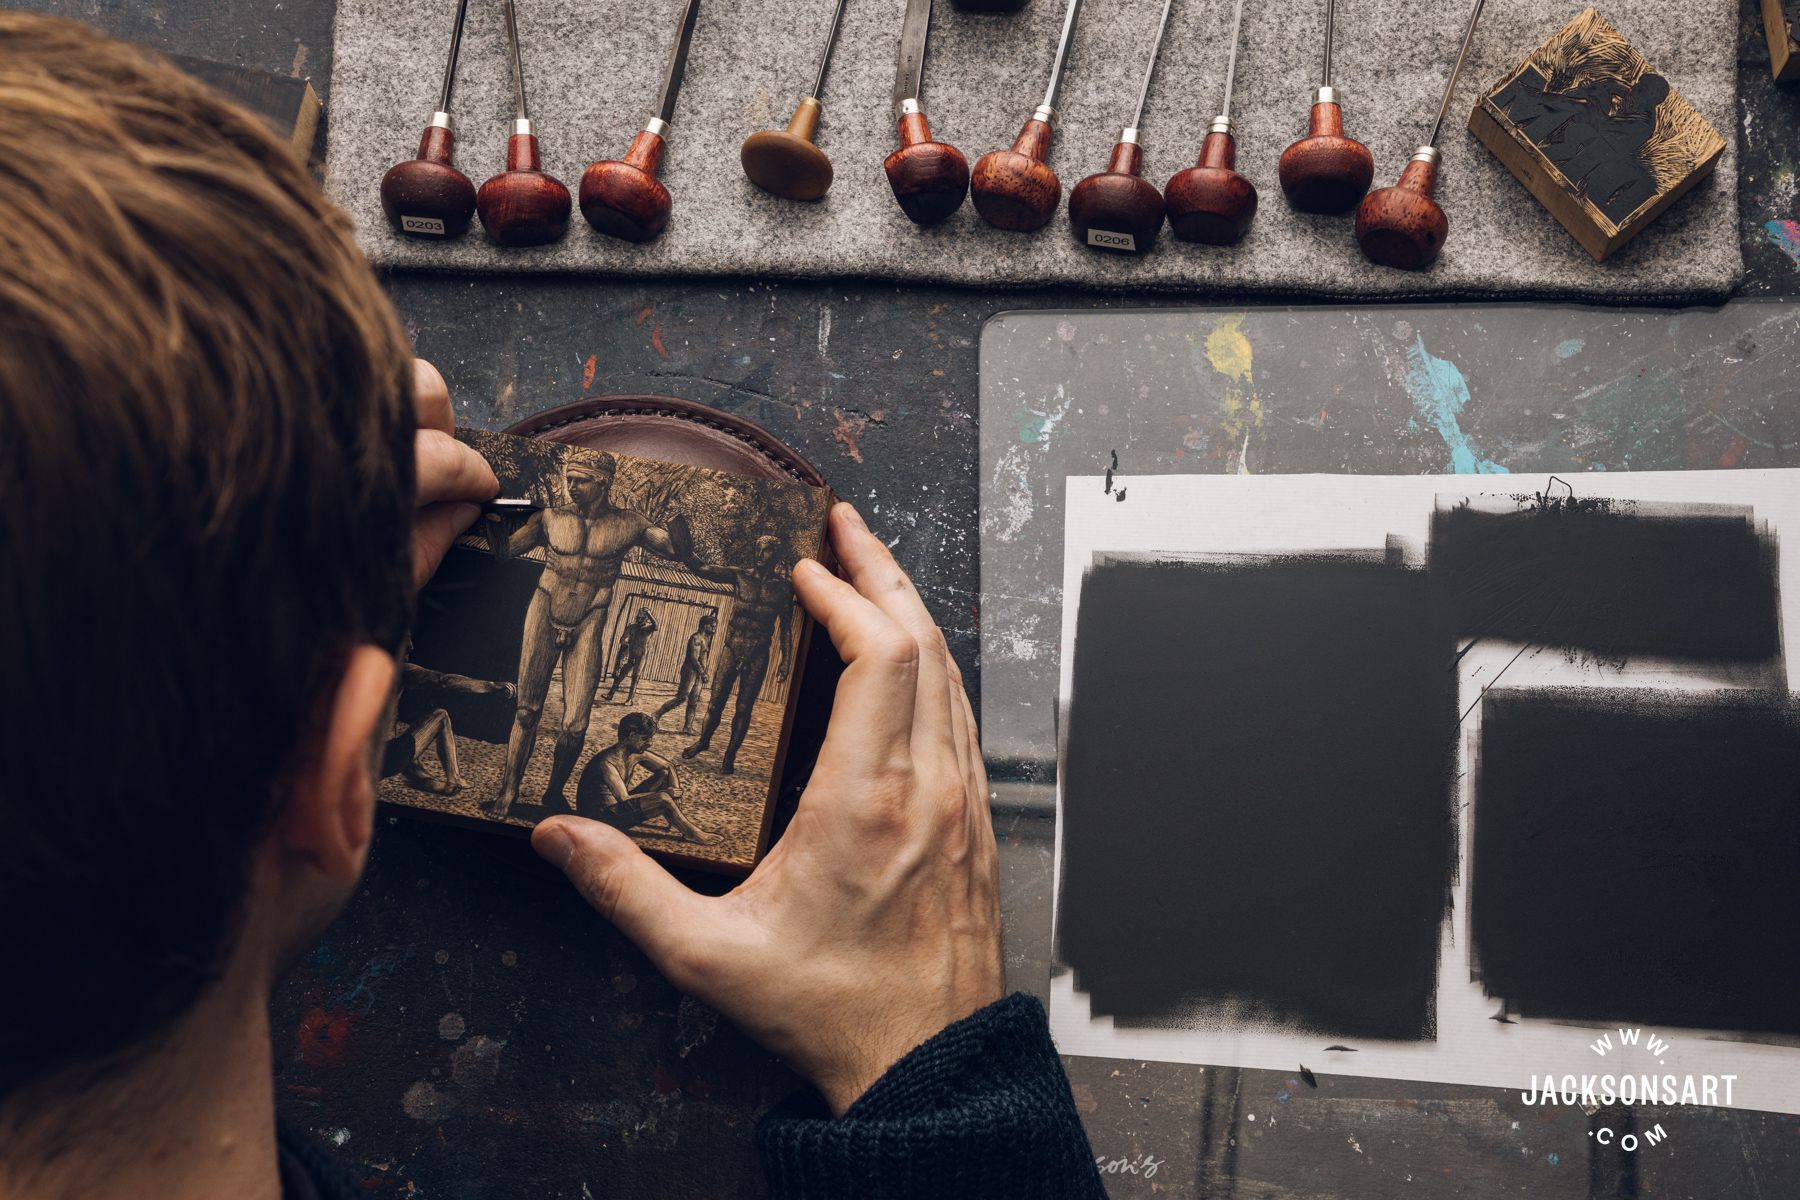
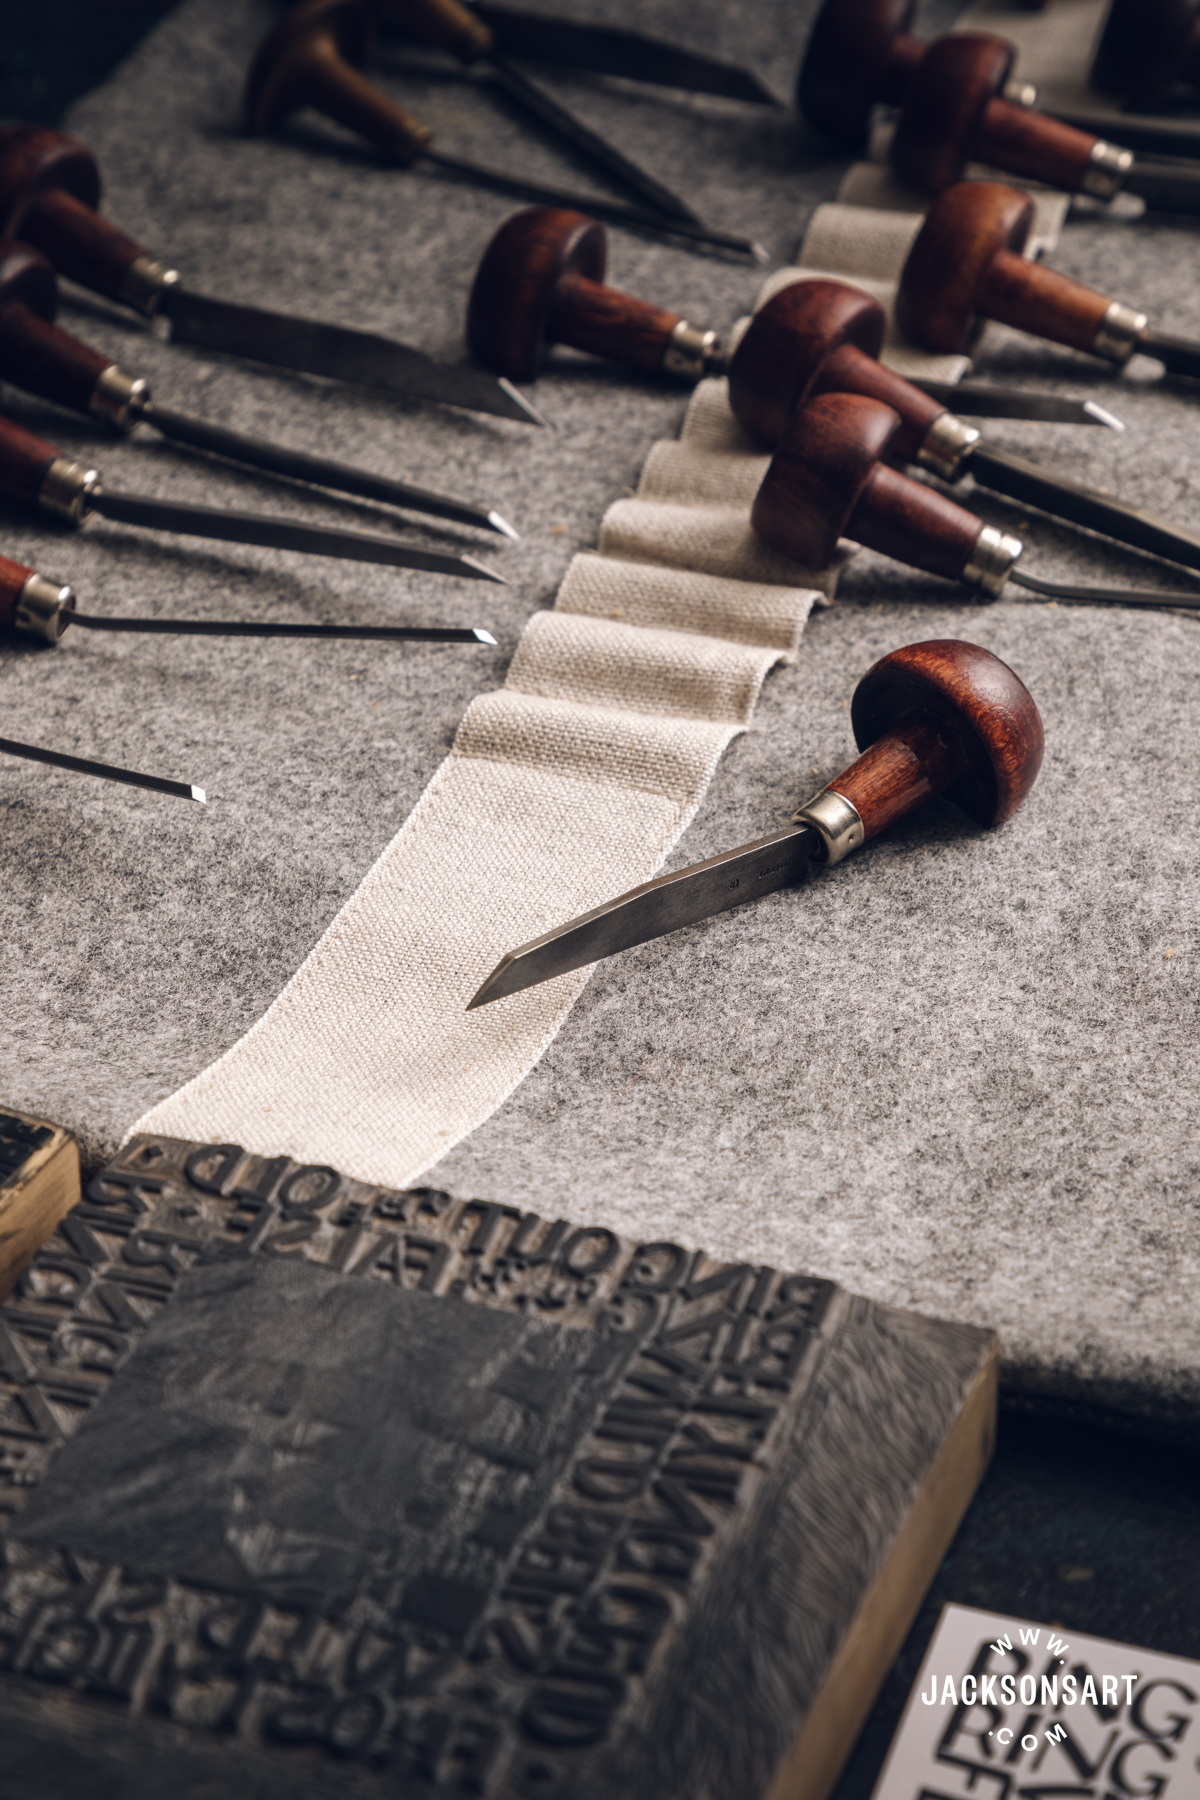
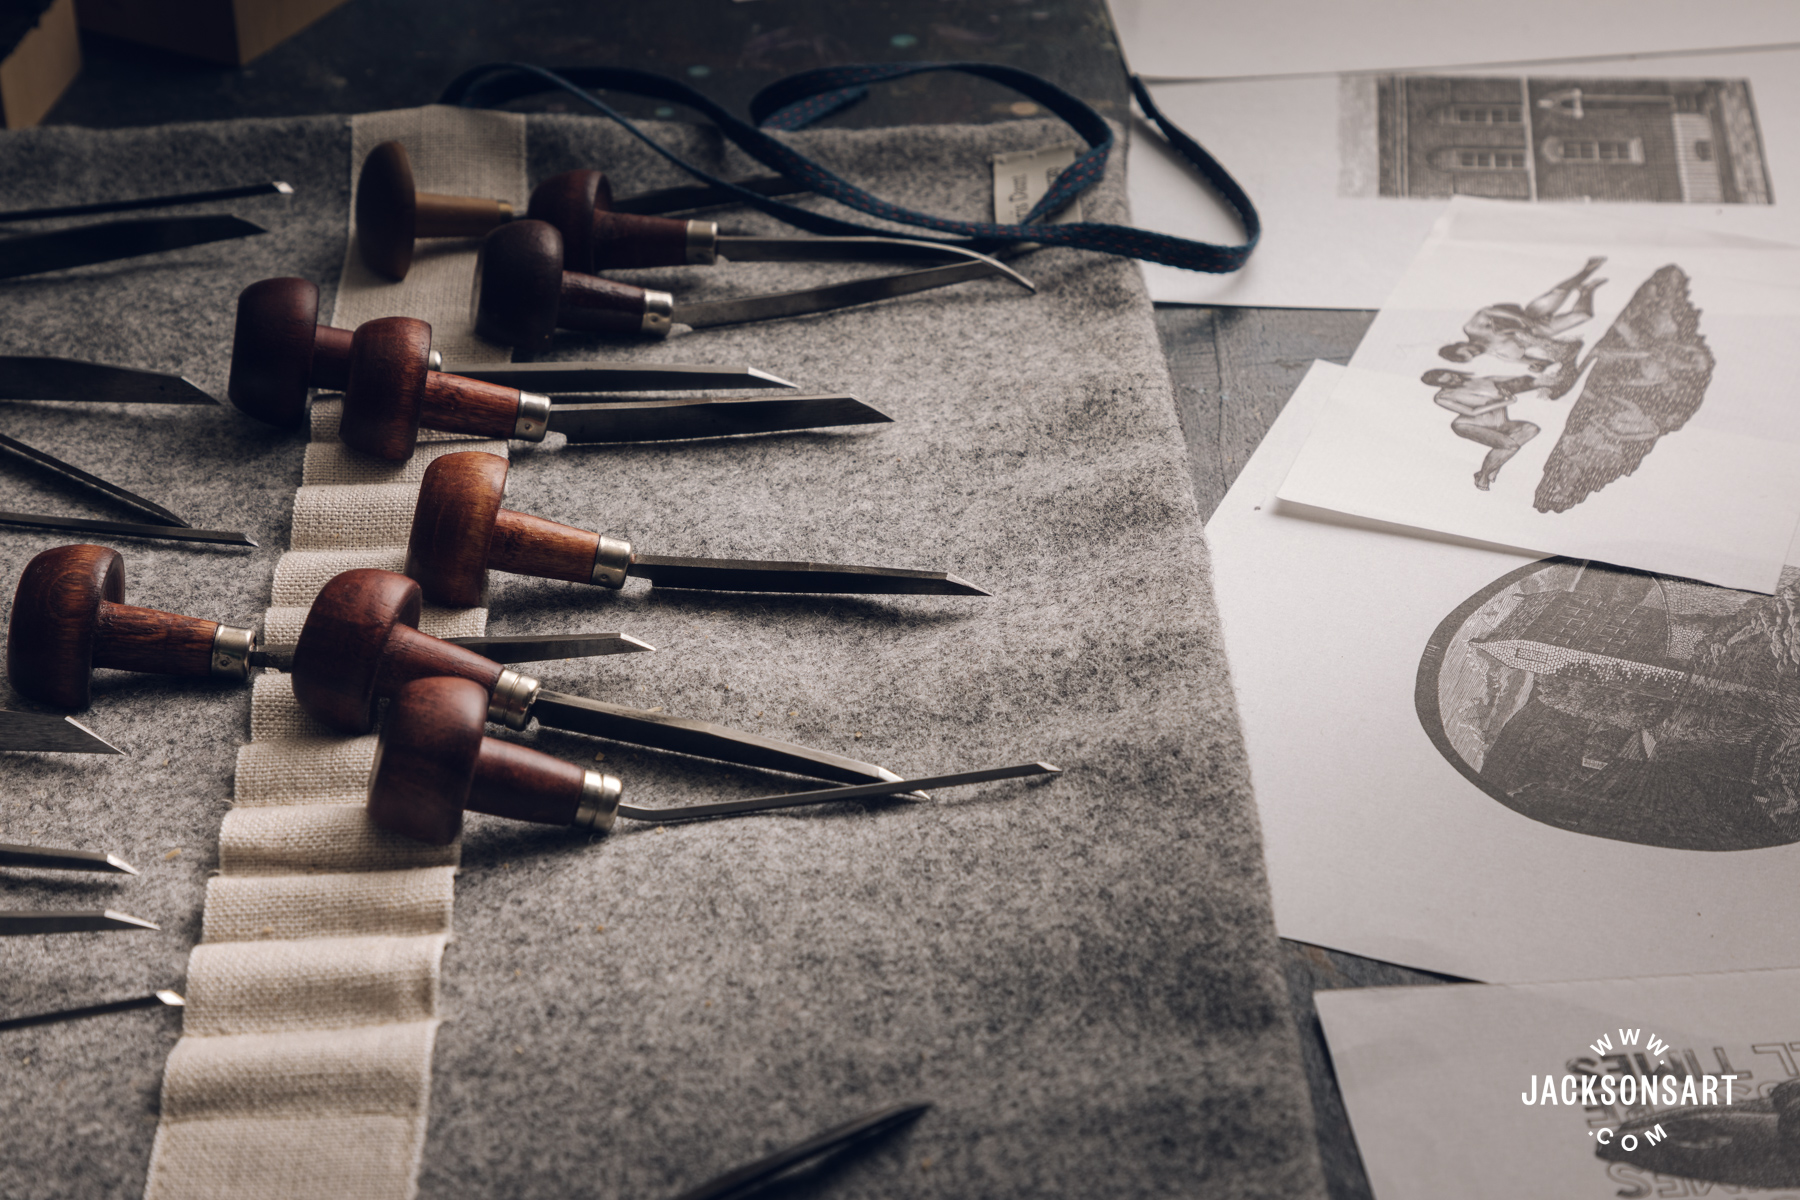
Wood engraving tools are called burins. They have a wooden butt at the bottom and a shank of metal with a cutting face at the end. The wooden butt of the tool goes in the palm of your hand, and you’ll curl your fingers into the little recess. And then use your thumb and your forefinger to hold the tool. Anything that feels comfortable to you is fine. There’s no real right or wrong way of doing it.
There are several different types of burins that are used for making different marks on the woodblock. The square graver and lozenge graver are quite similar; they have square or lozenge-shaped cutting faces at the end. They can be used for drawing straight lines, and they can also draw curved lines on the block.
Spitstickers have an elliptical cutting face. They’re slightly better for carving curves because the blade gets thicker the deeper you push it into the wood – the further it goes in, the wider the cut you make.
The tint tool has relatively straight sides. The idea is to use thicker ones to create a series of parallel lines, which produce a grey tone.
The scorper has quite a wide cutting face for making dots or quite light stipples, so it’s useful for producing a kind of light grey tone. The scorper is also useful for removing large areas of the block.
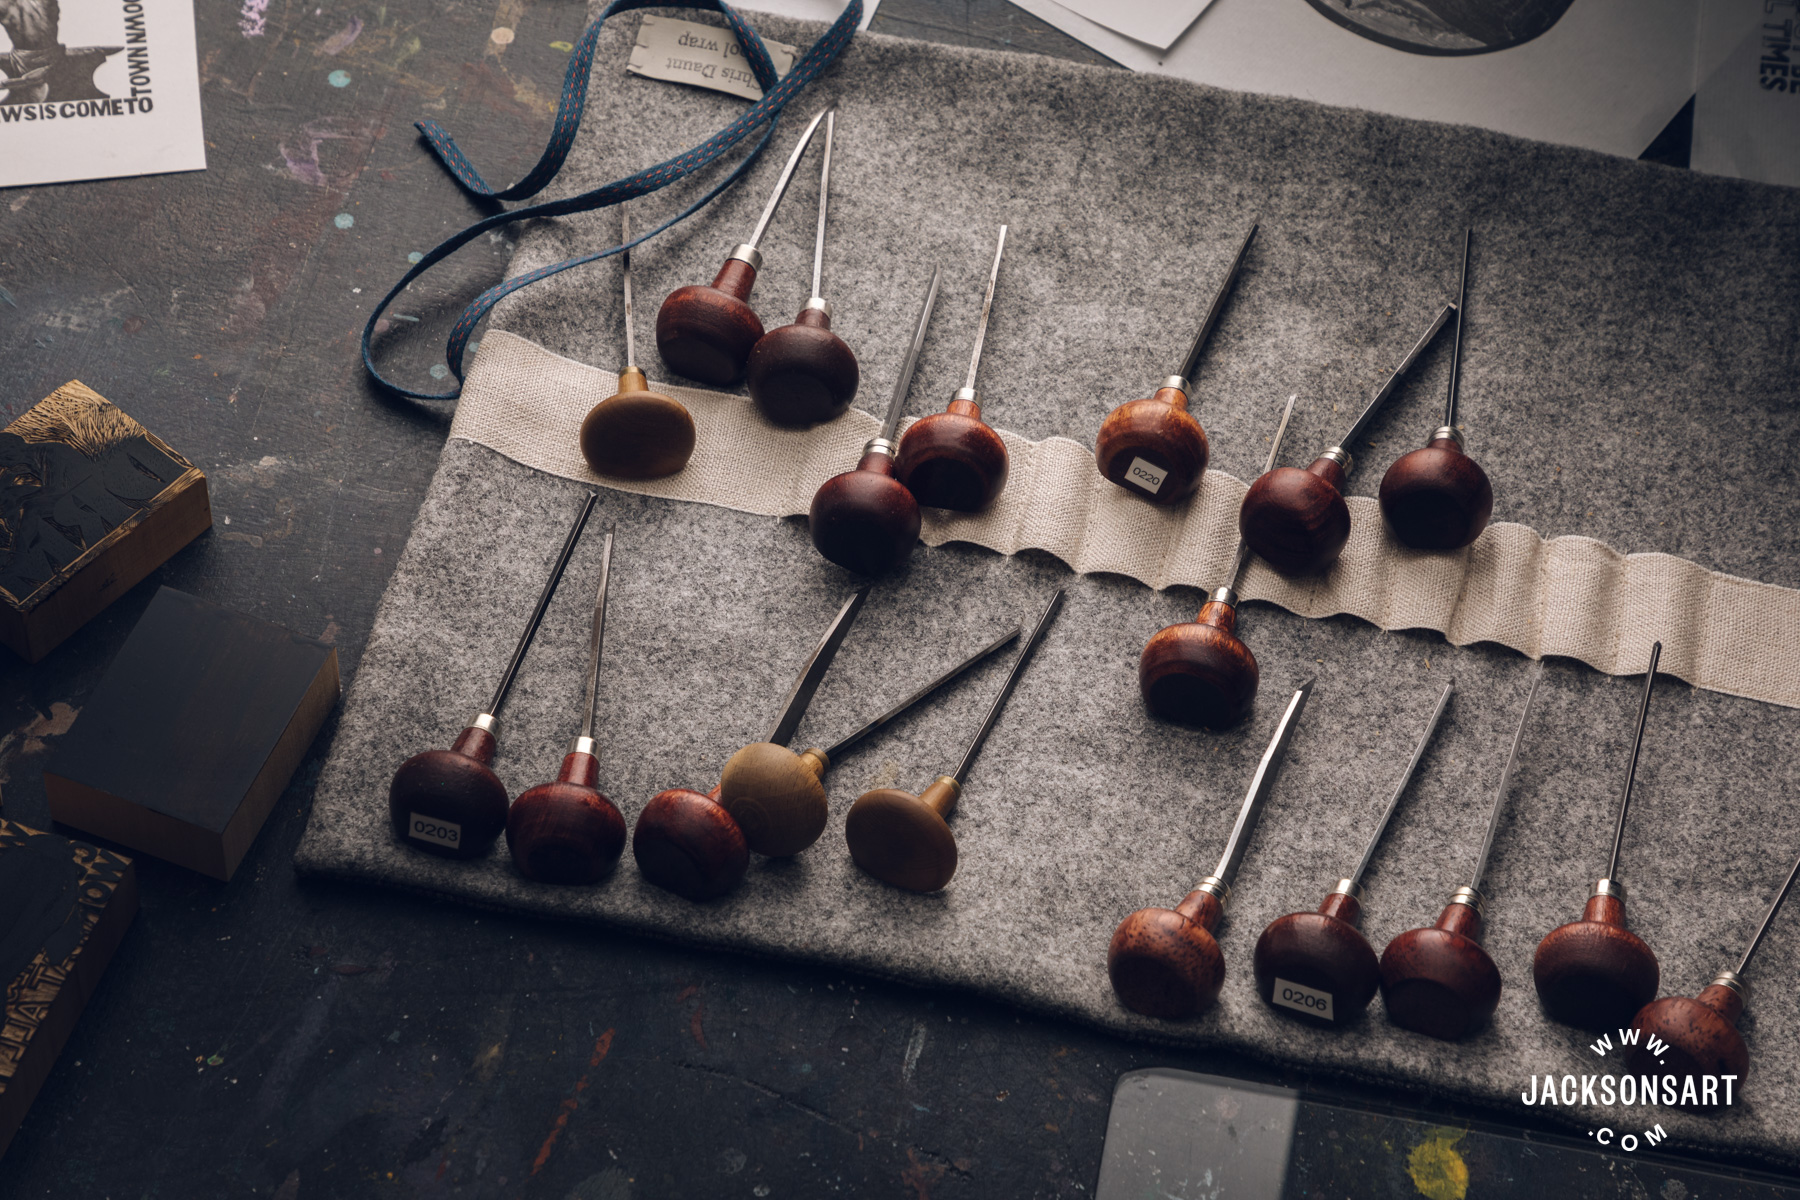
In terms of what tools you need to get started, I would recommend two or three tools. A square graver and a spitsticker, they’ll be good for drawing curves, lines, and for detailed bits of cutting. You can also use those to stipple different areas of the block to get grey tones. You’ll need at least one tool that’s pretty big – I’d recommend getting a medium round scorper.
If you want to start with two tools rather than three, that’s fine. I would make the scorper one of them. So have the scorper for removing large areas and then either the spitsticker or the graver for the more detailed work.
The Engraving Process
The sandbag supports the woodblock while you engrave. You can also use a thick book, like a Dickens book or something like that. You’ll have one hand holding the block, the tool in the other hand. If you’re doing it flat on a table, it’s hard to get the right angle, for one, and secondly, if you slip, you’re liable to kind of stab your other hand. I’ve done that enough times to always use a sandbag now. It also makes it slightly easier to spin the block – when you’re getting to different areas of the block from different angles, you’ll generally tend to do that by twisting the block rather than by moving your arm around.
I’d say that in general, a block will print slightly darker than it appears. So don’t make your cutting too dainty. And then most importantly, go slow. You can’t put the wood back once you’ve cut it away. And any mistakes you make, you’ll just have to style out or live with. So think twice, cut once is the rule. It’s meant to be a meditative and thoughtful activity. And even a small one could take five days. So don’t rush it.
Looking After Your Tools
Before we move on to printing, I just want to mention a little bit about how to look after your tools. There’s not that much to do, but most people who’ve written manuals on wood engraving have said you should wipe them down and put a bit of machine oil over the surface just to stop them from tarnishing.
One thing you really do have to keep doing is sharpening your tools. If you don’t, then they won’t bite into the surface of the block cleanly, and they’ll just skip about on the surface. It’s really hard to control a blunt tool, and any great engraving you do manage to do will look worse. It’ll look scrappy.
Tilt the angle of the tool towards the light and you’ll see that it comes from the factory with a flat face on it. What you’re trying to do by sharpening is to move that cutting face very slightly back towards the handle of the tool without changing the angle or introducing lots of different facets, so it’s quite a delicate operation. You need a sharpening stone to do it.
Remember that the cutting face is meant to be very flat. So what you normally do is put a drop of oil on the surface of the sharpening stone, and then you can move the tool around until the oil bunches out of the sides. Then you just move it forward and backward with a flat motion. A few back and forth on the sharpening stone should be enough to give you a sharp edge. You’ll also find it easier to achieve a constant angle between the face of the tool and the stone if you run your finger down it.
Printing
You can print wood blocks using a printing press, or you can ask a professional letterpress printer to print your block for you. But printing by hand requires less equipment. It’s perfectly easy to do, and it’ll give you a result immediately. It’s perfectly suitable for small engravings, particularly if you only need a few prints.
So the method is really simple. We just need to roll ink onto the block and press some paper onto the top of it so that we get a print.
I’m using black letterpress ink here. There is no such thing as wood engraving ink, as far as I know. So look for printmaking ink or letterpress ink. The ink is really sticky, and that’s key to its suitability. It’s also oil-based, so you’ll need a solvent of some kind, either turps or a synthetic solvent, to clean up once you’re finished. You can’t use other types of inks and paints, so you need letterpress ink. Acrylic or oil paint won’t have the right consistency.
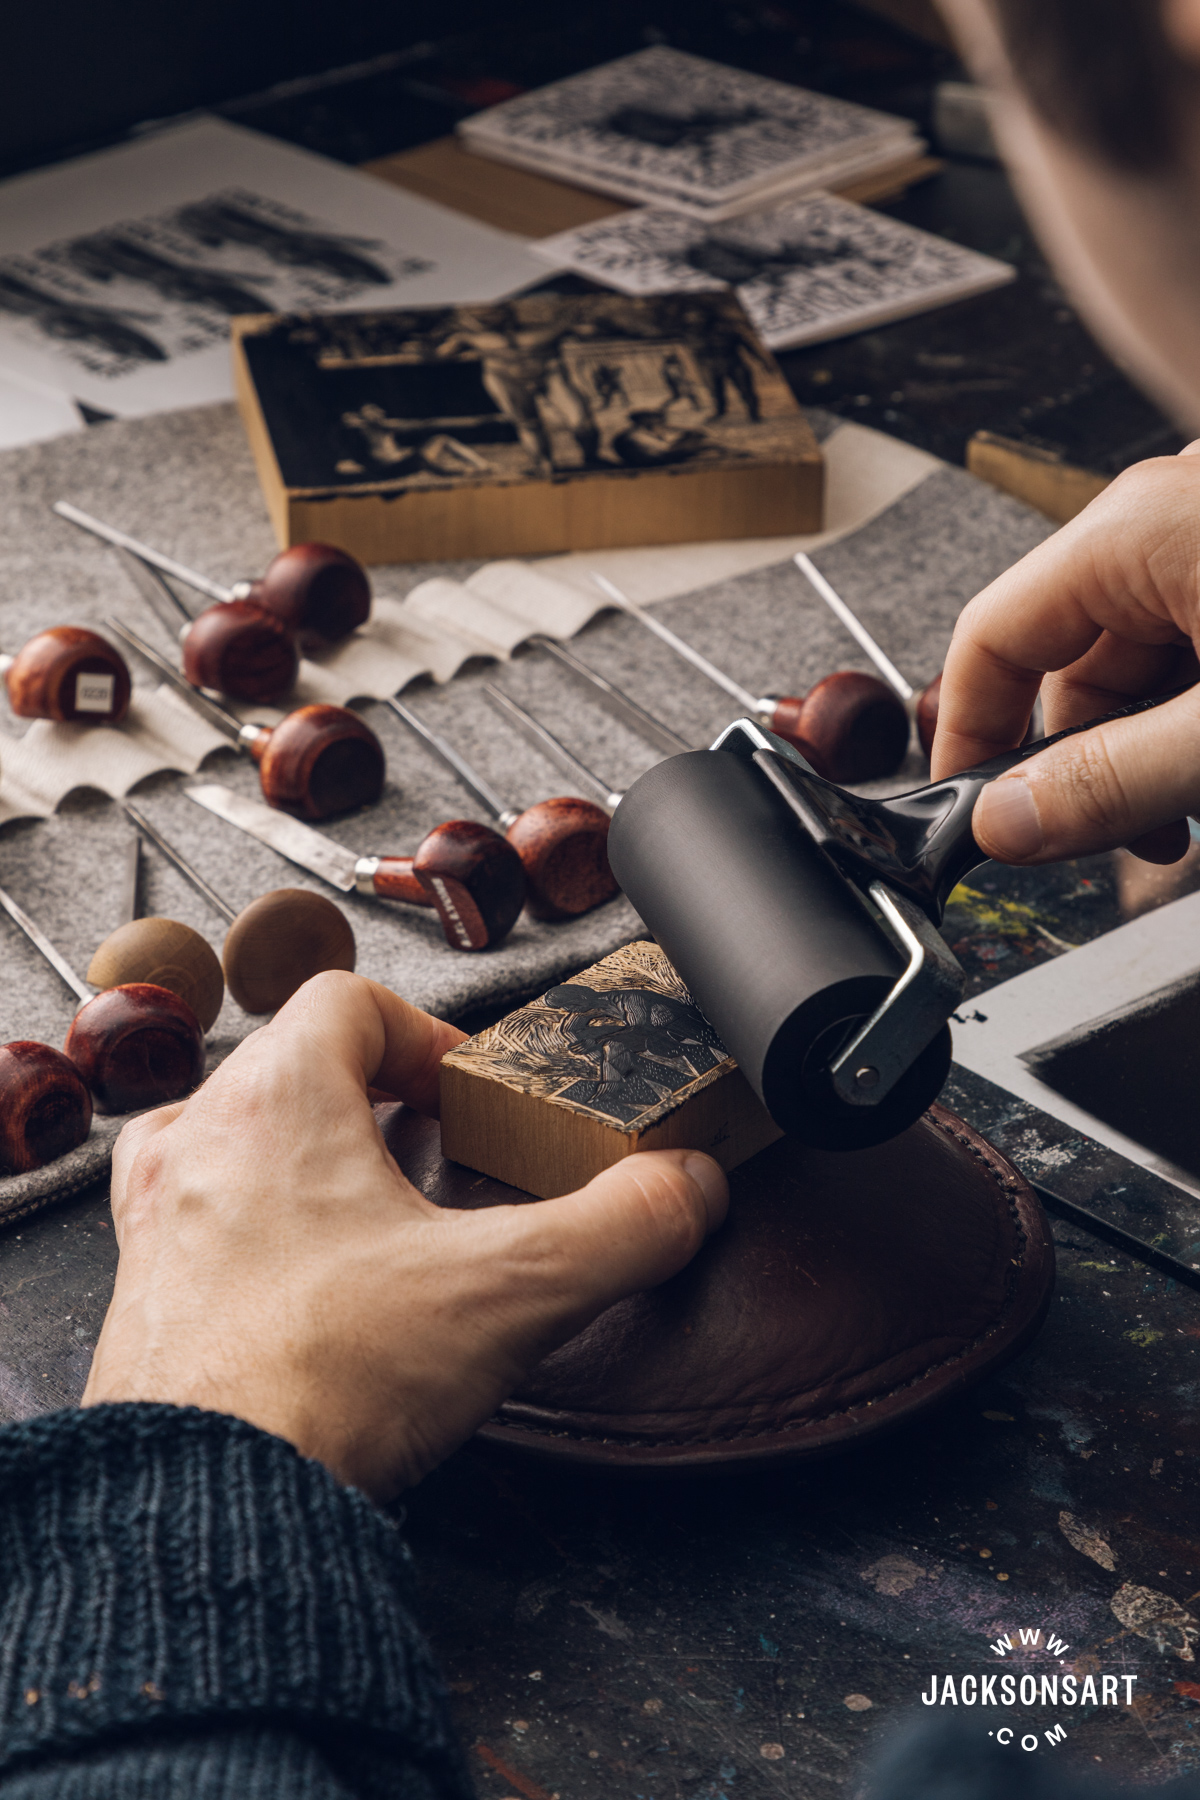
So, I put some of it out onto the slab and roll it on top of the block. You don’t need much, just a toothpaste-sized squidge will be completely fine. It goes a long way, just roll it out into a square.
You’ve got to lift the roller off the slab every push so that you’re spreading the ink out properly. And you can hear the hiss of the stickiness of the ink when you’re doing this. Now give a couple of passes over the top of the block. Not too much. If you look at it closely, it’ll be glistening at this point.
And then I just need to apply some paper. Ideally, just press it down with your thumb or your finger onto the surface of the block. What you want to do is hold it in place with one hand while you take a spoon and just press through it.
We’re using Sunomi Senaka – it’s extremely smooth on one side, which makes it really good for wood engraving. It’s also thin, so when I’m burnishing by hand, you can actually start to see the print showing.
So I’m just taking care to cover every inch of it in pressure. The darker an area is, the more time you’re going to have to spend burnishing it with the spoon. Sometimes it’s quite easy to slip off the edge with the spoon. If you’re struggling, you can get some books which are slightly less than the height of the wood block and surround it with four books – that can stop you destroying the print if you slip off the side. If you need to check the print, you can always keep one finger on the block and just lift it up. You probably won’t get perfect prints off the block immediately – the print might be too dark, and not pick up all of the marks, or it might be too light, with not enough time spent burnishing.
If, after you’ve printed, you find you want to make changes to the block, you can just take a rag and brush off the ink onto the rag. You can use solvent for this. Which I would encourage you to do when you’re finally cleaning up at the end of a printing session. The solvent doesn’t dilute the ink so much. So it doesn’t run down into the cuts that you’ve made.
Now that the block is clean, you can touch it up if needed. So, if you want to do some more engraving on the block, you can use some French Chalk or talcum powder. Rub it into the surface of the block so that you can see the image much more clearly. It’s not perfect, but it’s better than trying to engrave a totally black block.
If you’re happy and you’ve printed as much as you need, you’ll need to clean up the roller and the block using white spirit, turpentine, or a less-toxic substitute. Apply a few drops to a rag and just rub the ink off.
I’ve only scratched the surface, so if you need more guidance, there are good manuals out there by Simon Brett and another by Chris Daunt.
And probably your first port of call in terms of inspiration or guidance, or even finding some teaching, would be the Society of Wood Engravers. They’re the main collective body for wood engraving in the UK.
So thanks very much, and happy engraving.
Further Reading
Artist Insights: Duncan Montgomery
Painting and Printmaking Techniques of the Brotherhood of ‘the Ancients’
Making Handmade Cards with Wood Engraving
Everything You Need to Know About Printmaking Paper





2 thoughts on “Film: A Guide to Wood Engraving”
Great article by Duncan Montgomery
Very clear & accessible
Thankyou x
Thank you – I’m glad to hear you enjoyed the article.
Comments are closed.