



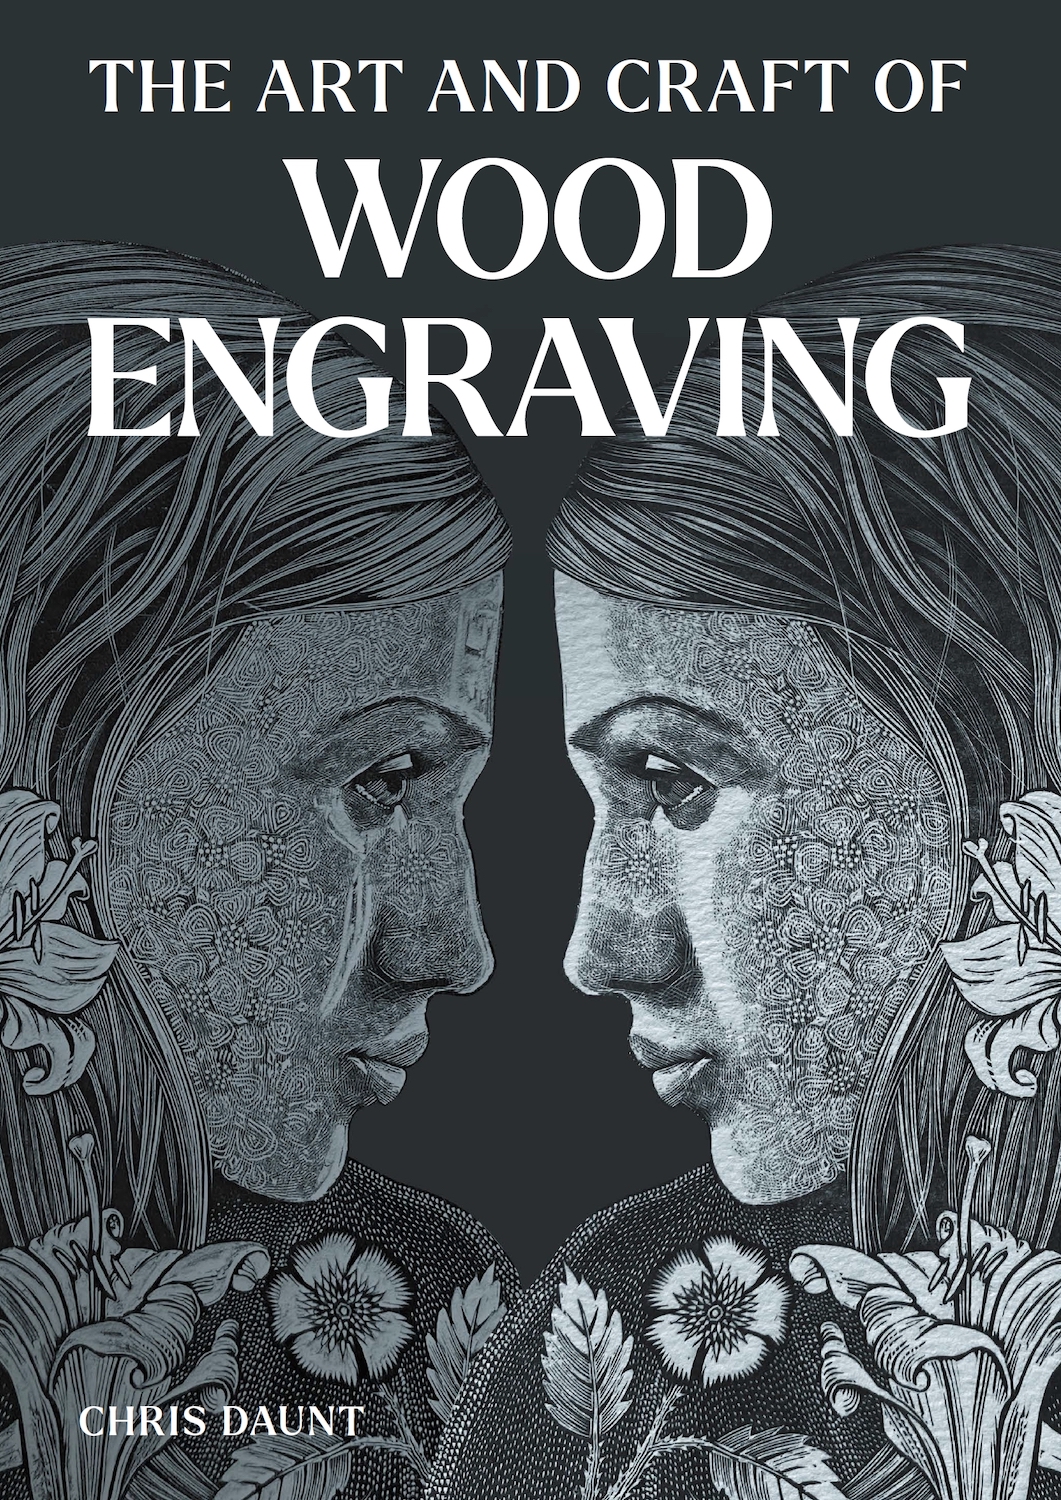
The Art and Craft of Wood Engraving by blockmaker, wood engraver, and teacher, Chris Daunt. Published by The Crowood Press, the book provides a guide to processes of preliminary drawing, engraving, and printing, as well as the tools and materials you will need to get started. Below is an excerpt from the book, which demonstrates how to make a basic wood engraving sampler, to familiarise yourself with the tools and range of marks you can make before you get started.
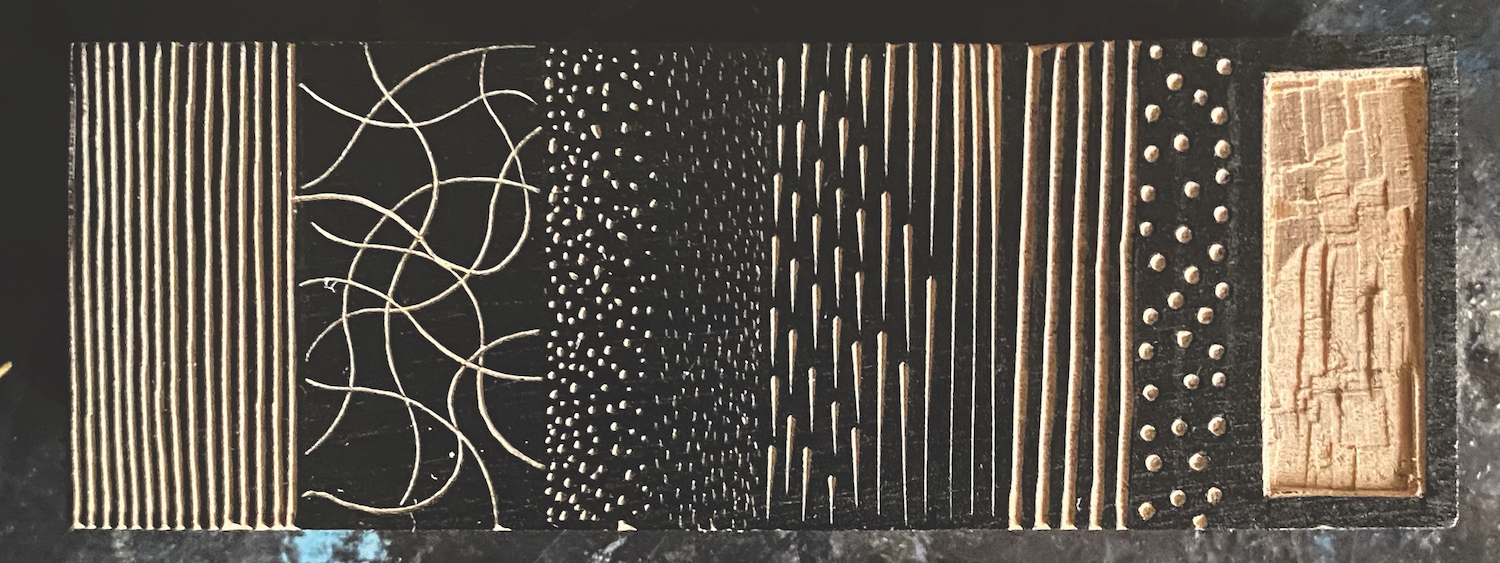
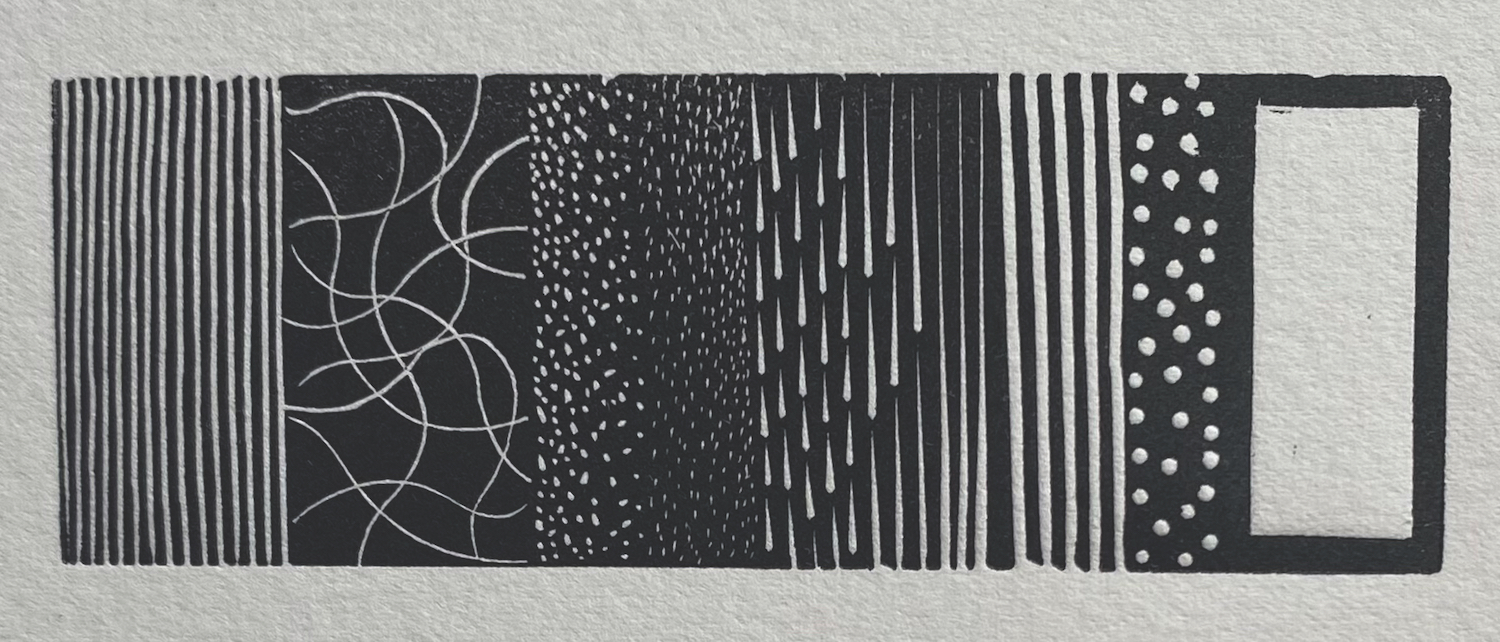
Above image: The Basic Sampler block and test print, demonstrated below.
Crowood Press
How to Make a Wood Engraving Sampler
by Chris Daunt
Before embarking on your engraving, it is wise to do a small sampler, which will help you learn how to hold the tool and explore a range of the marks available to you. Use a block approximately 90 x 30 mm, preferably lemonwood. Darken it using one of the methods described [in the previous chapter] and divide into six sections with a pencil or marker.
Section One: Parallel Lines
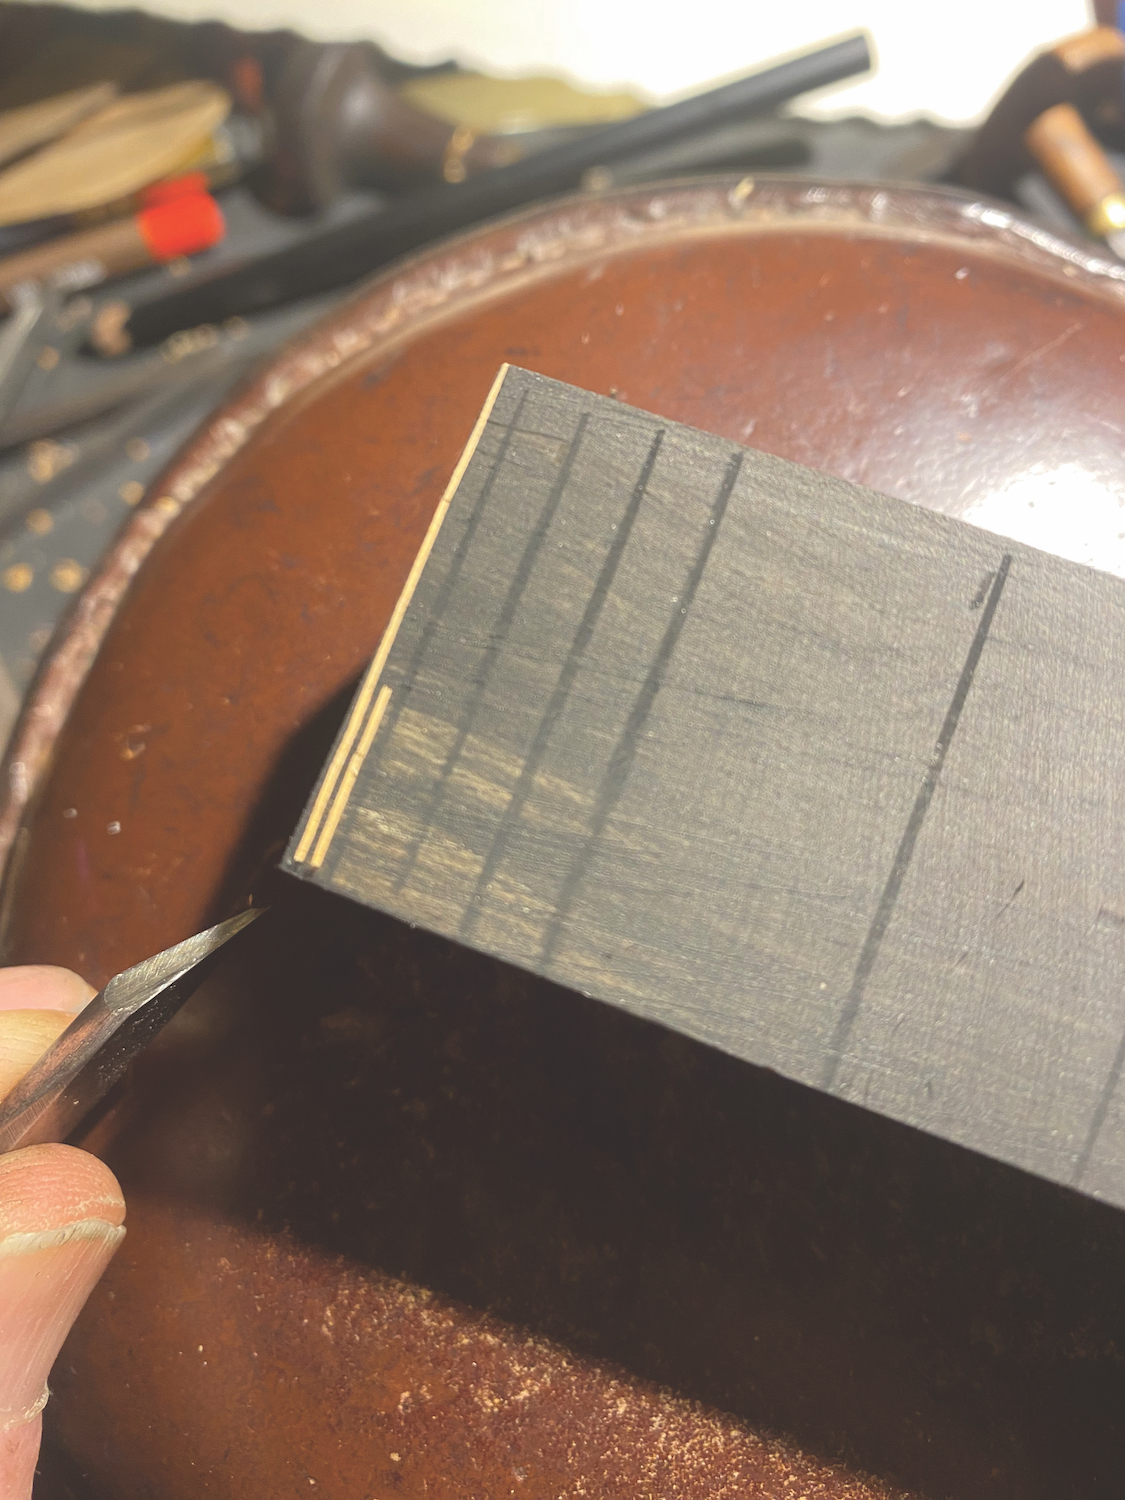
The first tool to use is the tint tool. The lines you are to make are straight and without any variation in thickness. Although you will not be rotating the block for this section, it is good practice to use the sandbag to support the block. When holding the block, remember to keep your fingers below the surface in case the tool overshoots. Hold the tool at a low angle and start the cut just in from the edge.
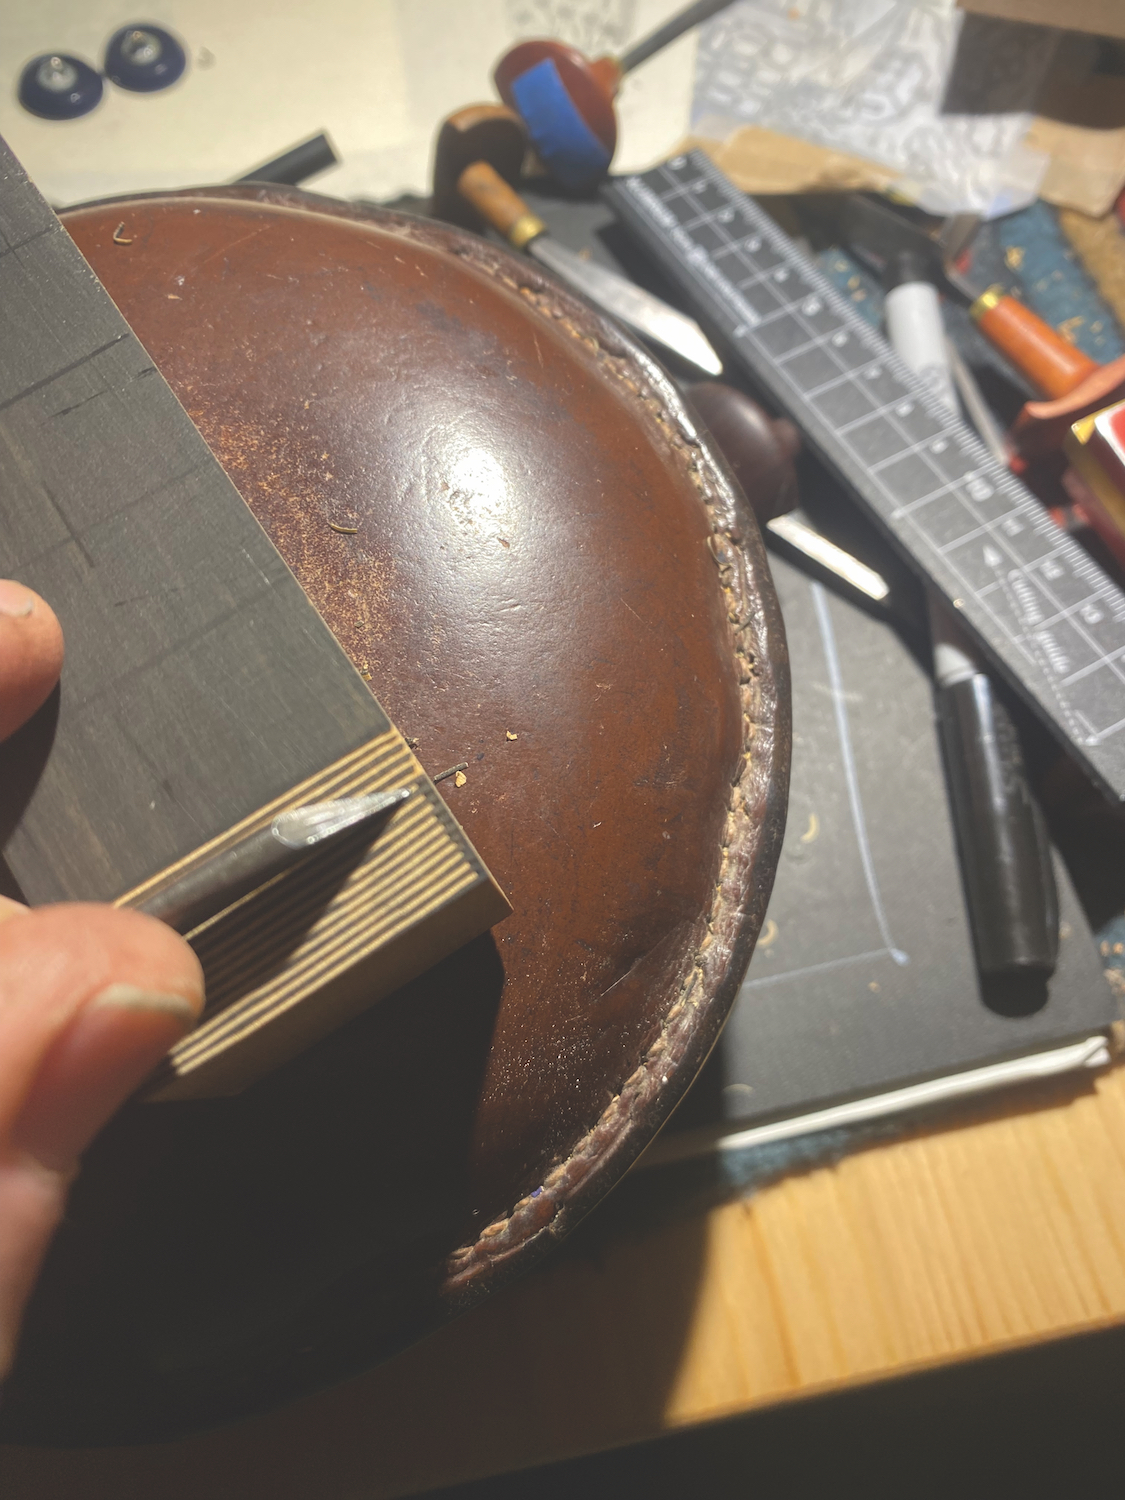
Engraving tools have a narrow range of operation – or ‘sweet spot’ – and you will quickly learn what it is. If too low, the tool will skip across the wood, too high and it will embed in the wood and require you to rock the tool from side to side as you engrave. The cutting should require very little pressure. As far as possible keep the lines straight and evenly spaced. Draw some guidelines on the block – without them you are sure to go off track.
Section Two: Curved Lines
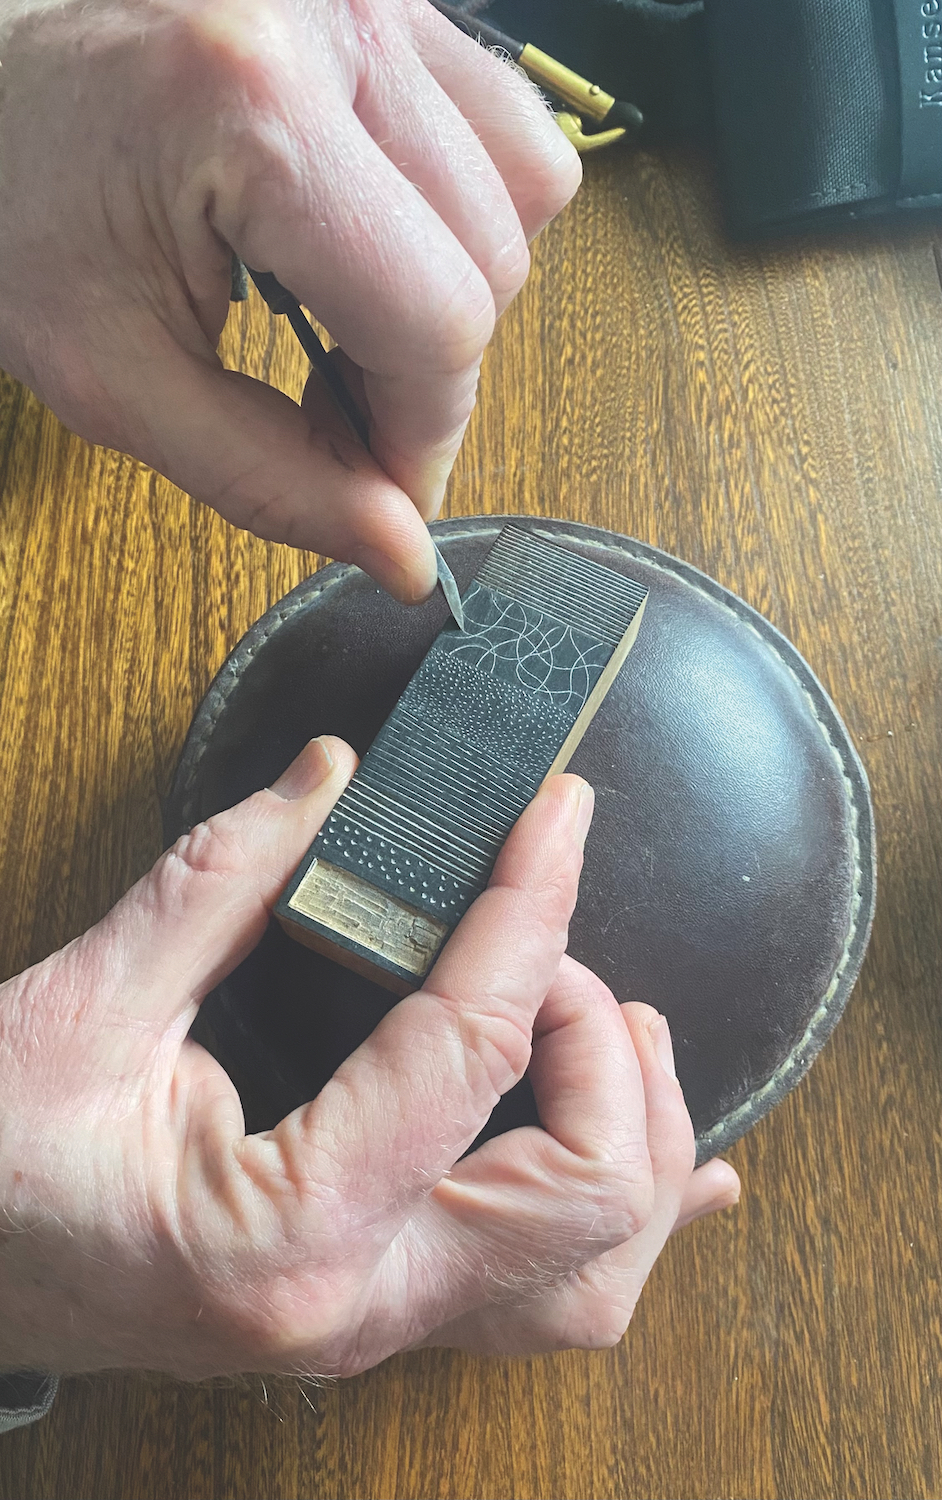
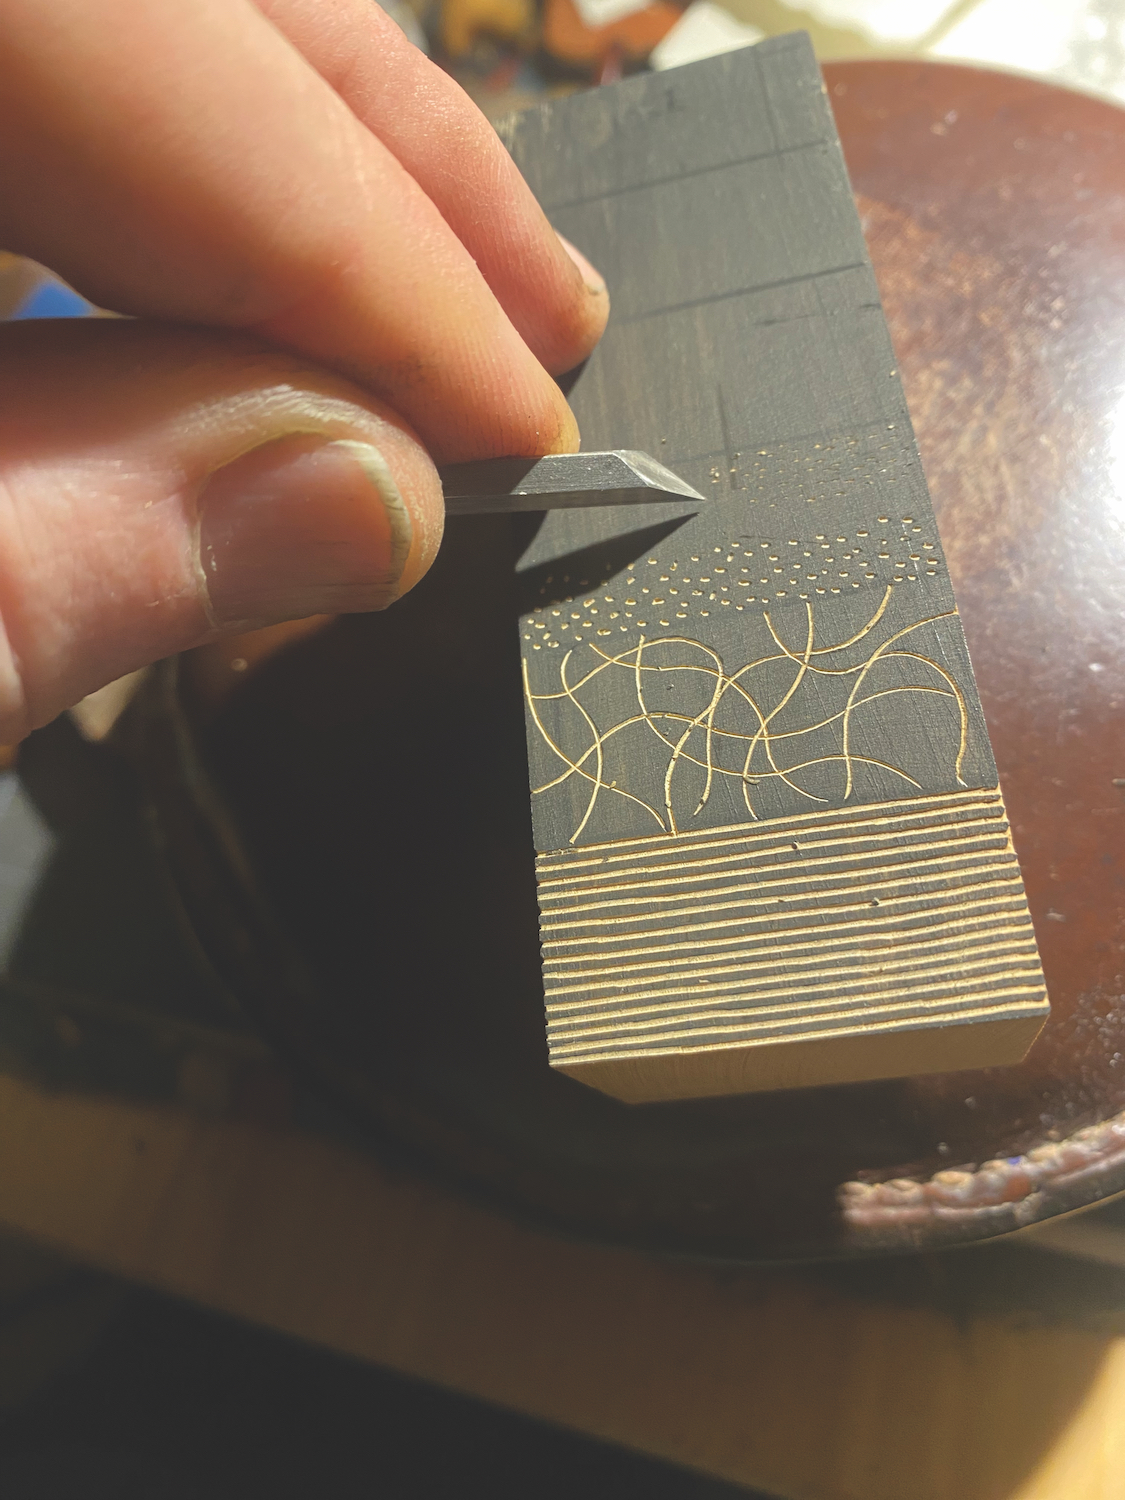
Here you will learn how to make curved lines by rotating the block on the sandbag. Use a spitsticker and keep it at the same low angle you used in the first exercise. Press the tool forward and rotate the block to make the curved lines. Remember that it is the swivelling block that produces the curve and not the action of the hand pushing the tool. This is the only way to make fluid lines in wood engraving and a fundamental skill to master.
Section Three: Stippling
In the third section you will use both the tint tool and the spitsticker to stipple. Start with the tint tool and raise it to an angle of roughly 25 – 30 degrees. Press it into the wood and flick out the wood using your forefinger as a pivot. This action will leave a dot. The closer the dots, the lighter the tone. Do the same with the spitsticker and you will see that instead of a dot this tool jabs into the wood. In both cases it is very important that the wood releases, leaving the surface smooth. Burrs created by poor stippling technique cause problems in printing, as they hold ink leaving an unsightly blur around the dot. The surface of the wood will feel like a rasp if your stippling technique is poor.
Section Four: Graduated Lines
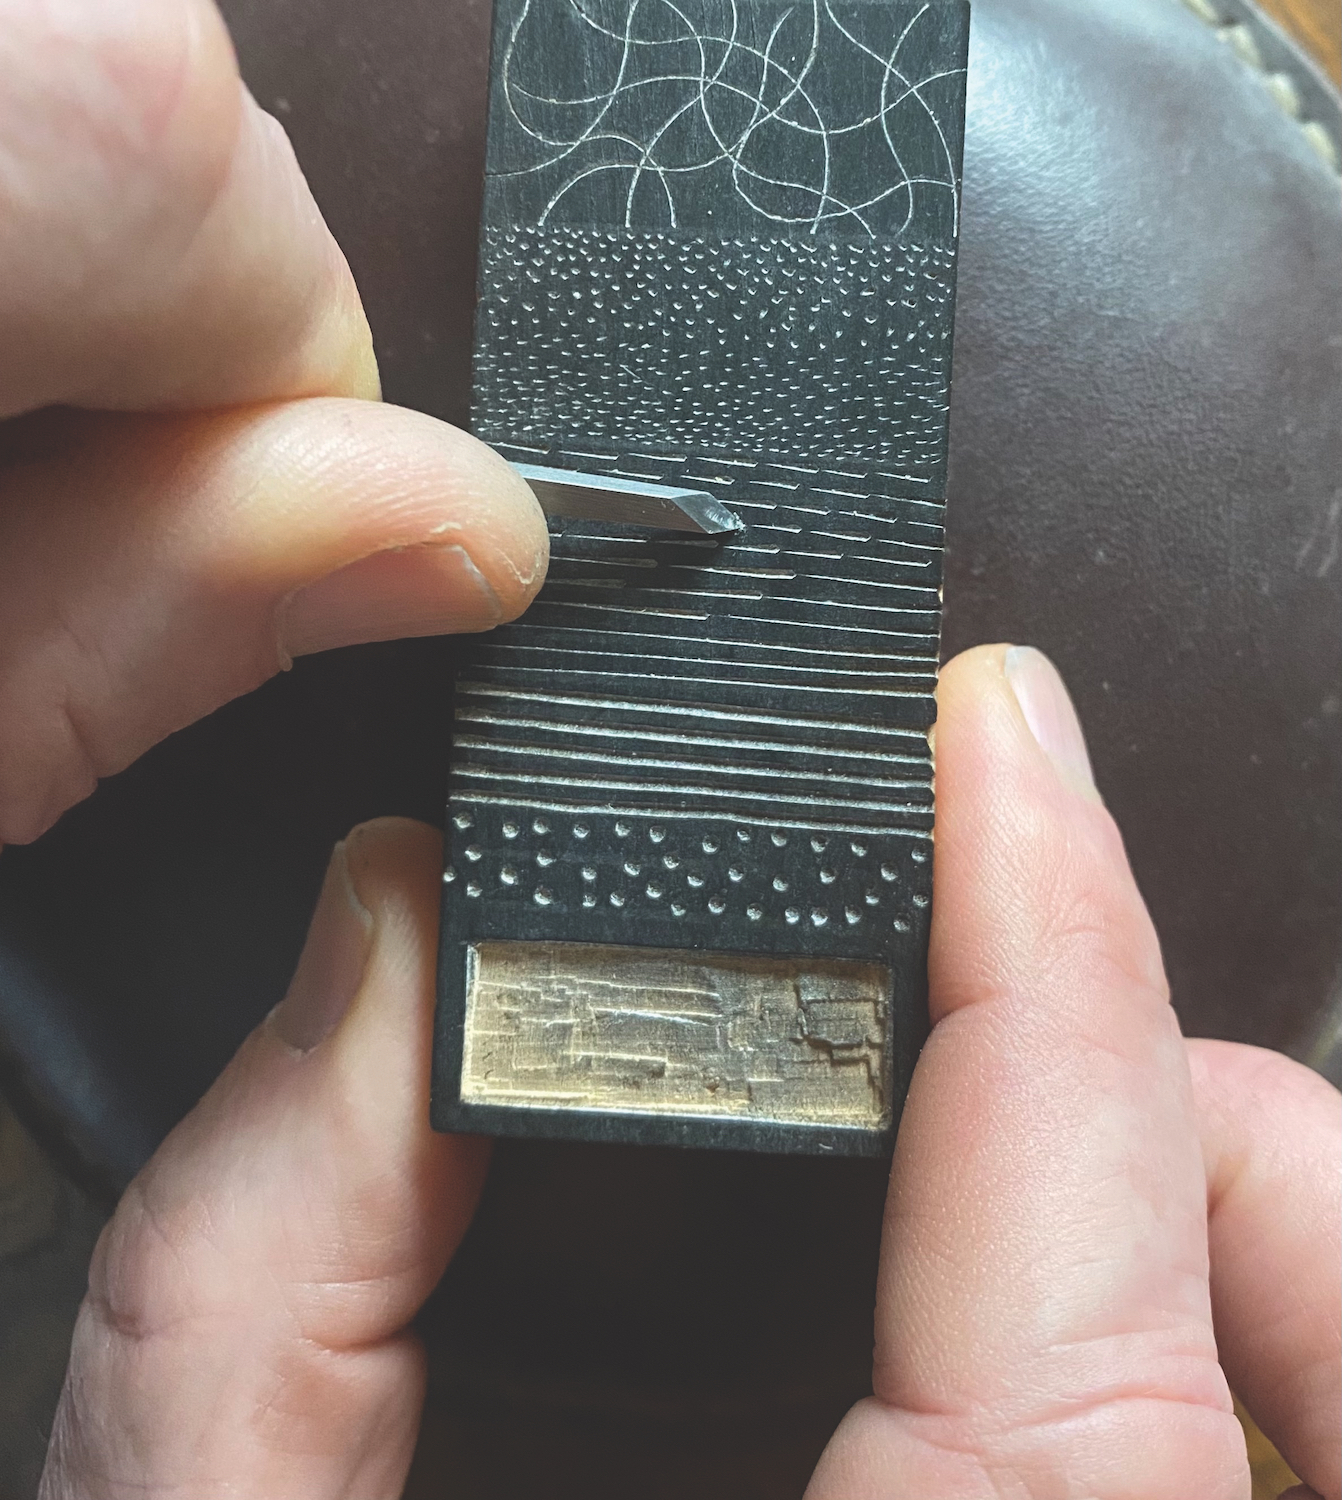
The next mark is one of the most useful to have at your disposal. Use a square or lozenge graver and hold it very low on the block, just high enough for it to bite into the wood. Engrave forward and gradually raise the angle as you proceed, until the tool comes to a halt, then flick out the wood. At first, keep the lines short until you are comfortable with this manoeuvre, then lengthen them. For this to succeed you must begin the line as fine as possible. The ability to make a line swell like this is invaluable for tonal transitions and can also be made with a spitsticker.
Section Five: Broad Lines
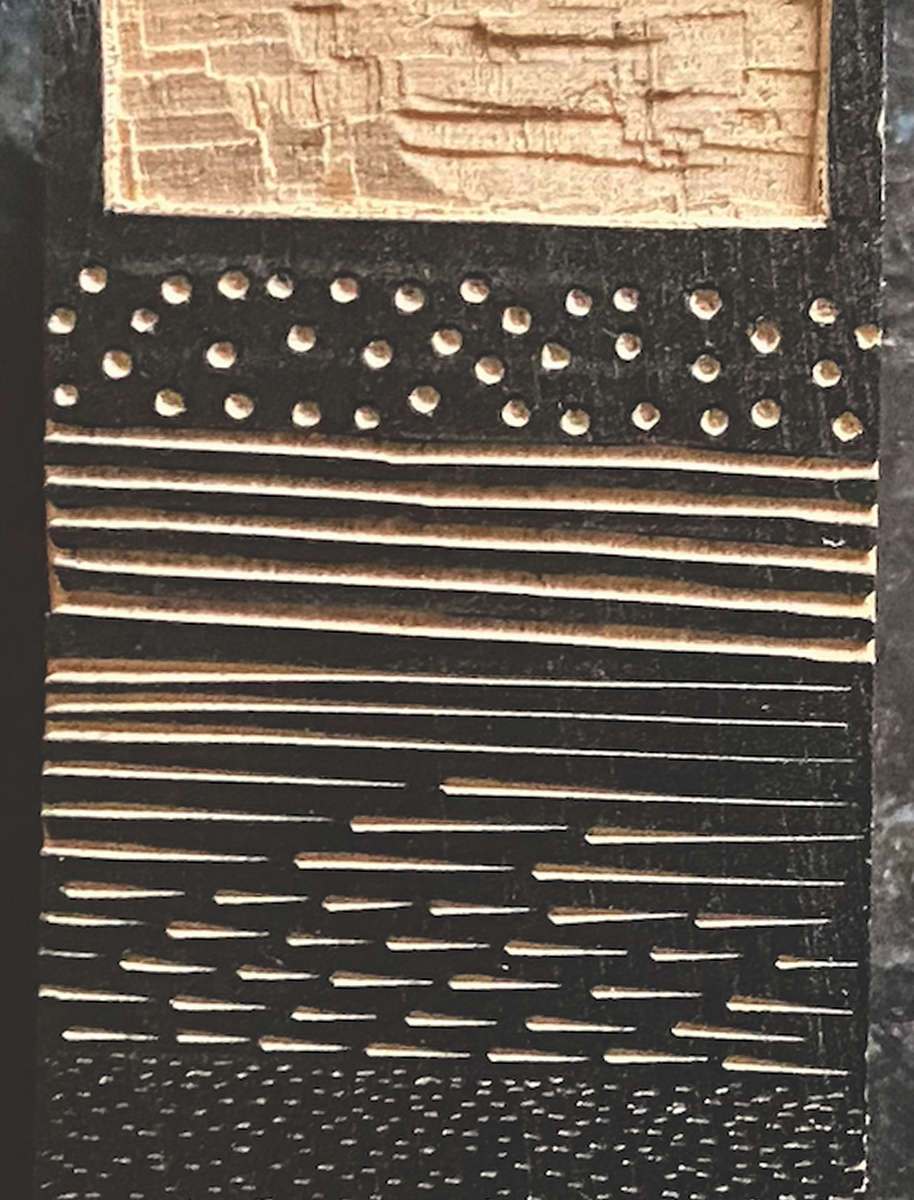
Use a medium round scorper and repeat what you did with the tint tool in Section One. You will encounter greater resistance from the wood as you engrave with this relatively large tool. Make the lines incrementally and the likelihood of slipping will be greatly reduced – remember to keep your finger below the surface of the block because you are using greater force with this tool. In the second half of this section use the scorper to make dots. Here the technique differs from stippling in that the tool is set into the wood and the block rotated full circle to give a large, symmetrical dot.
Section Six: Clearing
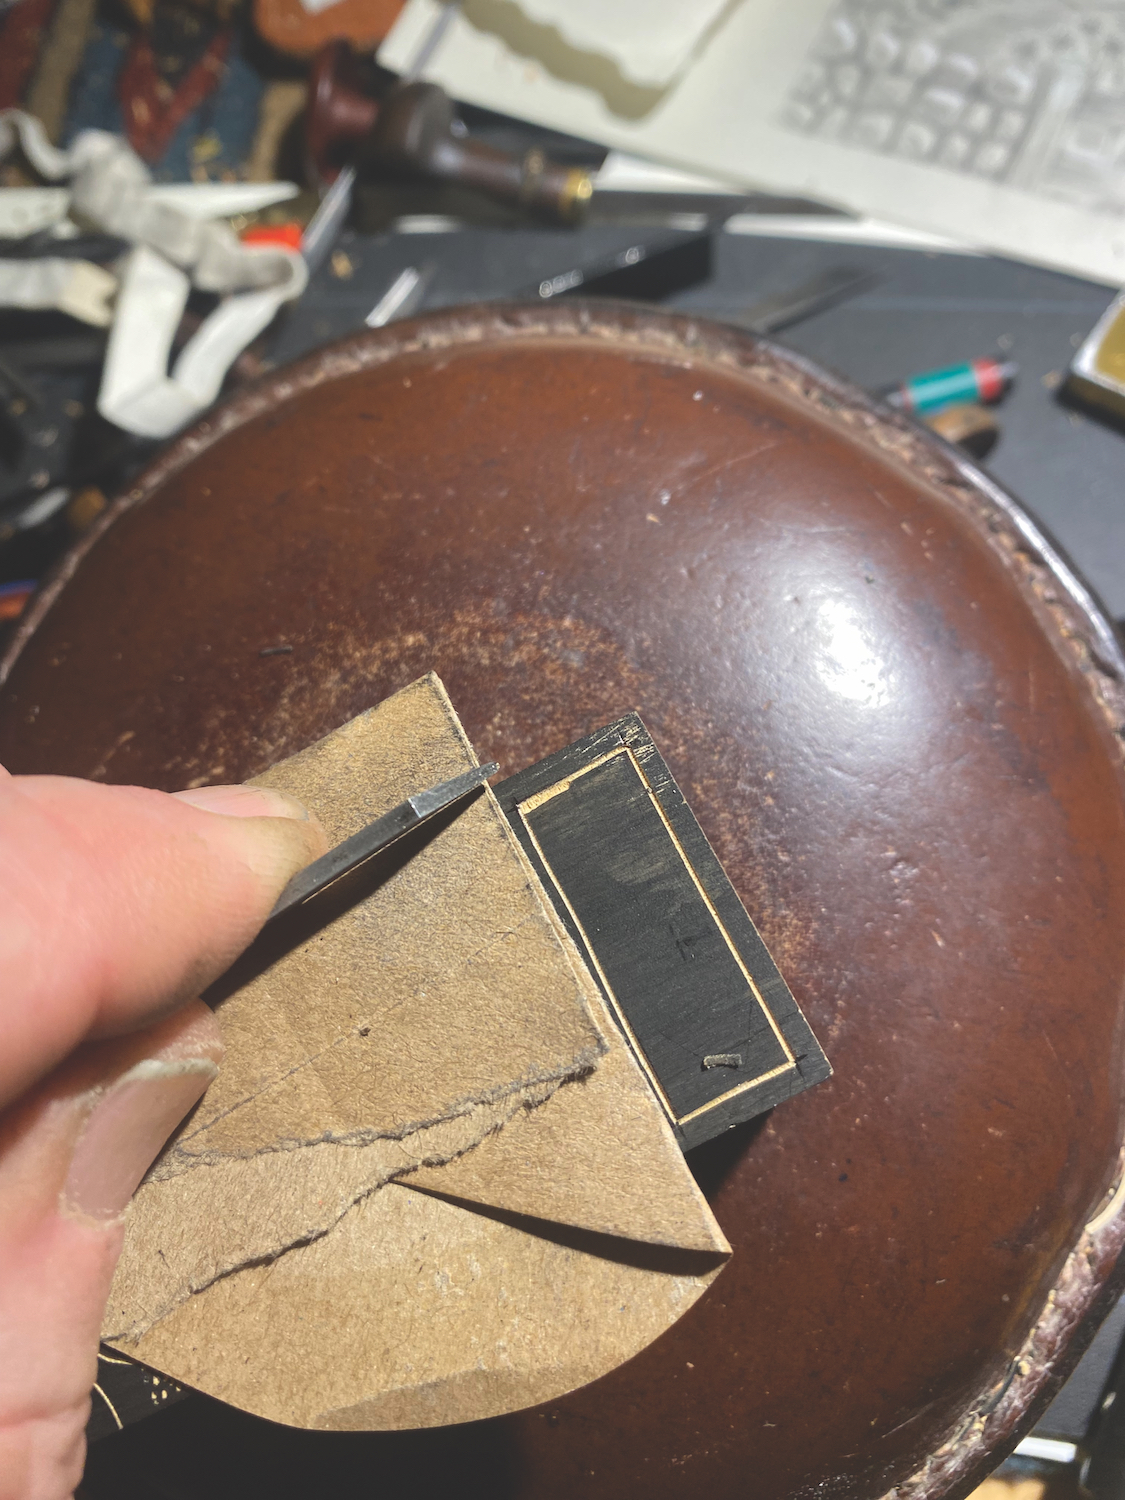
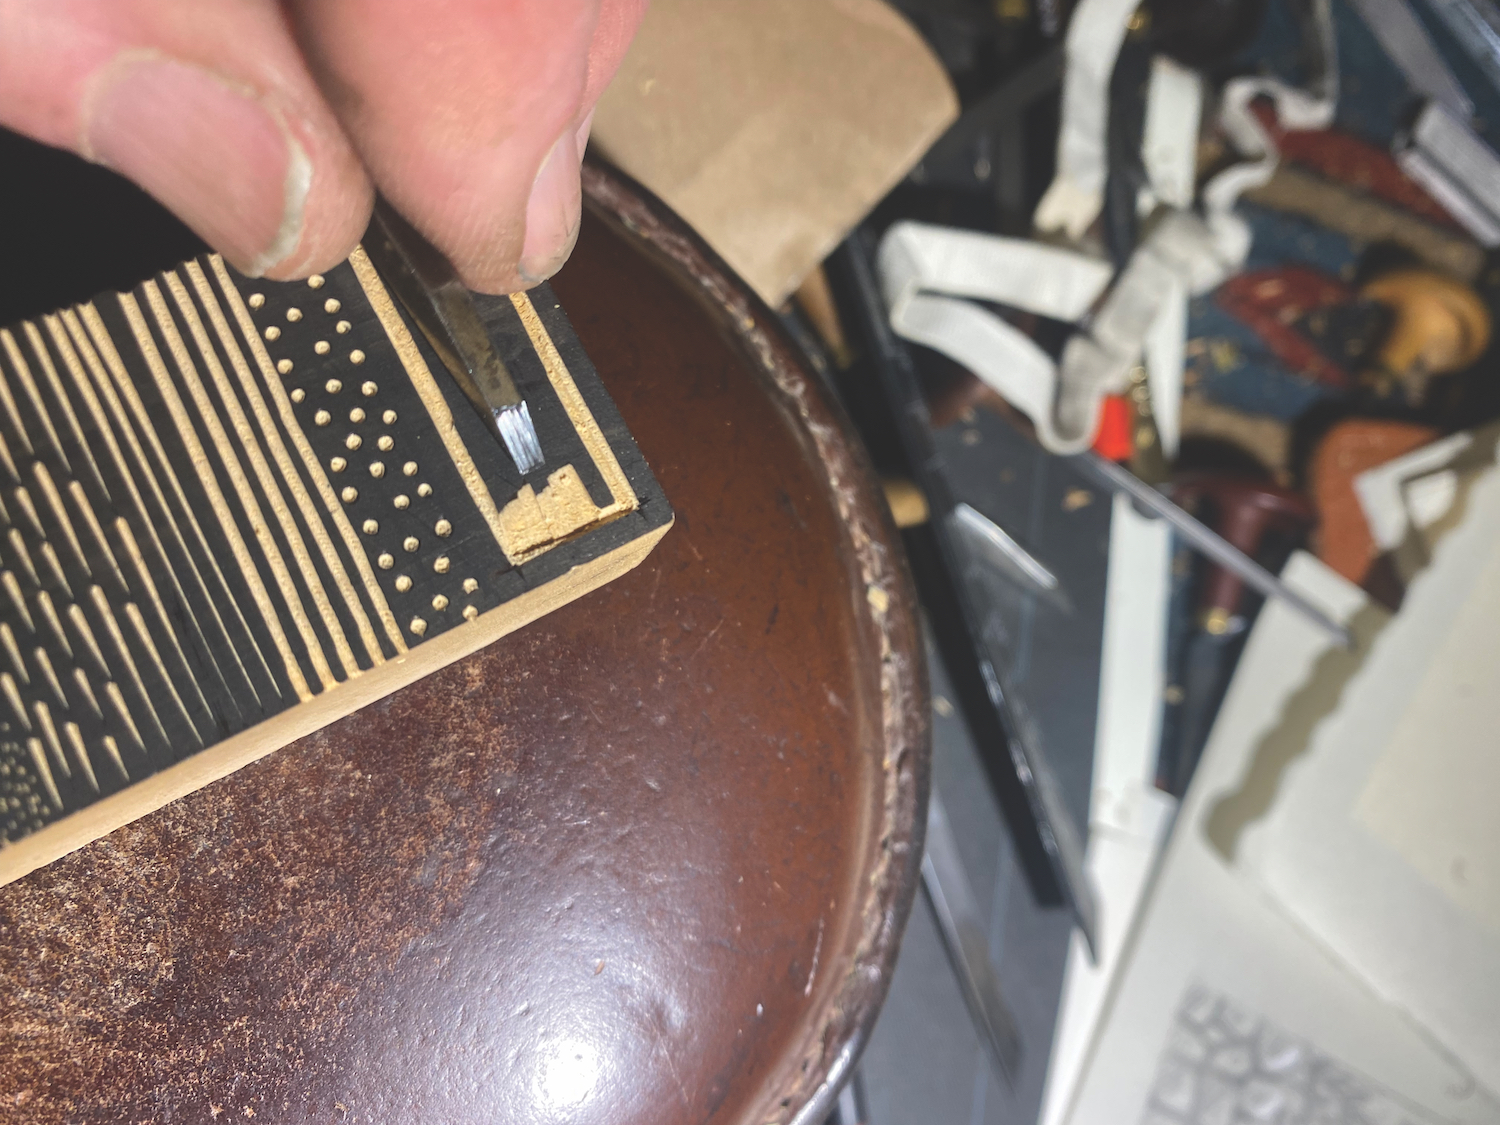
In wood engraving, you must work for your whites; in drawing, they come free with the paper. Draw a rectangle, leaving a frame, then cut a line around the inside with a tint tool. This has defined the area to be cleared with a medium round or square scorper. As far as possible, engrave from an edge towards the centre so that any overshooting is less likely to cause damage. However, you must avoid damaging the edge with the belly of the tool. This bruising or denting of an edge is easily prevented by placing a thin piece of card under the tool as it levers against the wood. If you indent the wood, this will show in the finished print. It is usually the case that beginners do not clear deeply enough and that they leave ridges which foul the cleared areas. Go far deeper than you think you need to. Spend as much time as you need on this first sampler block and repeat it if you feel the need.
Text copyright © Chris Daunt 2023
Photo credits © Chris Daunt 2023
Published by The Crowood Press 2023
Further Reading
Making Handmade Cards With Wood Engraving
Printmaking: Comparing Lino, Softcut, Speedy Carve and Japanese Vinyl
How to Care for a Wooden Oil Painting Palette
Shop The Art and Craft of Wood Engraving on jacksonsart.com

2 thoughts on “How to Make a Wood Engraving Sampler”
found the wood engraving sampler post very useful.
Great, thanks for letting us know Janette!
Comments are closed.