



Although the tradition of painting on wooden surfaces stretches back into antiquity, detailed advice on sealing and priming panels for painting can be hard to find. Different mediums and types of wood require specific treatment to ensure your work has longevity. In this article, I explore the history of painting on wooden panels before demonstrating how to prepare panels for painting in oil, acrylic, and watercolour.
Contents
The History of Painting on Wood
What Difference Does the Type of Wood Make to Priming?
How Do You Prime a Panel for Acrylic Painting?
Painting in Acrylic and Watercolour on a Primed vs Unprimed Panel
Can You Prime a Wood Panel but Keep the Wood Surface Visible?
Can You Prime a Wood Panel For Watercolour Painting?
How Do You Attach Watercolour Paper to a Panel?
Can you Attach Canvas to a Wood Panel?
How Do You Prepare a Wood Panel for Oil Painting?
How Does Oil Painting on a Pre-Primed Panel Compare to Painting on Your Own Ground?
What Difference Does Sanding Make to a Wood Panel?
Can You Carve Into Wood Painting Panels?
The History of Painting on Wood
The Ancient Greeks painted on wood panels in tempera and encaustic, but these early works have been almost entirely lost to time. We know that panel painting was a highly regarded art form in the classical world through surviving written accounts by Pliny the Elder, in his book Natural History. It contains descriptions of specific works and artists, who remain in memory only through this text. The humidity of the climate, paired with the natural vulnerability of wood, unfortunately led to this entire chapter of art history rotting away.
The earliest remaining examples are the Greek Pitsa panels, which were painted around 550-500 BC. They were discovered in a cave, which was a place of worship to chthonic deities, nymphs, and the goddess Demeter. It’s thought they were left there as votive offerings by members of the lower classes, who would find wooden religious offerings more affordable than those made in stone or metal.
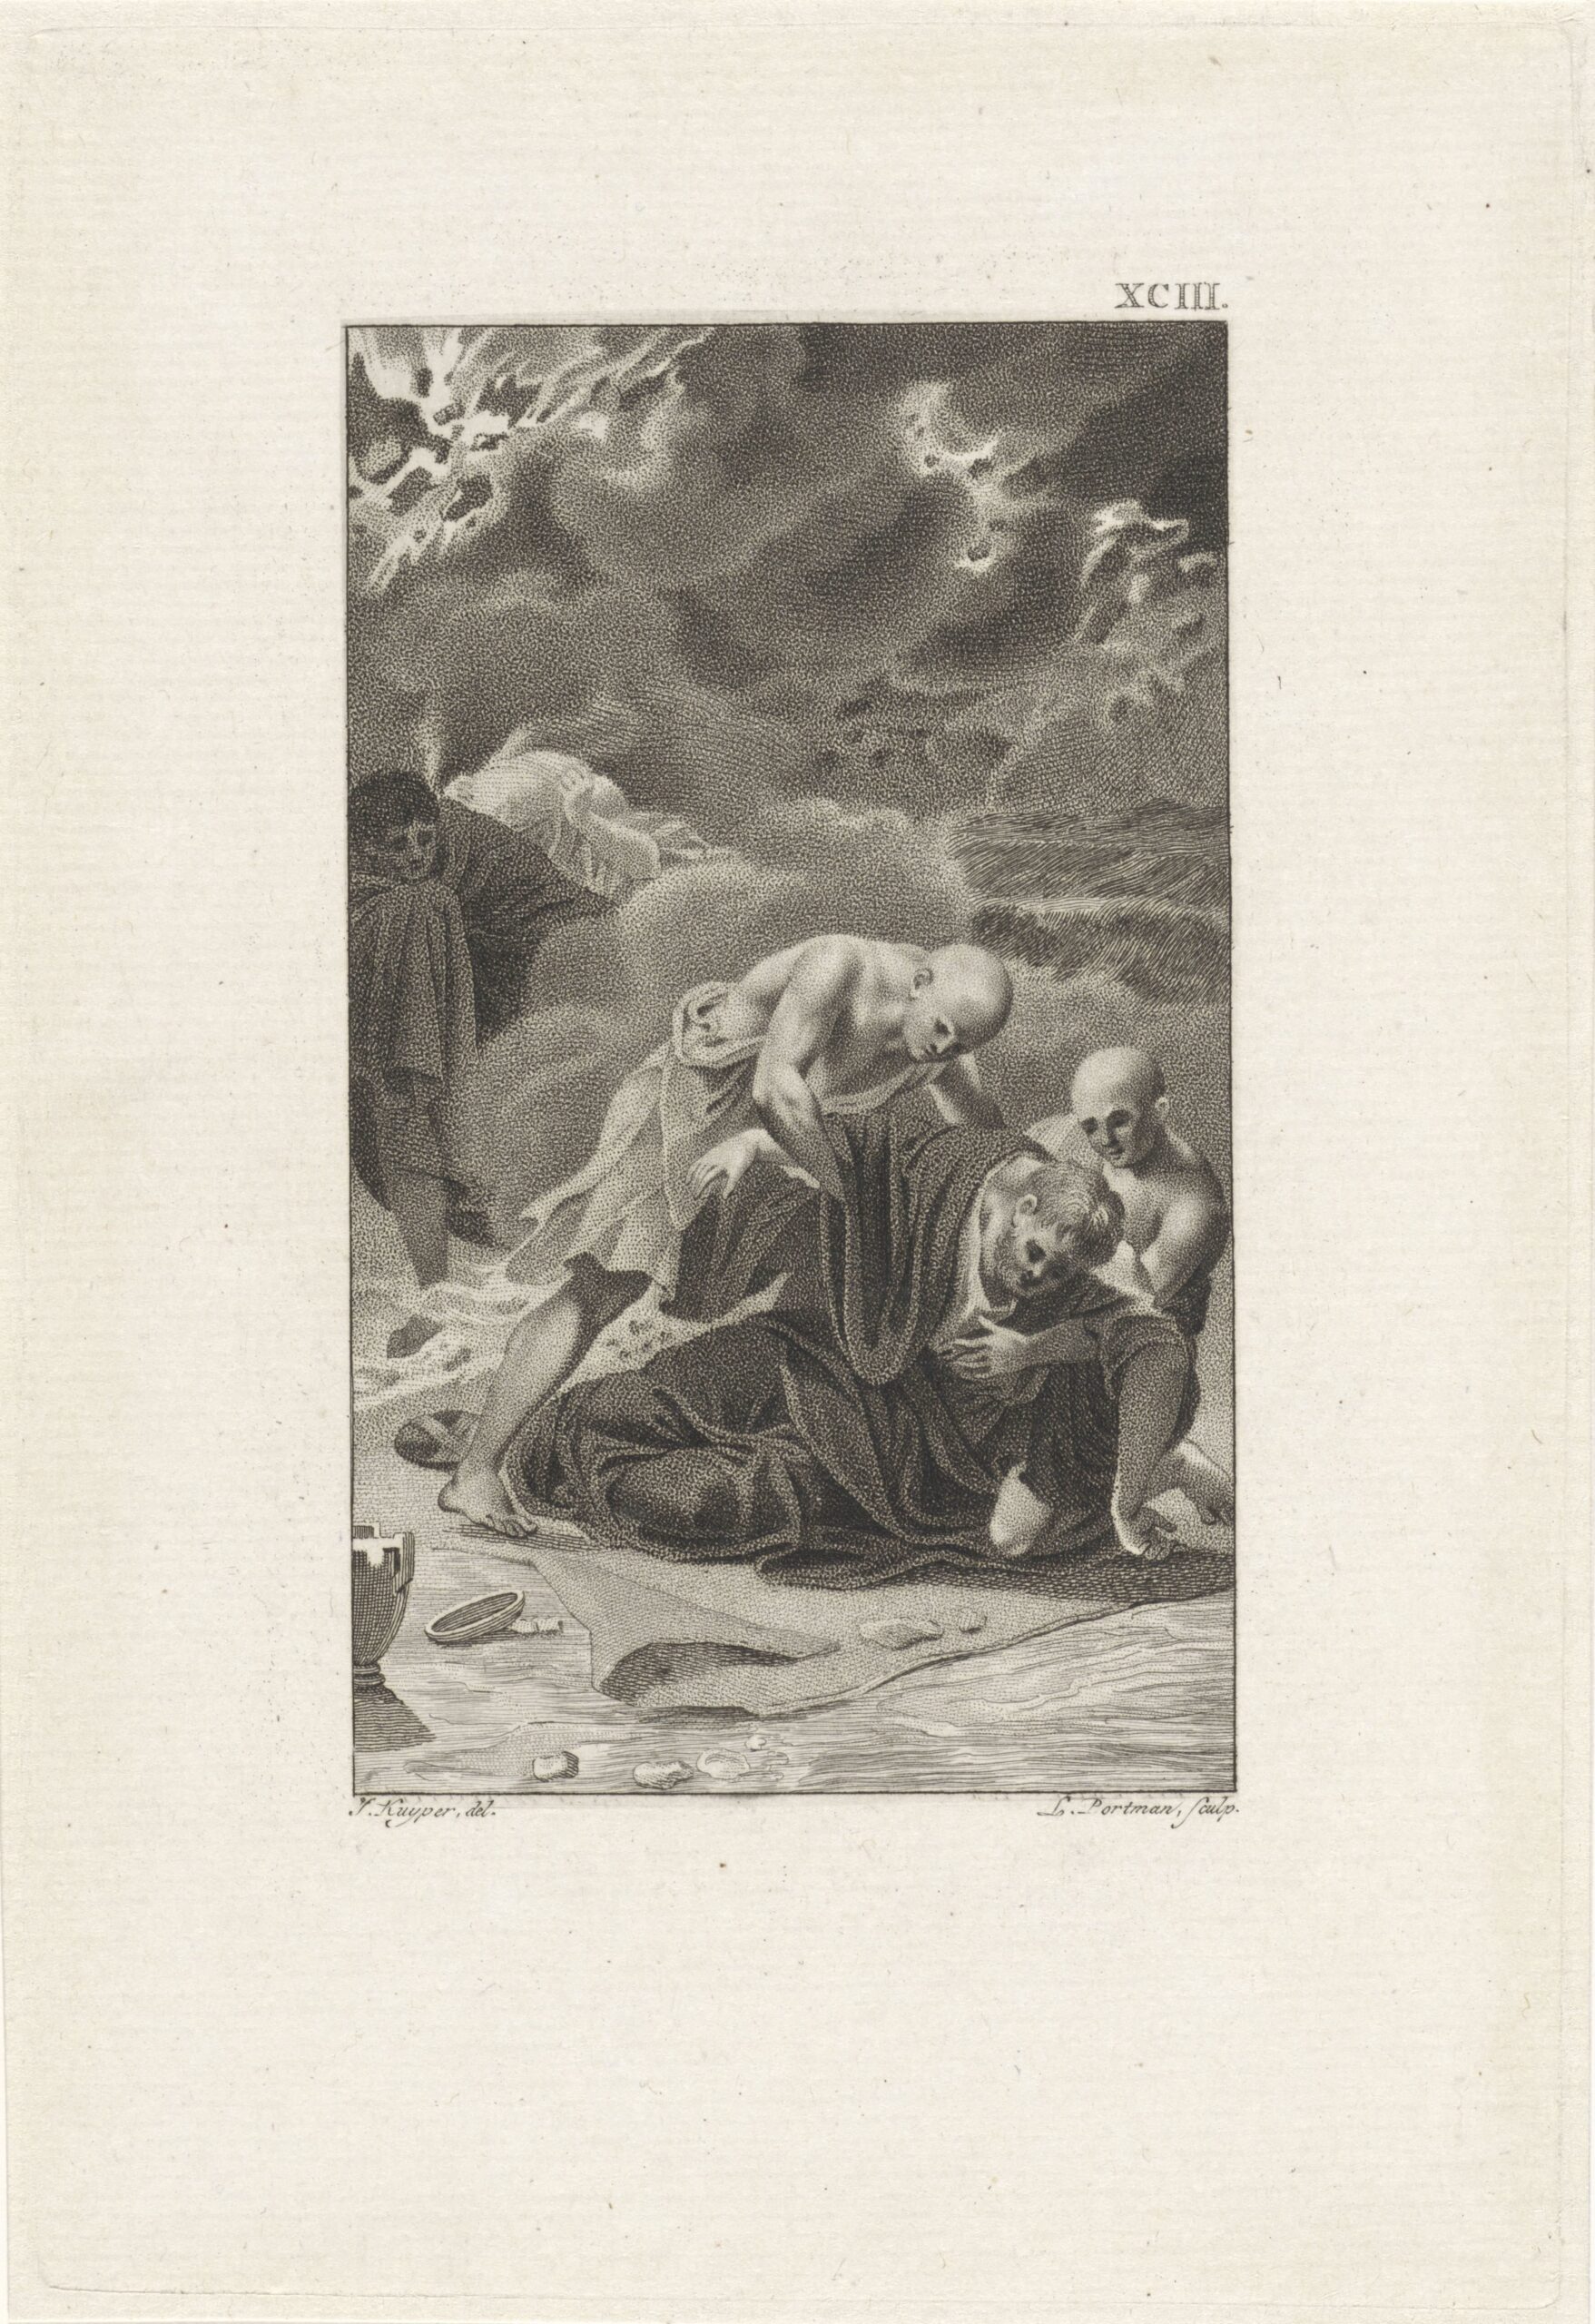
Ludwig Gottlieb Portman after a drawing by Jacques Kuyper
Etching, 20.4 x 13.6 cm | 8 x 5.4 in
Rijksmuseum
In the Roman-Egyptian period, the upper classes attached encaustic or tempera portraits on wood to the faces of mummified bodies. Today, they provide incredible insight into the past by showing us the faces of those who lived millennia ago, with sensitive realism. These paintings have been discovered across Egypt, but the majority were found southwest of Cairo in the Faiyum Basin. This led all paintings of the genre to be called Fayum mummy portraits.
Most of these paintings have been removed from the bodies they were originally attached to, but surviving intact examples show that the portraits were mounted by being bound into the wrappings of the mummies themselves. It’s theorised that this may have been part of the mourning process. Relatives may have kept the bodies of their loved ones for a period before they were entombed, able to observe their faces as they were in life. There is some debate as to whether they were painted when the subject was still alive or already dead – with some suggesting they may have been hung in people’s homes before being buried with them on the occasion of their death.
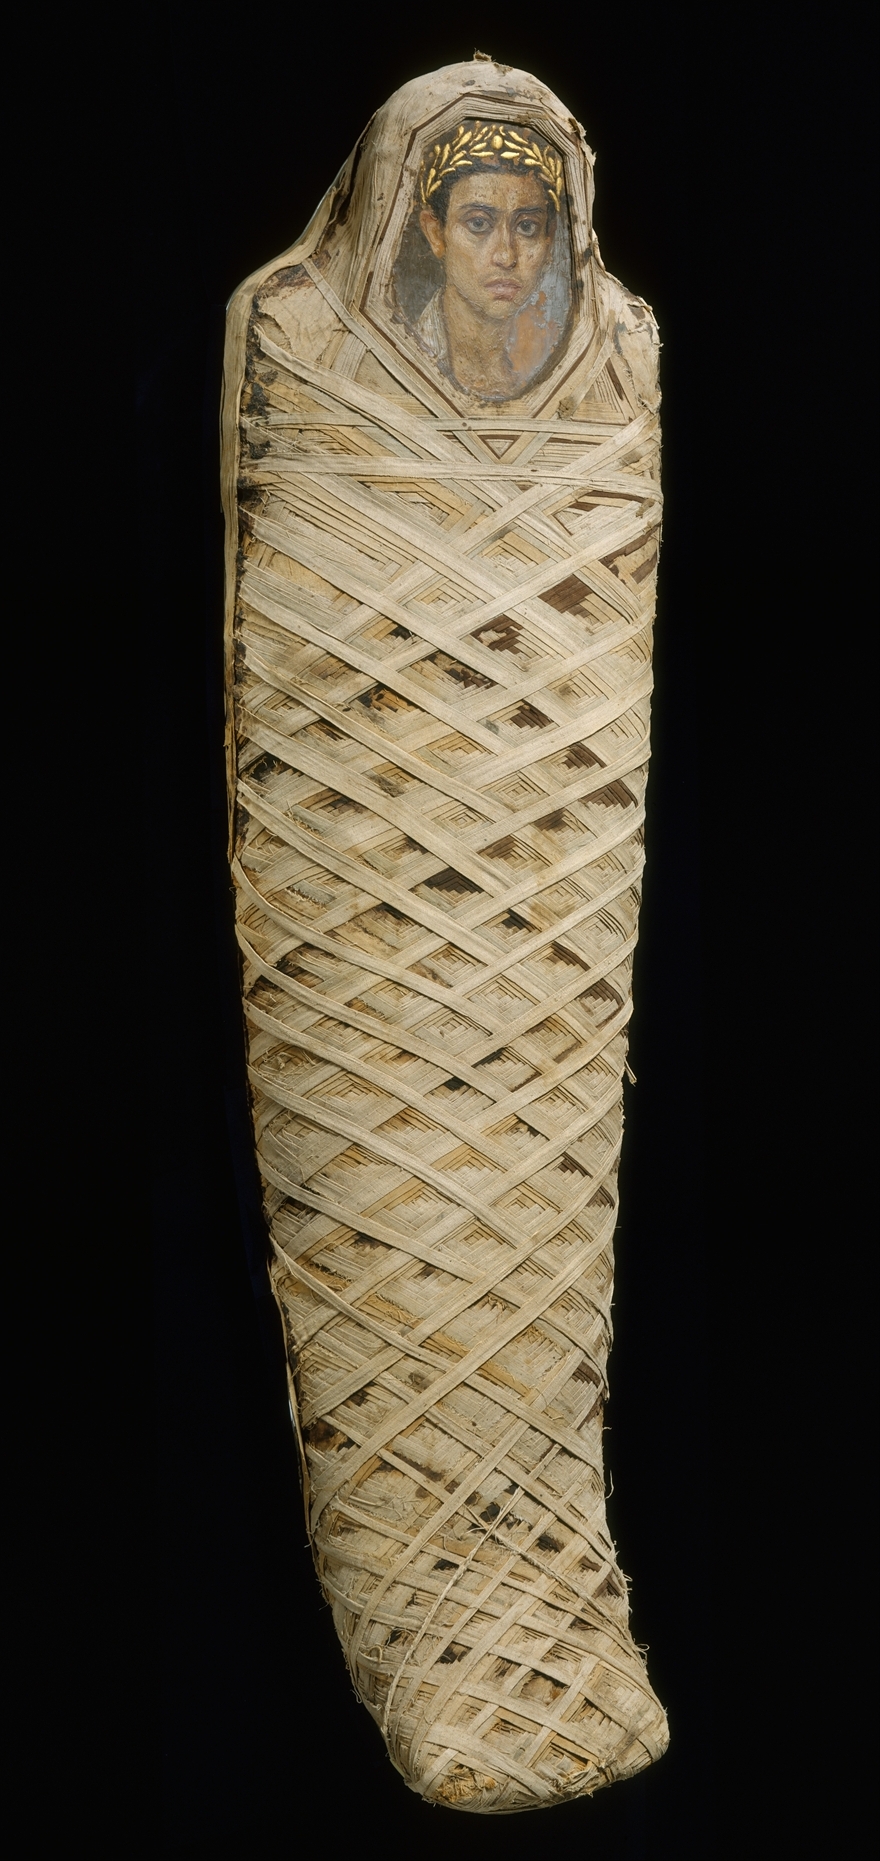
Roman Period, Egypt
Mummified human body with linen and mummification material and encaustic on limewood panel portrait
169 x 45 cm | 66.5 x 17.7 in
The Metropolitan Museum of Art
Stylistically, Fayum mummy portraits make arresting eye contact with the viewer, have slightly turned heads with one ear visible, and are rendered with sensitive tone and observation. Through their honesty, they also provide important evidence of provincial fashion and grooming trends from the era, like the Greek influence on men having facial hair (which Egyptian culture previously deemed unclean), and the stylings of women’s jewellery. They represent the largest body of surviving art on wood from antiquity – preserved for us by the dry conditions of the region. Most Fayum portraits were painted on linden wood imported from Europe, primed with plaster or animal glue.
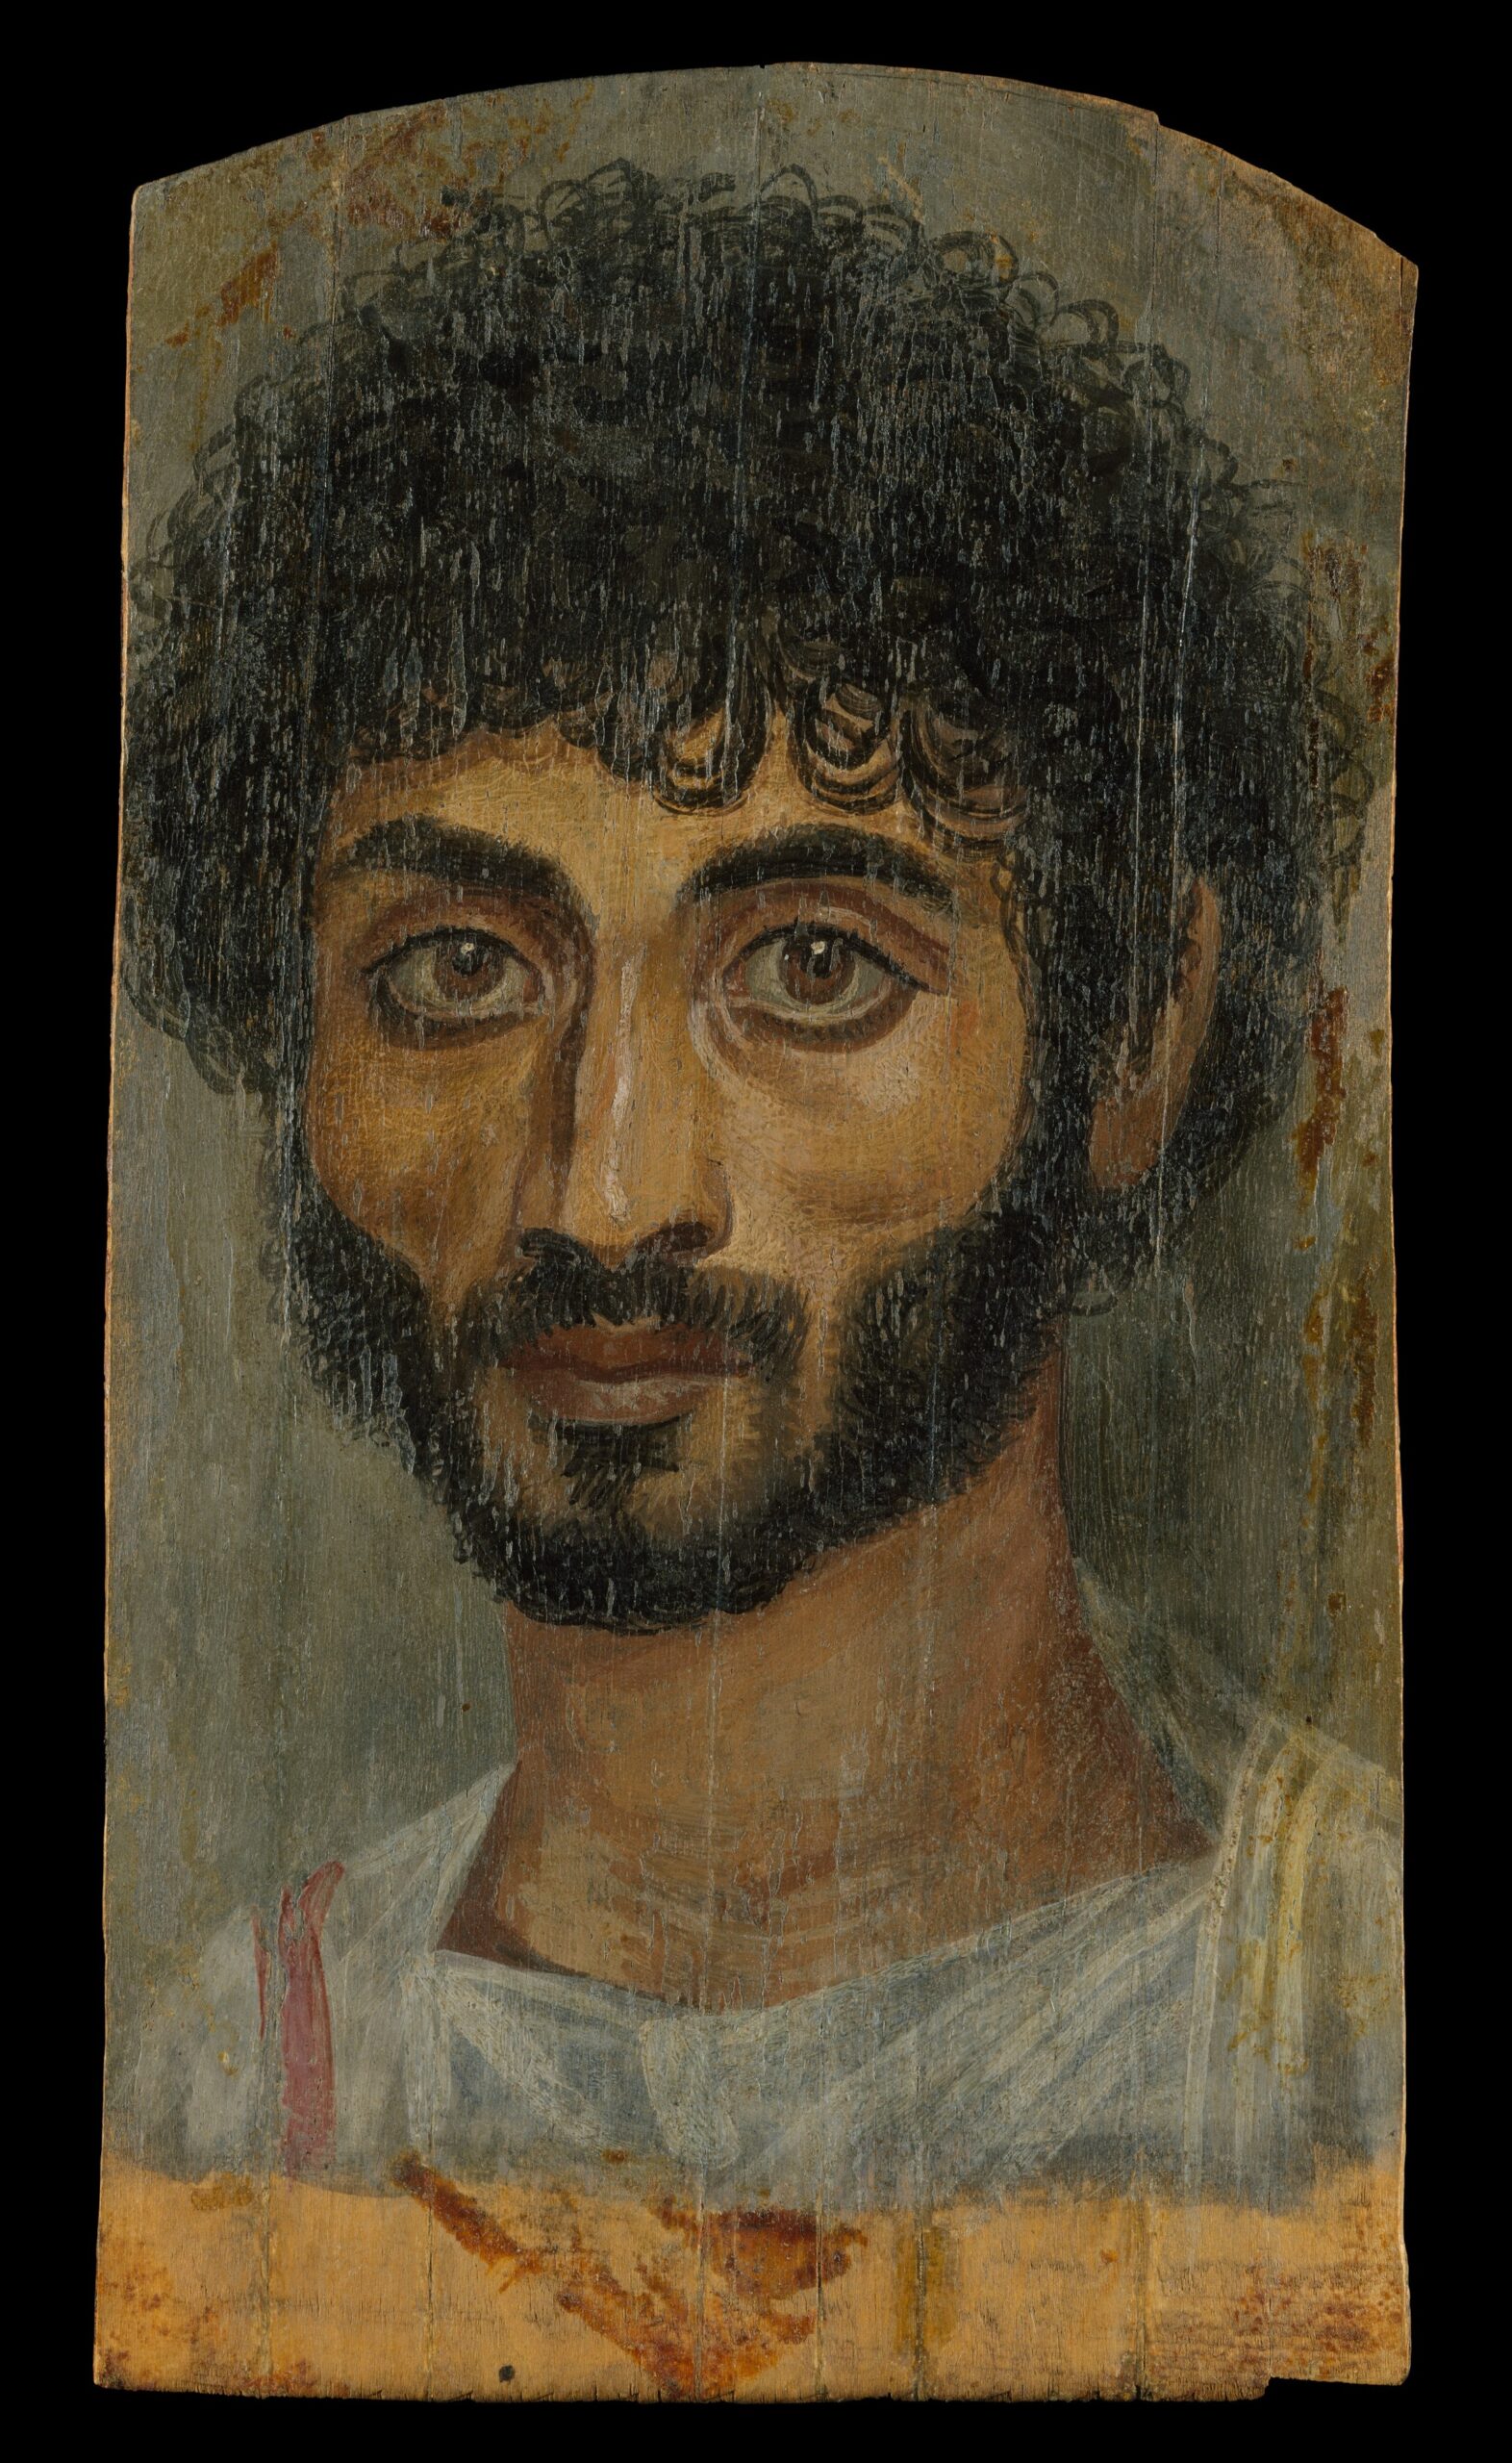
Roman Period, Egypt
Encaustic on limewood, 38.1 x 21.6 cm | 15 x 8.5 in
The Metropolitan Museum of Art
Byzantine paintings were traditionally made on wood, with the oldest surviving examples dating from the 5th-6th Century. Painting on wood panels wasn’t common in medieval Europe until Byzantine examples arrived in Italy from Greece, following the Fourth Crusade in 1204, and the later migration of the artists themselves. Following their example, artists of the early Italian Renaissance began to create wooden panel paintings. Sometimes these works were carved from a single piece of wood, including their frames. Large altarpieces couldn’t be carved from a single piece of wood because of their scale, so separate pieces would be assembled and glued together. These framing elements provided decoration and emphasis to the works, as well as structural support by bracing the entire structure to prevent warping.
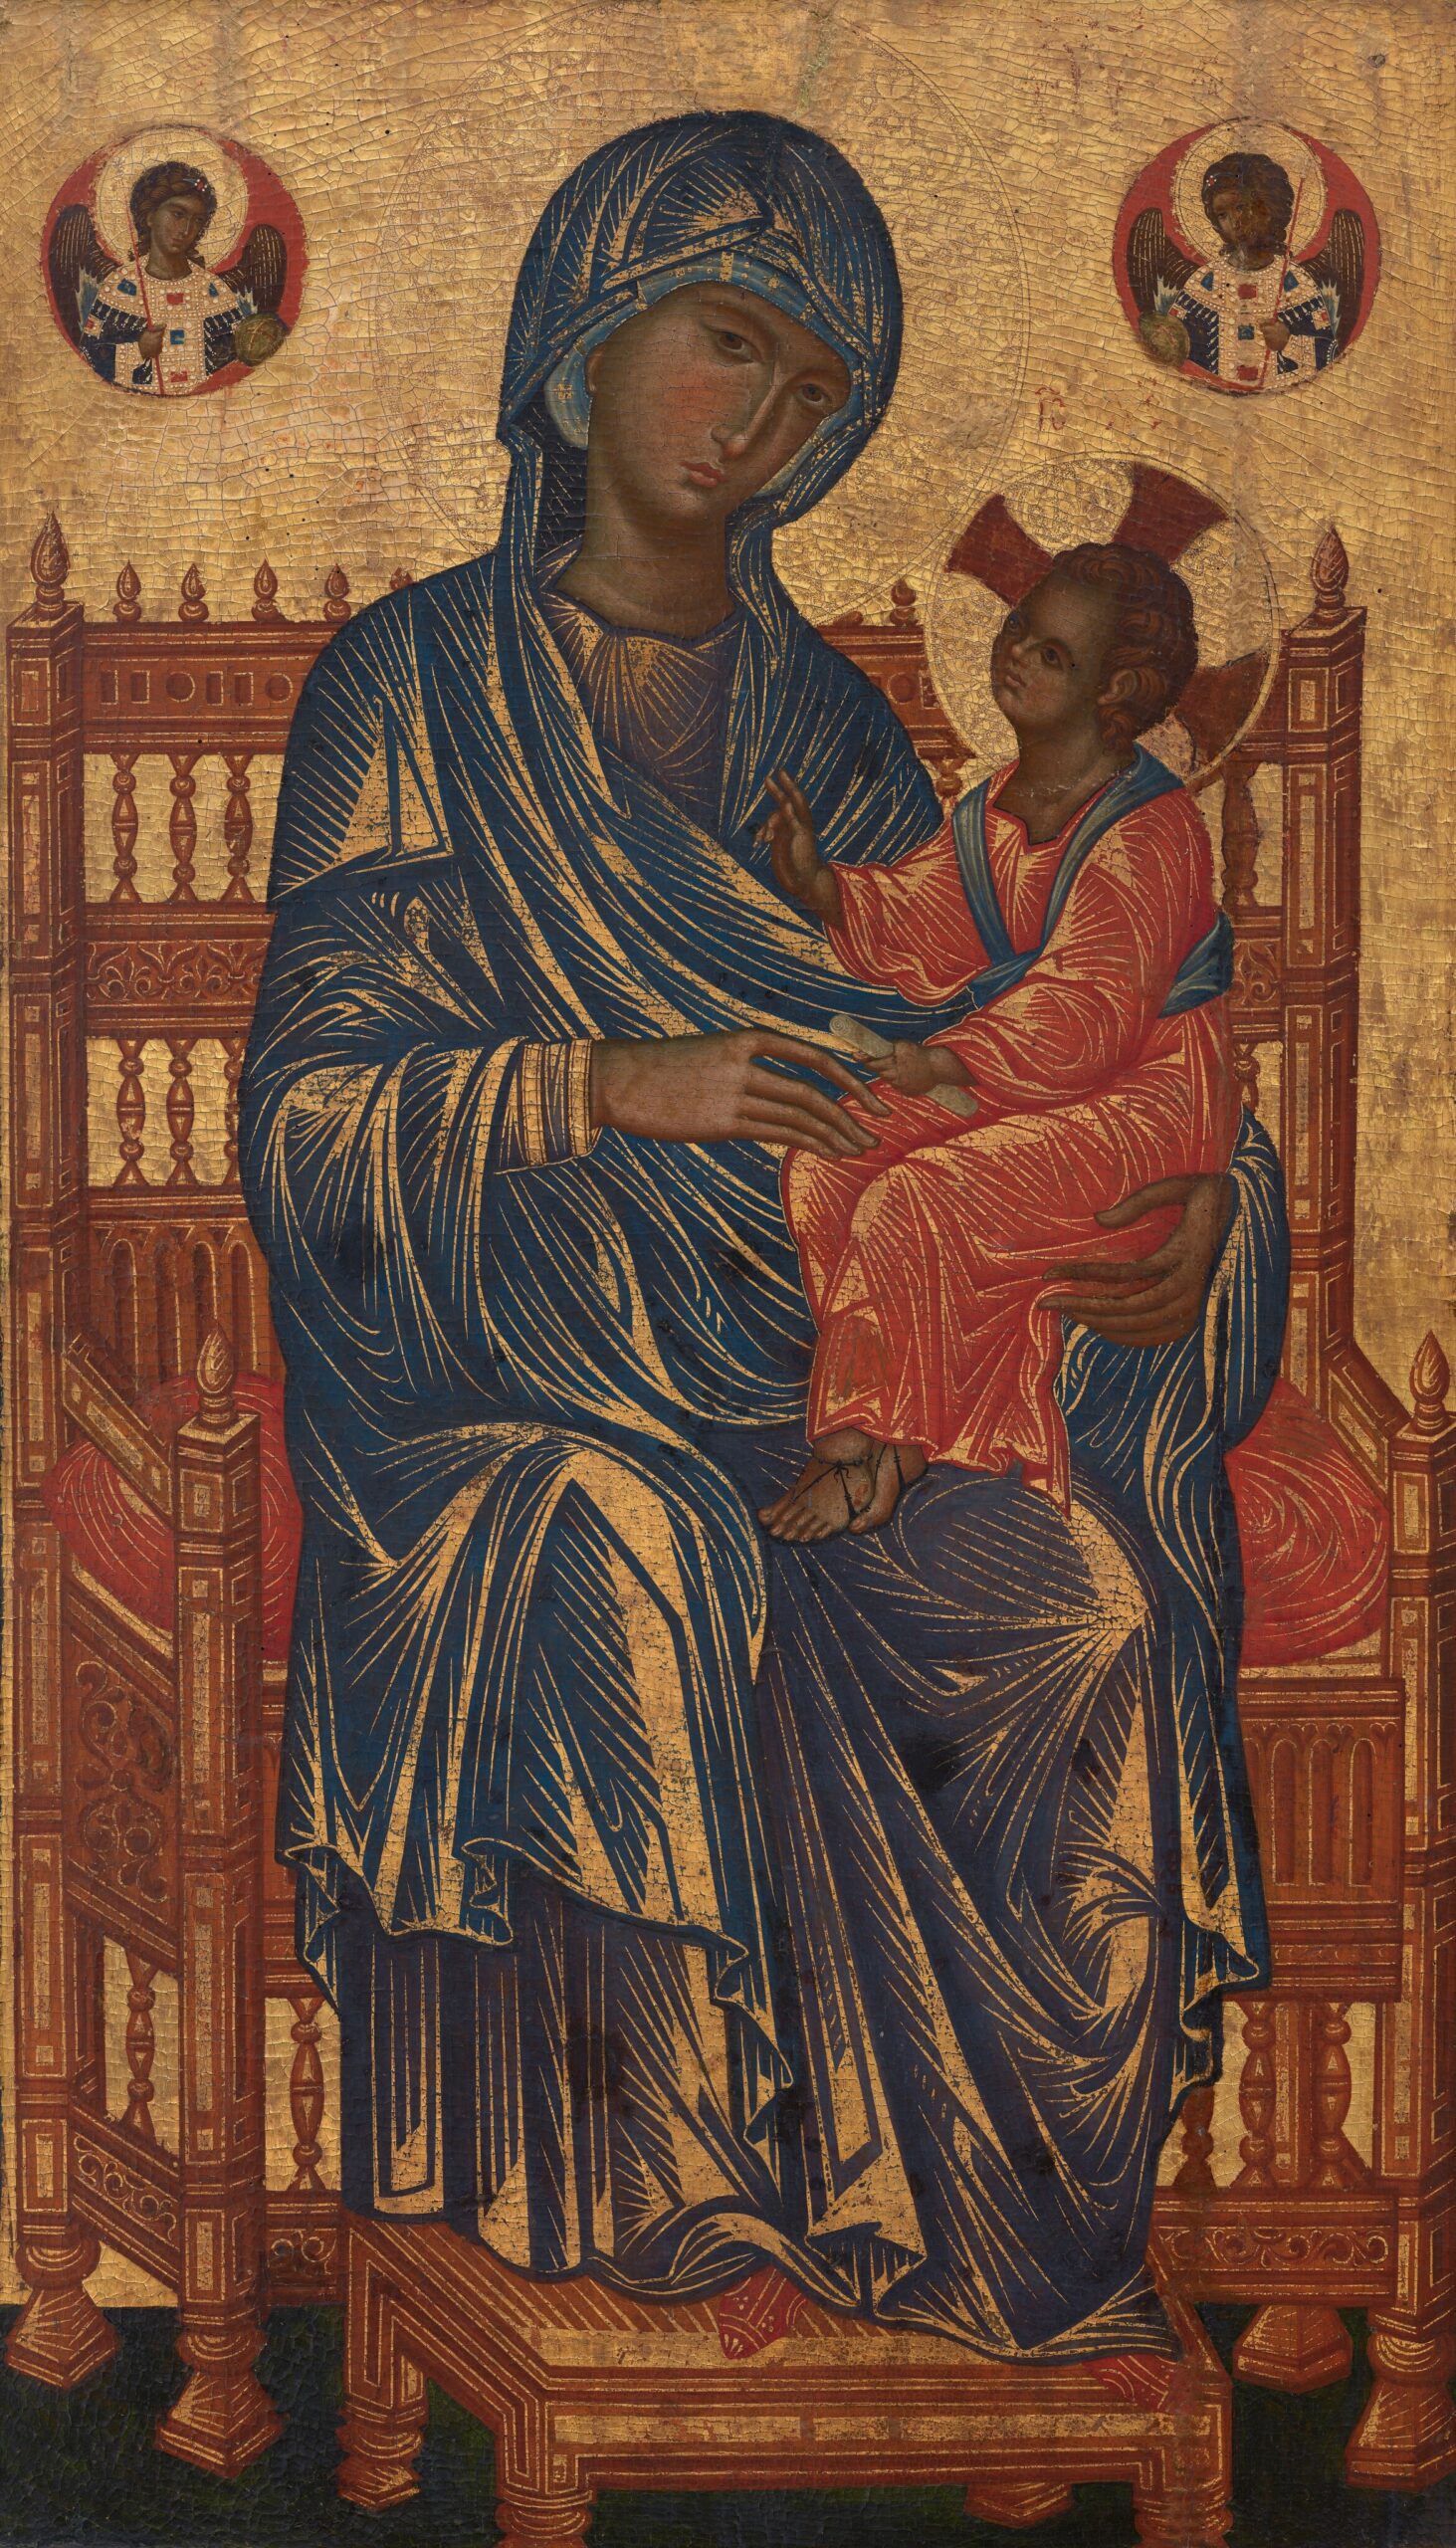
Byzantine
Tempera on poplar panel, 124.8 x 70.8 cm | 49.1 x 27.9 in
National Gallery of Art
By the 13th Century, wood panel painting began to threaten fresco as the dominant medium for decorating churches, with the rising demand for altarpieces. The majority of surviving examples from this era are from Spain, because of the affordability of painting on wood in an economically low period, and the absence of Reformation iconoclasm in the country. An incredible amount of panel paintings from other European countries were lost because of this devastating wave of destruction of Catholic art.
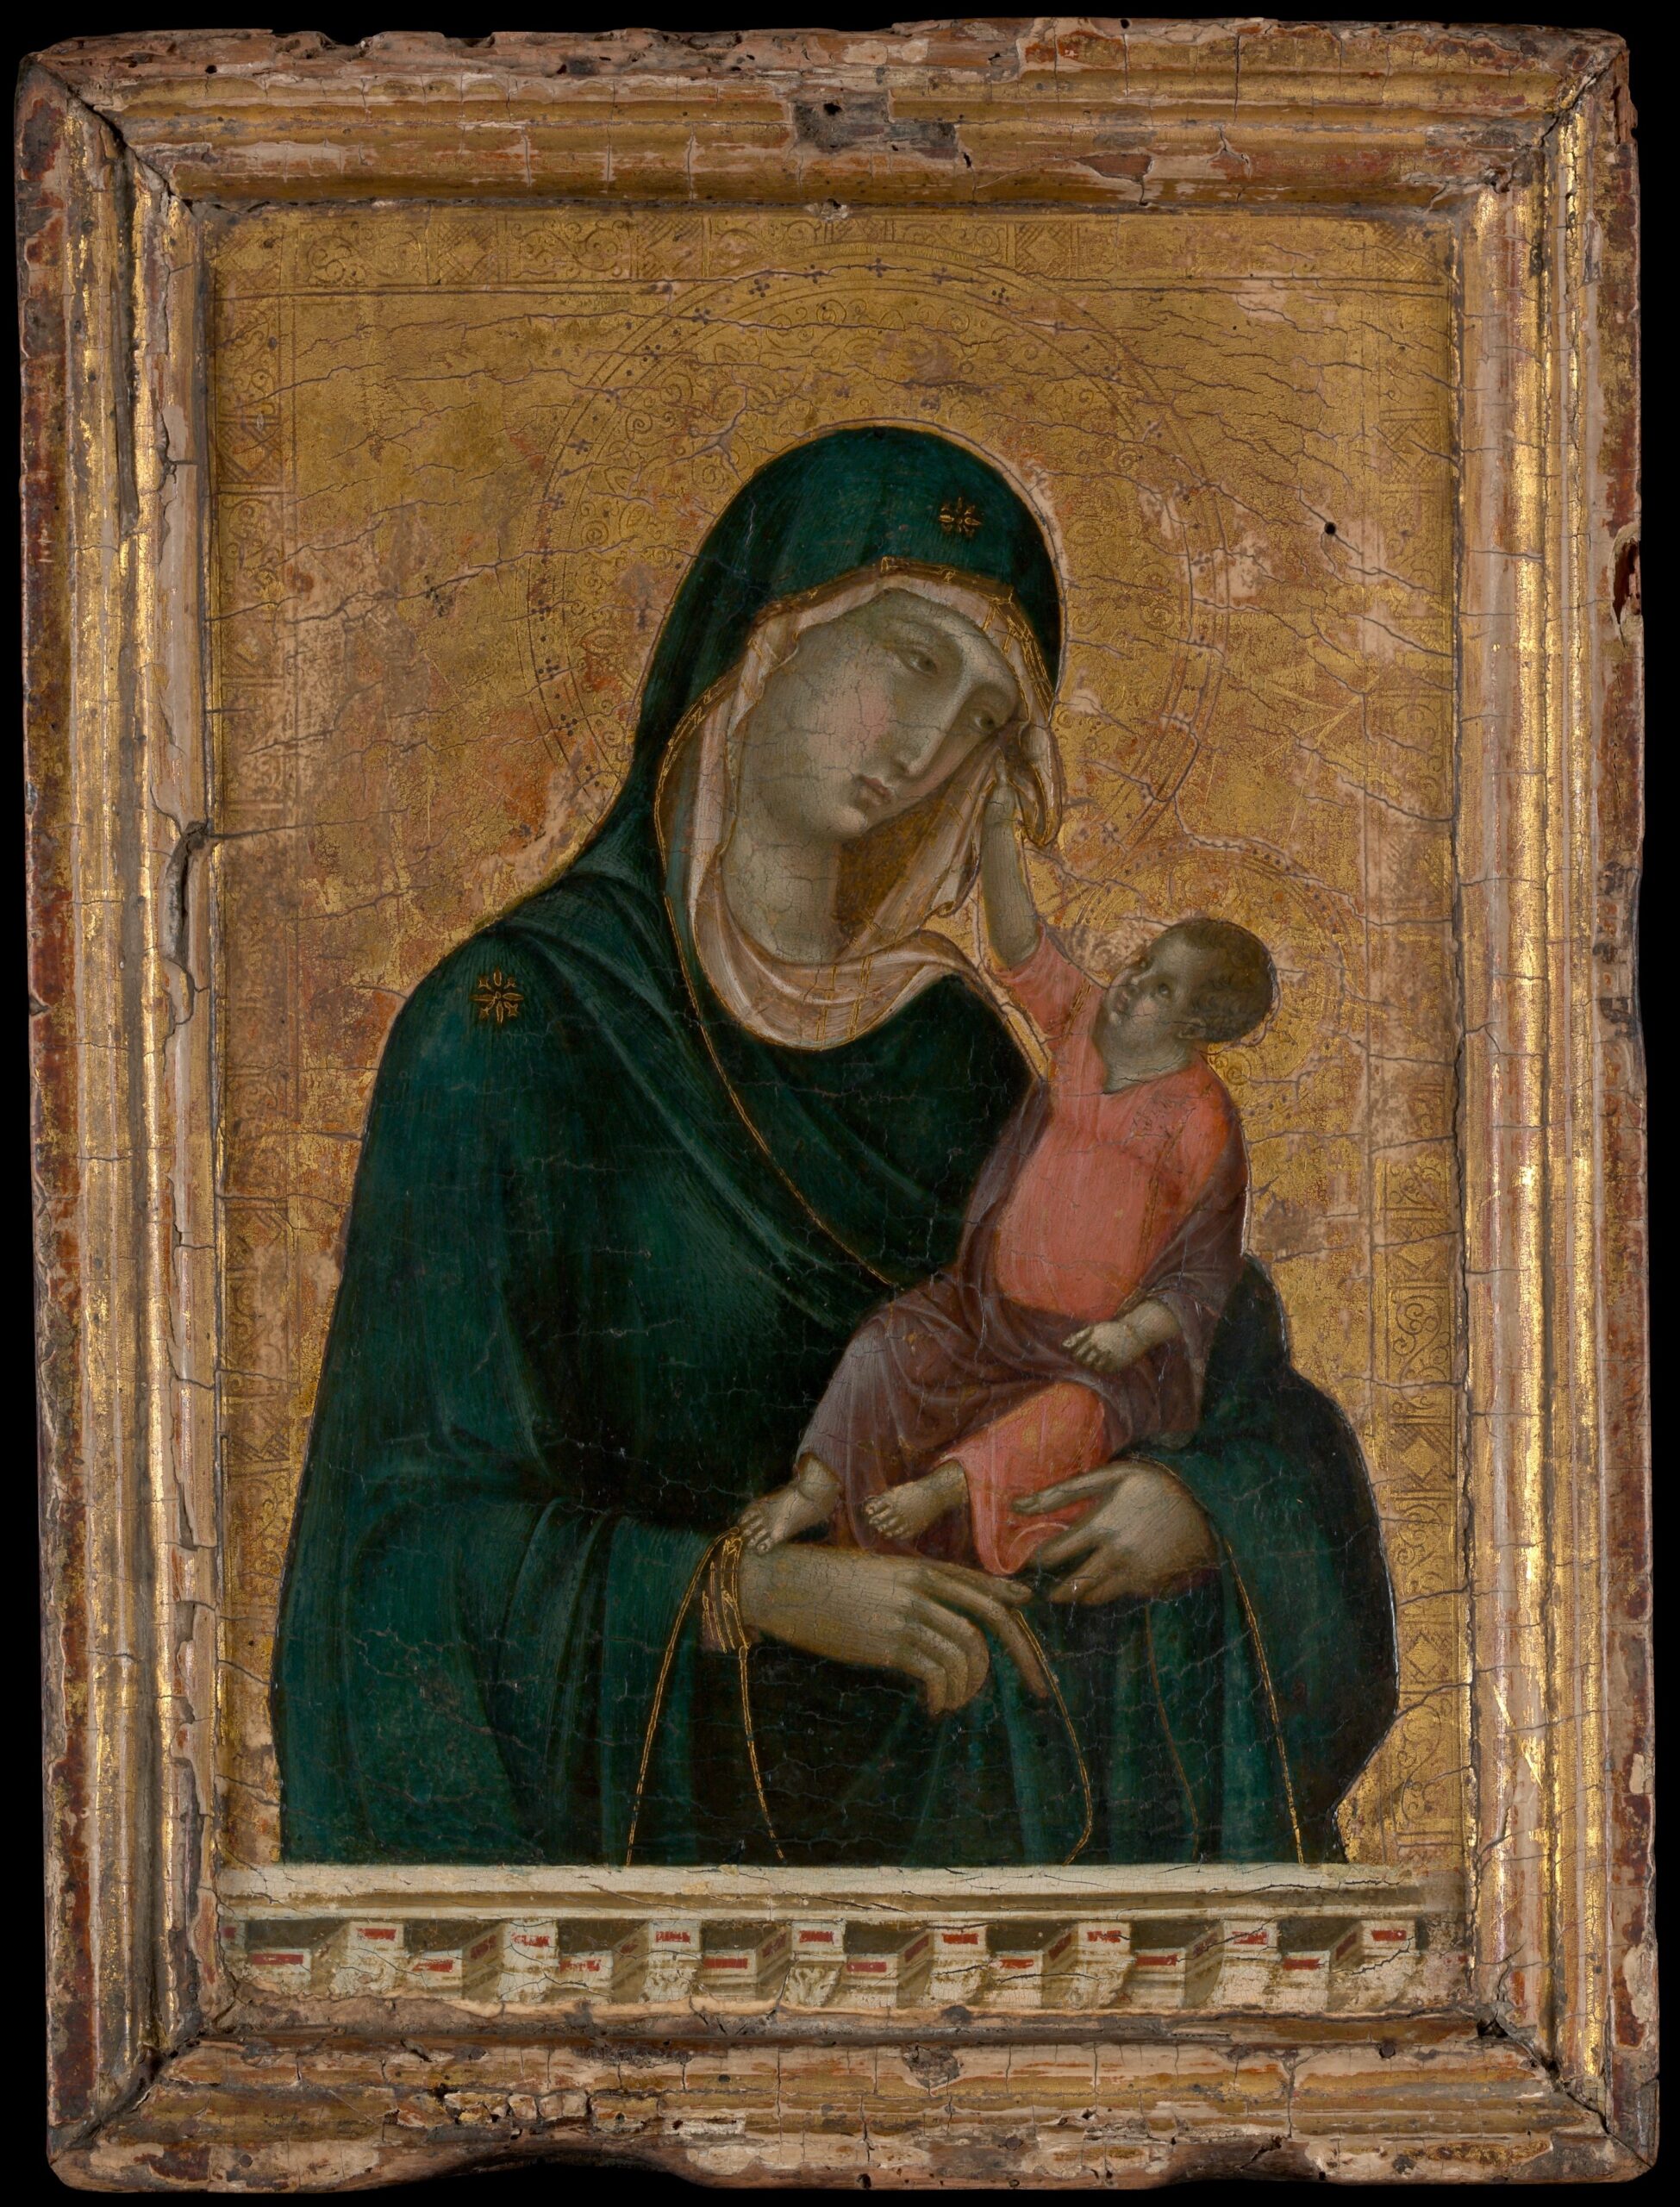
Duccio di Buoninsegna
Tempera and gold on wood, 27.9 x 21 cm | 11 x 8.3 in
The Metropolitan Museum of Art
The artists of the Northern Renaissance often painted on wood, seen in works by Dürer, Van Eyck, Brueghel, and Bosch. This established Netherlandish tradition saw panels continue to be used for centuries, alongside the introduction of canvas, by artists like Rembrandt, Rachel Ruysch, and Frans Hals. Whilst other countries moved toward canvas, Northern artists are considered to have continued using wood panels for longer because the rigid, smooth surface was ideal for their techniques of layering careful glazes and picking out meticulous details.
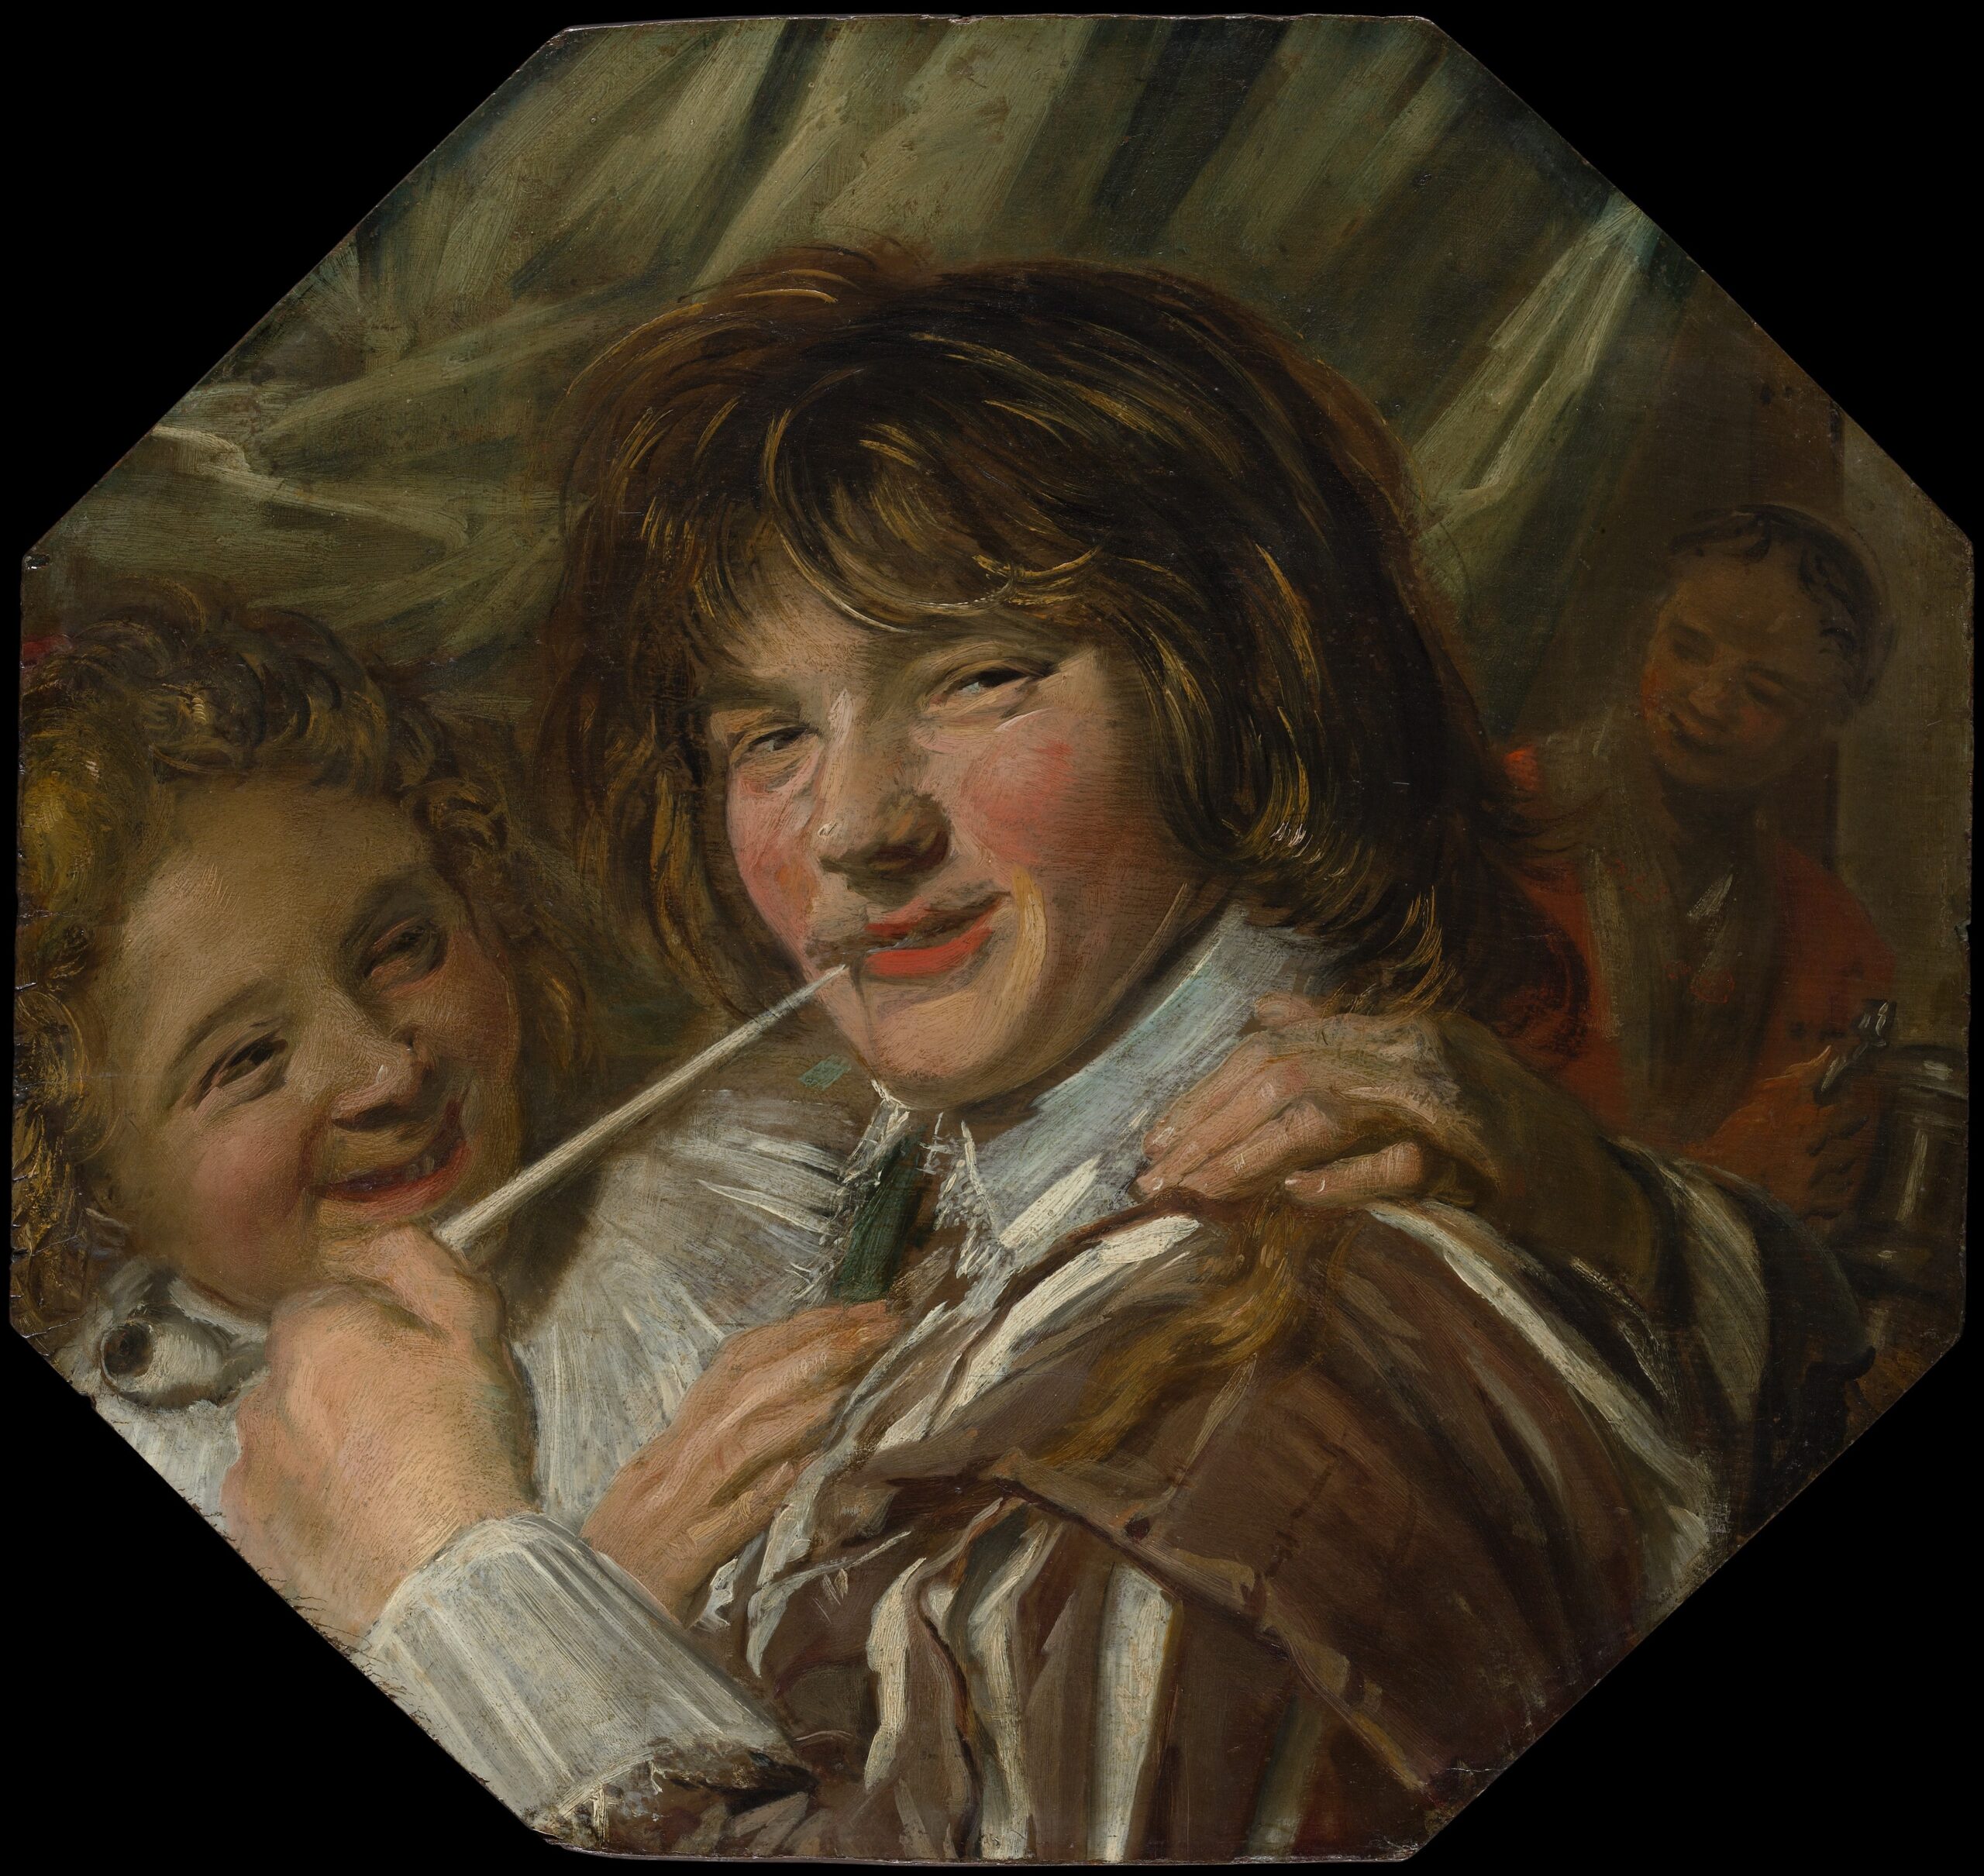
Frans Hals
Oil on wood, 46.7 x 49.5 cm | 18.4 x 19.5 in
The Metropolitan Museum of Art
During the 13th Century, Italy began the shift toward replacing panel painting with canvas, prompted by humid conditions that made wood prone to warping and rotting. Painting on canvas began in Venice, where sailcloth was readily available, and was tested as an alternative to wood. The earliest surviving examples of paintings on canvas are from the early 1400s. Amidst this shift, many masters of the High Renaissance continued to make paintings on panels, like the following work by Piero di Cosimo. Canvas finally surpassed wood panels as the most popular support for artworks by the end of the 16th Century.
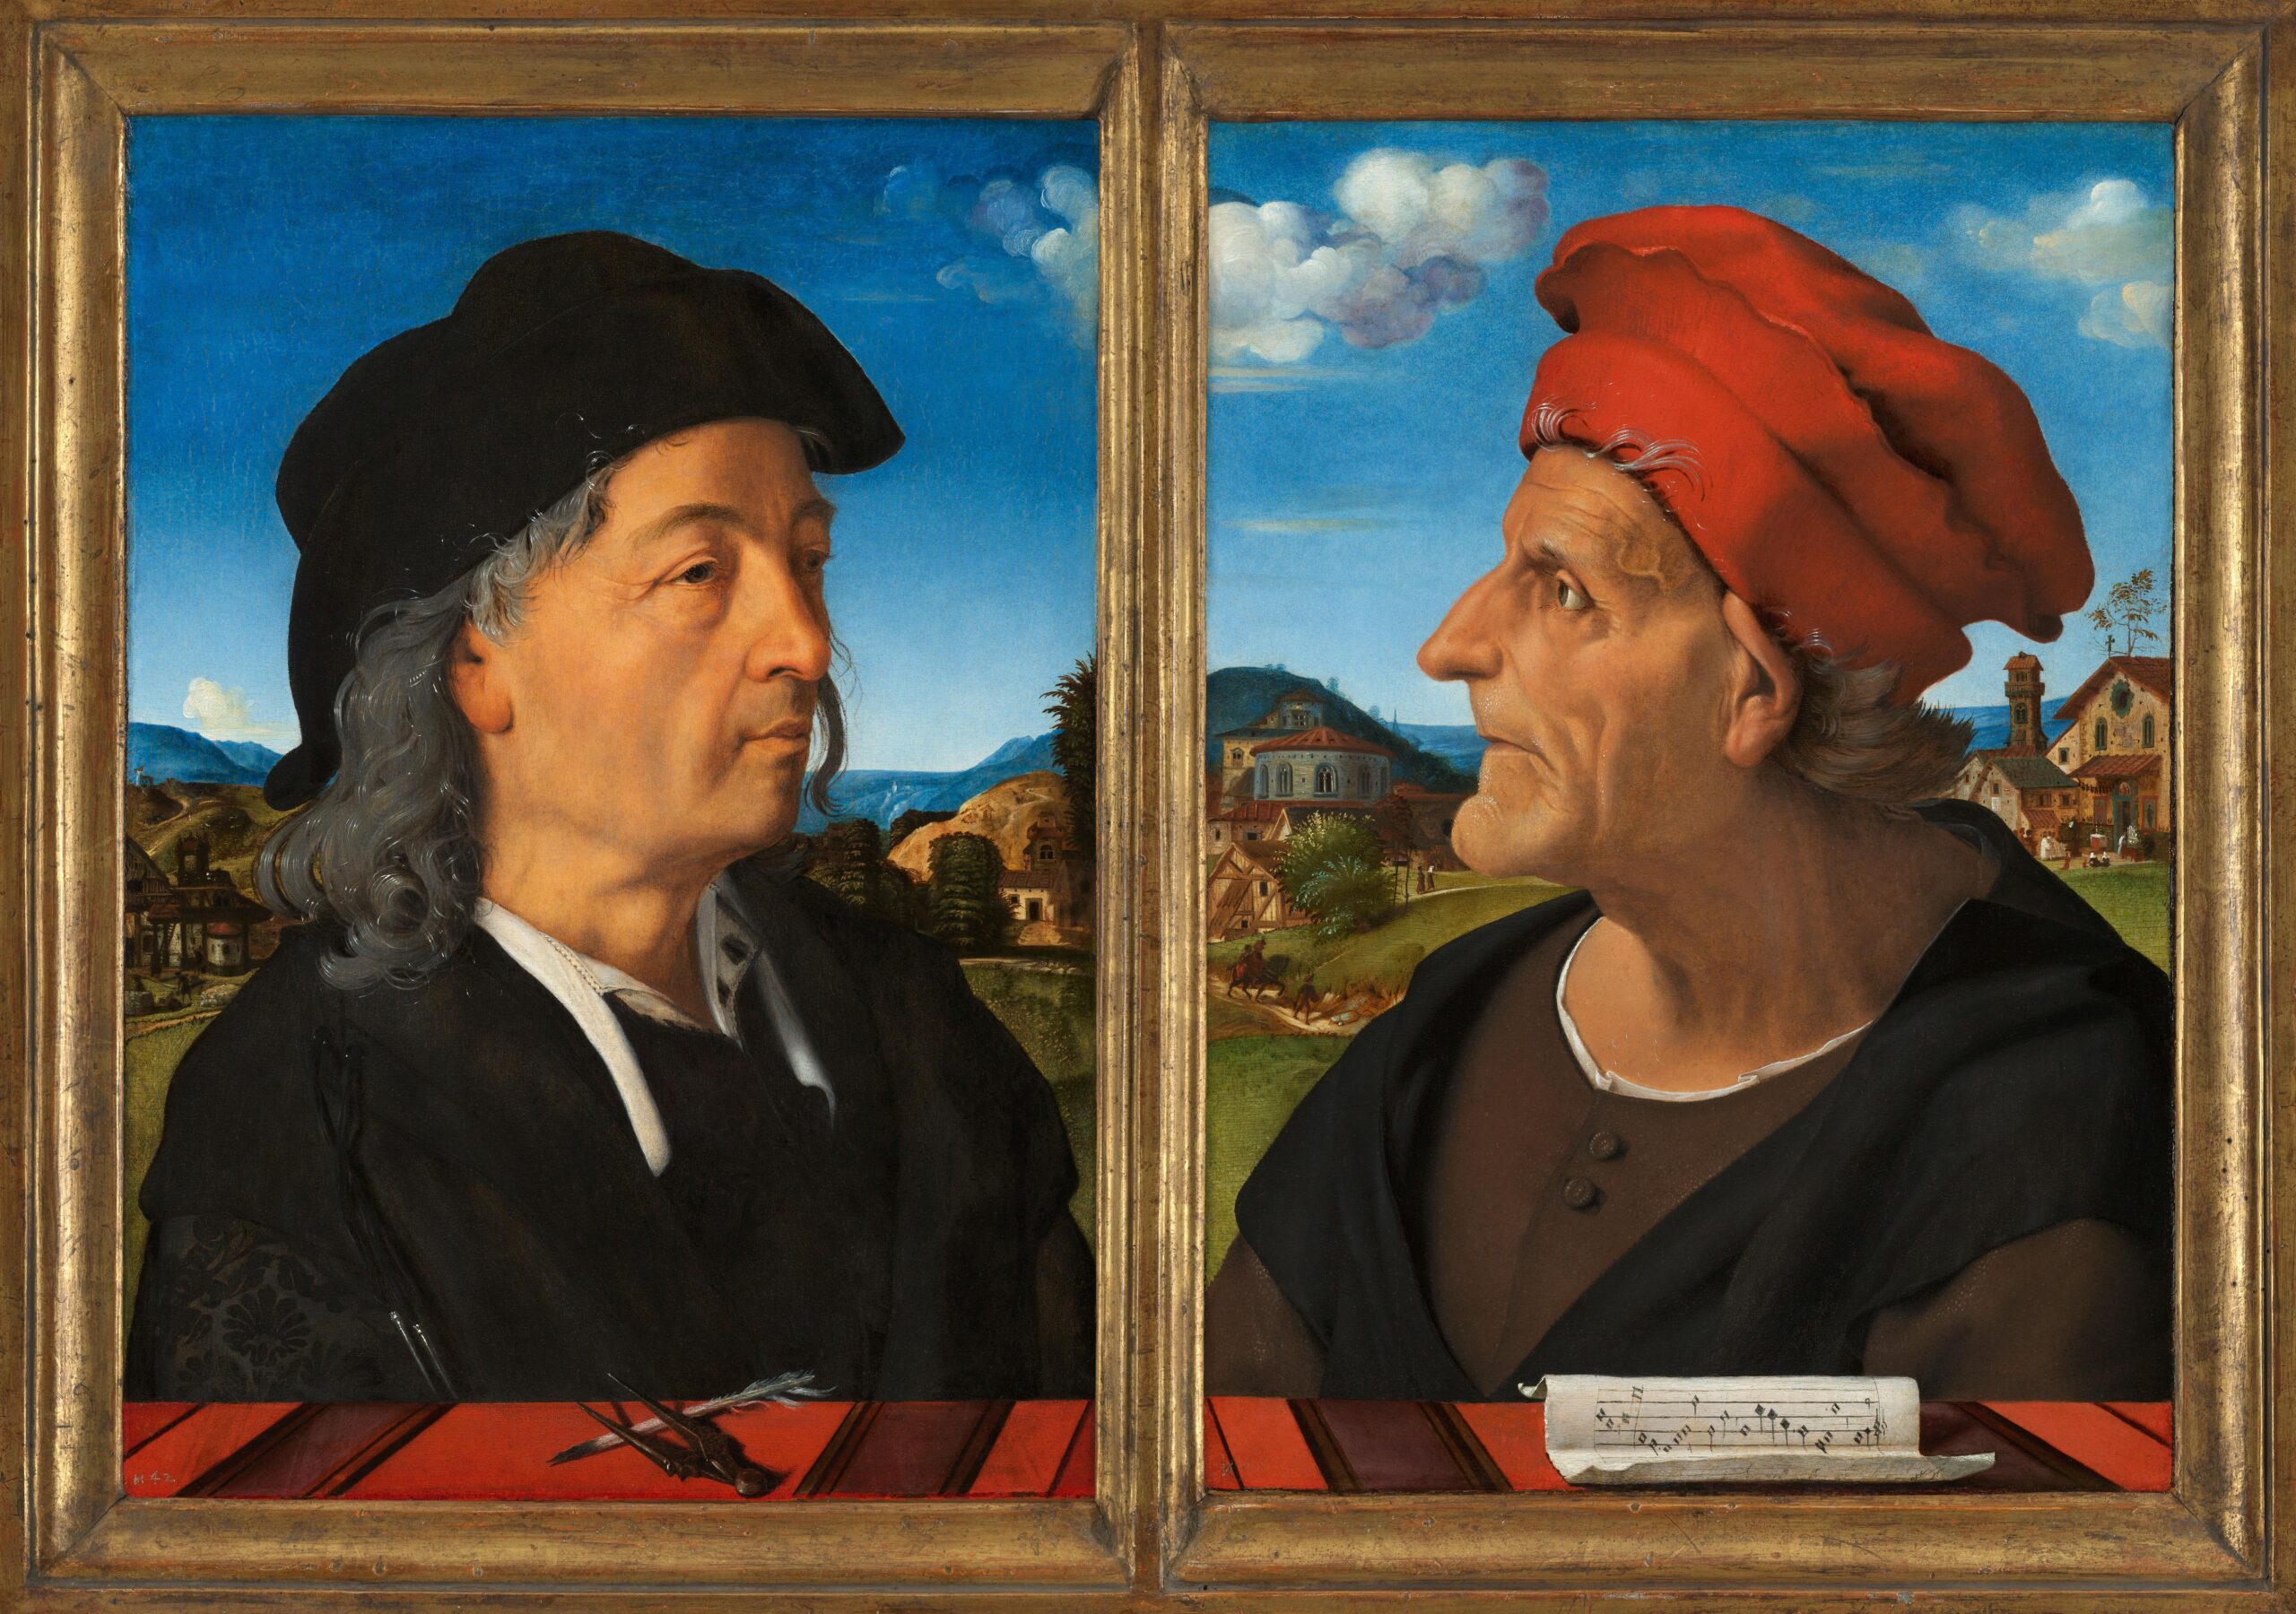
Piero di Cosimo
Oil on panel, 47.5 x 33.5 cm | 18.7 x 13.2 in
Rijksmuseum
Today, paintings on wood have greater stability through developments in the manufacture of artists’ materials. Extensive research and testing through time have refined the treatment of wood during processing to prevent rot, discolouration, and warping. The following methods for preparing wood panels for painting will further ensure the longevity of your work.
Preparing Wood for Painting
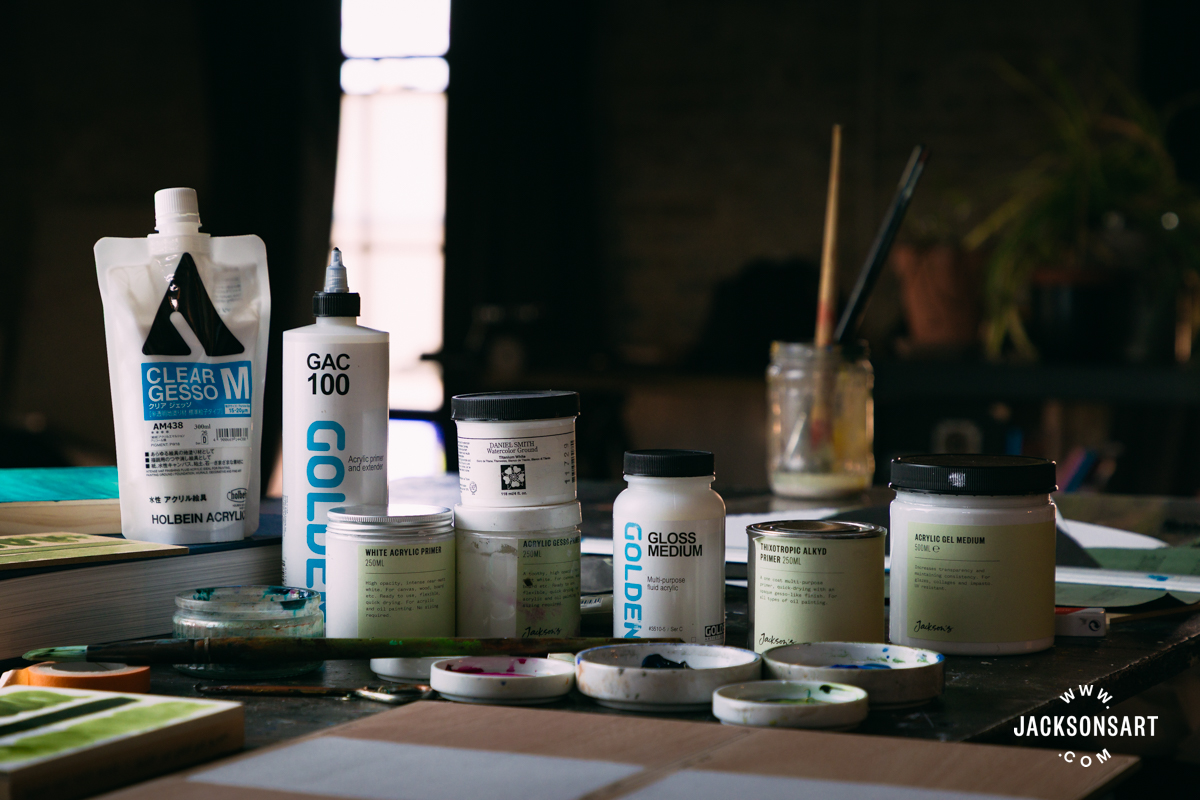
Preparing wood for painting is dictated by the type of wood and the medium you intend to paint with. Panels made by art companies are sanded to make them smooth for painting and treated to reduce the leaching of chemicals into the paintwork. The treatment varies per brand and generally by price point. Manufacturers like Ampersand can guarantee their panels are free from destabilising elements like formaldehyde and harmful VOCs, whereas more affordable brands can’t use such high quality materials. If you paint on wood from a hardware shop, you run the risk of the surface not being smooth or stable enough for painting without some preparation work of your own. In this article, I’ll detail how to prepare all kinds of wood for painting, to ensure your work is as archival as possible.
What Difference Does the Type of Wood Make to Priming?
Types of wood fall into two categories – low-density and high-density. In general, low-density woods are lightweight and easy to cut or bend, because they have a porous structure. They tend to be natural wood that has been sliced into thin sheets. Examples of low-density woods are pine, birch, and balsam.
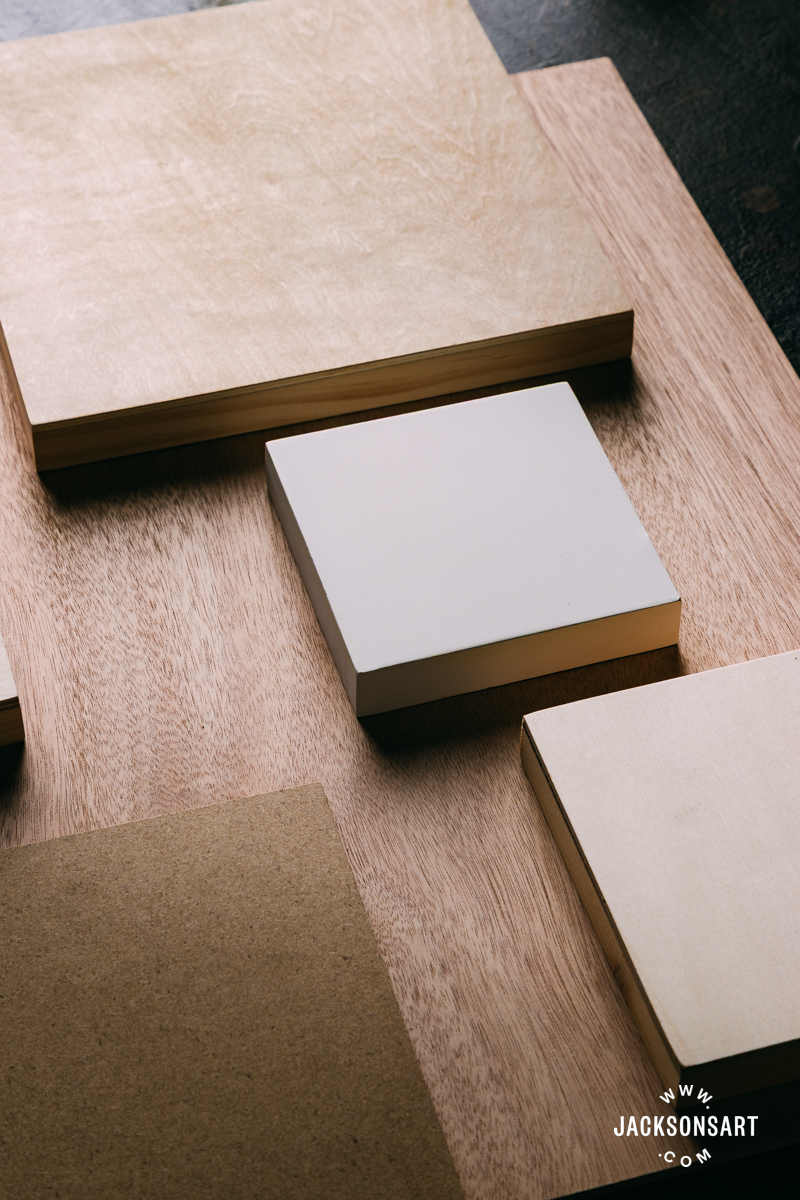
High-density woods are much heavier and made from compressed wood fibres or composite panels. Natural woods, such as Oak, Maple, and Walnut, can also be high-density, but these are uncommon varieties to find as modern artwork supports. This is generally due to the fact that high-density trees grow slowly and cannot be harvested at the same rate as quicker-growing trees, making them harder to come by and more expensive.
Some sources recommend sealing the front, back, and cradle (if there is one) of low-density wood panels. This will completely protect the entire work from environmental factors and the work itself from SID (Support Induced Discolouration). This includes popular painting panel woods like birch and basswood. To protect the edges or cradle of a painting on wood, you may also apply a wood varnish like the Natural Earth Paint Varnish, described in detail in this article.
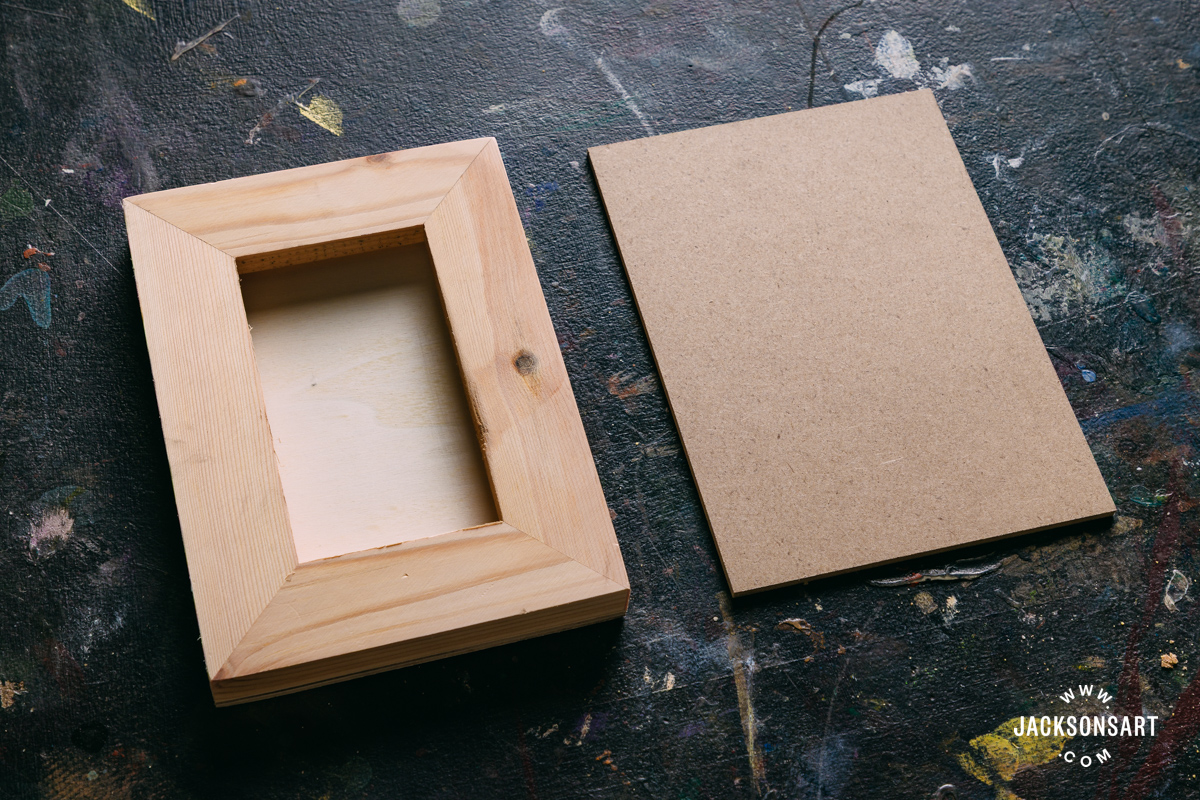
With high-density woods, the hardness of the exterior prevents external materials from leaching into the work so easily, so it’s unnecessary to seal every side of a high-density wood panel. The most common of these for artmaking are MDF, plywood, or composite boards that have a low-density wood veneer attached to an MDF panel.
How Do You Prime a Panel for Acrylic Painting?
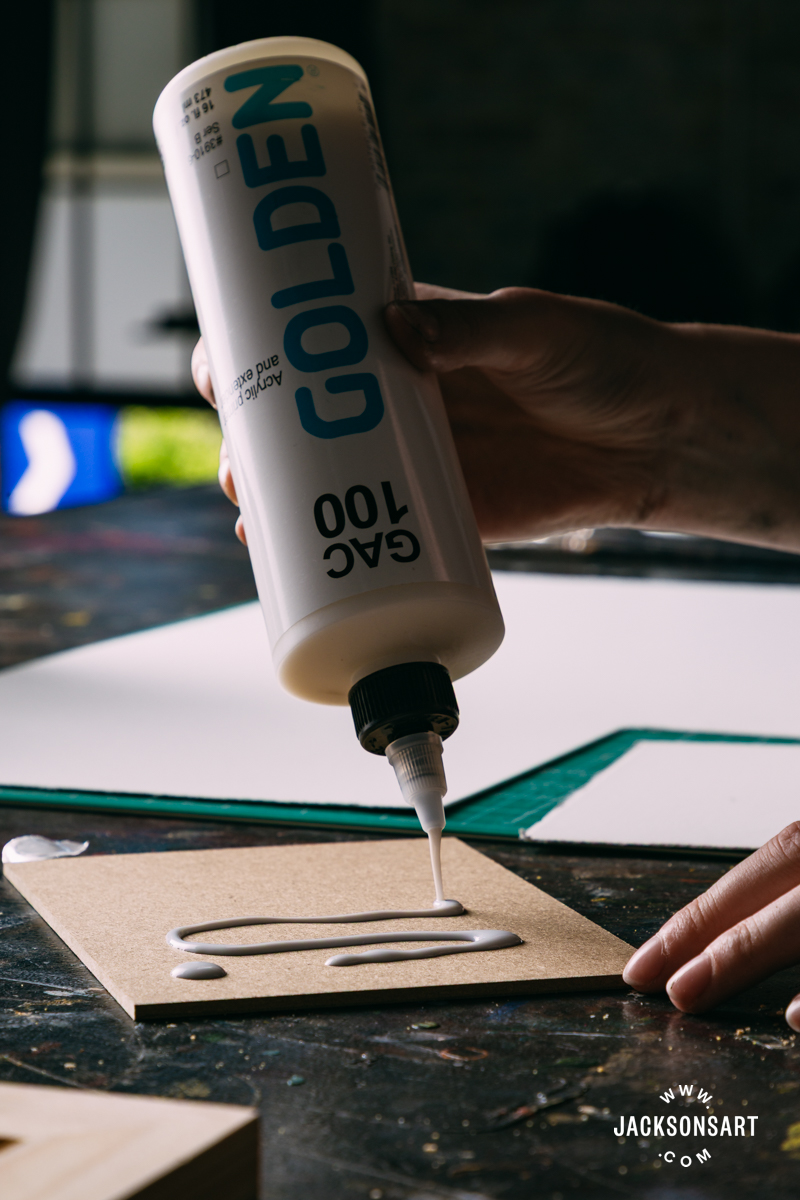
Before you apply primer to a wood panel, sealing the surface first is recommended to prevent any harmful materials or natural acids from leeching into your painting. Golden GAC 100 is recommended as a sealant to protect your work from SID by creating a barrier layer between the paintwork and surface with its polymer body. It can also be used for extending acrylic paints or formulating your own.
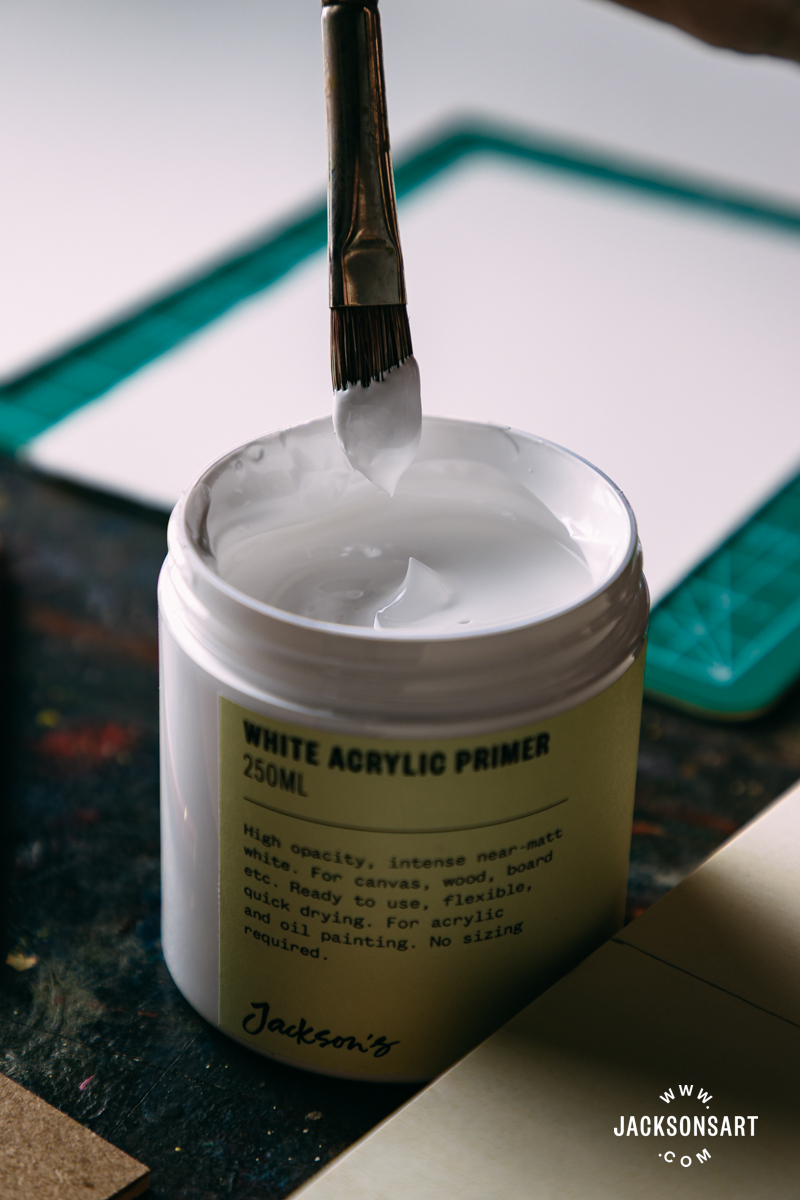
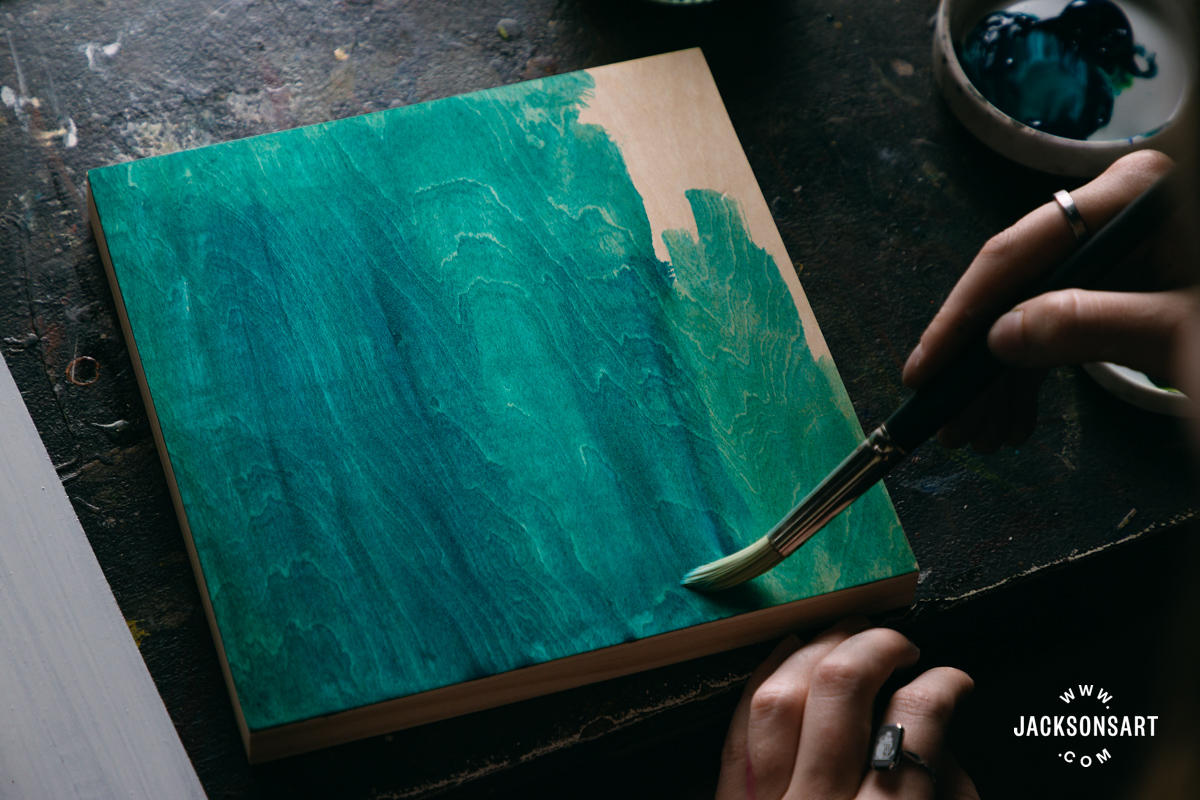
To prepare a Jackson’s MDF painting panel, I applied two coats of Golden GAC 100, and allowed it to fully dry down between layers. Next, I applied two coats of Jackson’s Acrylic Primer, again allowing it to fully dry between layers. This surface was ready to paint after 24 hours.
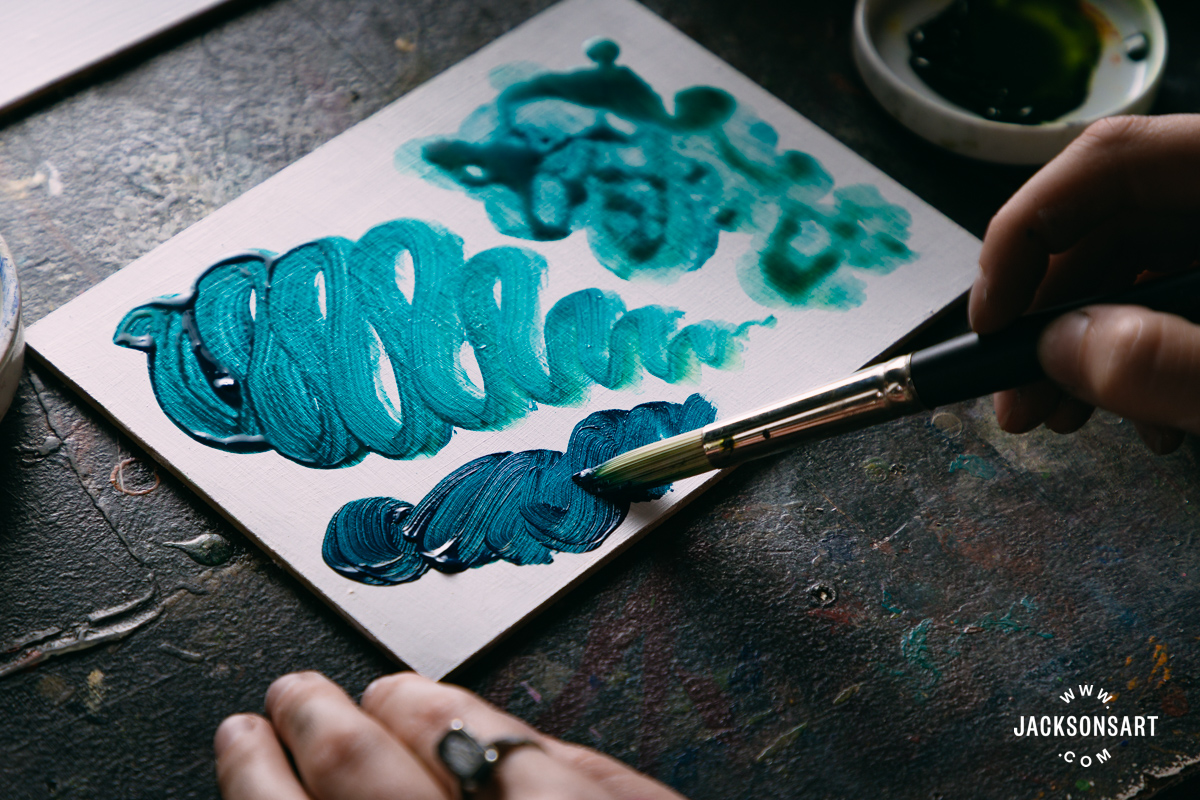
I applied acrylic in a few different strokes to show how it handled on the primed wood surface using Jackson’s Professional Acrylic in Phthalo Turquoise.
Painting in Acrylic and Watercolour on a Primed vs Unprimed Panel
Despite the fact that painting on a sealed and primed panel greatly improves the stability and longevity of your work, many artists do work directly onto wood panels. The texture of painting directly onto wood is satisfying as it catches the grain of the surface, and some artists enjoy how colour sinks into the natural textures. If you want to paint on unprimed wood, acrylic paint is your best option.
We advise against painting in oil, which will seep into the surface and rot, or watercolour, which disperses uncontrollably through the grain, wets the wood, making it prone to warping, and cannot be applied with any precision.
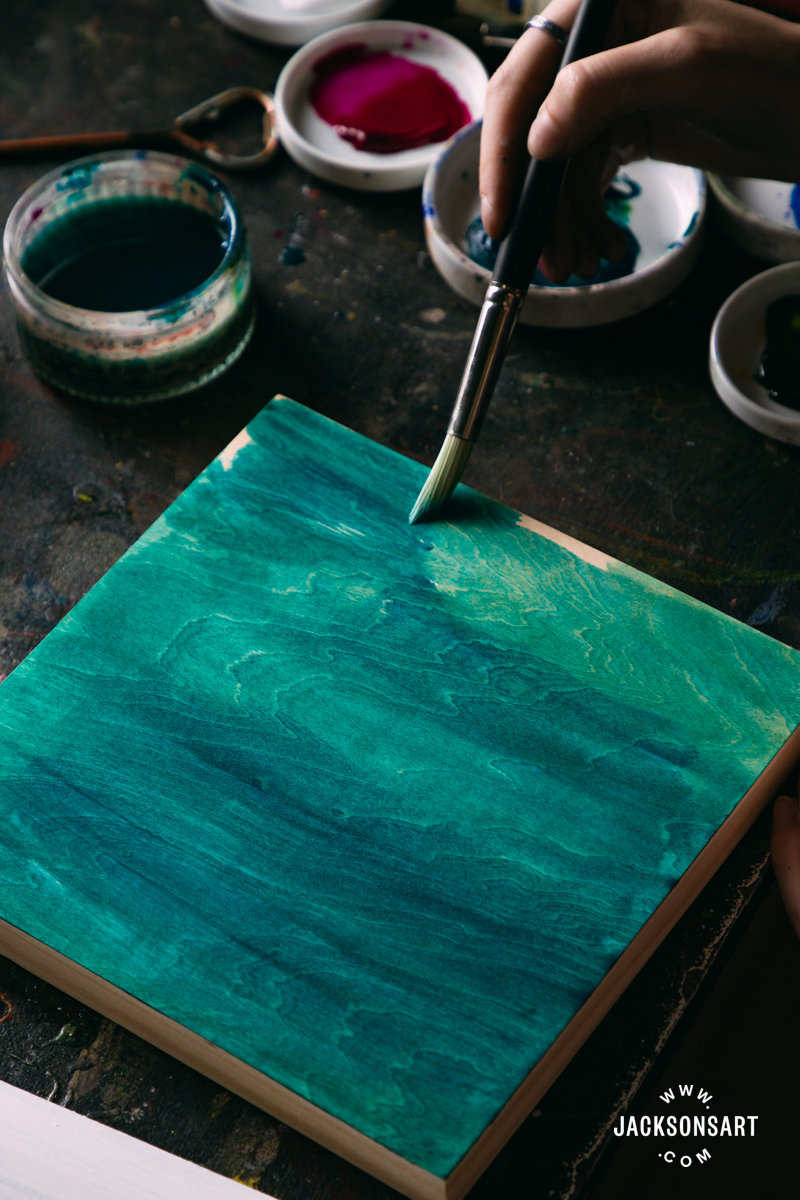
Although acrylic paint is the best option for painting on raw wood, you should still be aware that the natural acids and porous surface of wood will cause your painting to dull or discolour over time, even if it’s not perceptible in your lifetime.
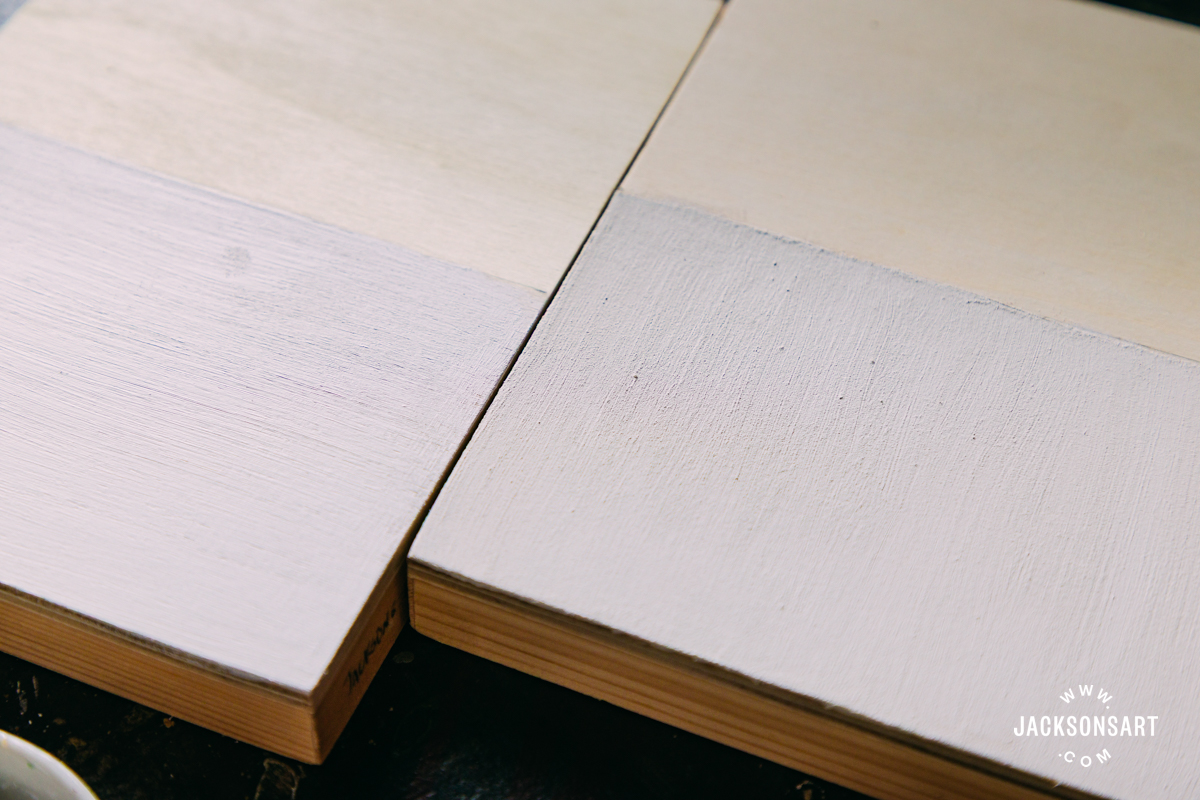
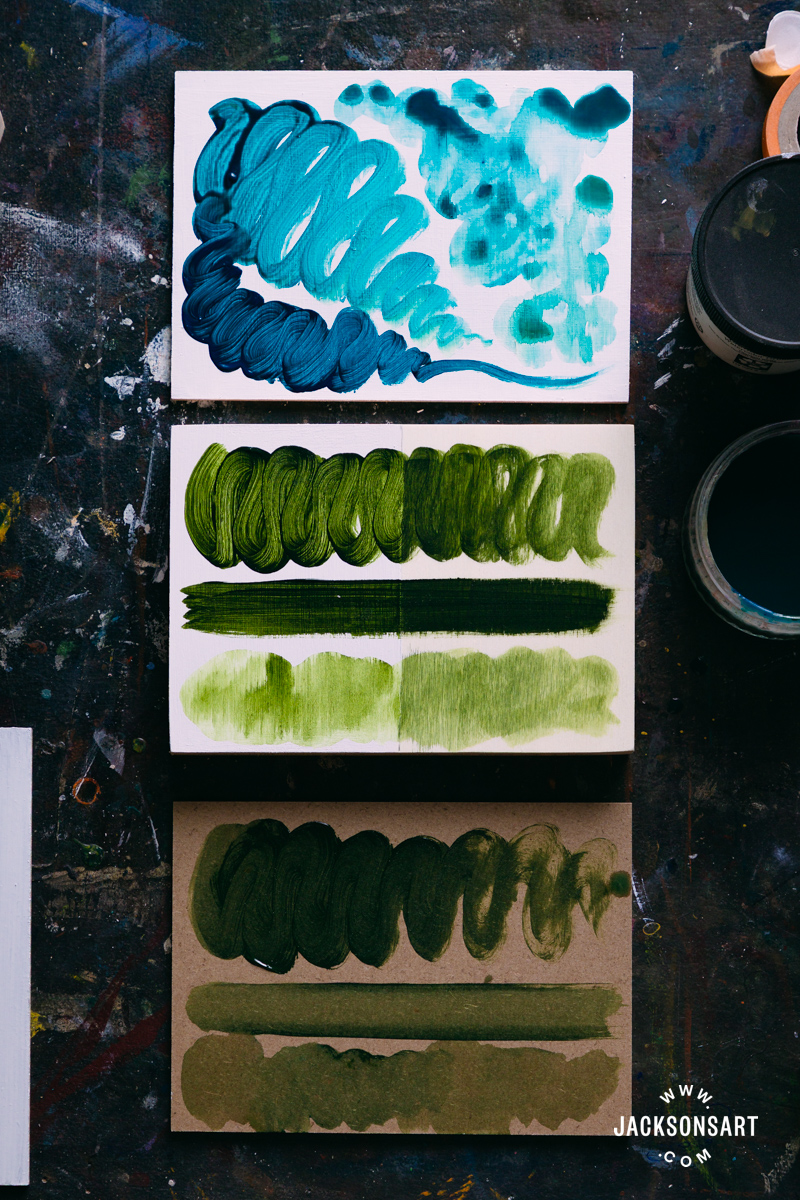
To demonstrate the difference between painting on primed and unprimed wood in acrylic and watercolour, I primed half of two Jackson’s Wooden Panels – one with Jackson’s Acrylic Primer, and the other with Daniel Smith Watercolour Ground in Titanium White.
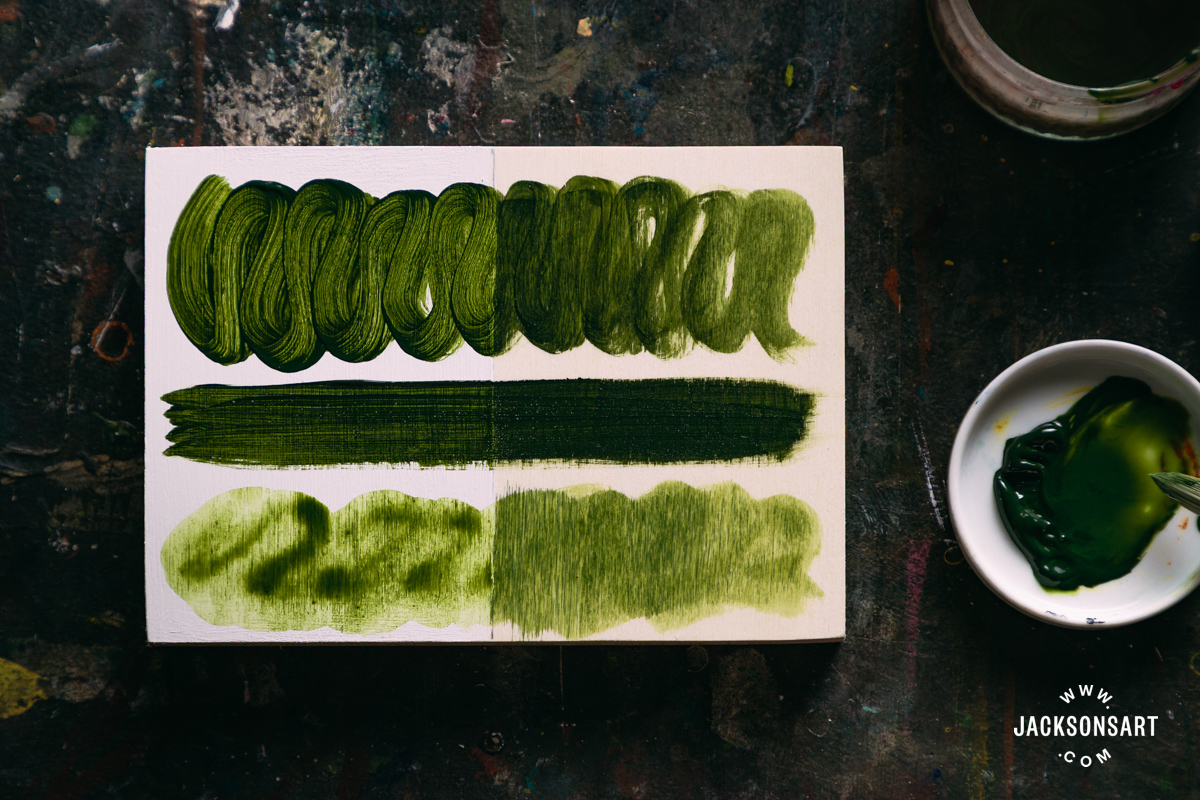
As you can see below, the Golden Acrylic Paint in Sap Green Hue dispersed much more fluidly on the primed side of the panel and retained the detail of the brushstroke. On the unprimed side, the texture of the brush hairs was lost as the paint sunk into the surface. And the stroke became rougher as the paint caught in its porous surface. The most similar of the three example strokes on both sides was the solid painted line with no water, except that the primed side is slightly lighter, because of the white ground lightly showing through from below.
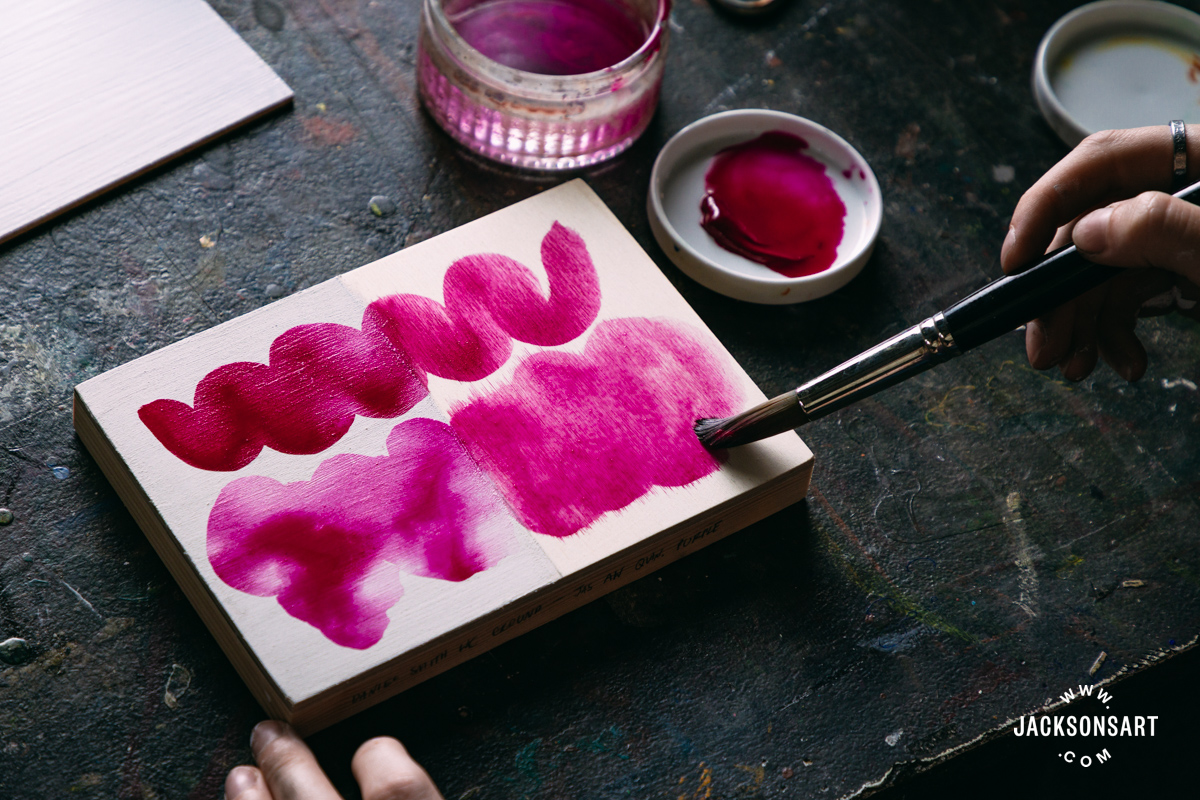
Next, I applied Jackson’s Watercolour in Quinacridone Purple onto the half-primed watercolour panel. On the primed side, the paint behaved much like watercolour on paper, with strong colour payoff, the ability to vary finish, and control of application. On the unprimed side, the watercolour bled rapidly into the grain of the panel, dulled in colour, and I was unable to vary its finish, as the stroke merged into one blob.
Can You Prime a Wood Panel but Keep the Wood Surface Visible?
Yes – by using a clear gesso. First seal the wood with Golden GAC 100 or Golden Gloss Medium in two coats, then apply 2-3 coats of a clear gesso, like Holbein Clear Acrylic Gesso, or Liquitex Professional Clear Gesso. This will make your wood surface suitable for painting with oil or acrylic. This method is preferable for artists who want to retain visibility of the wood grain, perhaps leaving parts of the surface transparent or unpainted, whilst still ensuring the painting is stable.
Can You Prime a Wood Panel For Watercolour Painting?
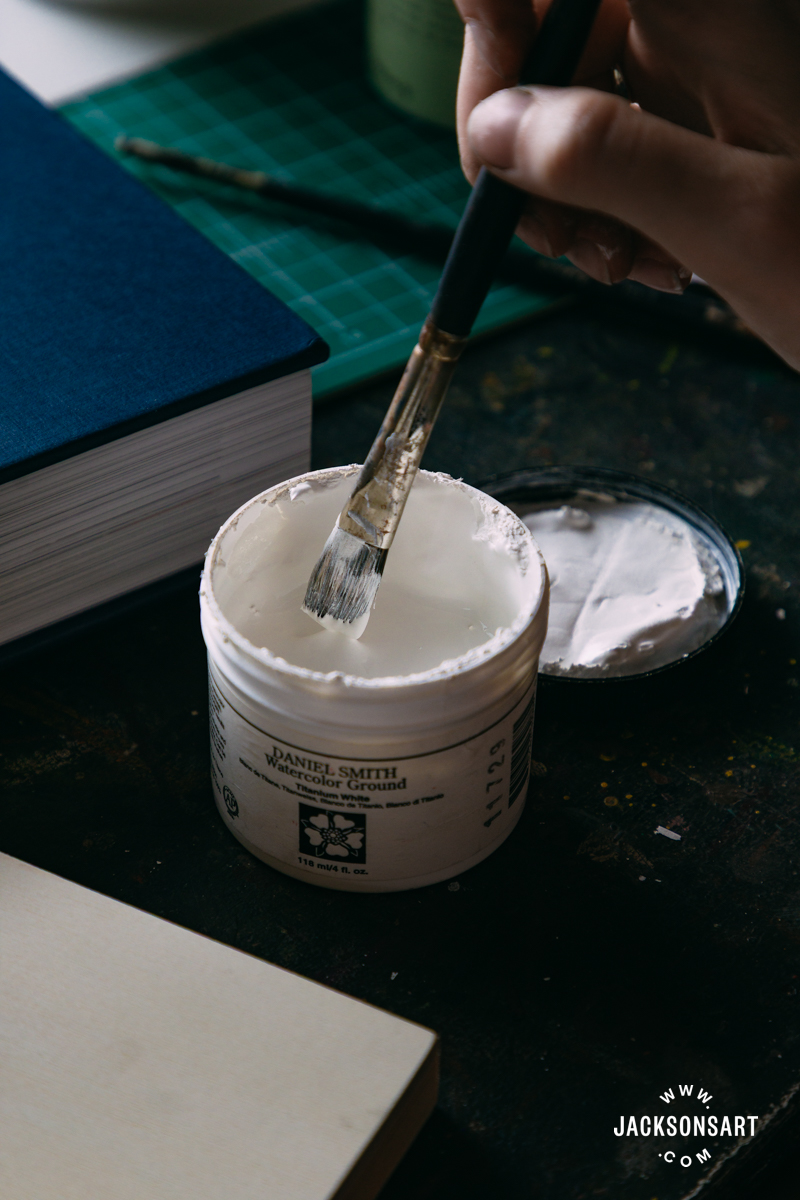
Yes – as long as you prepare the surface with a specialist watercolour ground. We advise applying two layers of Golden GAC 100, allowing it to fully dry between layers, before applying at least two layers of Daniel Smith Watercolour Ground, which emulates the quality of watercolour paper, and is available in a range of colours. As well as wood, it can be effectively applied to canvas, plaster, metal, or perspex.
How Do You Attach Watercolour Paper to a Panel?
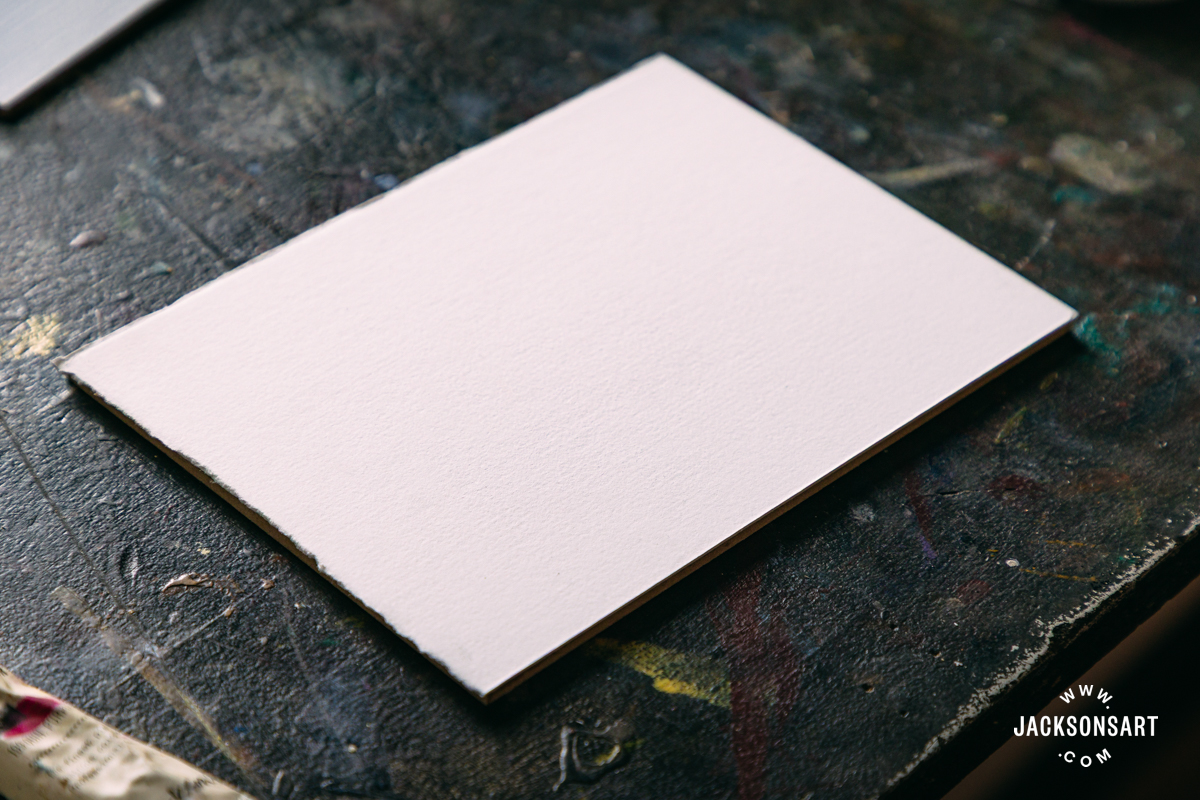
If you’d rather work on a rigid watercolour surface by attaching your preferred paper to a wood panel, it’s a very easy process. Heavyweight papers work best, since they won’t wrinkle as easily when glued. Most quality watercolour papers are 300gsm and over, so it’s best to stick to papers of this weight and heavier. I cut mine from a sheet of Fabriano Artistico 640gsm in Extra White and attached it to a Jackson’s MDF Painting Panel with Golden Soft Gel Medium. You could also adhere it with a pH-neutral PVA glue, like Arcare White Neutral PH PVA Adhesive.
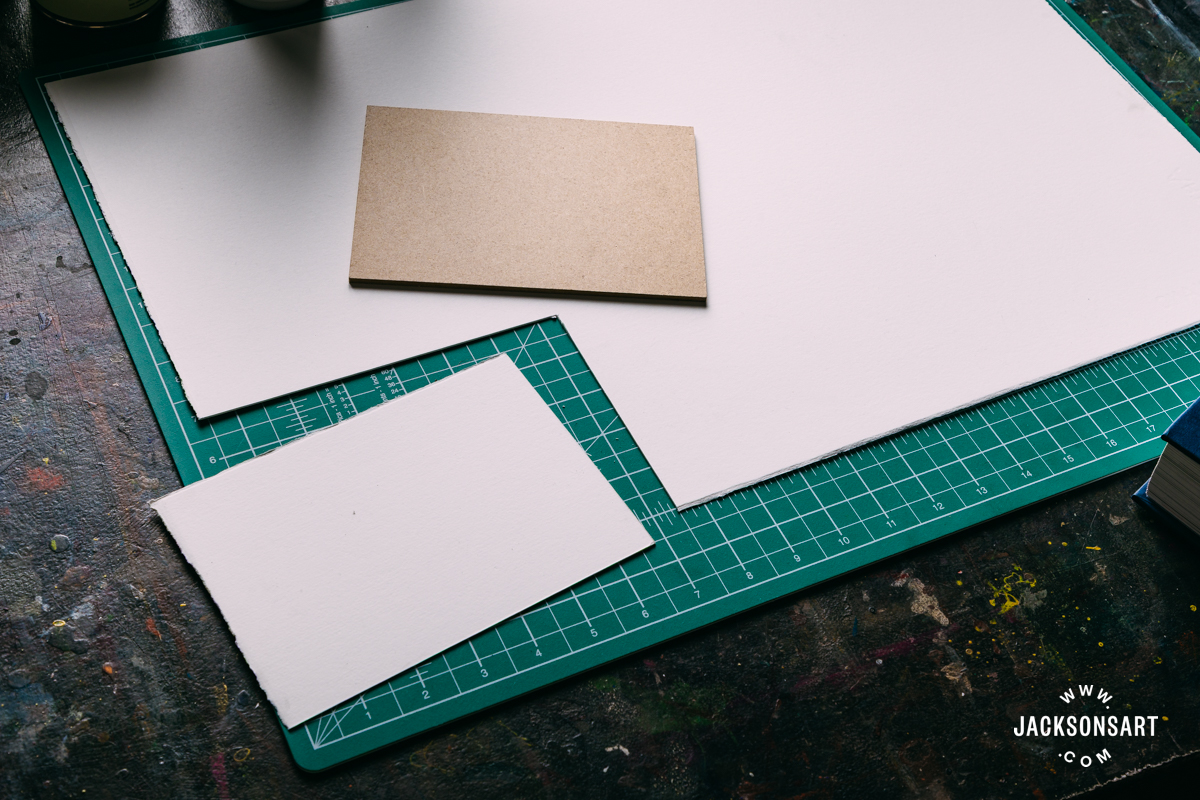
To begin, I placed my sheet of watercolour paper on a cutting mat, placed my MDF board on top, and lightly drew around it. I left a tiny bit of extra space to make sure the paper would cover the whole board, since it’s easy to trim down an extra edge with a knife later, but not add more paper. Then I cut the sheet out using a craft knife and a metal ruler to keep the edges straight.
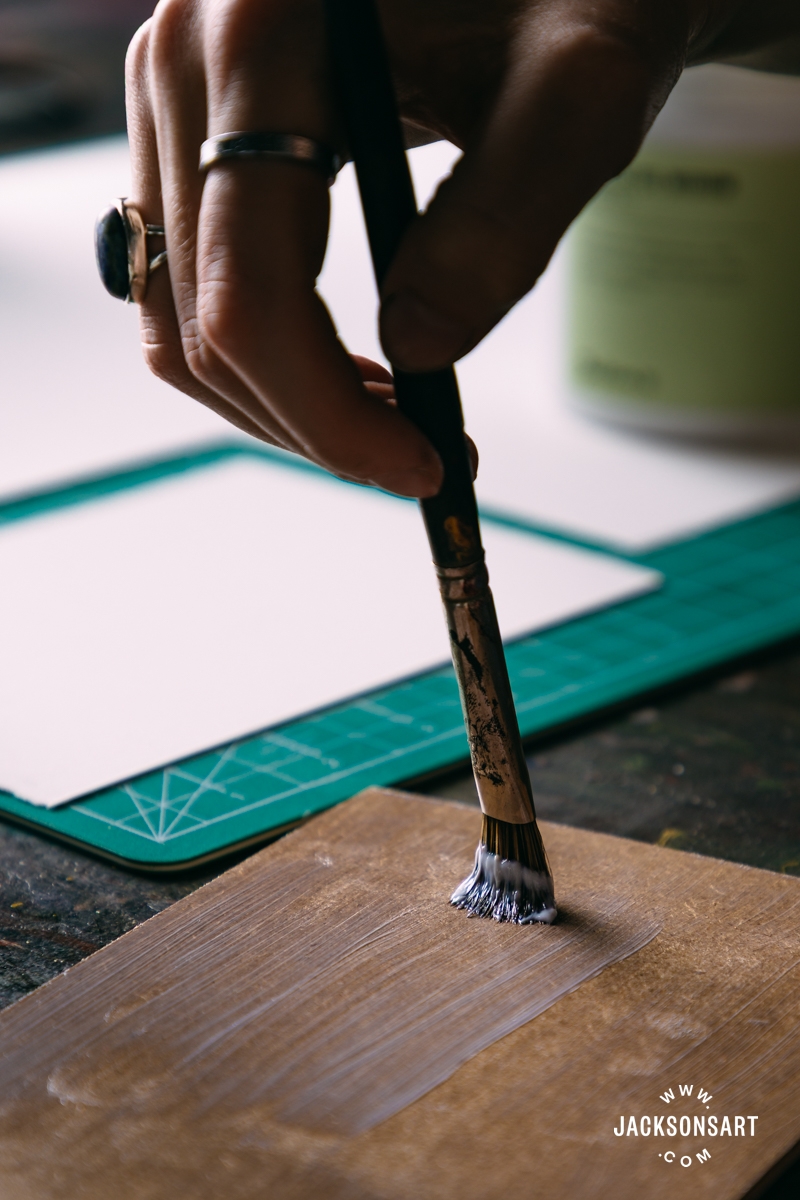
Next, I applied the gel medium all over the MDF panel, leaving the paper lying on the cutting mat.
Then I positioned the panel onto the paper, taking care to line up the edges properly, and applied pressure to the surface by placing a heavy book on top.
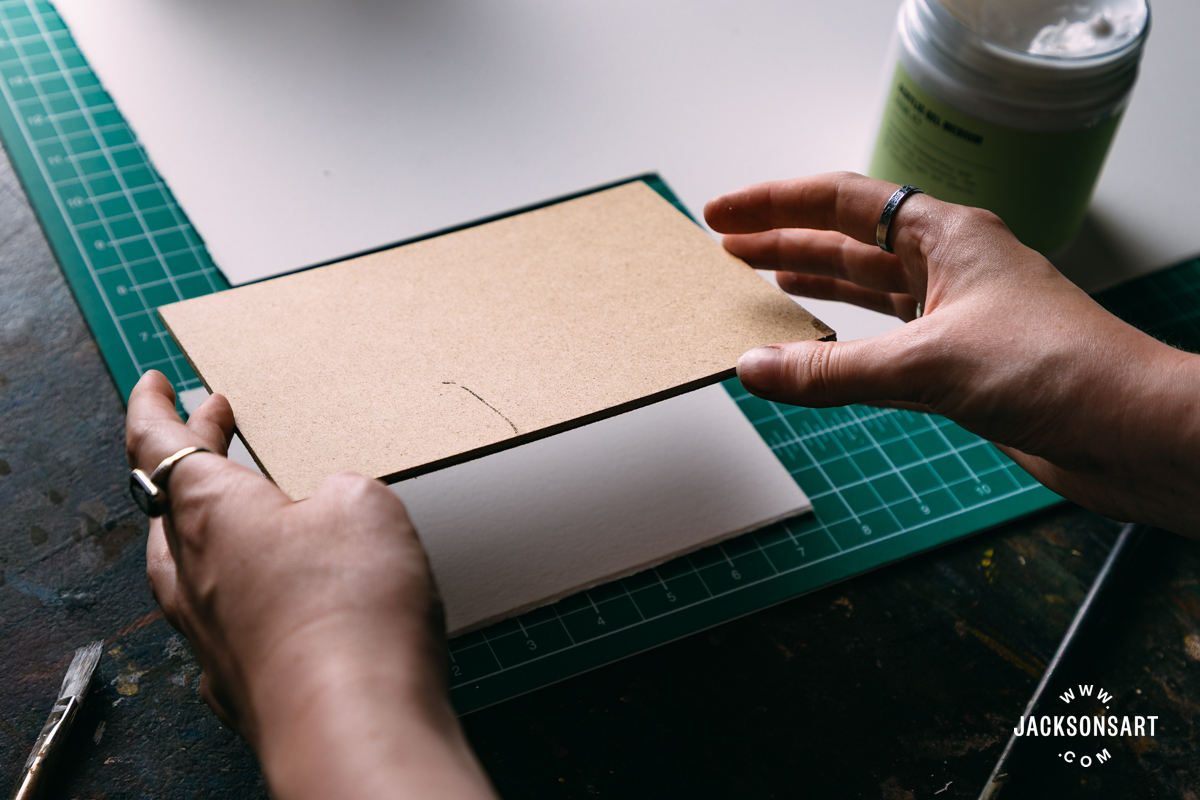

I left this to dry for 2-4 hours before taking it out. It’s best practice to leave the glued surface overnight to ensure the medium fully cures before you start painting, to avoid the risk of any part of the paper becoming unstuck and buckling.
Can you Attach Canvas to a Wood Panel?
Yes – the process is detailed in the article Making a Canvas Painting Panel.
How Do You Prepare a Wood Panel for Oil Painting?
Many painters will prepare wood panels for oil painting by coating them with a few layers of gesso. This is a valid method of preparation – but not the most stable. Like the steps for acrylic above, it’s best to seal the wood first before applying a ground.
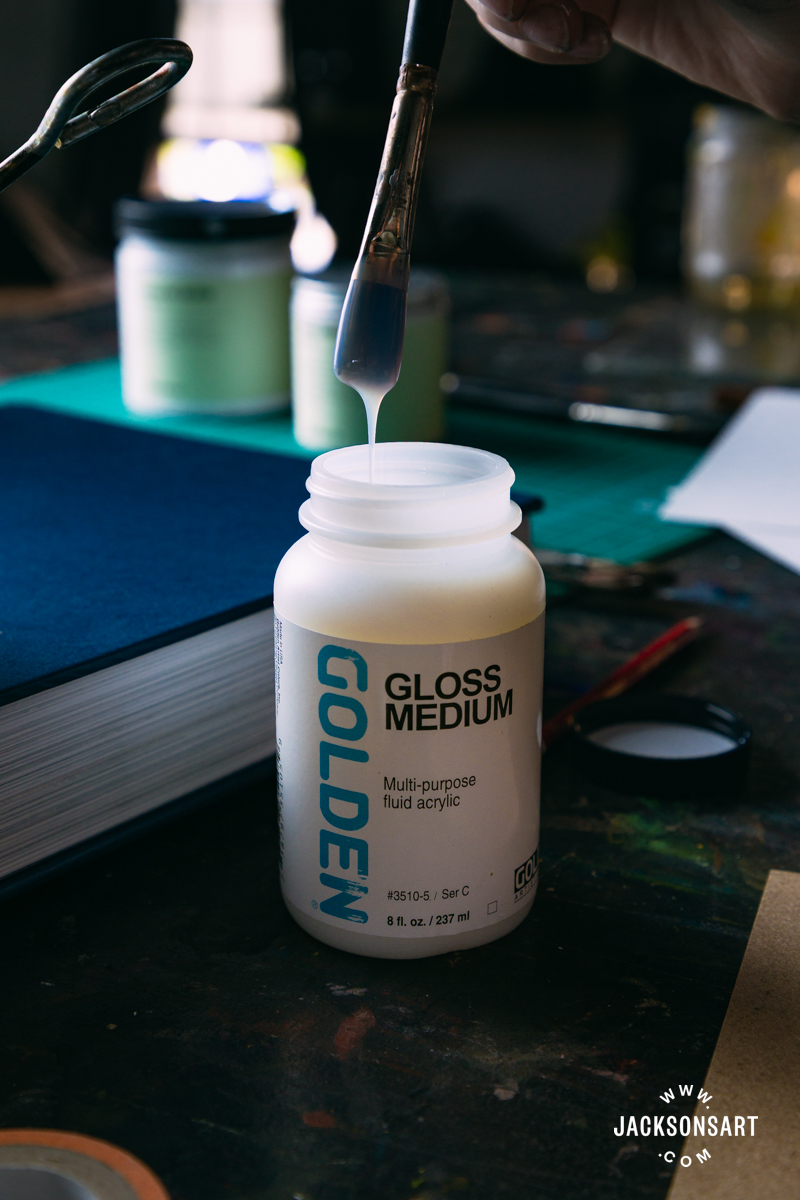
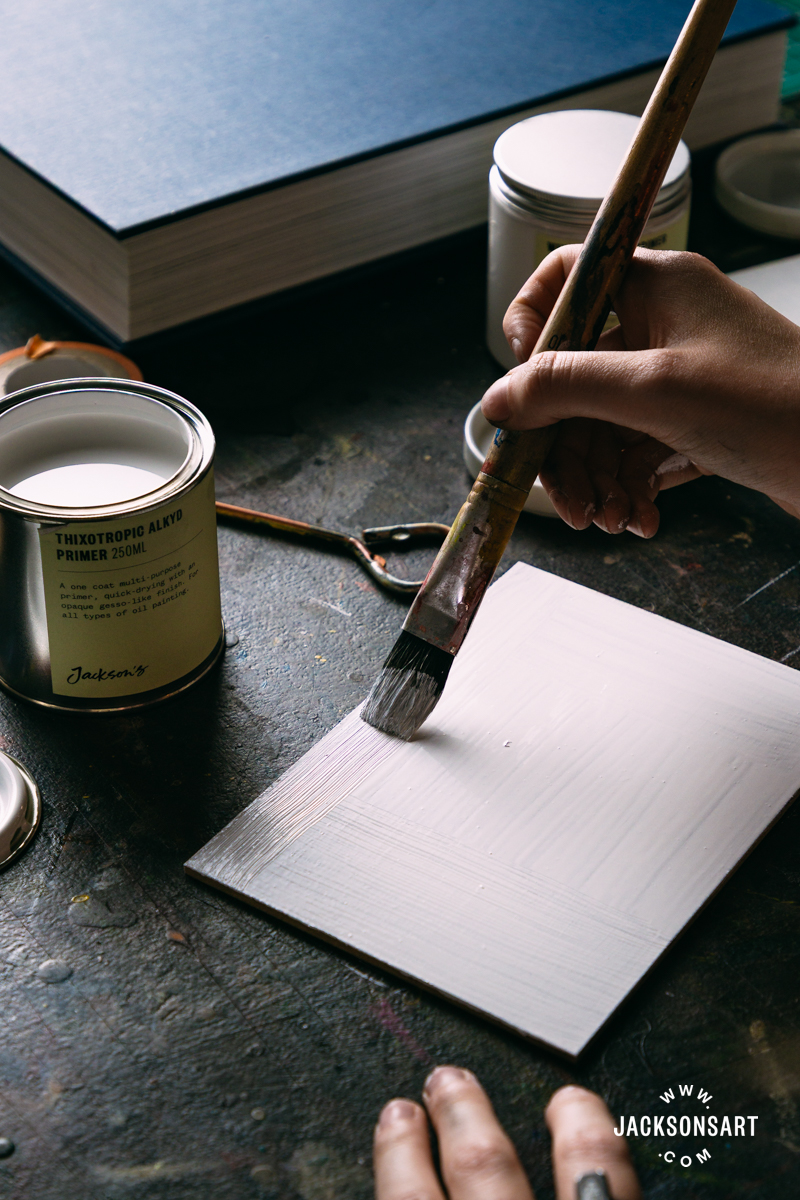
For my example board, I combined Golden Gloss Medium as a sealant, with Jackson’s Thixotropic Alkyd Primer as a ground. You could also use Golden GAC 100, with layers of Jackson’s Acrylic Gesso Primer on top.
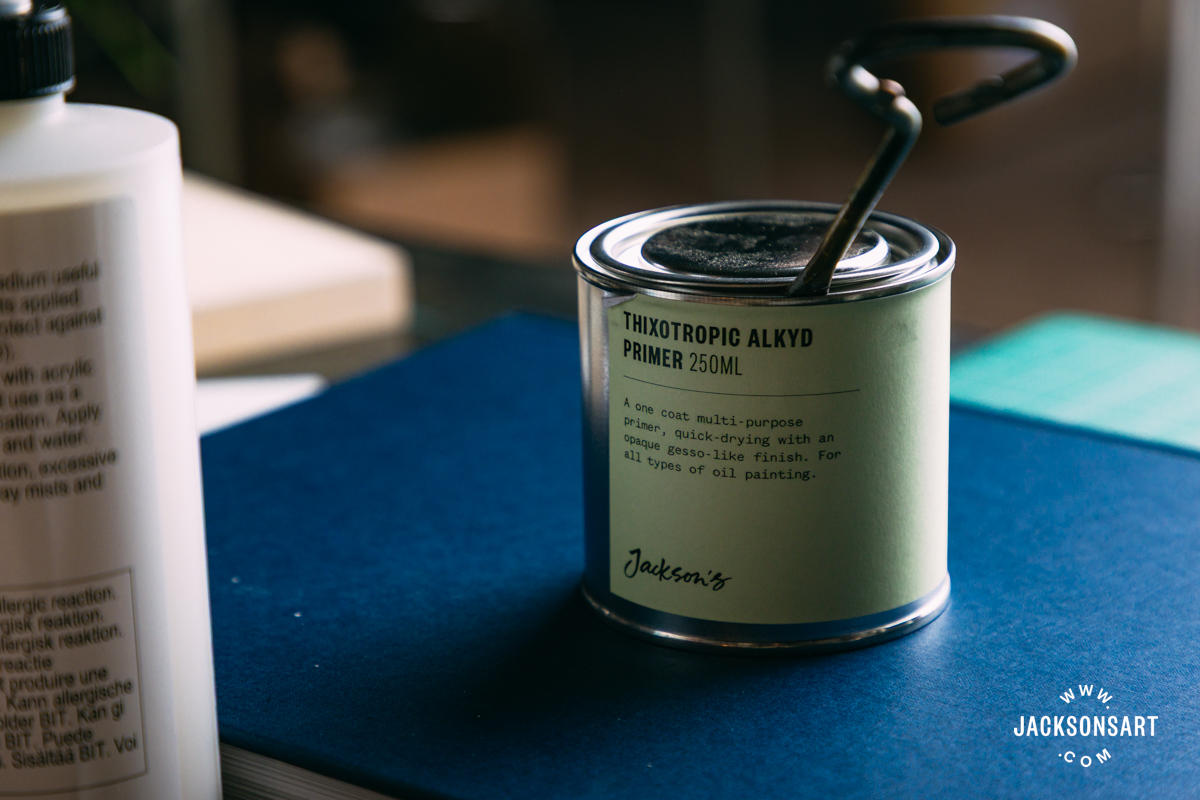
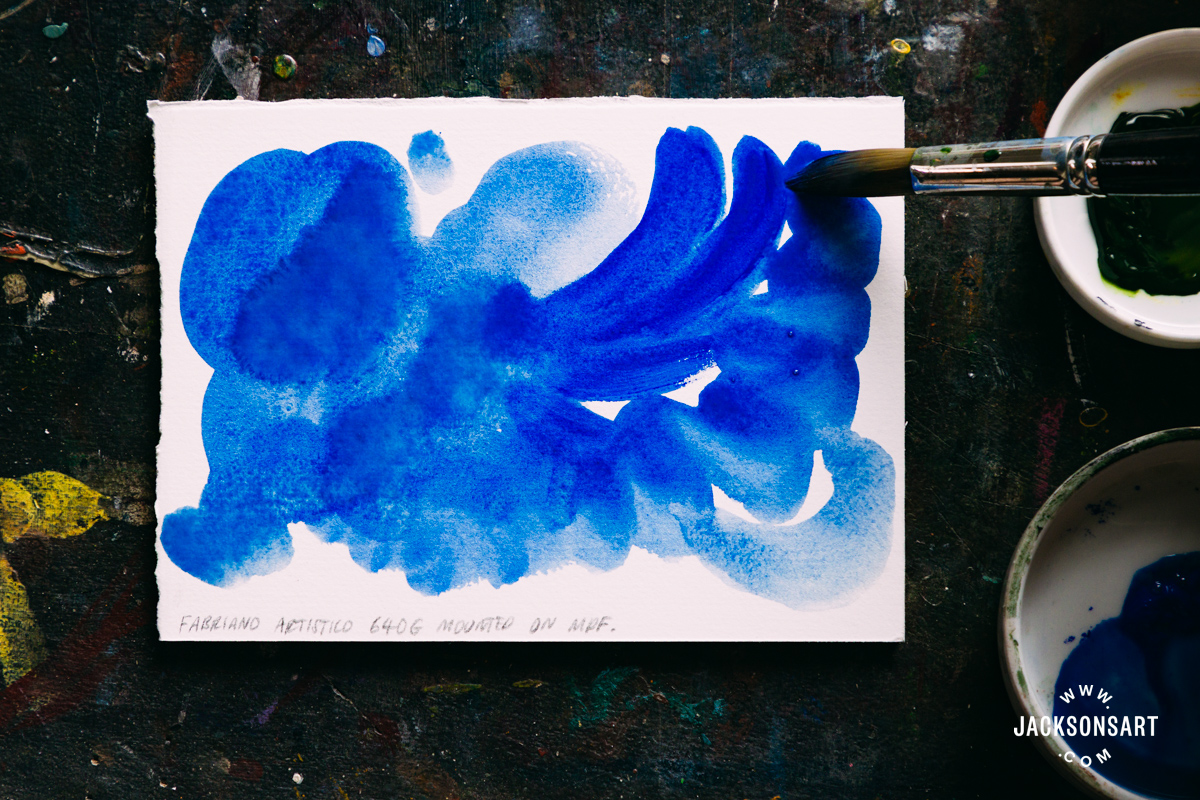
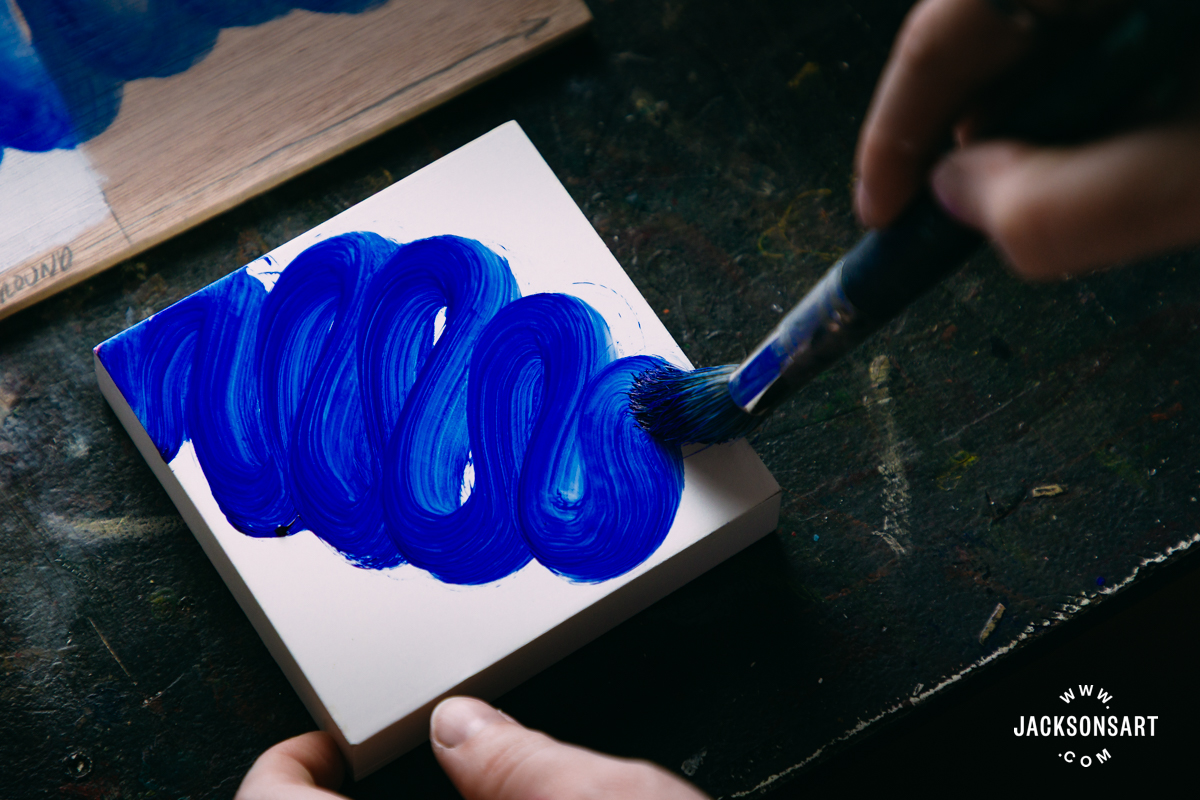
Like Golden’s GAC 100, their Gloss Medium is made of polymer, which can also be used to enhance the gloss or transparency of acrylic paint. I applied two coats to the surface, allowing it to fully dry between layers to form a uniform film. Next, I applied one coat of Jackson’s Thixotropic Alkyd Oil Primer and allowed it to cure for 4-5 days. Once this single coat has dried, you’re ready to start oil painting. I applied a stroke of Jackson’s Artist Oil Paint in French Ultramarine Blue to this panel, which dispersed slickly over the smooth sheen of the ground.
How Does Oil Painting on a Pre-Primed Panel Compare to Painting on Your Own Ground?
The key difference between painting on a pre-primed wood panel and one you’ve applied yourself is control over the texture. When we apply ground with a brush, the texture from the hairs of the brush remains on the surface. When we change the direction of our priming, this creates a hatched texture that helps paint to adhere to the surface. Most pre-primed painting panels are exceptionally smooth to the touch because they haven’t been primed with a brush, but actually sprayed from a machine. This leaves the panel with a very even finish, but no weave texture.
If you’d prefer your surface to have tooth to catch the paint, you may prefer priming your own panels. If you do want a smooth surface on your own primed panel, this can still be achieved by sanding the surface once the gesso ground is completely dry. Since pre-primed panels are exceptionally smooth because of their sprayed application, they are ideal for painters who make intricate or delicate works that would be disturbed by interference from surface texture.
Regardless of your texture preference, pre-primed panels are exceptionally convenient, save a lot of studio time and effort, and are made to guarantee your work is stable. Some available surfaces include Belle Arti Gesso Panels, Ampersand Primed Artist Panels, and Jackson’s Gesso Painting Panels.
What Difference Does Sanding Make to a Wood Panel?
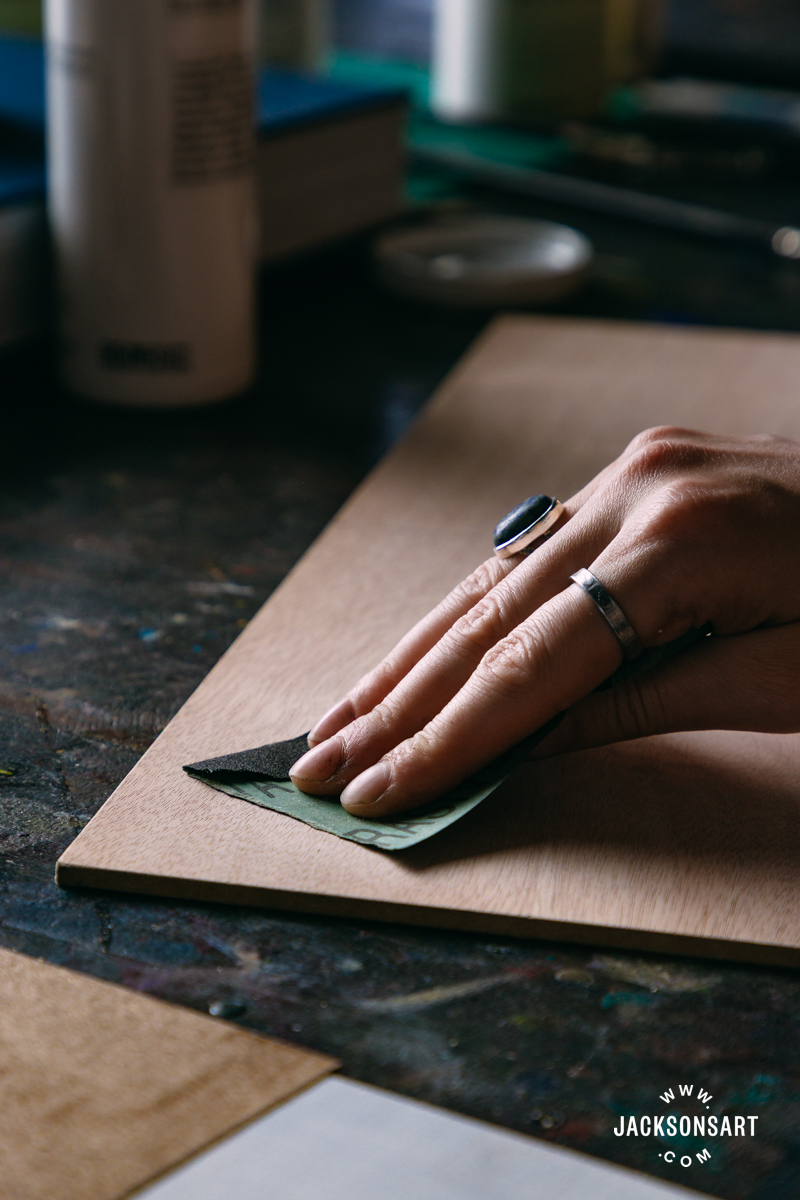
If you prefer to paint on a completely smooth surface, sanding a panel before sealing or priming, or sanding the surface of the dry primer itself, is the solution. To create a visual example of the difference sanding makes, I divided a Jackson’s MDF Painting Panel into eight sections to show the difference in acrylic gesso and clear gesso, with sanded wood, sanded ground, both at the same time, and neither, painted over with Jackson’s Artist Oil Paint in French Ultramarine Blue.
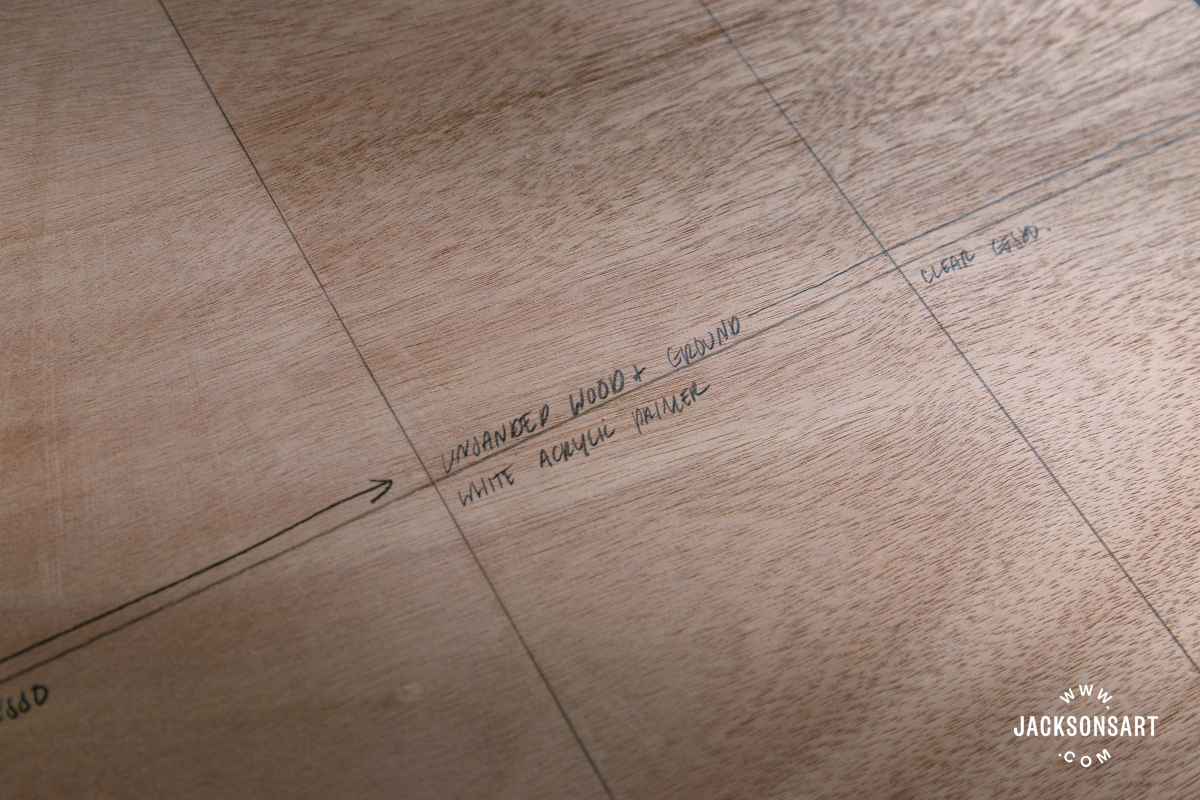
The differences between the sections on the left are very obvious. Where the top section is unsanded acrylic gesso over sanded wood, and the bottom is sanded acrylic gesso over sanded wood. The brushstroke on top has lost the texture of the brush, with the paint evenly caught by the rougher gesso surface, despite the smooth board below.
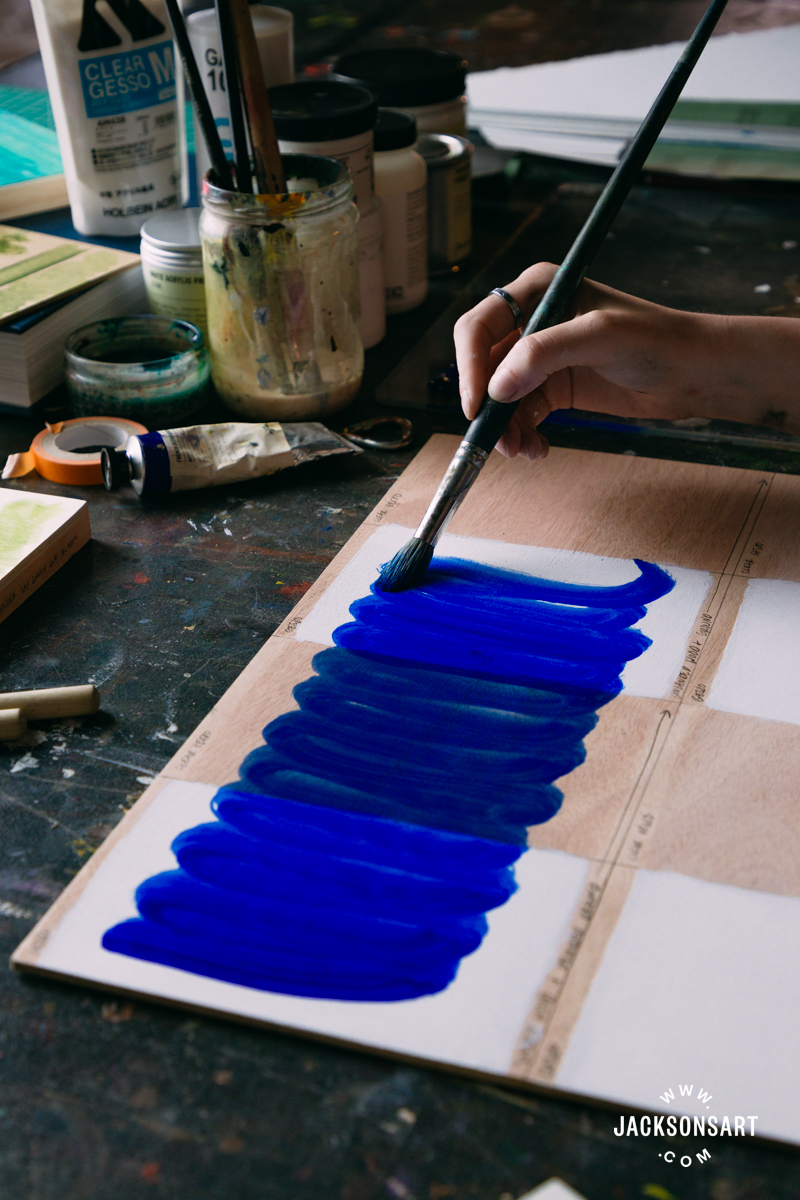
On the bottom, the combination of the sanded board and gesso has made the surface much more smooth to paint over, so the brushstroke has more variety of tone, and retained the texture of the brush hairs.
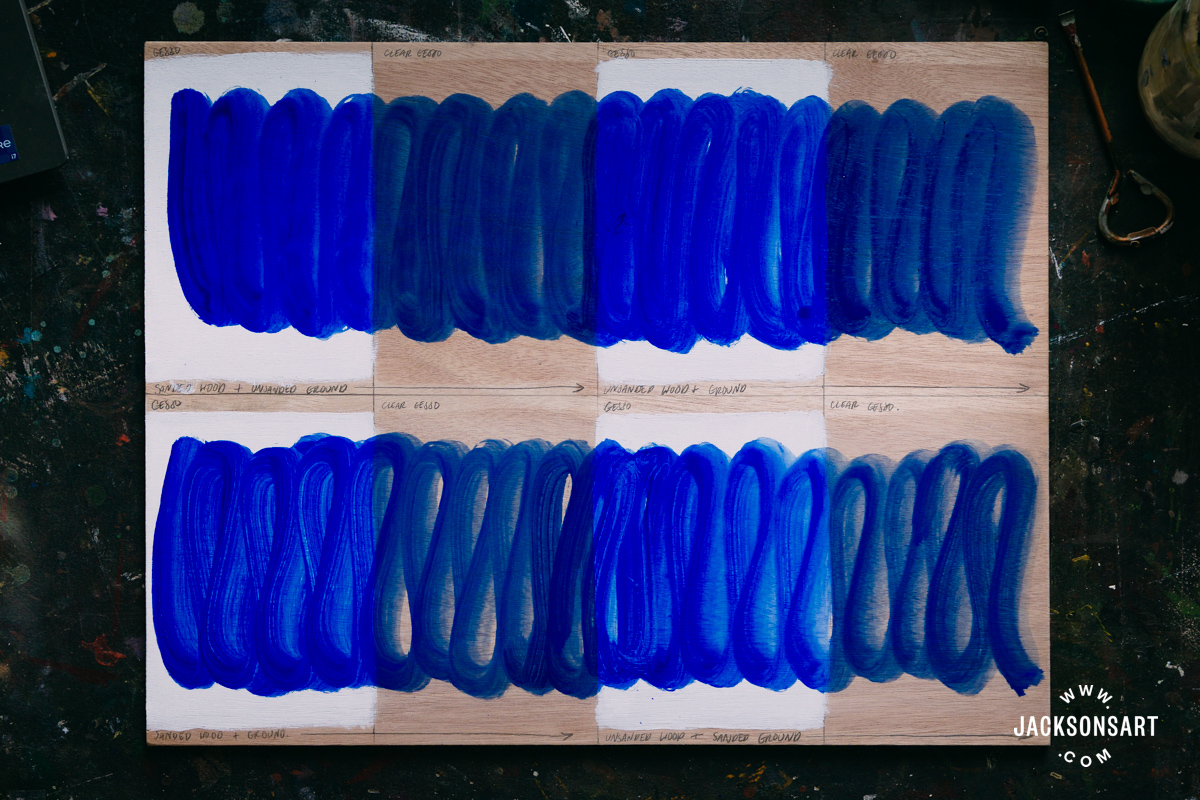
Moving across to the far right examples with clear gesso, the difference is also very noticeable. Both examples are painted on unsanded wood, but the top is on unsanded clear gesso, and the bottom is on sanded clear gesso. Again, the quality of the brushstroke is much clearer on the sanded brushmark than the unsanded one, where the tooth of the application has caught the paint as it moved across the surface.
Can You Carve Into Wood Painting Panels?
Yes – although some types of wood are more suitable than others. Woods are made easier to carve into based on their density and grain structure. Softer, low-density woods offer the least resistance as you carve into them, but higher-density woods may offer more precision in carving with specialist tools. Any seams or knots in the wood will be difficult to carve around, and may splinter as you work on them. To avoid these pitfalls, Ampersand developed Unprimed Basswood Artist Panels that are sanded, free from imperfections, and able to be carved into because of the low density of the wood.
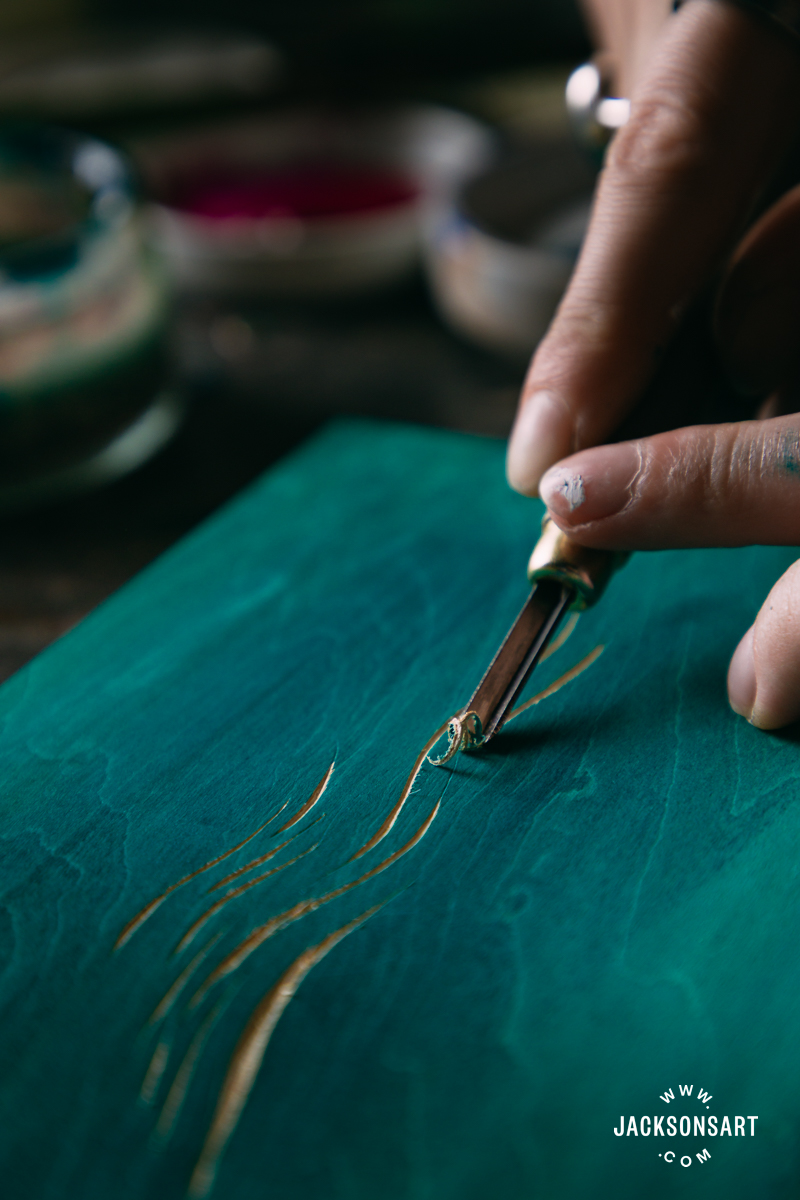
Here, I have demonstrated carving lines with a Jackson’s Wood Cut Knife, on an Ampersand basswood panel, painted with Jackson’s Professional Acrylic in Phthalo Turquoise. If you’ve sealed and primed your painting surface, be aware that carving into the wood re-exposes the raw wood below, so if you want to paint into the cut marks, you may want to carefully reapply your sealing medium to the grooves, or carve into the wood first before priming the entire panel.
Further Reading
Making a Canvas Painting Panel
Eight Ways to Approach the Edges of Artworks
Two Artists Test Jackson’s Wooden Panels
Behind the Movement: Northern Renaissance



2 thoughts on “How to Paint on Wooden Surfaces”
Thank you for providing this blog and thank you for the advice and instructions you include!
Glad you’re enjoying reading the blog!
Comments are closed.