



Aquatint is an etching process that allows you to create areas of tone within a print either alone or alongside other forms of mark-making such as hard and soft ground etching, drypoint, and engraving. The basic principle is to cover a plate with particles of acid-resistant material and then etch the plate, biting around the islands of resist, creating a halftone. Graduations within the halftone are achieved by controlling the amount of etching the plate is given with the deeper tones created by a longer etch. The particles, or ground, can be made from a variety of materials, but today powdered rosin is widely used. Other materials, from the past and today, could be asphaltum powder, acrylic spray paints or alternative forms of applying an acid-resistant ‘grain’ on the plate. In this article, I’m going to look at a couple of options that can be done without expensive equipment. This will be an overview as opposed to a step-by-step guide so please always do your research on technique and safe material handling.

Introduction to Aquatint Printmaking
Development of a New Technique
Aquatint developed as a method of incorporating tone in intaglio printing, alongside mezzotint, stippling, and other engraving techniques. Evidence of this can be seen in Holland in the mid-17th century, in the flourishing economic and artistic Dutch Golden Age and the work of Jan van de Velde. Unfortunately, he never documented his methods, so uncertainty remains as to exactly how he achieved them.
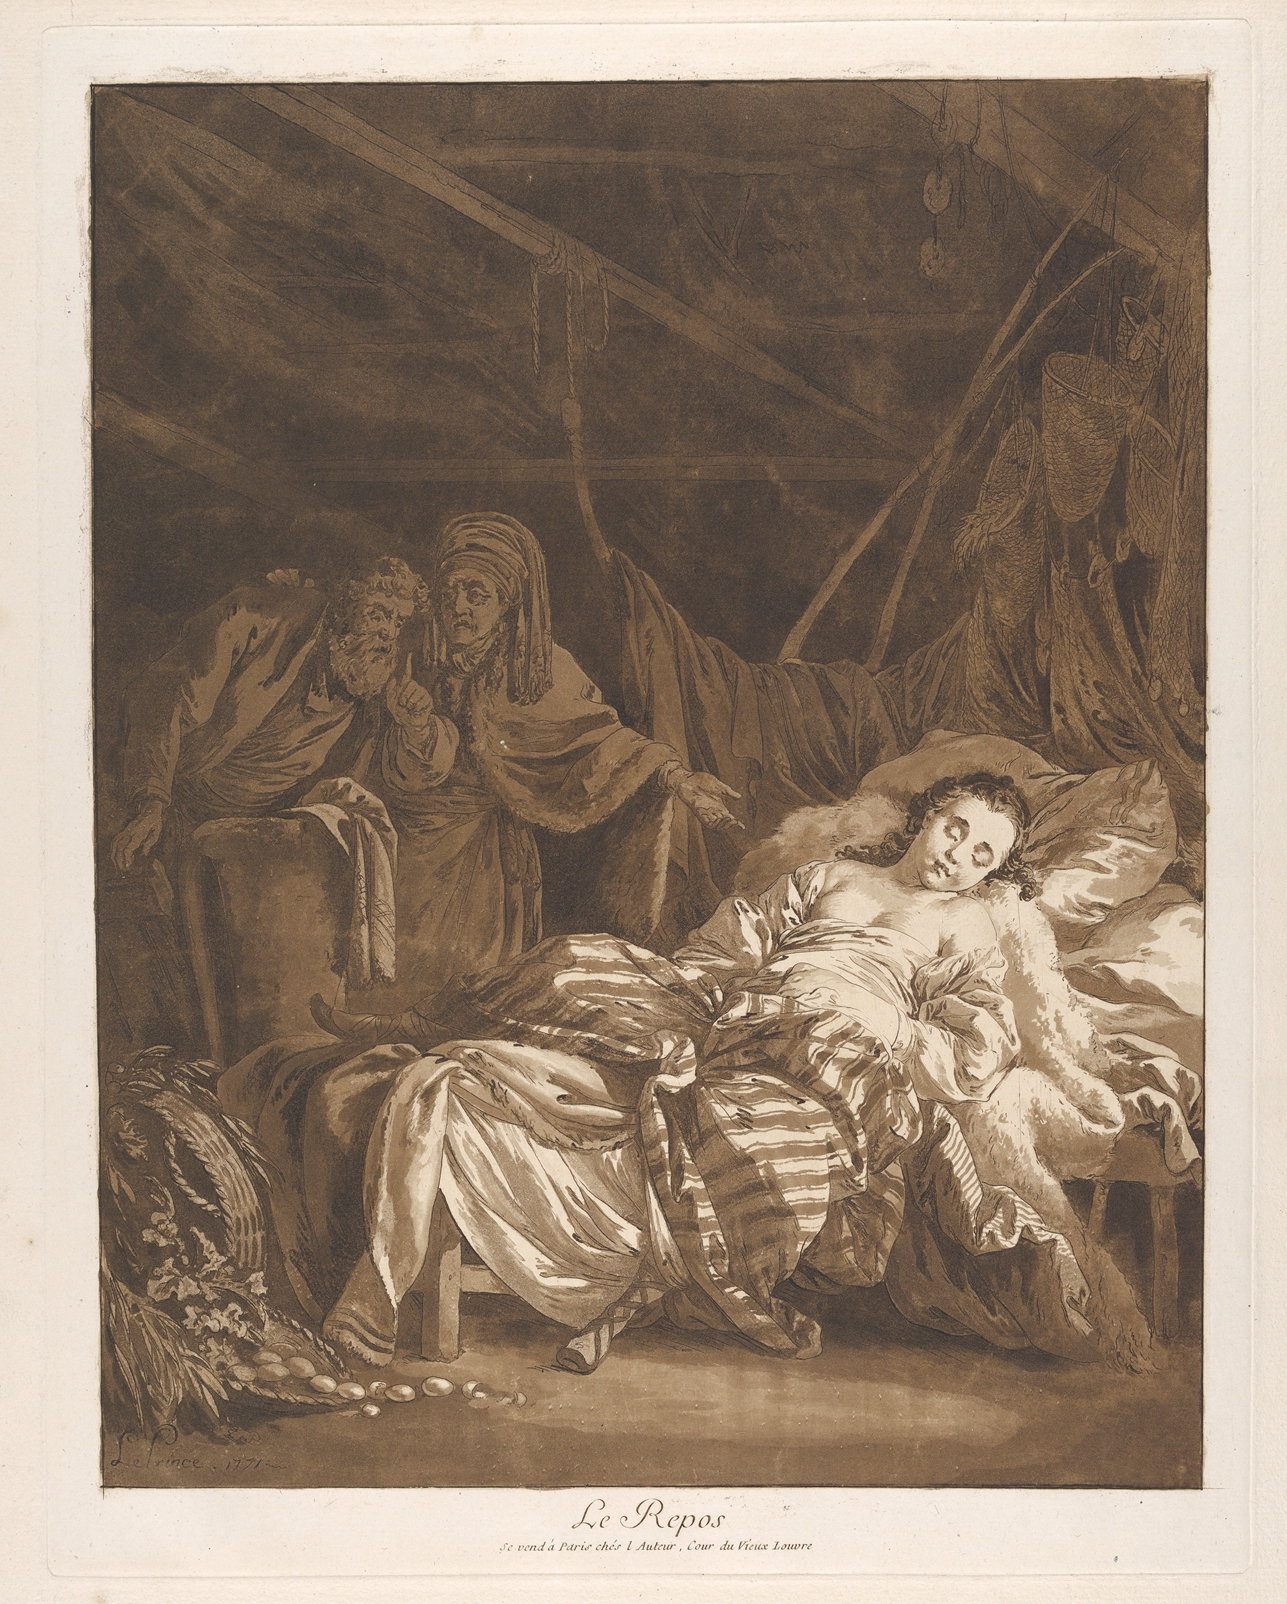
Jean-Baptiste Le Prince
Etching and aquatint printed in brown ink, 45 x 35 cm | 17.68 x 13.75 in
Metropolitan Museum of Art
It wasn’t until the 18th century that the technique was picked up and developed more widely, with real commercial success, as an effective way to emulate watercolour and pen-and-wash drawings. Early aquatints took many forms using different materials, but it was the rosin dust ground and rosin spirit ground that became the two most adopted methods. Rosin is a solid form of resin obtained from pine trees and other conifers. Also known as Greek pitch or colophony, it is the same substance that musicians rub on their violin strings and bow to aid grip and tone.
To deposit the very finest, most even layer of rosin onto the plate, plate printers would create a dust cloud or ‘storm’, whipping up rosin powder inside an enclosed cabinet and then allowing it to gently settle over the plate. Alternatively, rosin would be dissolved in alcohol and painted onto the plate in washes that evaporated leaving the residue of particles to form the resist. The latter, known as a ‘spirit ground’, was adept at creating the most delicate tonal variations, and could be painted ‘en plein air’. Early aquatint techniques sought to emulate continuous tone washes, so the objective was to create a ground of particles so fine as to be invisible to the naked eye.
In the early 19th century, lithography overtook etching and engraving as a more economical form of colour printing. But we have a champion in the form of Francisco Goya, who harnessed its dramatic tonal variations in his dark, satirical prints of the late 18th century, Los Caprichos. Rather than using aquatint merely to imitate colour washes, Goya’s famed prints exploited the expressive aspects of etching and aquatint and further cemented printmaking as a medium of artistic expression.
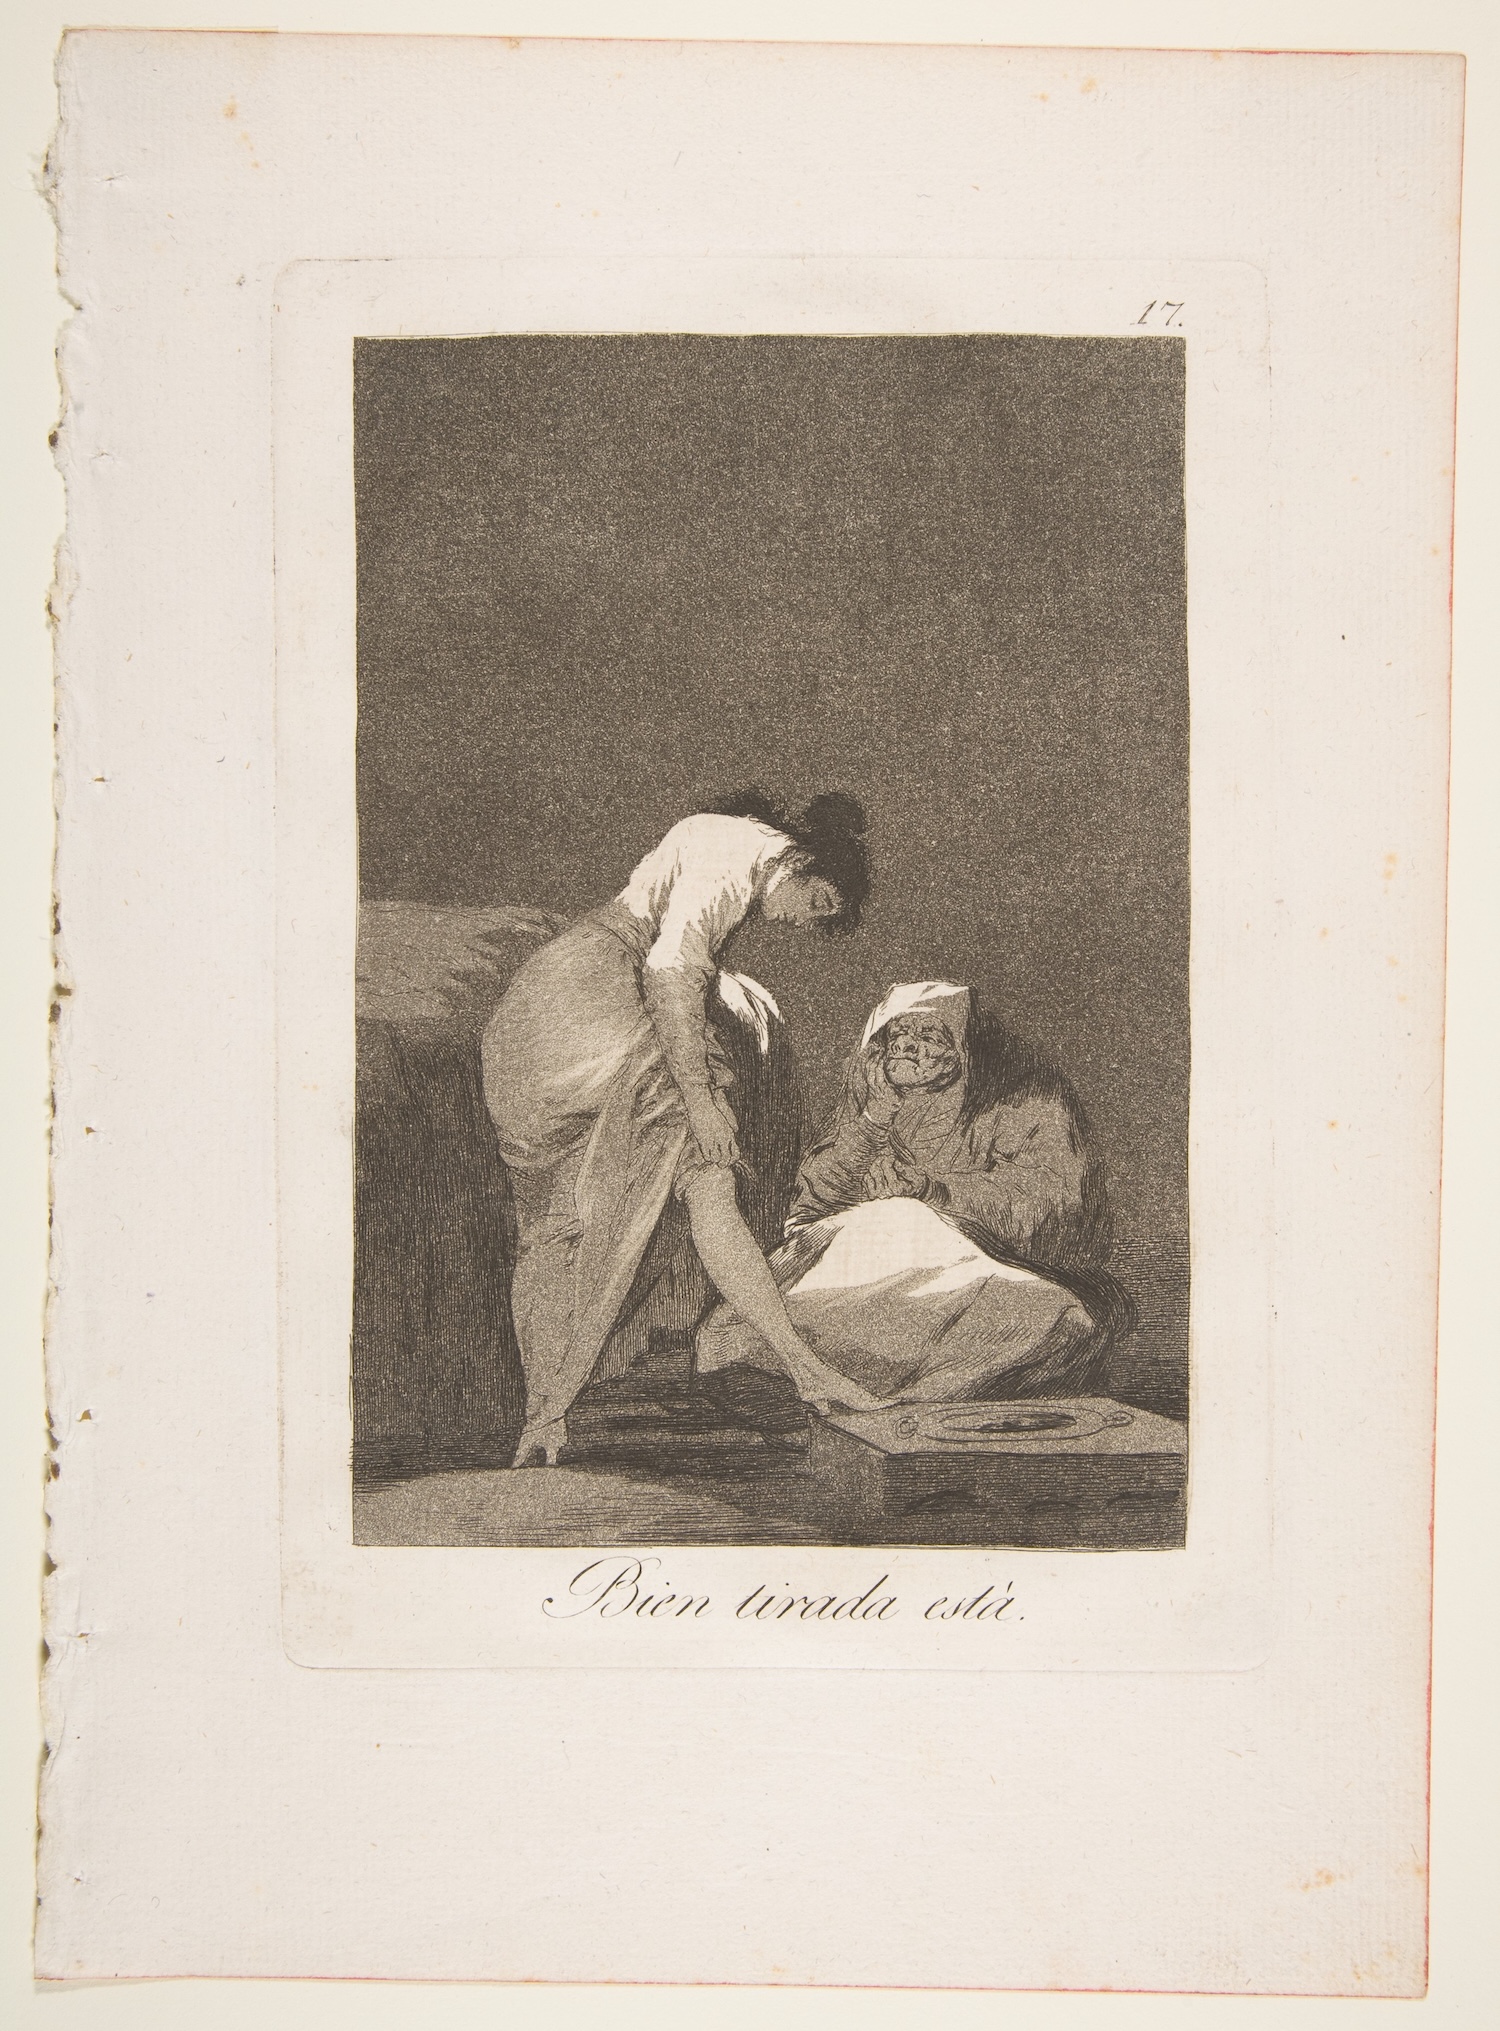
Francisco de Goya y Lucientes
Etching, burnished aquatint, burin, 29.4 x 21 cm | 11.56 x 8.25 in
Metropolitan Museum of Art
If we look closely at this print, we can see the deft handling of the medium. The aquatint is created by hand-dusting the rosin onto the plate, an alternative to the dust cloud method mentioned earlier. This gives a variation in grain size, as larger particles of rosin fall alongside the finer ones. This grainy appearance gives an edge of unease, a dreamlike quality, and in some of Goya’s prints, suggests the night sky as a backdrop. There are five tones within this image, made using two steps of etching the aquatint. The lightest tone is the blank paper and the darkest is created by etched, cross-hatched lines that deepen the darker tones. Like his predecessors, Goya would scrape and burnish areas of aquatint to further widen tonal values.
Making an Aquatint
Rosin comes in either fine powdered form (ready for the aquatint box) or lump form, ready for the artist to grind to their preferred size. It is soluble in methylated spirit/denatured alcohol as opposed to turpentine. This means that wax and bitumen grounds can be applied to and removed as you work on the plate without disturbing the rosin ground. It is classed as an irritant to skin and lungs so appropriate care should be taken when handling, including donning a suitable dust mask.
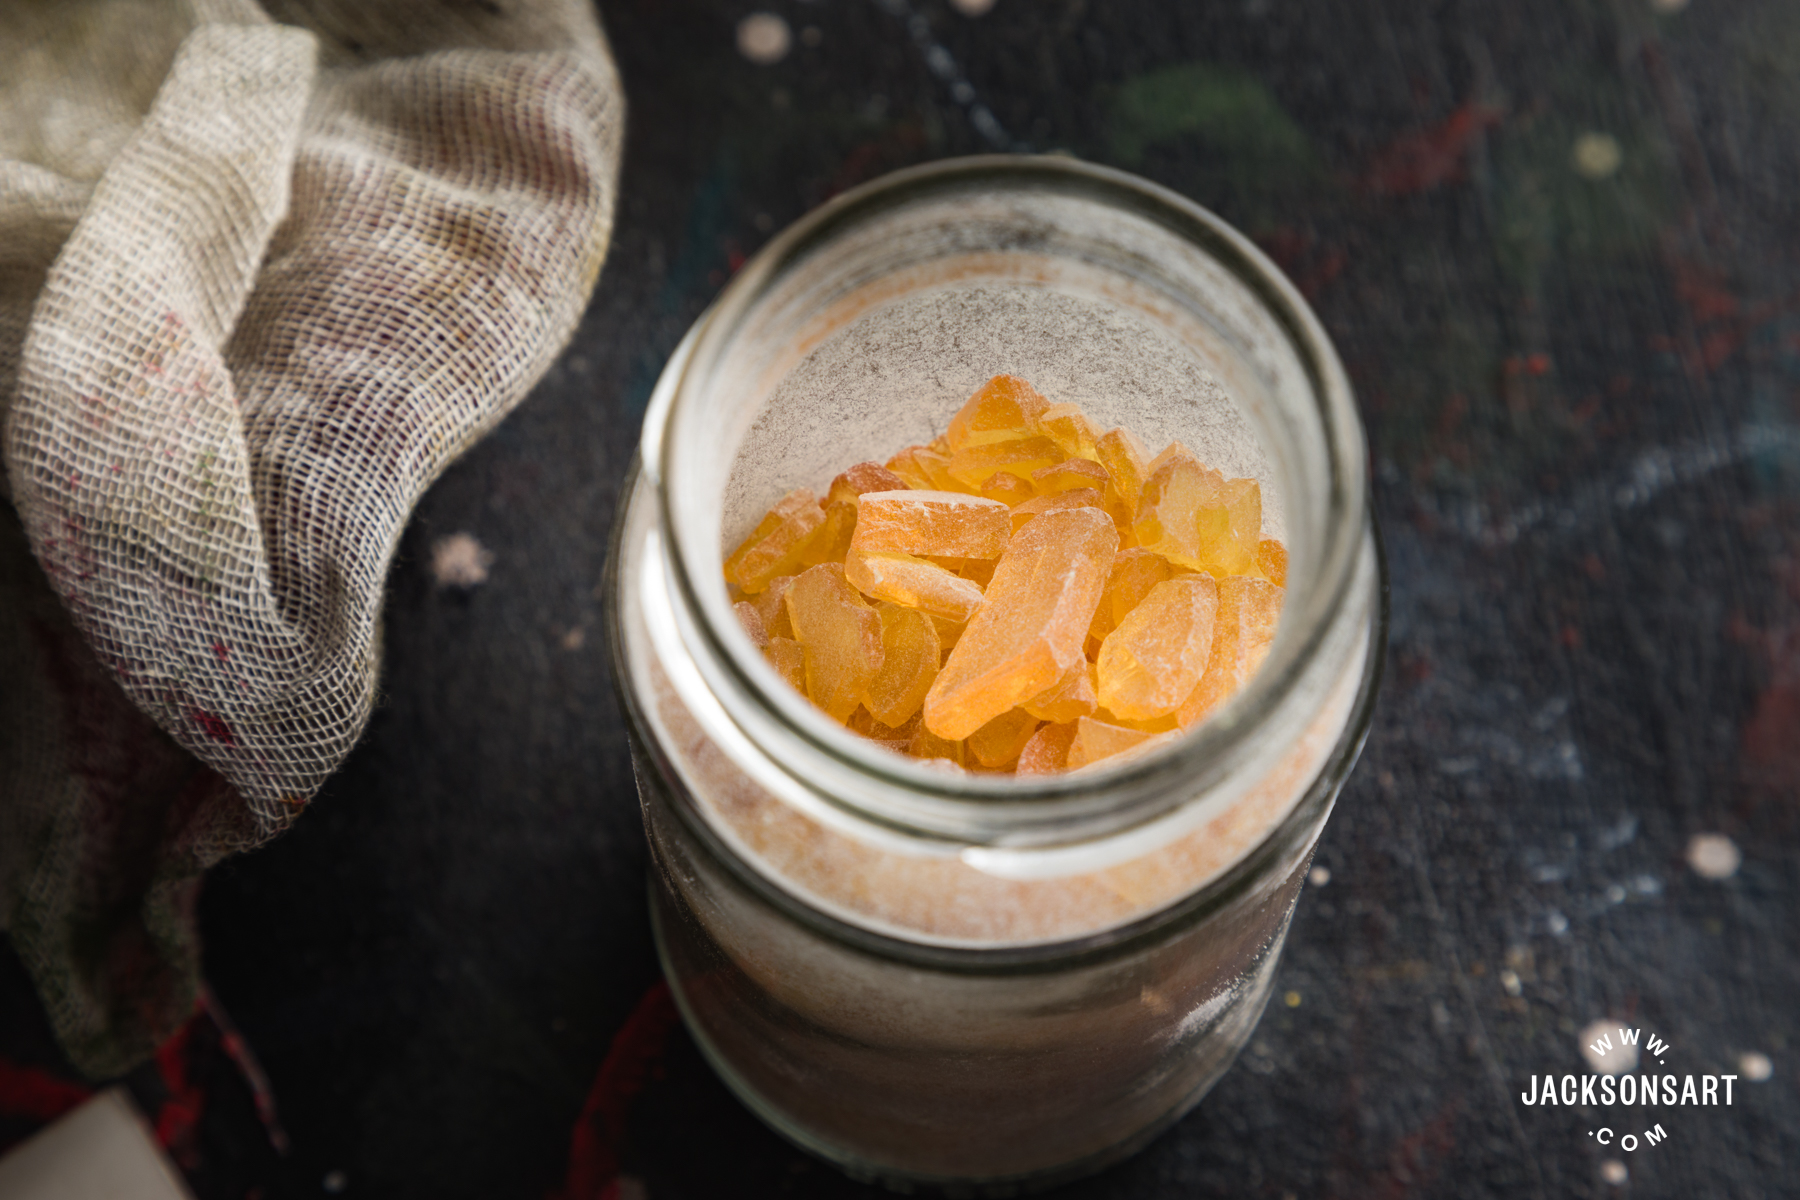
The lump rosin is easily ground by hand using a pestle and mortar – you can control the size of the grains this way. By making a dust bag or a container with layers of muslin or stockinette stretched over the opening, you can then flick or tap the container to dust the plate. If you first practice by testing on a piece of black paper, you will have a fair approximation of what your aquatint grain will look like once printed.
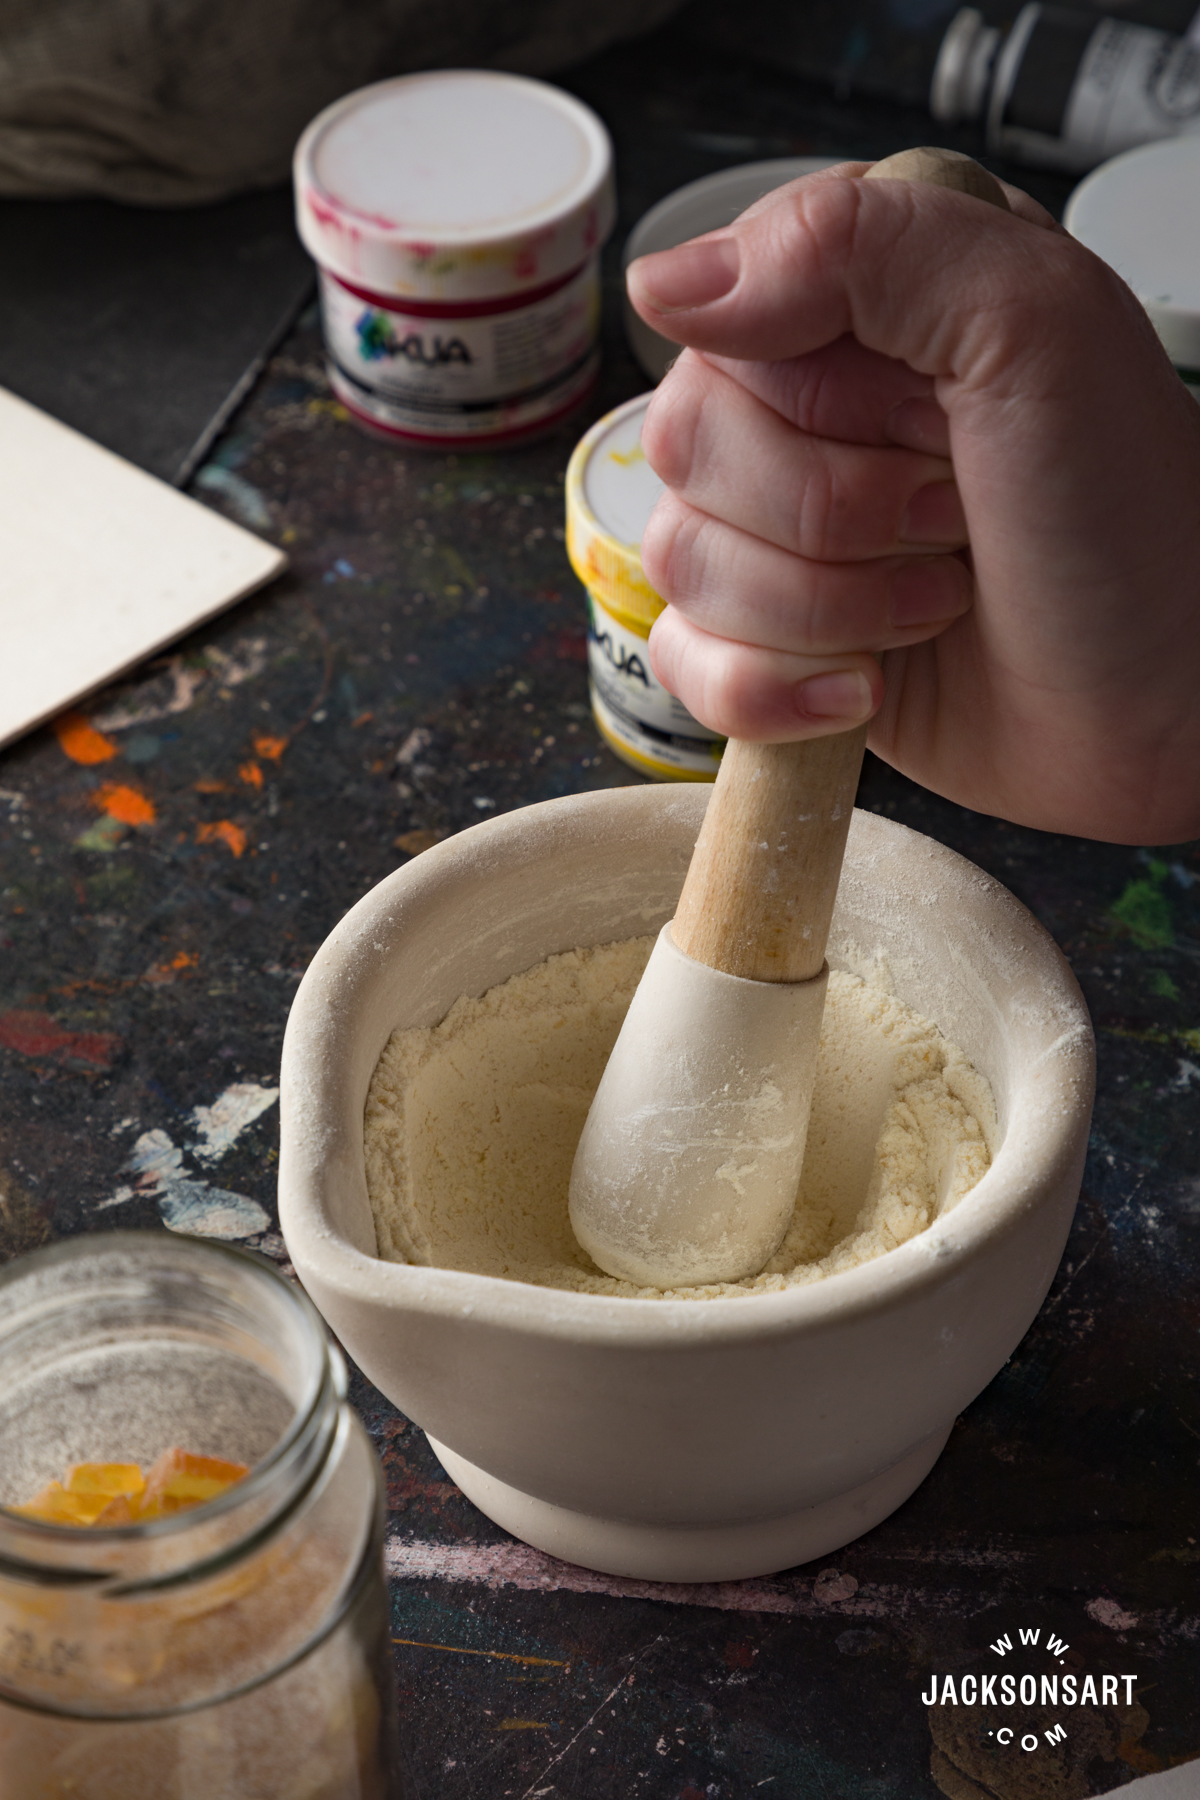
With this hand-applied method, you can choose to aim for an even distribution of rosin or embrace variation across the plate. It can be helpful to do an initial tap away from the plate to dislodge any larger clumps that have formed in the bag/container before dusting the plate. The aim is for about 50% coverage rosin to plate. Rosin is slightly sticky but is still easily dislodged from the plate at this stage, so great care should be taken when moving the dusted plate or examining it with a magnifier. To melt the rosin particles, a hotplate can be used – watch carefully for the moment the rosin turns transparent. At this point, the melted particles will have adhered to the plate and become acid-resistant islands. Too much melting and the islands can spread out and spoil the grain pattern.
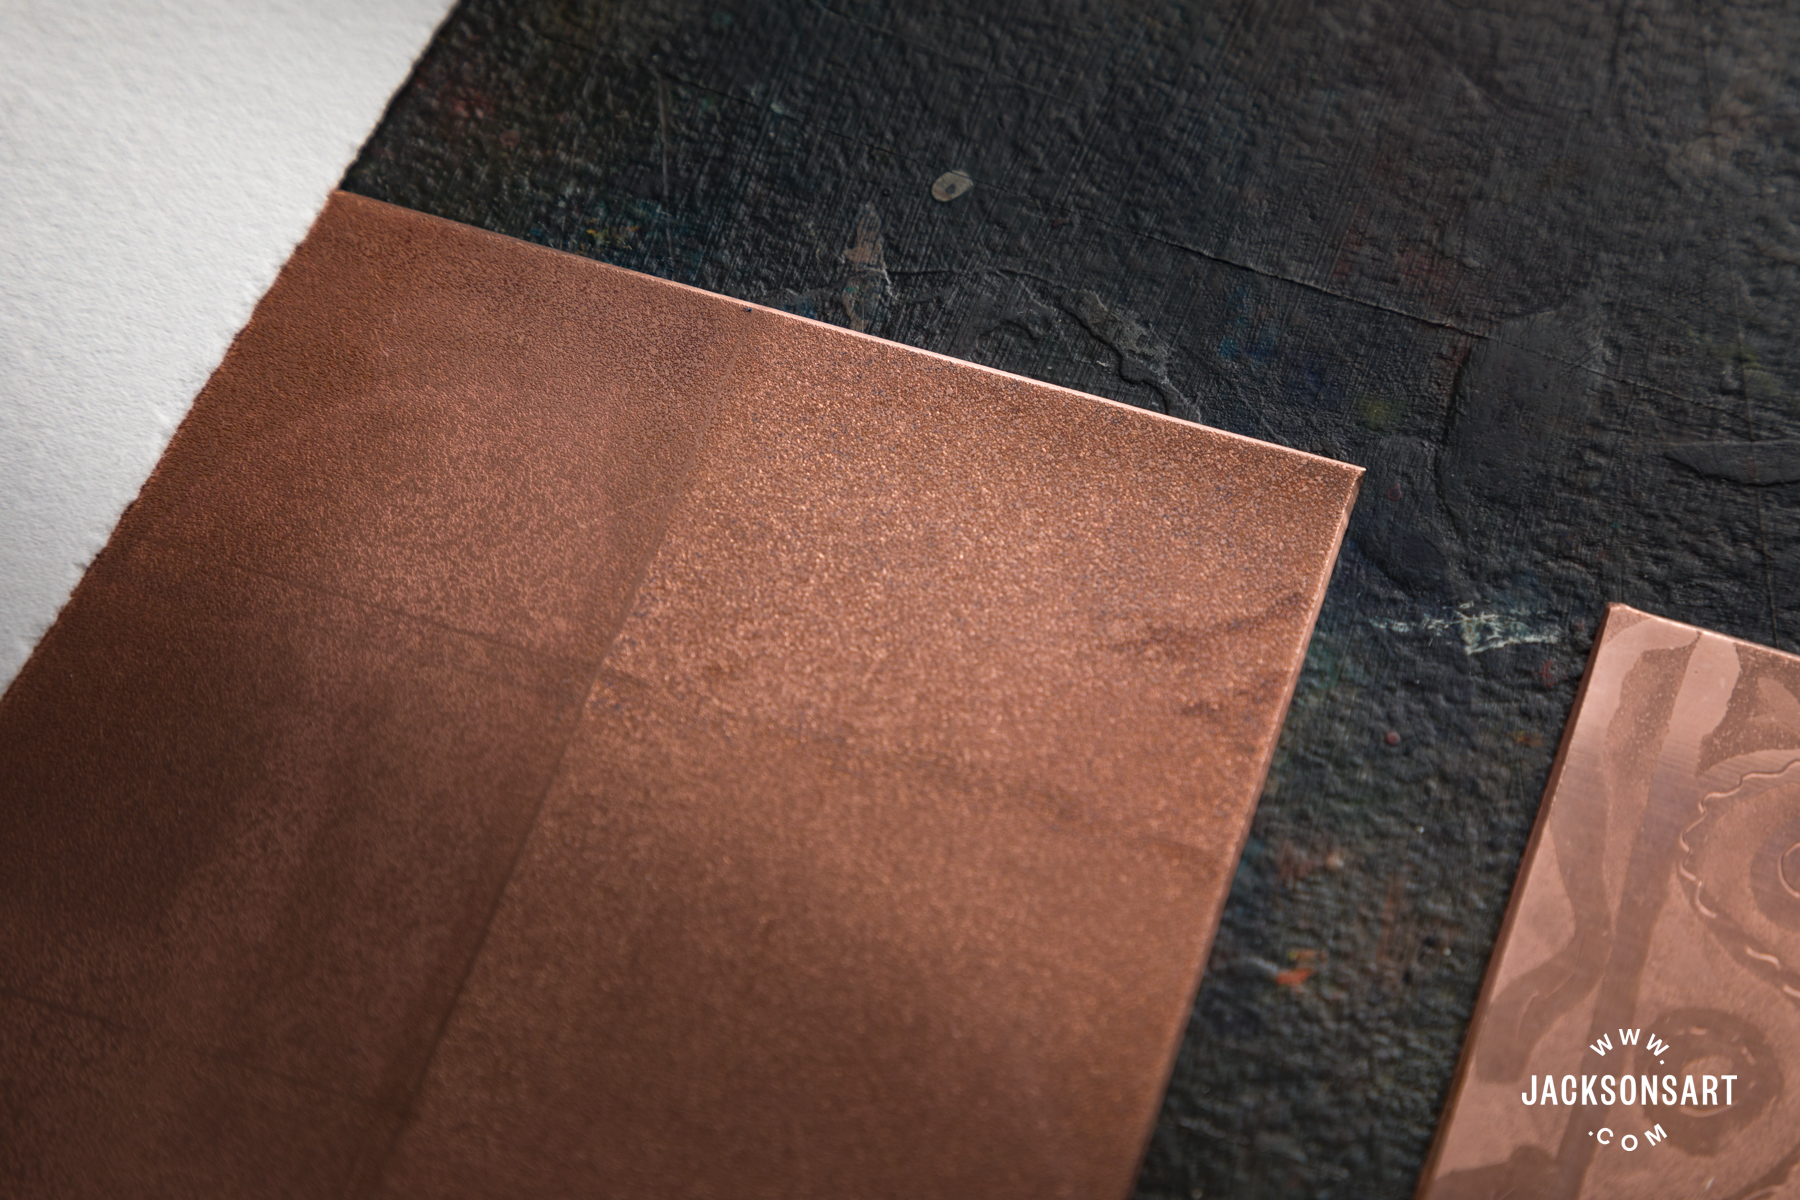
Creating Tonal Range
The tones are created by the length of time that the ground is etched. The shortest etch gives the lightest tone and the longest etch the darkest. Eventually, if you continue to etch, all the texture will be bitten away and your plate will start to print lighter again.
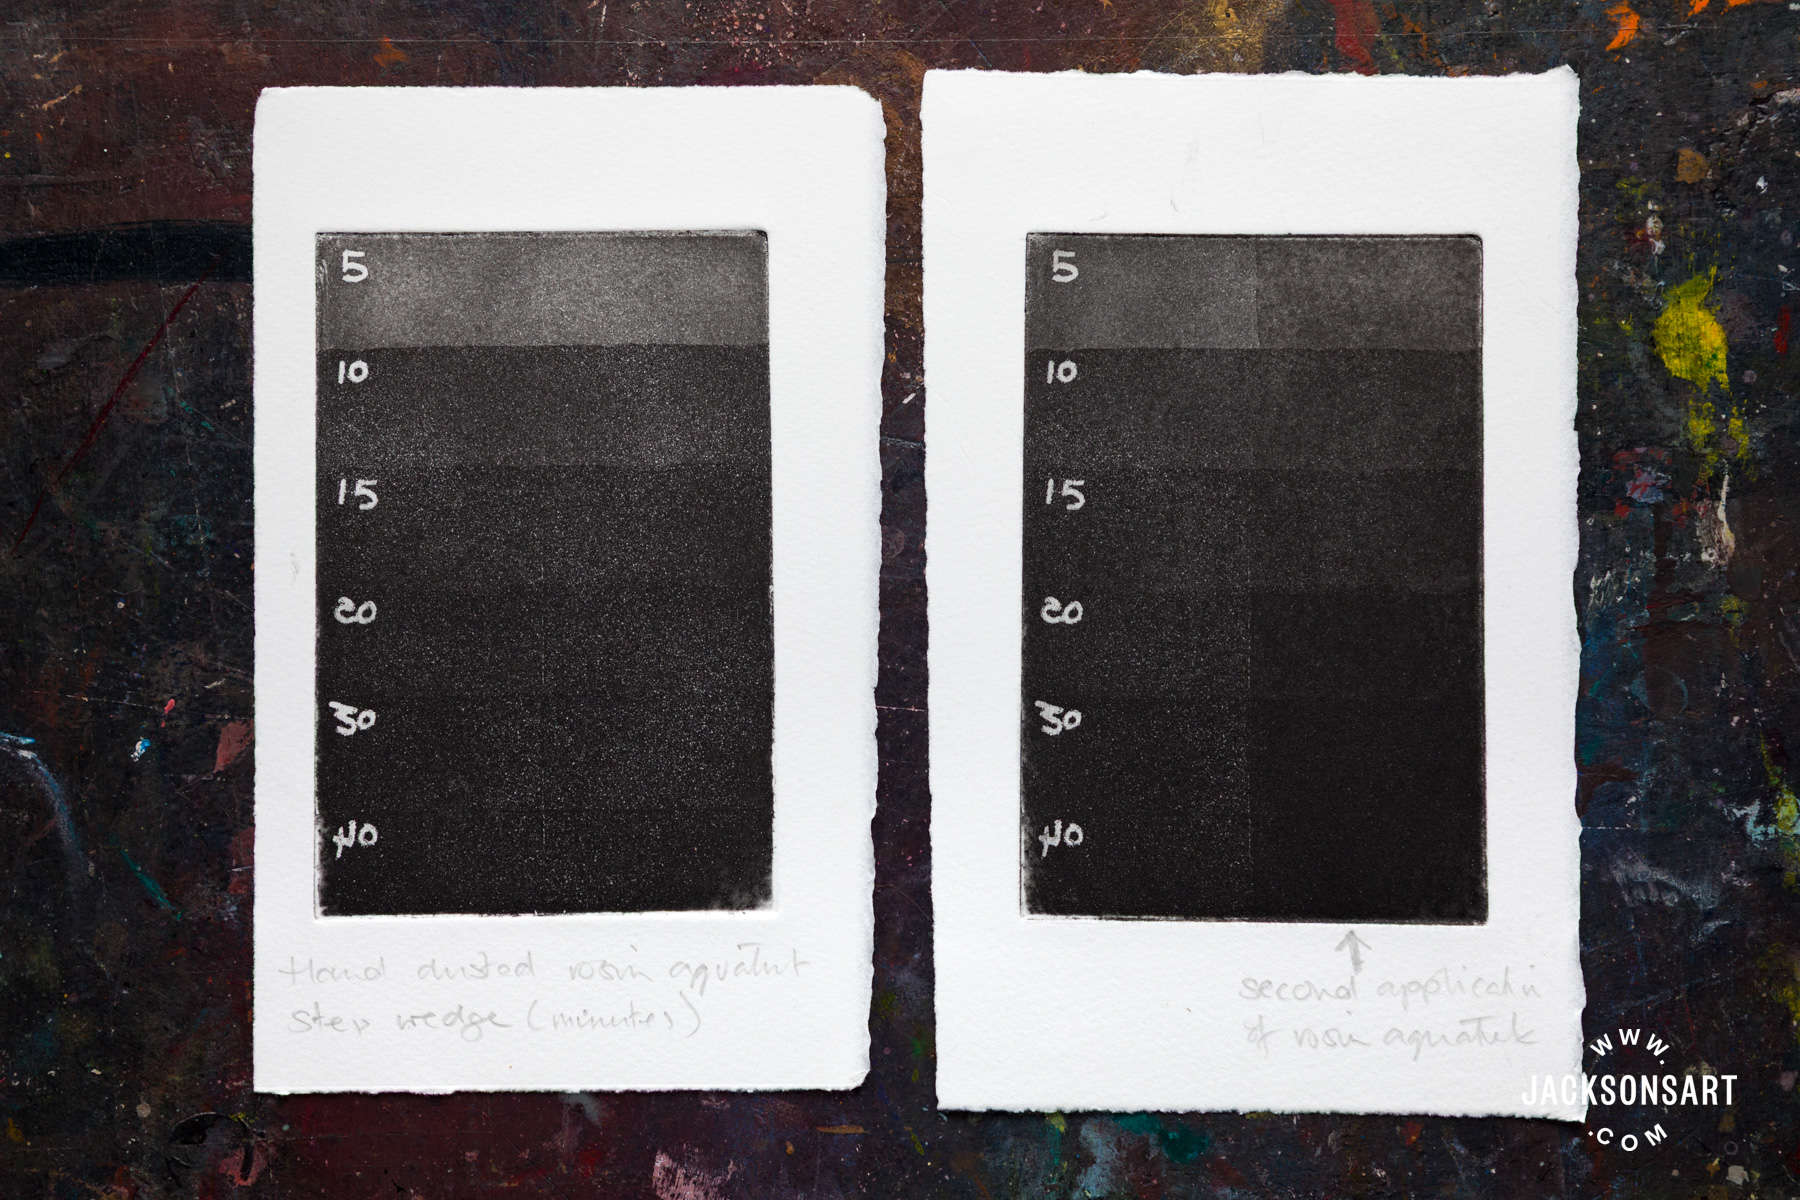
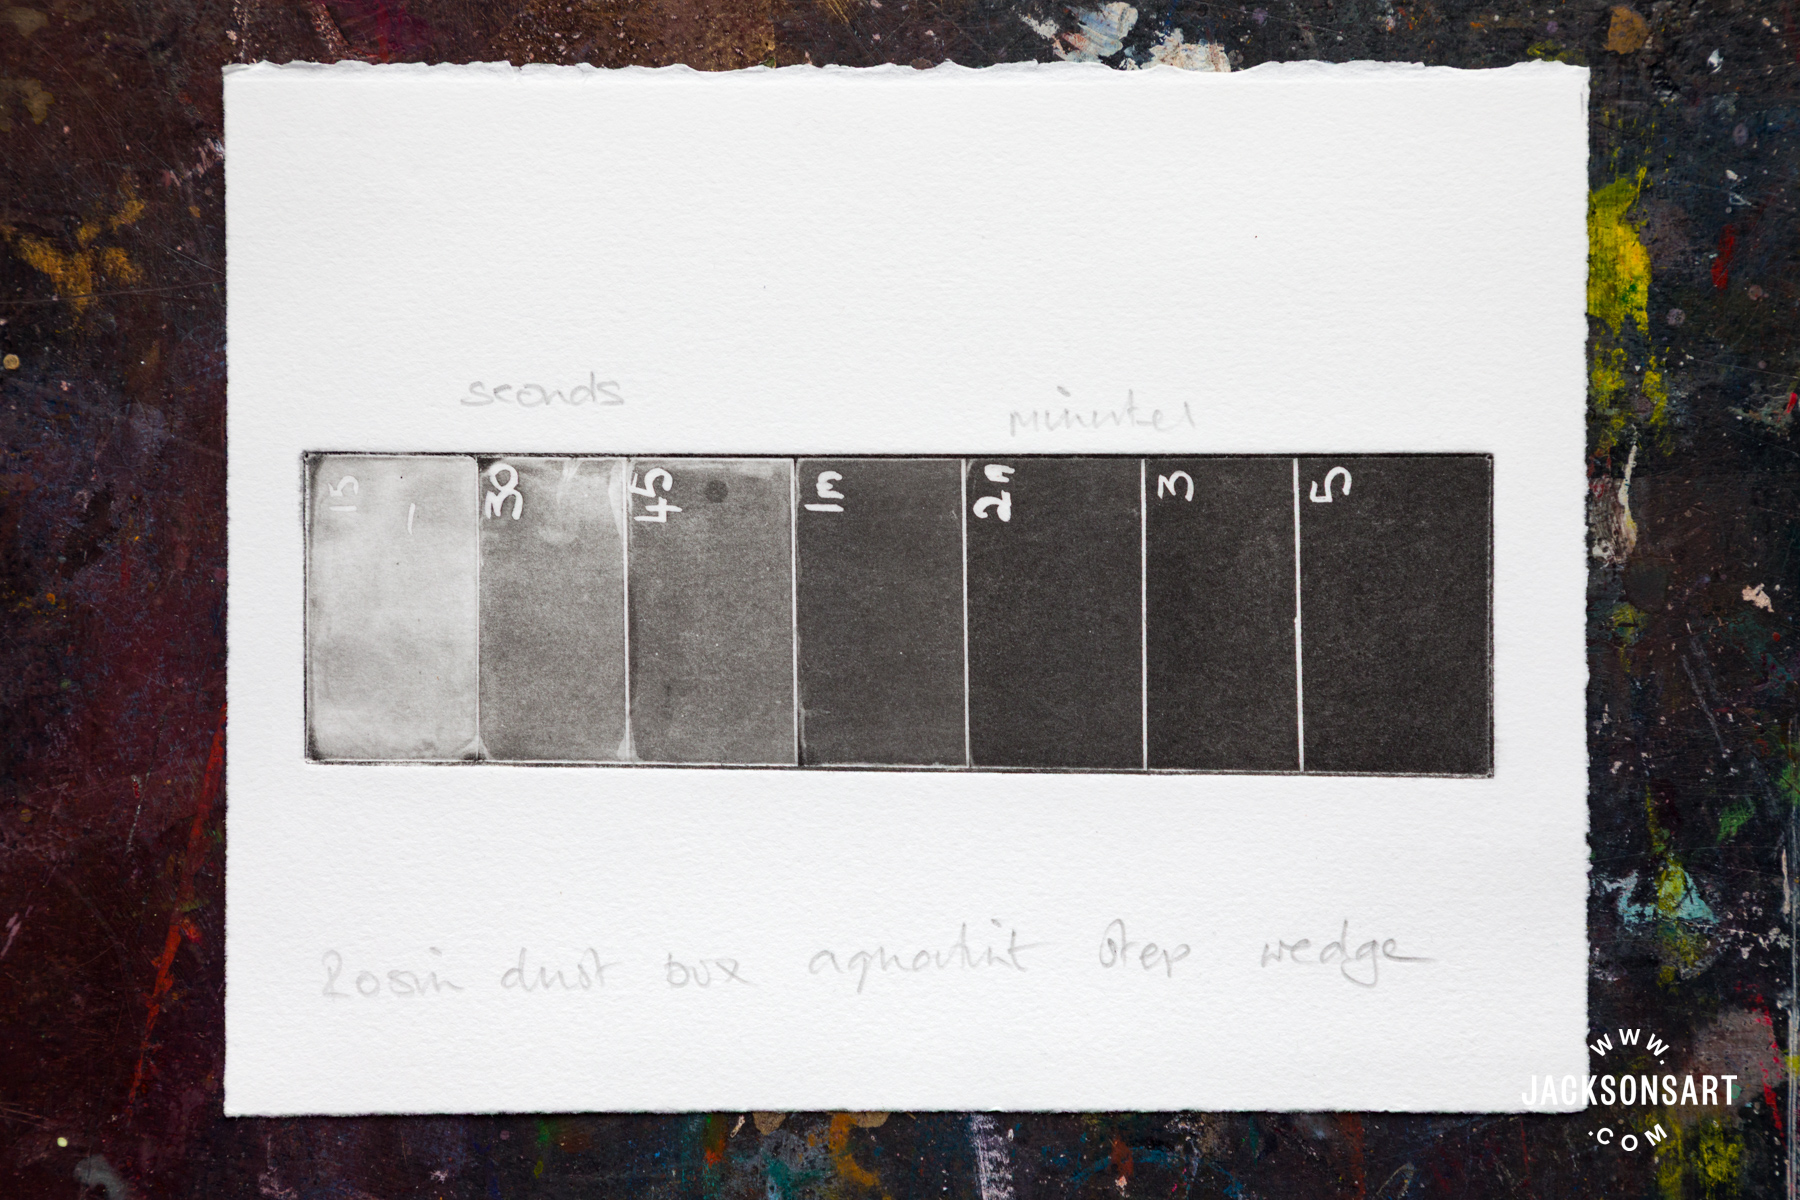
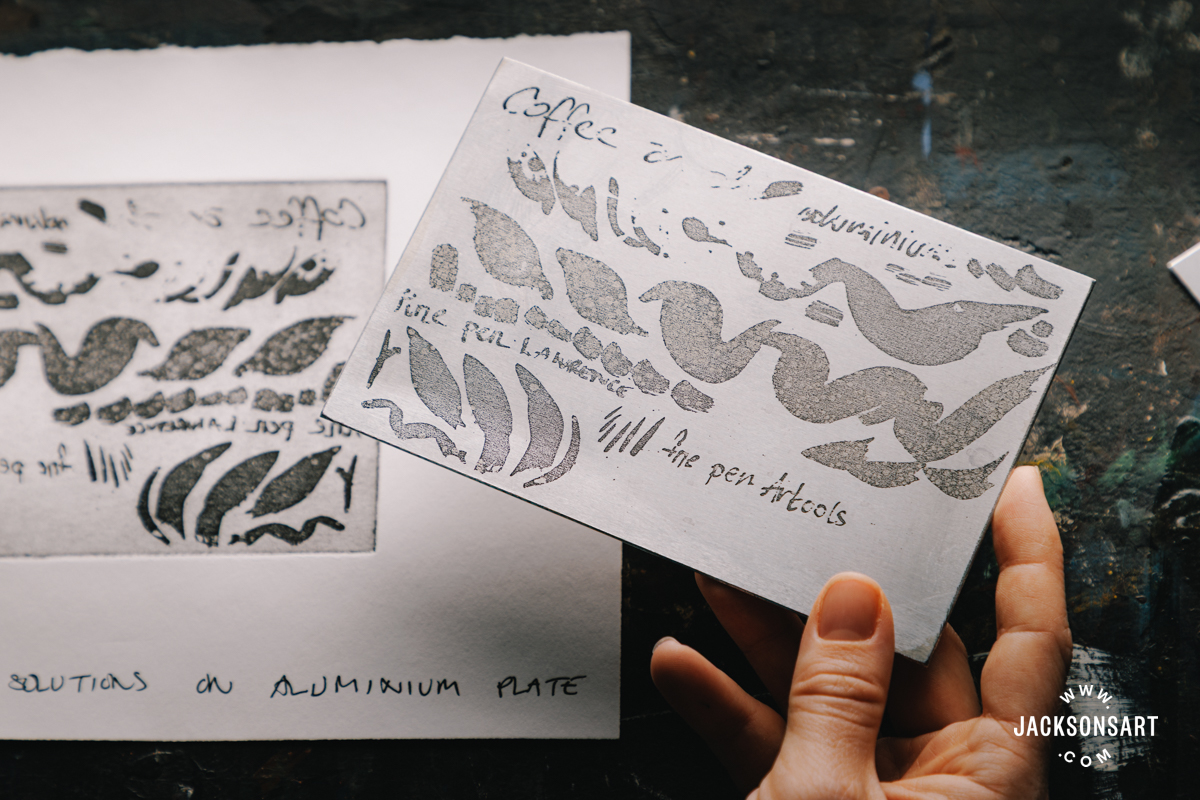
It is advisable to test the length of time required to etch a range of tones from lightest to dark, in the same solution you will be using for your plate. Ideally, you should make a step wedge and your aquatint plate at the same time, to have the same covering of rosin on both. You can make a step wedge as pictured here, write your times with a Sharpie pen (acid-resistant) and then etch the plate. Here I used Edinburgh etch and started with five minutes (in fact much too long to begin with as too dark a result when printed), then increased the etch in increments of five then ten minutes. You can see the speckled effect of the hand-dusted rosin on the test.
Creating Darker Tones
It is possible to disrupt this aquatint grain pattern as well as darken tones further by applying a second dusting of rosin after the first has been test printed and removed. In fact, the deepest of tones can be achieved with a second aquatint application with slightly different-sized rosin particles.
Aquatint by Means of a Home Made Dust Box
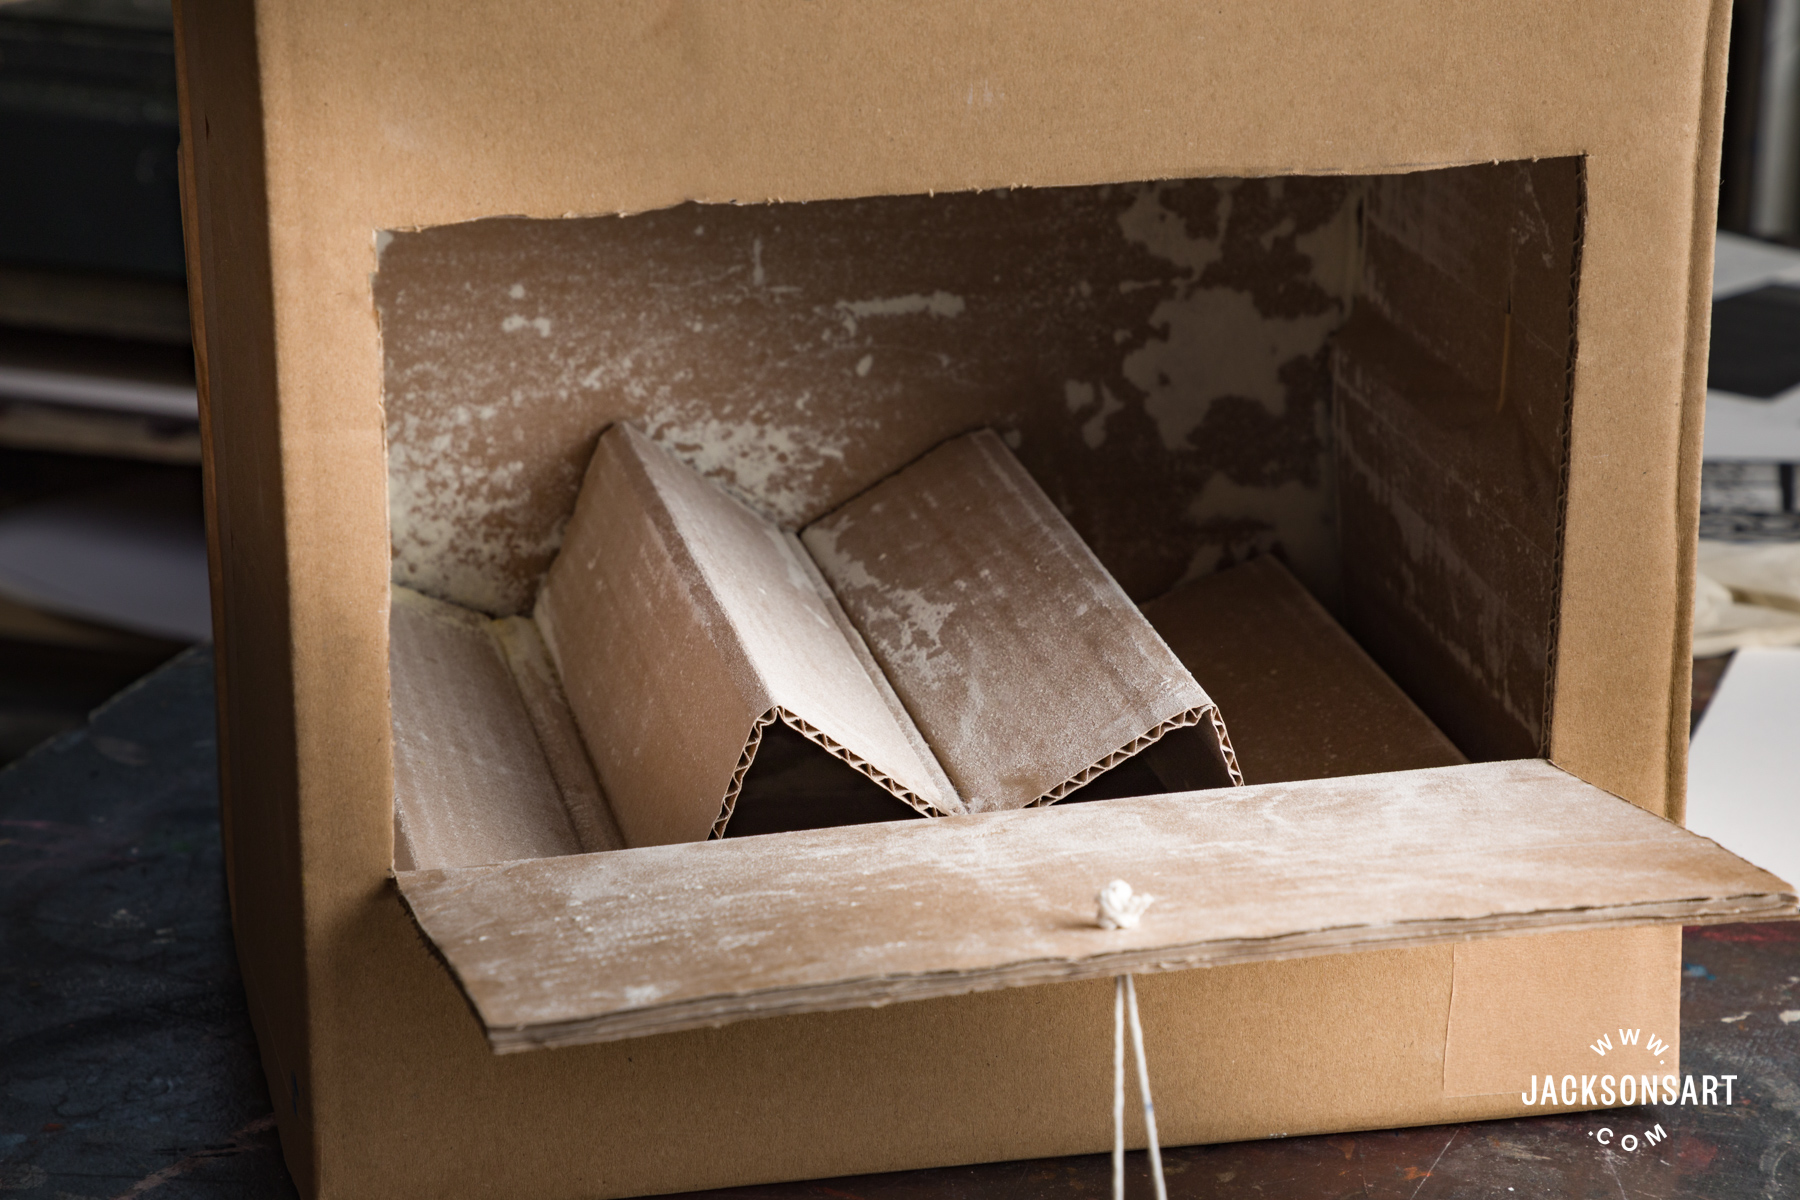
The idea behind the creation of an aquatint box, a large vertical wooden cabinet found in etching studios and colleges, is to create a cloud of rosin high up in the box and to separate the finest particles from the rest. When rosin falls, the larger particles fall first and what remains suspended are the lightest particles of rosin, which will also be the finest. These are going to take a little time to settle. After kicking up a storm by whatever mechanism the aquatint box uses, you wait for about a minute for the large particles to fall before carefully inserting your plate. Gauging how long to leave the plate inside and undisturbed is dependent on your set-up, but often five minutes is typical to allow the superfine particles to gradually settle in an even carpet over your plate.
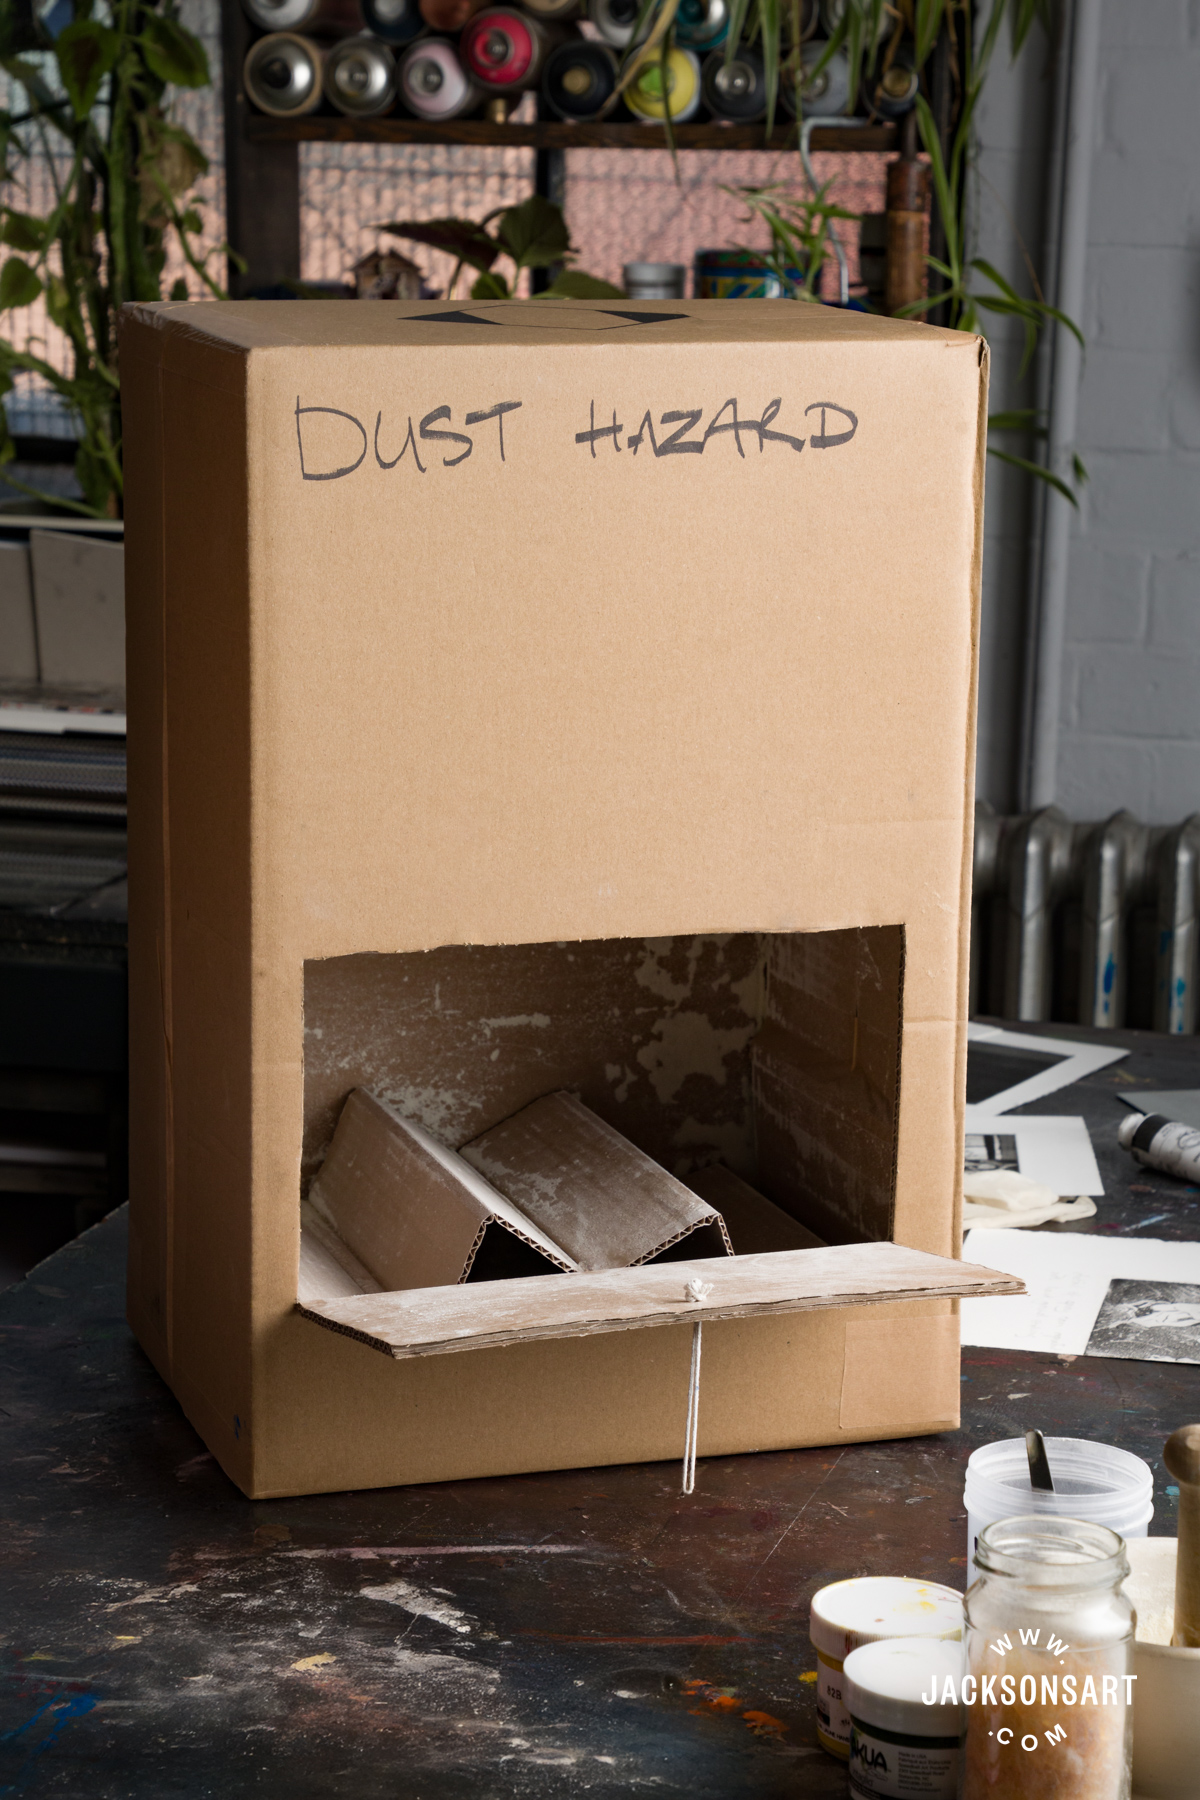
I wanted to try this at home, so I managed to find some basic instructions online for making a simple cardboard aquatint box. The same principle applies, with the ‘dust storm’ created by vigorously shaking the box with the door closed. After placing it back down and waiting 45 seconds for the large particles to drop, I carefully opened the door and placed my plate inside for five minutes. Overall, this small box holds less rosin, so to get the coverage to about 50-60% I had to carefully remove the plate and repeat the whole process. A fine-grained aquatint was achieved, and by reducing the etching times to a 15-second initial bite, the following step wedge was created.

Max Klinger
Etching, engraving, and aquatint, 40.5 × 55.9 cm | 40.48 x 22 in
Metropolitan Museum of Art
Combining Different Grain Sizes
Max Klinger, a great admirer of Goya, mastered the art of aquatint and in turn, became an important and influential figure in the history of graphic arts. In the etching Death, we can see a broad range of aquatint tone, with added depth given by etched lines. In the top left corner, over the figure of death, we can see an area of white speckles or sparkles that look like the artist has sprinkled larger rosin particles by hand onto the plate, in addition to the even application across the plate of fine aquatint ground.
There are too many ways to create an aquatint to cover in a single article, but I wanted to mention a simple alternative for those who do not wish to work with rosin. Spray can aquatints have existed for some time, and are seen as an easy way to deposit a layer of tiny dots of acid-resistant paint onto the etching plate.
Originally done with enamel paints, today’s acrylic sprays provide an effective substitute. The spray paints are not designed for this application so must be tested for the size and distribution of the paint dots, their acid-resistant properties, and the removal process. Again, care must be taken to avoid breathing in the paint particles, but it is easy to set this up without expensive equipment.
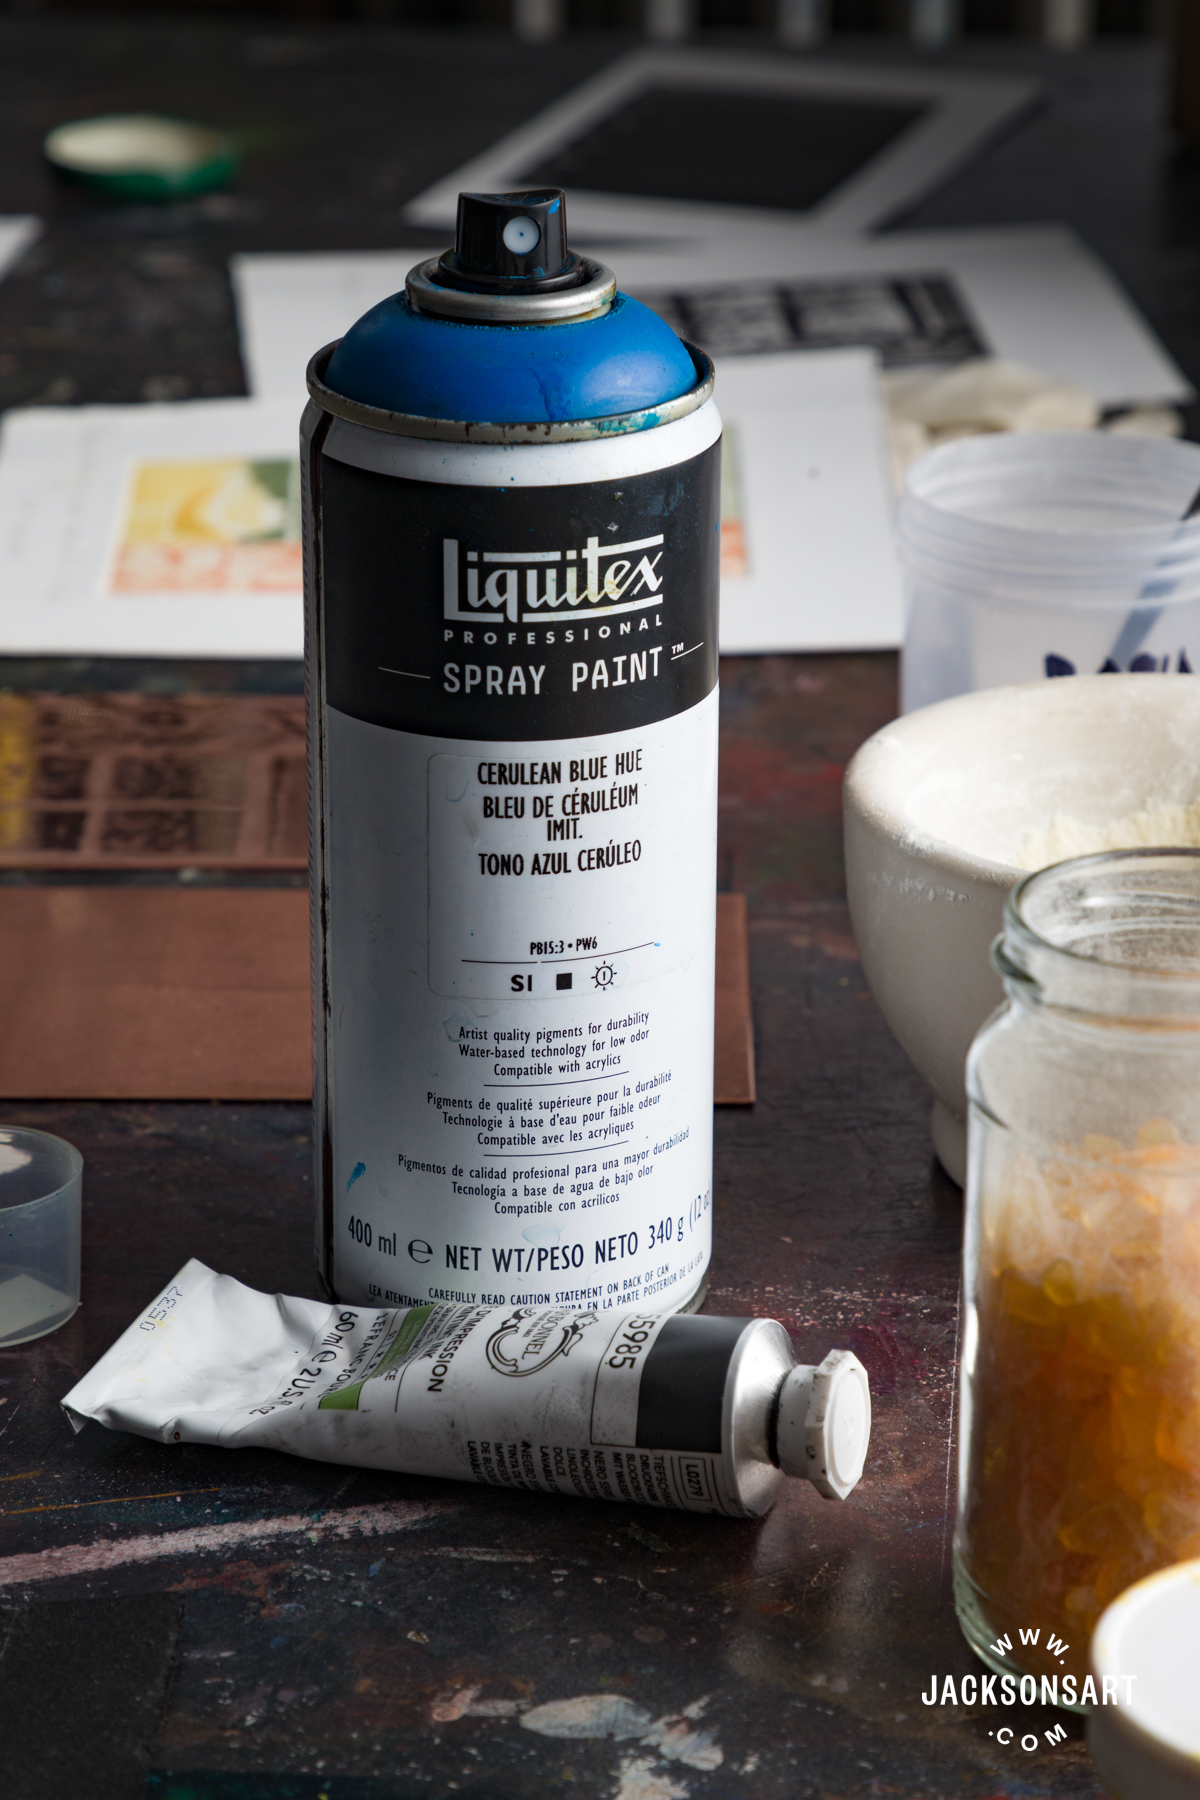
The tests below were made with Liquitex Professional Acrylic spray paint in Cerulean Blue. I made a small spray booth from a cardboard box, cutting out one side for access and covering it with a plastic sheet to contain the paint particles – for tips on how to do this you will find several videos online. You can see that this particular paint produces quite a large paint droplet size resulting in a visible texture on the plate, other paints will differ and some can produce a very fine dot pattern. Any very visible pattern can be reduced and the tones darkened somewhat by repeating a second spray aquatint over the first repeat etching.
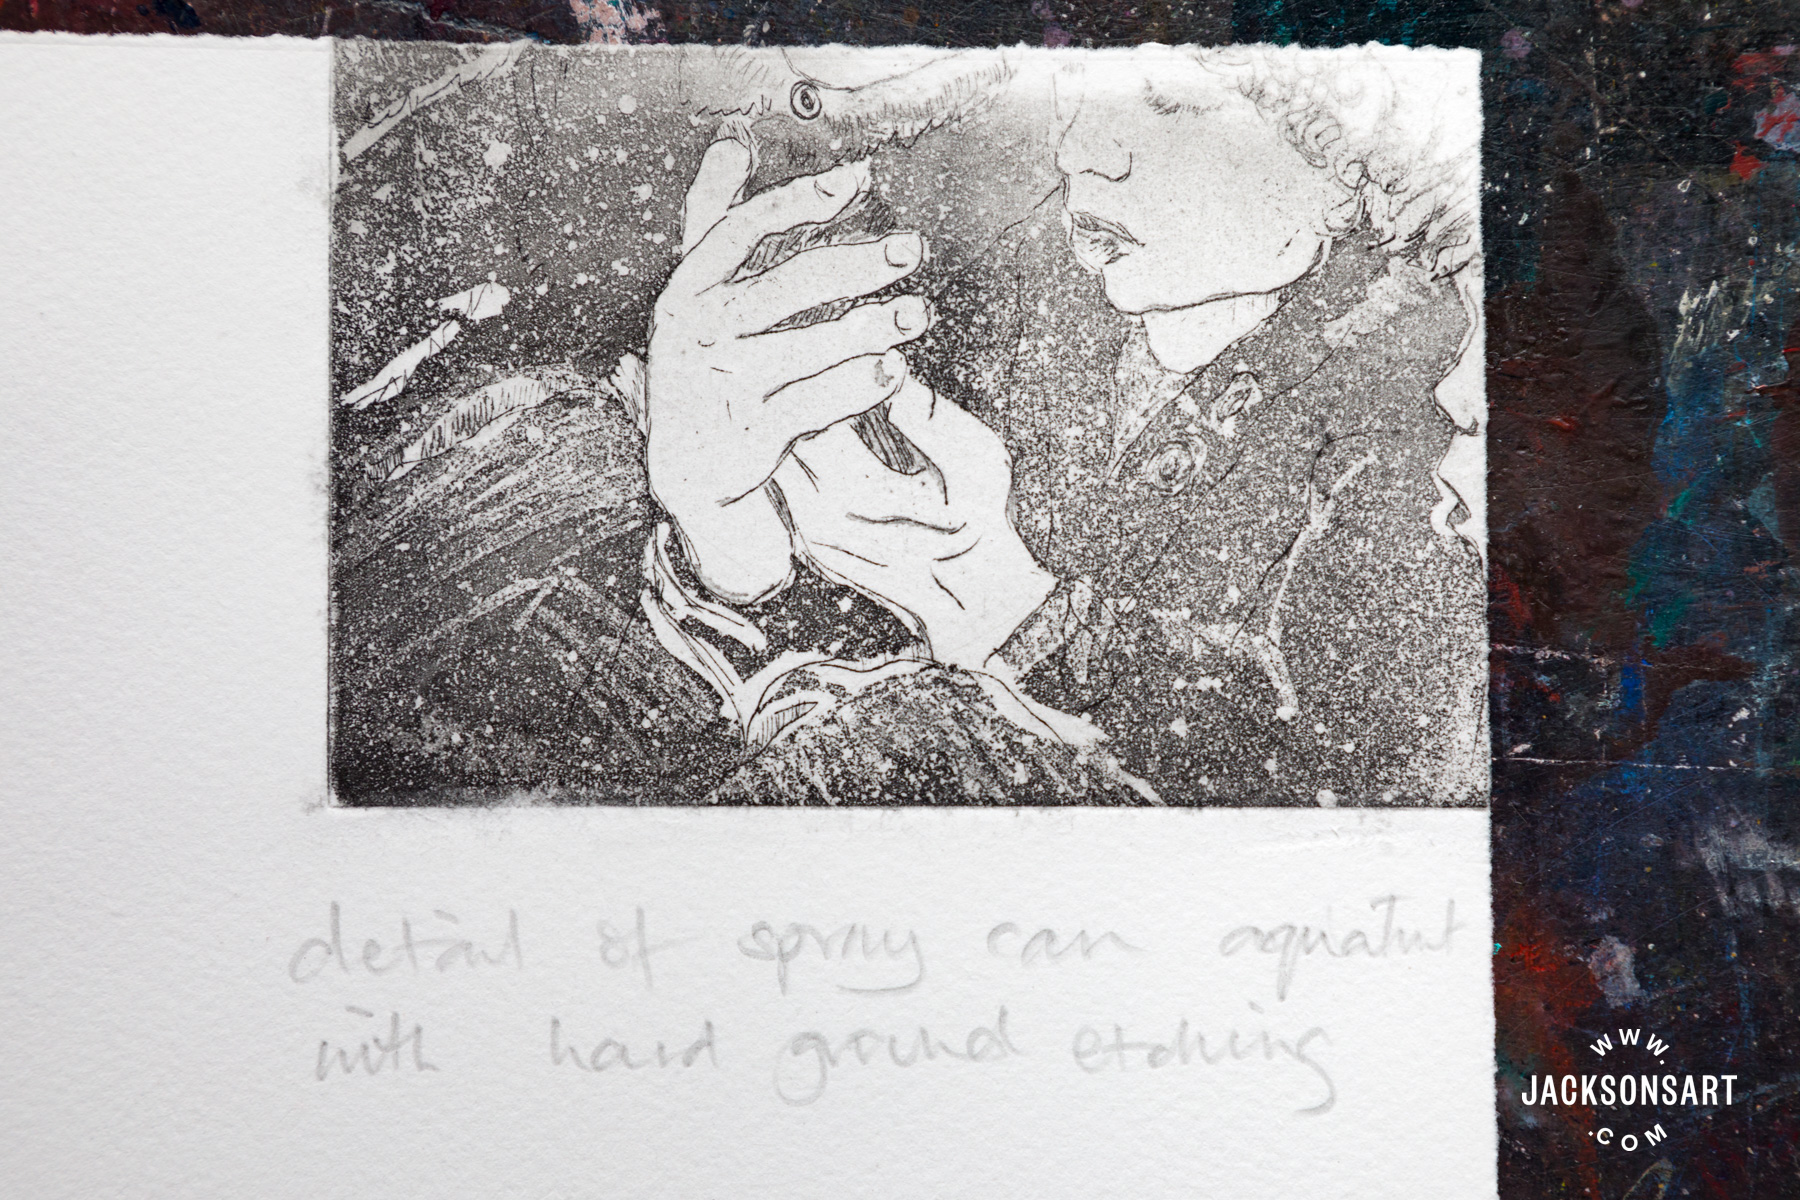
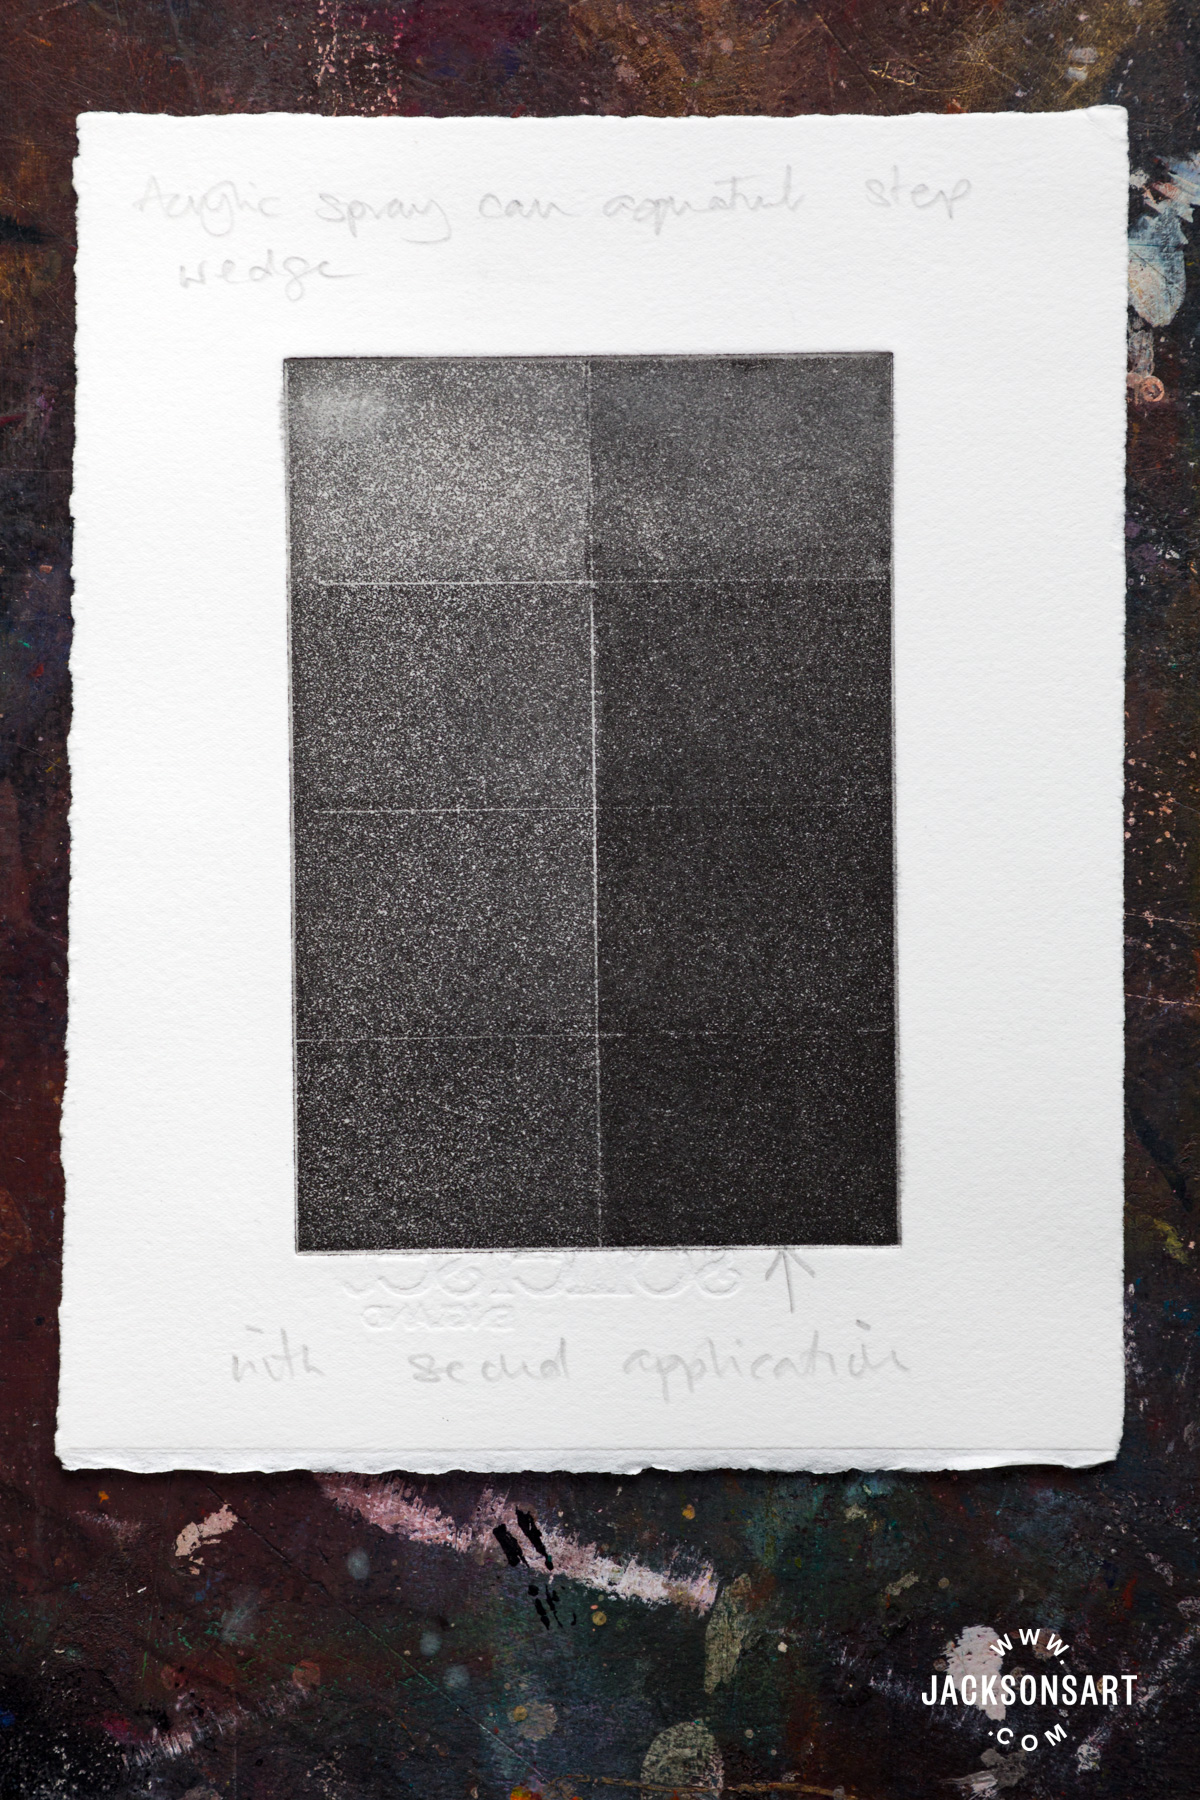
The above overview shows two methods of applying an aquatint ground to a plate that can be done without expensive equipment. However, if you have access to professional studios or college departments you will see the equivalent set-ups in the form of a large wooden aquatint cabinet for the rosin method or a spray booth and compressor spray gun for the acrylic alternative such as the Lascaux Aquatint Spray Resist.
One advantage of the spray paint or resist method is that you have the potential to vary the distribution and density of the droplets which can reproduce as modulations of tone.
Inking and Printing
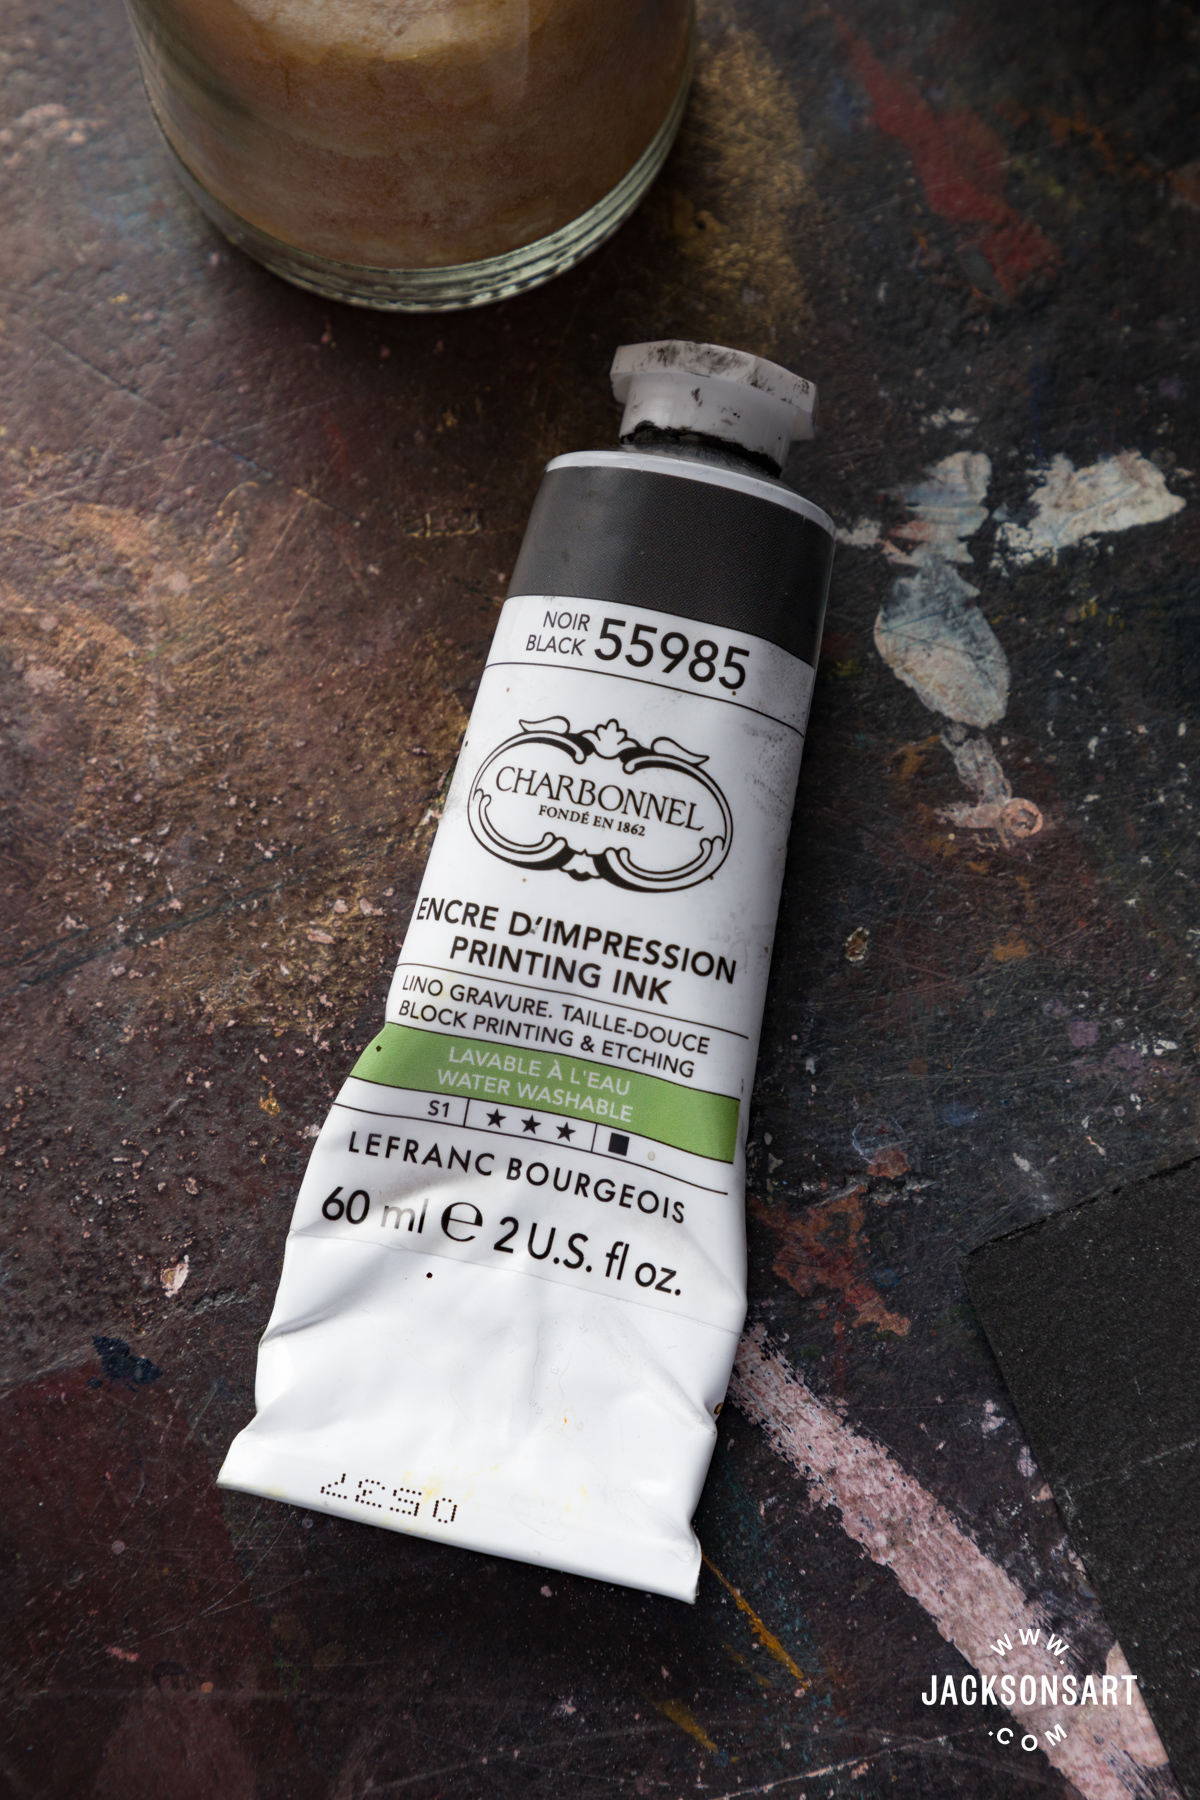
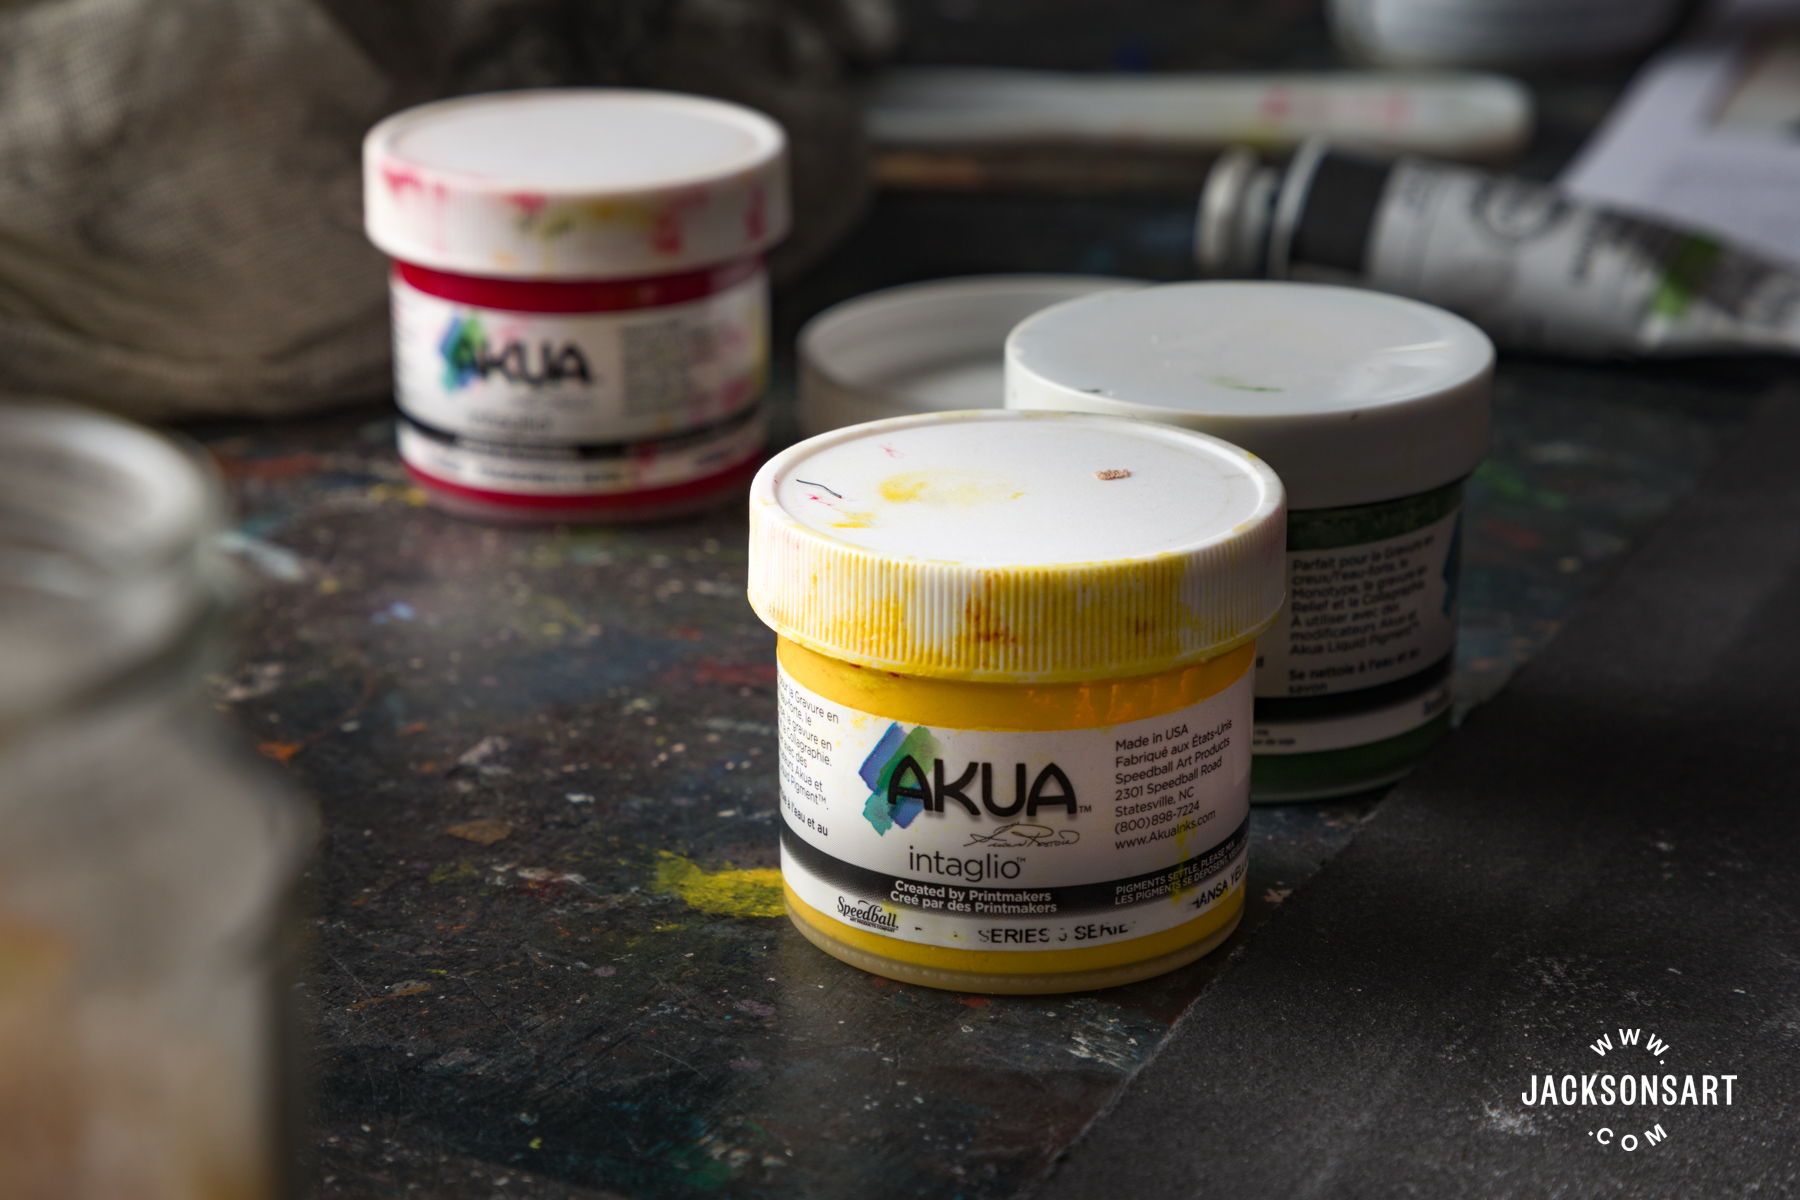
Inking, wiping, and printing deserve a special mention for aquatints, as large flat areas of tone have the potential to show up any inconsistencies at this stage. Some manufacturers make inks designed for aquatint. I have chosen Charbonnel 55985, an intense velvety black, a bit difficult to wipe but great for achieving a rich and even impression. I’ve chosen the watersoluble Aqua Wash version out of curiosity.
Well-prepared paper will yield the best results. When printing aquatints I would always recommend making a damp pack a day or two before printing. This will allow full and even dampening of your paper. A high pressure on the etching press helps, and blankets with a very tight weave if woven, so as not to pick up a weave pattern on your print. All my prints included here were printed with felt blankets.
When inking and wiping, a slightly warmed plate can assist the ink to settle into the etched pits and ease the work of wiping also. When it did come to printing with the watersoluble ink, I needed to ensure that there was some additional newsprint both underneath the plate and above the dampened printing paper to help absorb some of the water held in the damp paper, otherwise, the ink bled a little under the high pressure of the press. So, a small adjustment – more than made up for by the ease of a solvent-free cleanup.
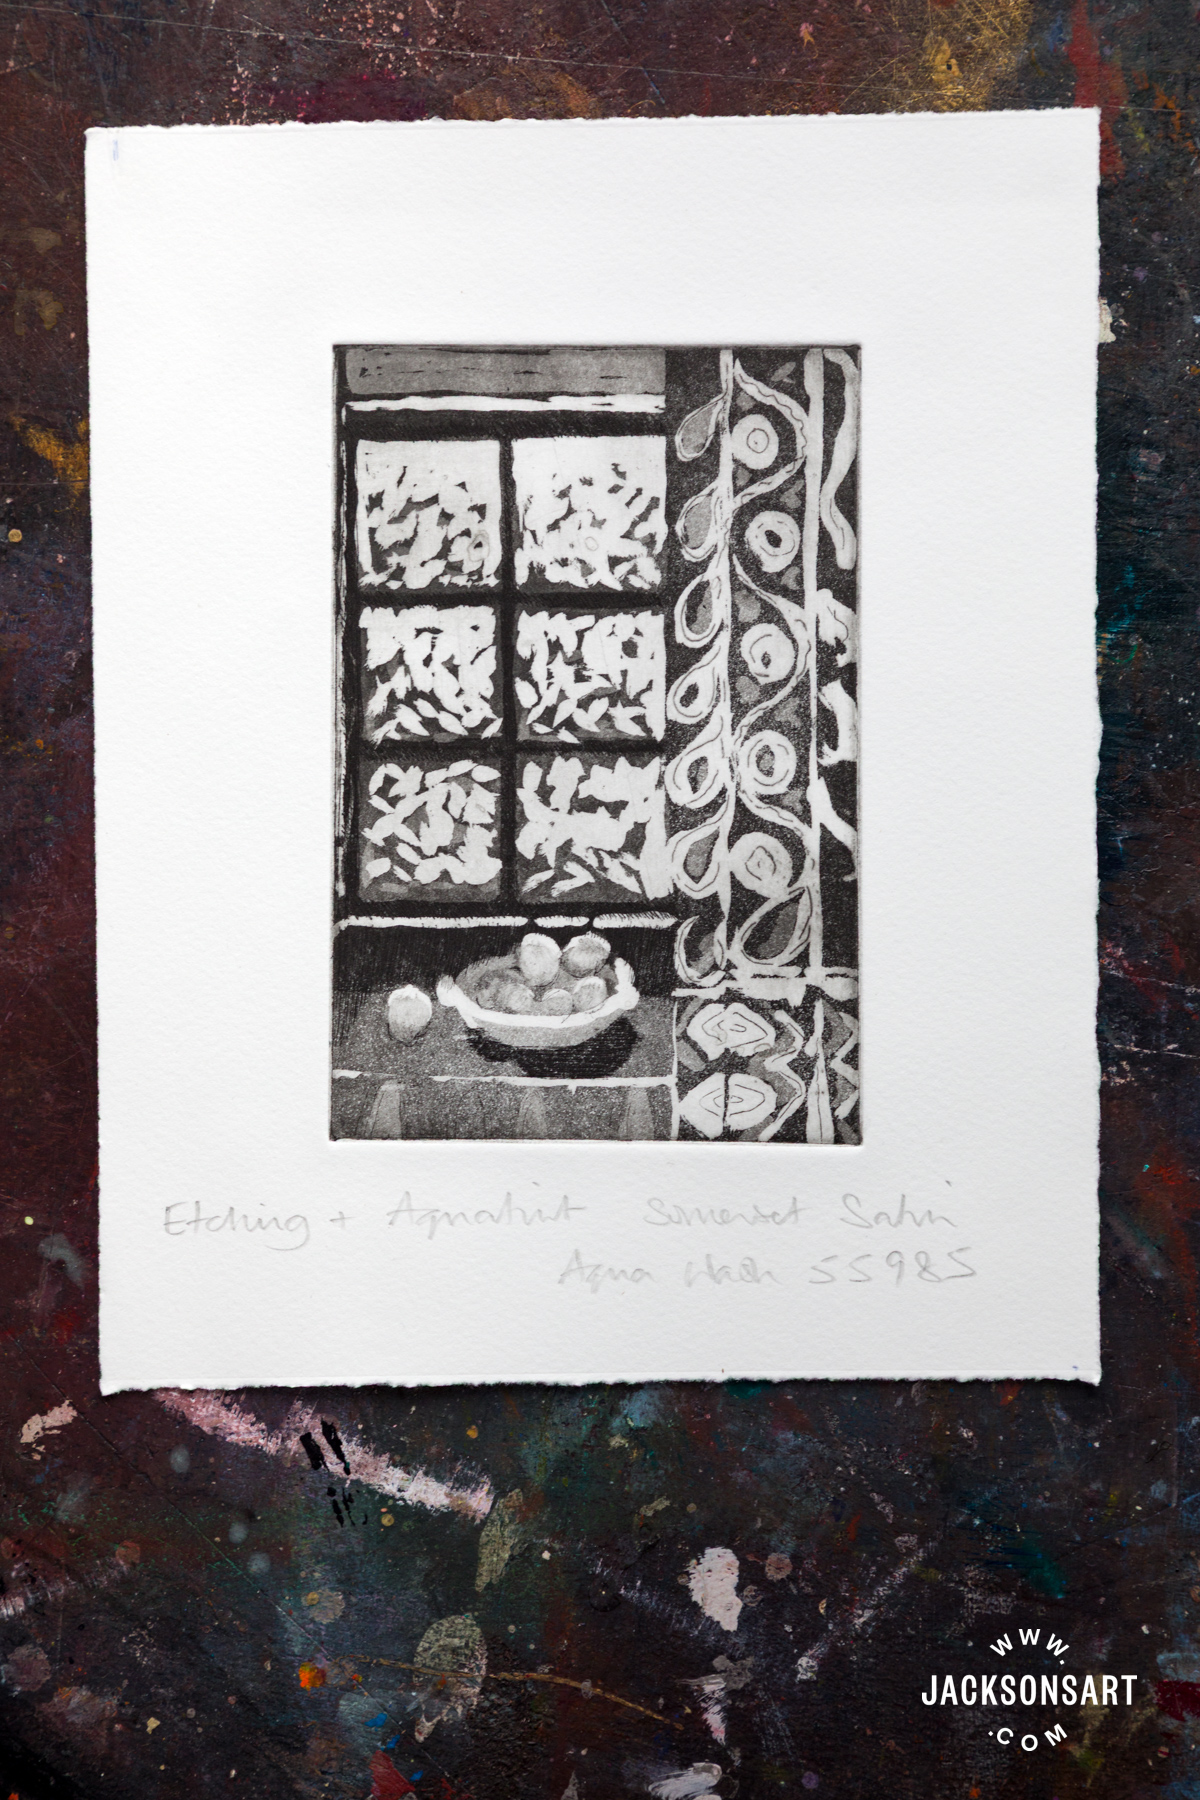
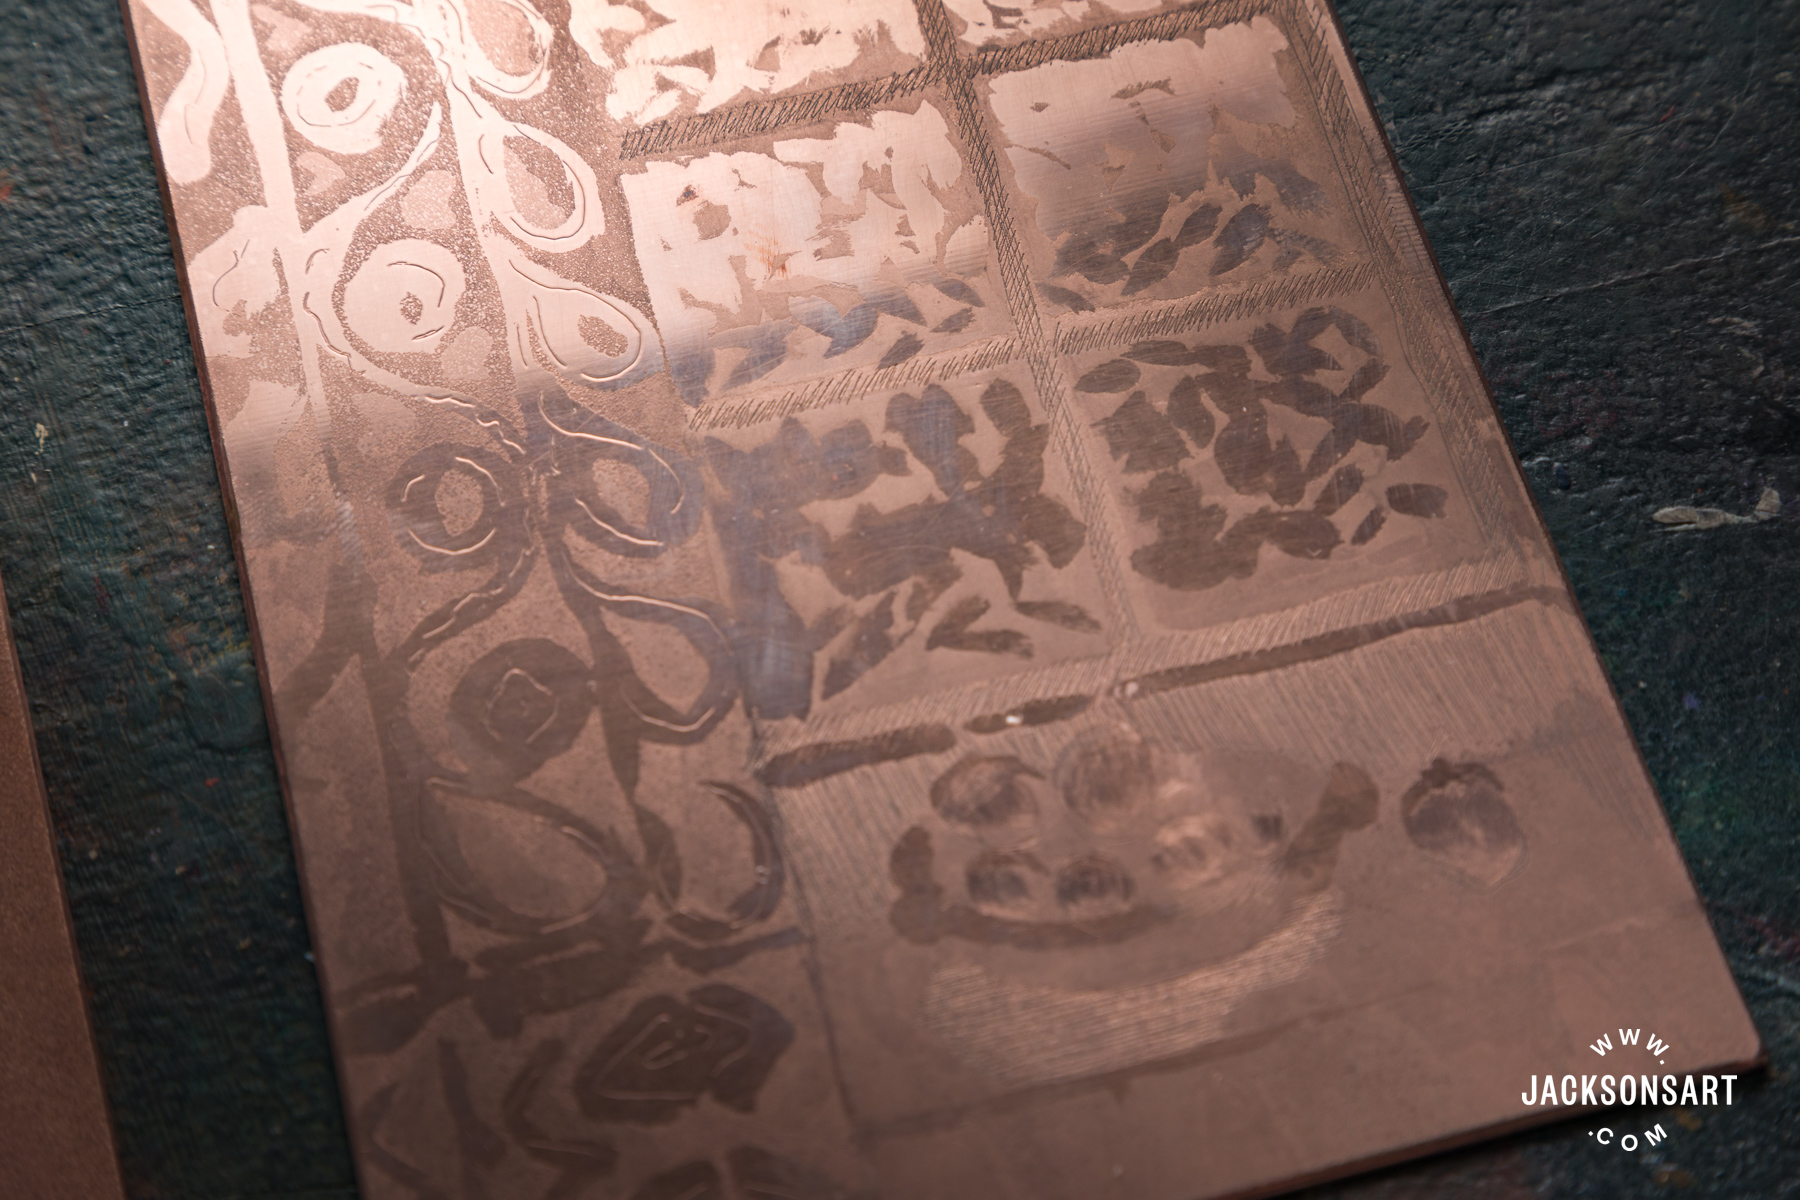
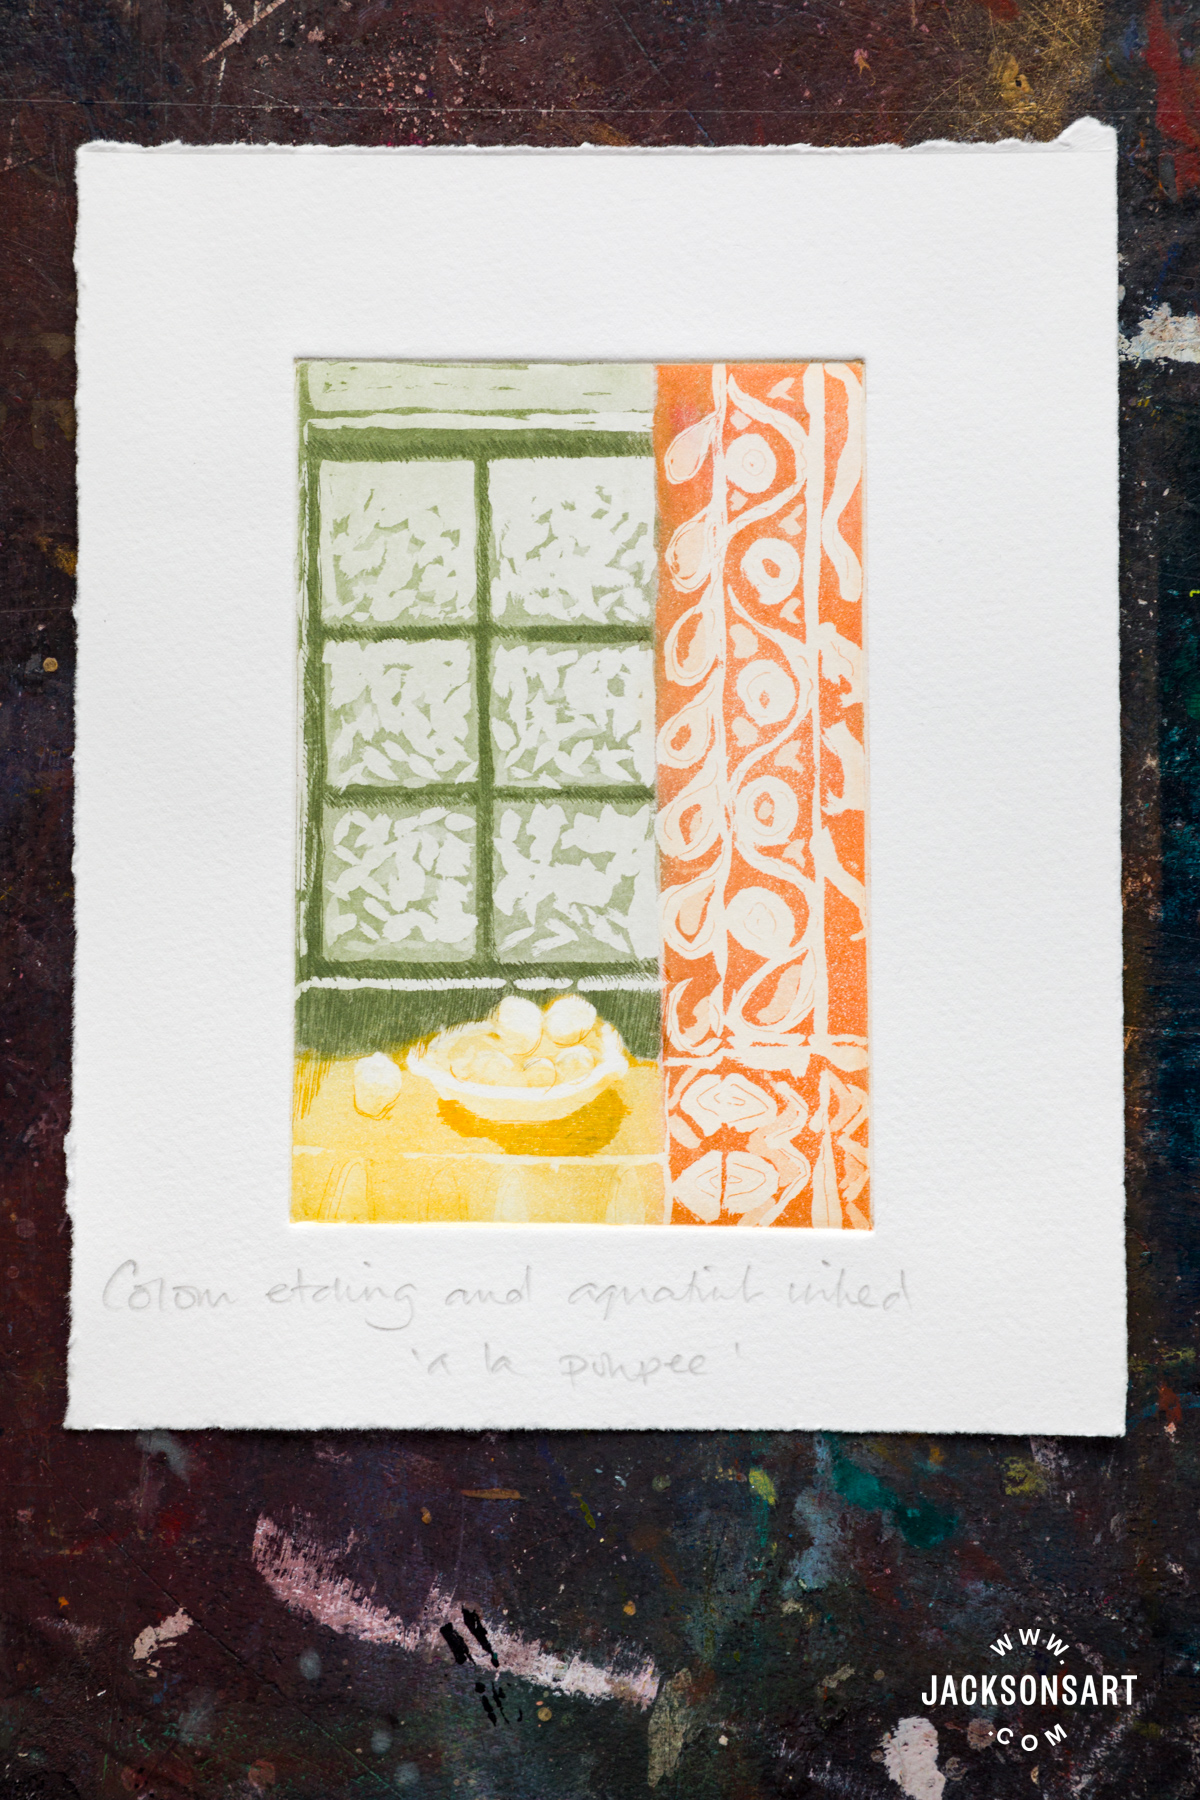
This Matisse-inspired aquatint has a first fine rosin ground applied across the whole plate. Once removed from the aquatint box, a further hand-dusted ground was applied by masking the window with a piece of card held above it. So, a mixed rosin ground features on the curtain and the table. Before the aquatint was added, a line etch was bitten around the window area which darkens the darkest aquatint tone further.
Creativity and Colour
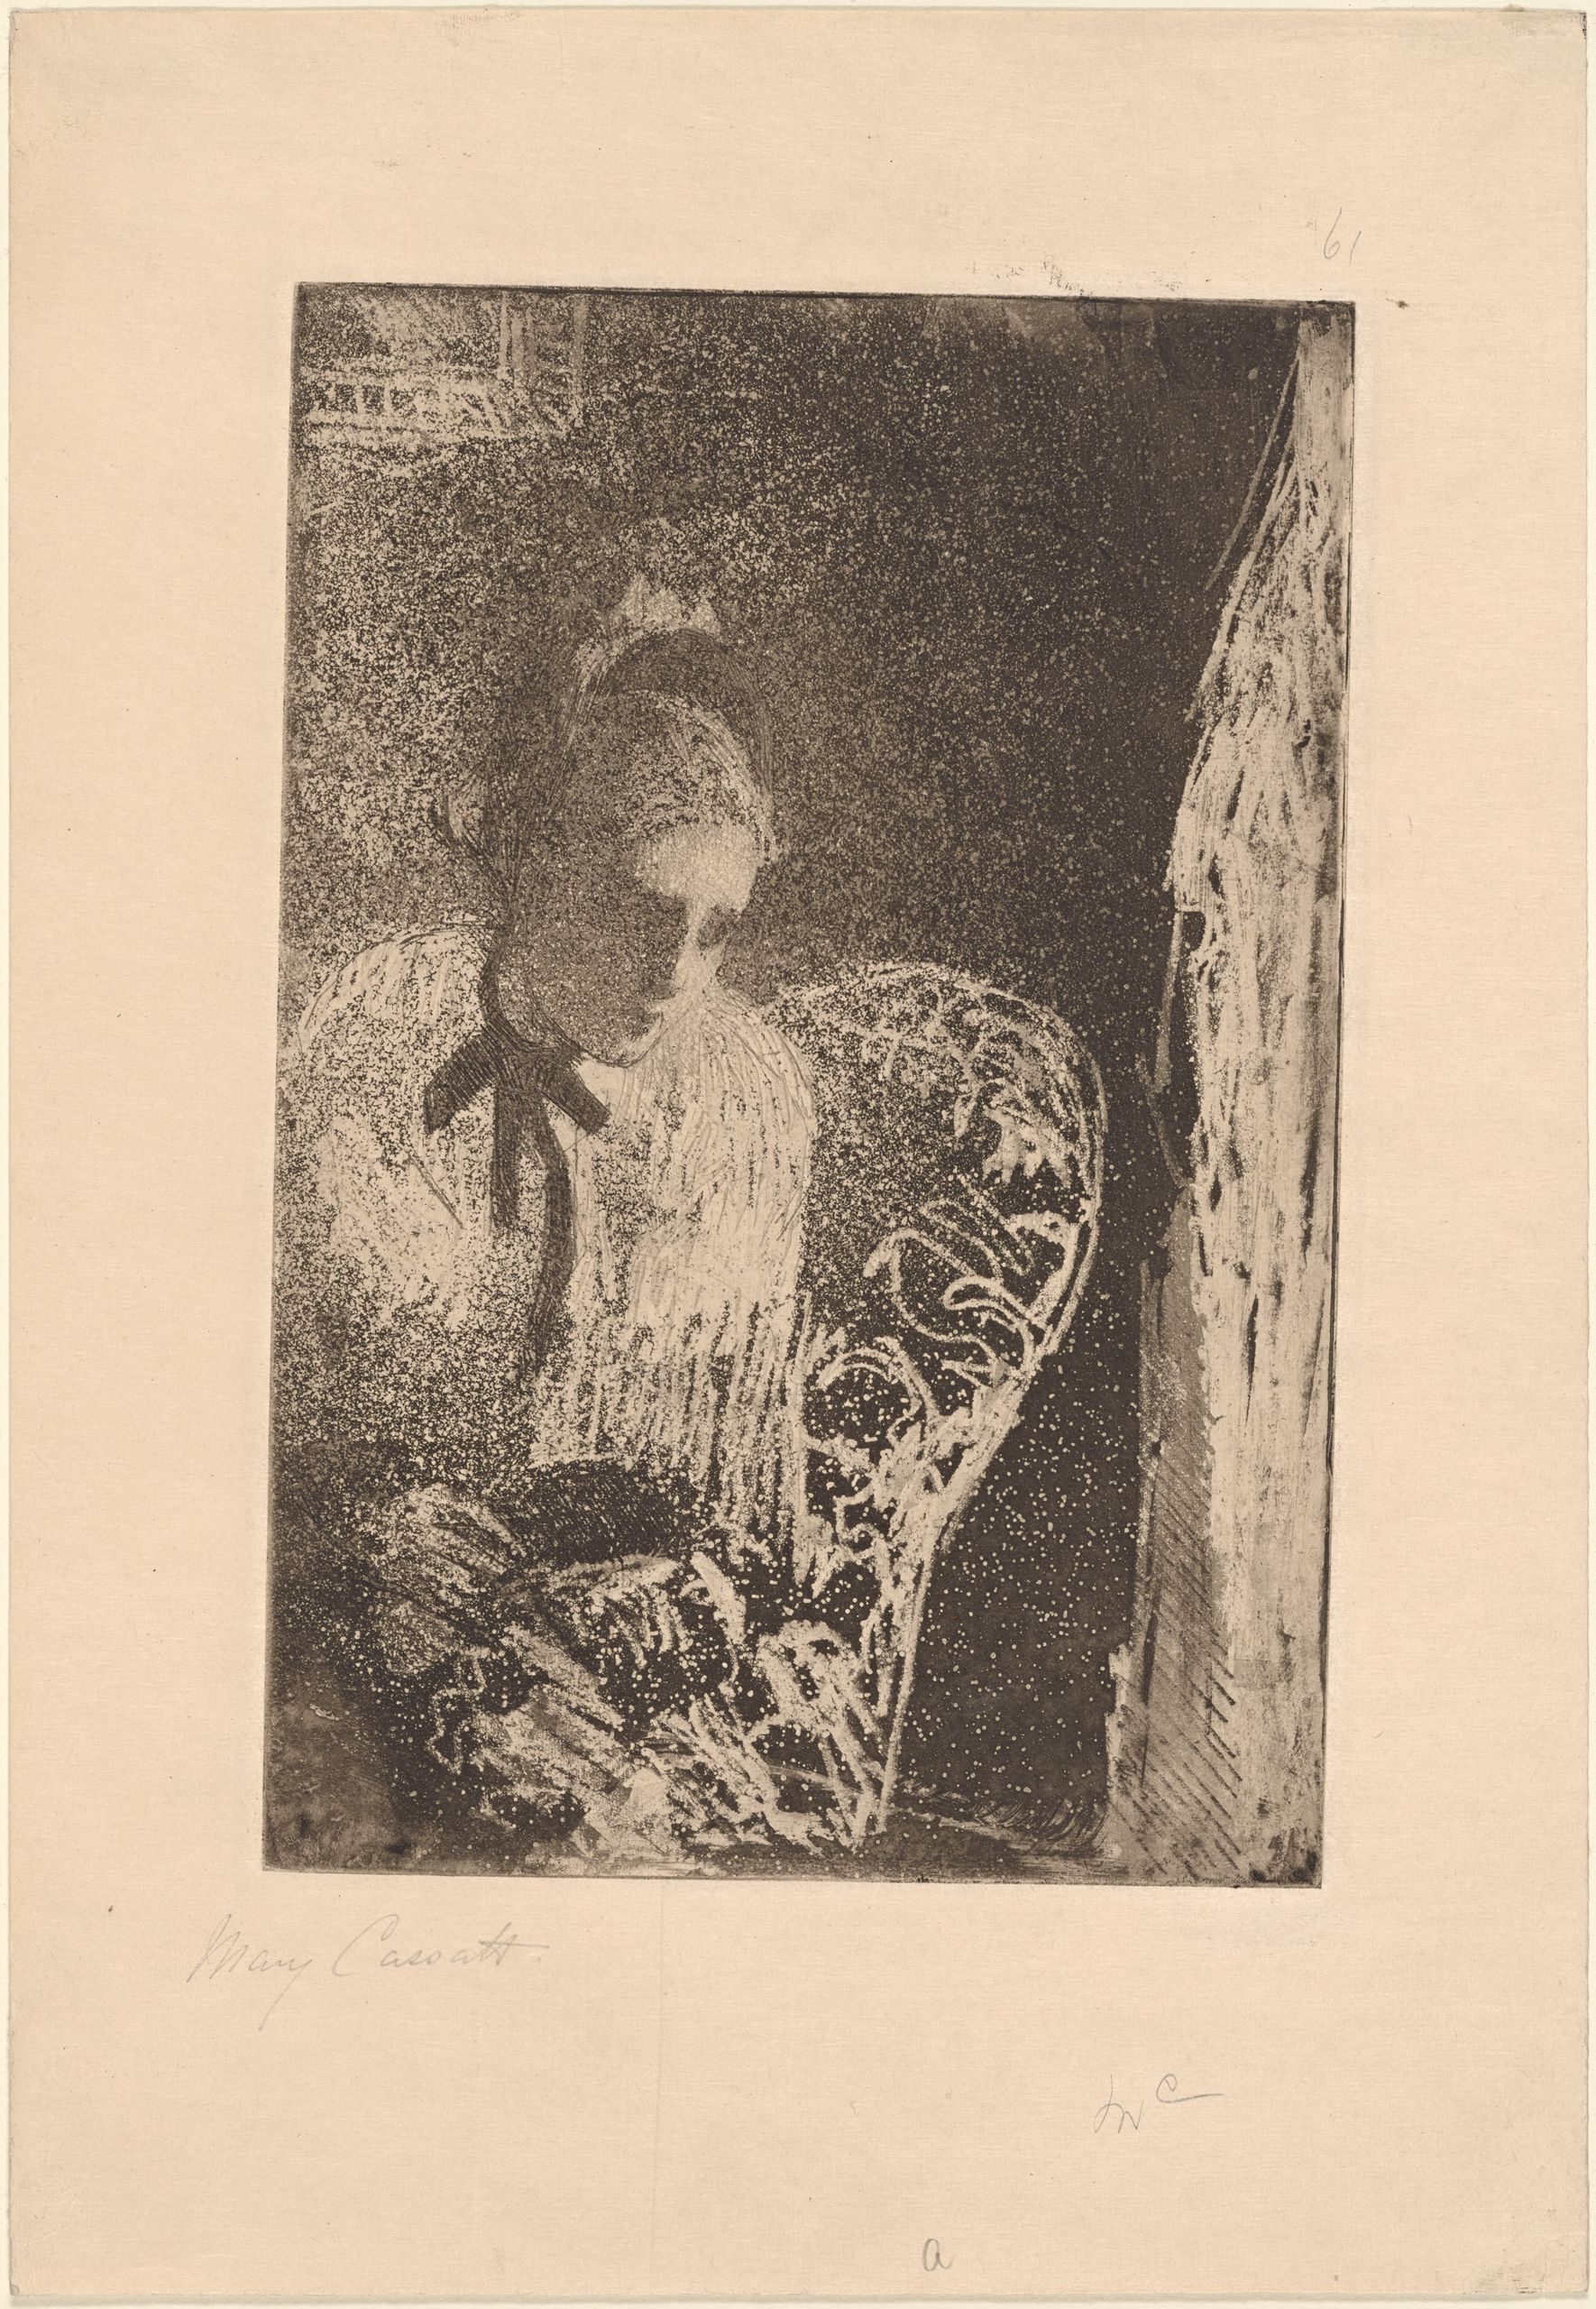
The etching revival around the middle of the 19th century saw artists take up the exploration of process and material as a mode of expression in its own right. Mary Cassatt, an American artist working in Paris at the time, produced highly expressive prints manipulating the aquatint ground and combining it with soft ground etching amongst other forms of mark-making.
Mary Cassatt
Aquatint and soft ground on cream wove paper, 31.5 x 21.9 cm | 12.37 x 8.6 in
New York Public Library Digital Collections
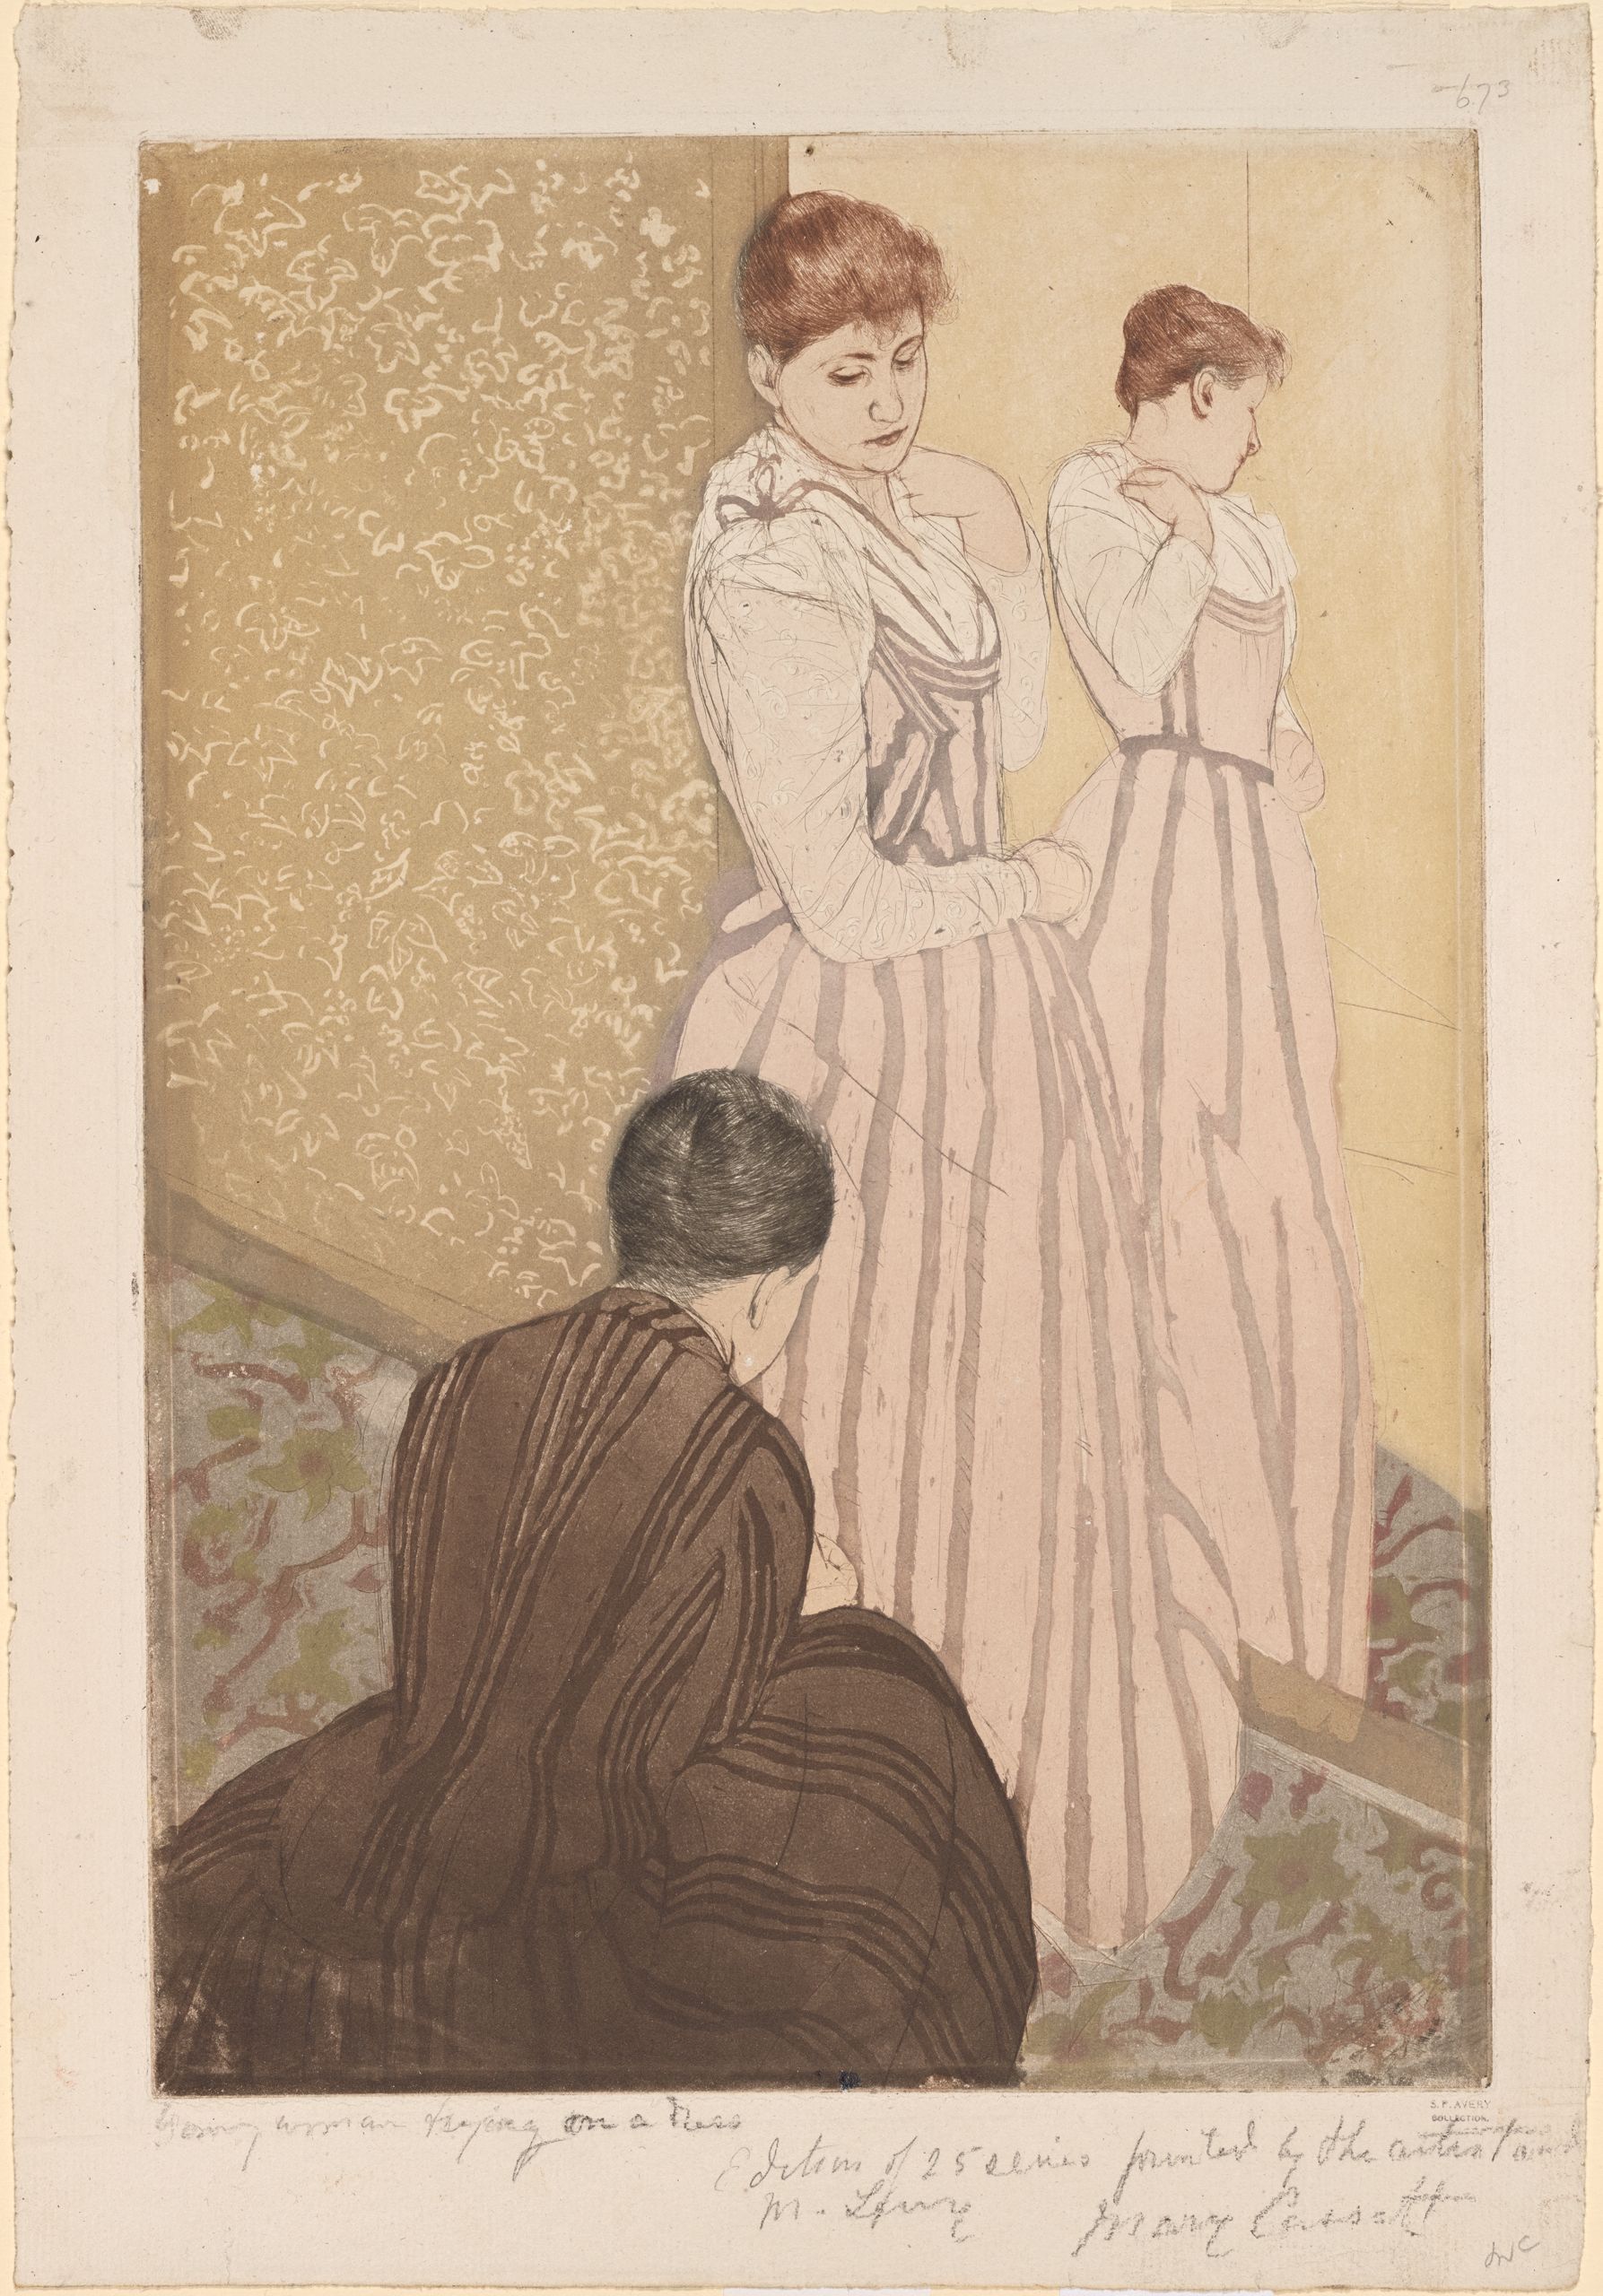
Hugely inspired by Japanese woodblock prints exhibited in Paris for the first time, she produced many wonderful colour aquatints which feature areas of flat colour in combination with delicate line work and inked ‘à la poupée’. A level of mastery of technique and artistic freedom produced some of the finest aquatints ever created.
Mary Cassatt
Etching, colour print with drypoint, soft ground and aquatint on off white laid paper, 44 x 30.7 cm | 17.31 x 12.06 in
New York Public Library Digital Collections
Aquatint can take many forms and offers exciting ways to work with tone. It has the capability to create subtle watercolour-like passages to very deep velvety blacks. Combine it with soft ground etching, lift grounds, and spit bite and you have a huge painterly vocabulary of mark-making which we will explore more in blogs to come.
Further Reading
Introduction to Carborundum Printing
Introduction to Mezzotint Printmaking
Sláma Press Printmaking Techniques
Shop Printmaking on jacksonsart.com



1 thought on “Introduction to Aquatint Printmaking”
Thanks for the article. I learnt how to use
rosin aquatint at uni but have used spray
paint for many years now. Sometimes a bit
blobby but a second coat usually evens
things up.
Comments are closed.