



You’ve chosen the frame for your artwork, now you need to work out how to mount the artwork in the frame. In this article we go over four common scenarios for mounting paintings on panel or canvas in two popular styles of frames. Our How to Frame Artwork series covers the fundamentals of framing your artwork through clear, visual guides.
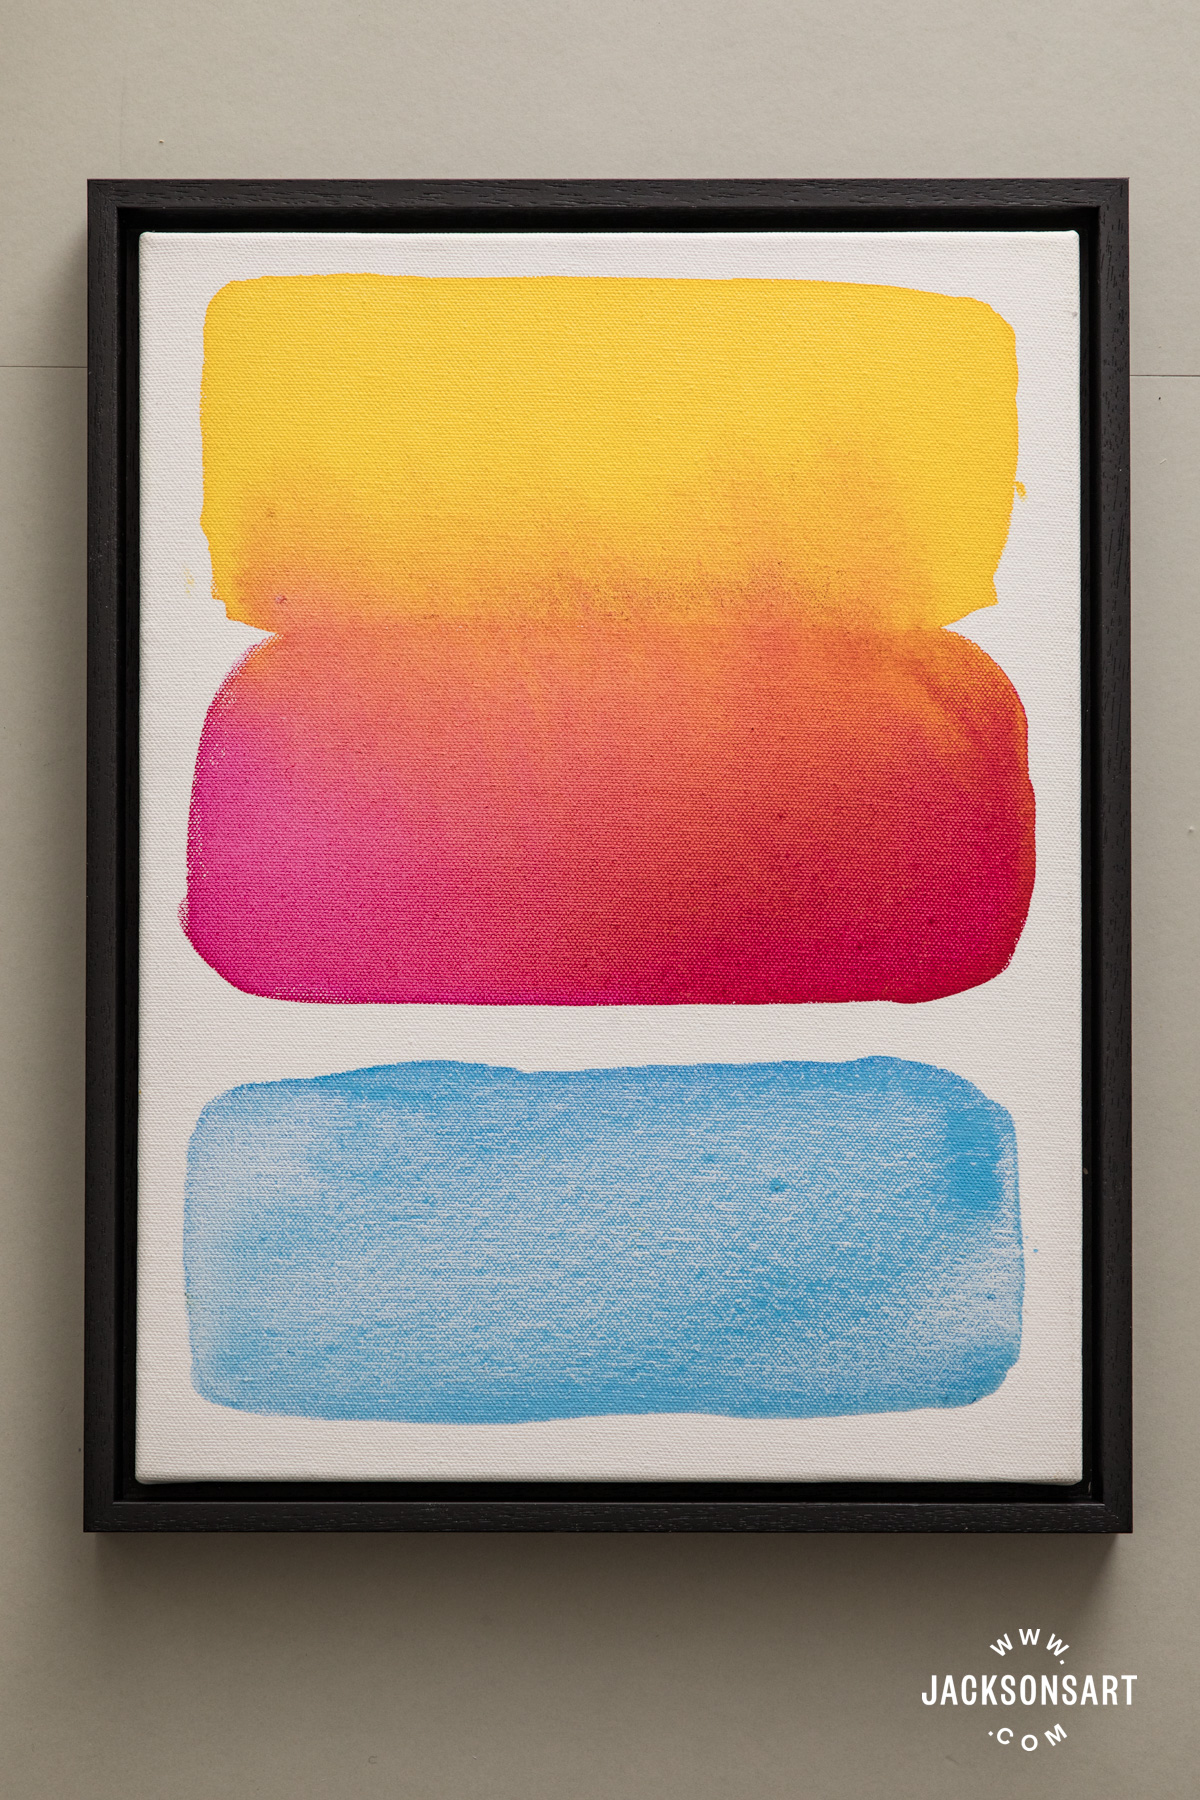
How to Mount Artwork in a Frame
Framing artwork offers both protection and a finished, decorative look. In the case of paintings on flat panels, it also allows the work to be hung, because they can be difficult to hang without a frame. If you are framing a stretched canvas or a painting on panel or board, and you have a frame ready-made or have assembled one of the bespoke frames yourself, then the next step is to mount (insert) the artwork in the frame. There are a few ways to do this depending on the type of surface you are framing, the style of the frame, and your preferences. If you still need to assemble your bespoke frame please take a look at How to Assemble a Jackson’s Bespoke Frame.
Mounting a Canvas or Panel in a Frame
The ready-made frames come with all the hardware for mounting the work into the frame and hanging it. If you ordered a bespoke-size self-assembly frame you will need to purchase these fixings separately. They can be ordered with the frame pieces at the bottom of the frame builder page.
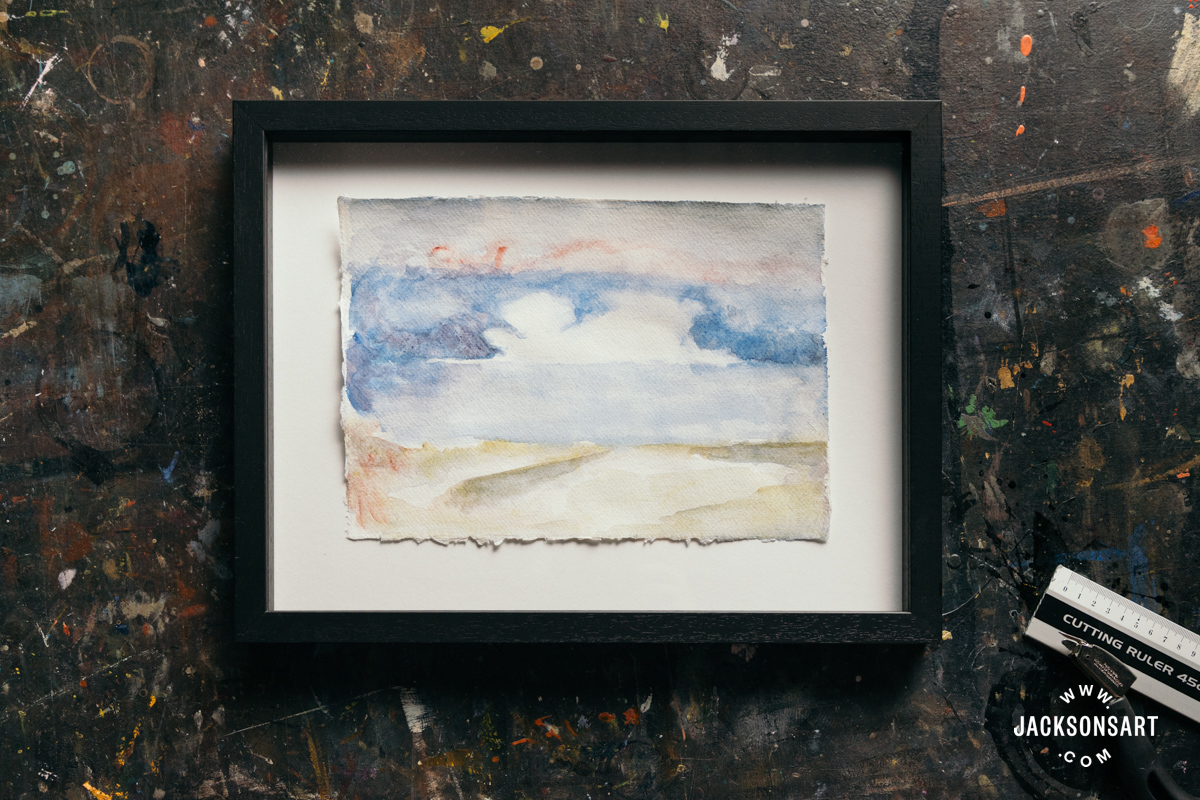
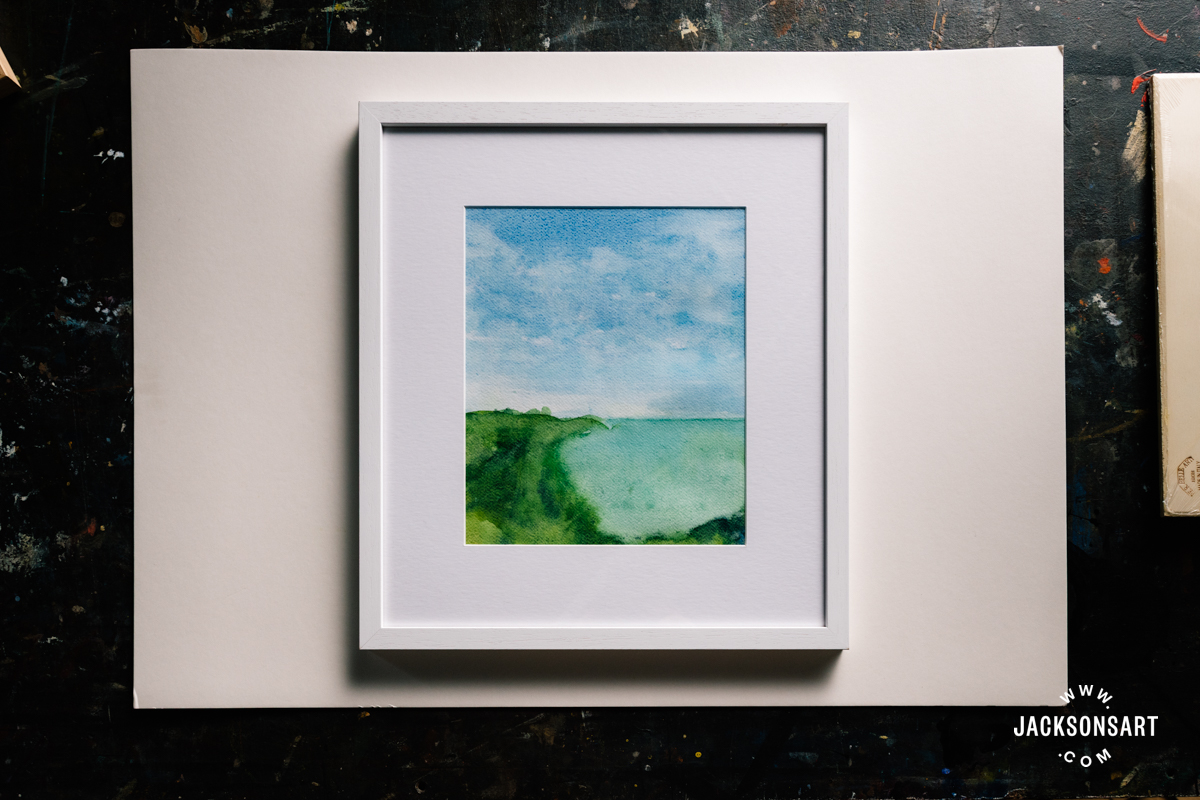
Frames can be divided into two general styles: A tray frame, where none of the artwork is covered by the frame, the wood is only on the sides and the painting floats in the middle; and a frame with a lip that goes over the front edge of the artwork a little bit.
Tray Frames (also called Float Frames)
To insert artwork into a tray frame you place the work in from the front. How you secure it to the frame depends on whether it is a stretched canvas or a flat panel.
A tray frame usually has a 5 mm ‘shadow gap’ between the edge of the artwork and the frame. That is standard with Jackson’s ready-made frames. But if you are ordering a bespoke frame you can choose a different gap. A gap of 10 mm can look very nice, especially if you want to see a bit of the side of the canvas. I remember really enjoying seeing the charcoal fingerprints of a famous artist on the sides of a float mounted canvas once.
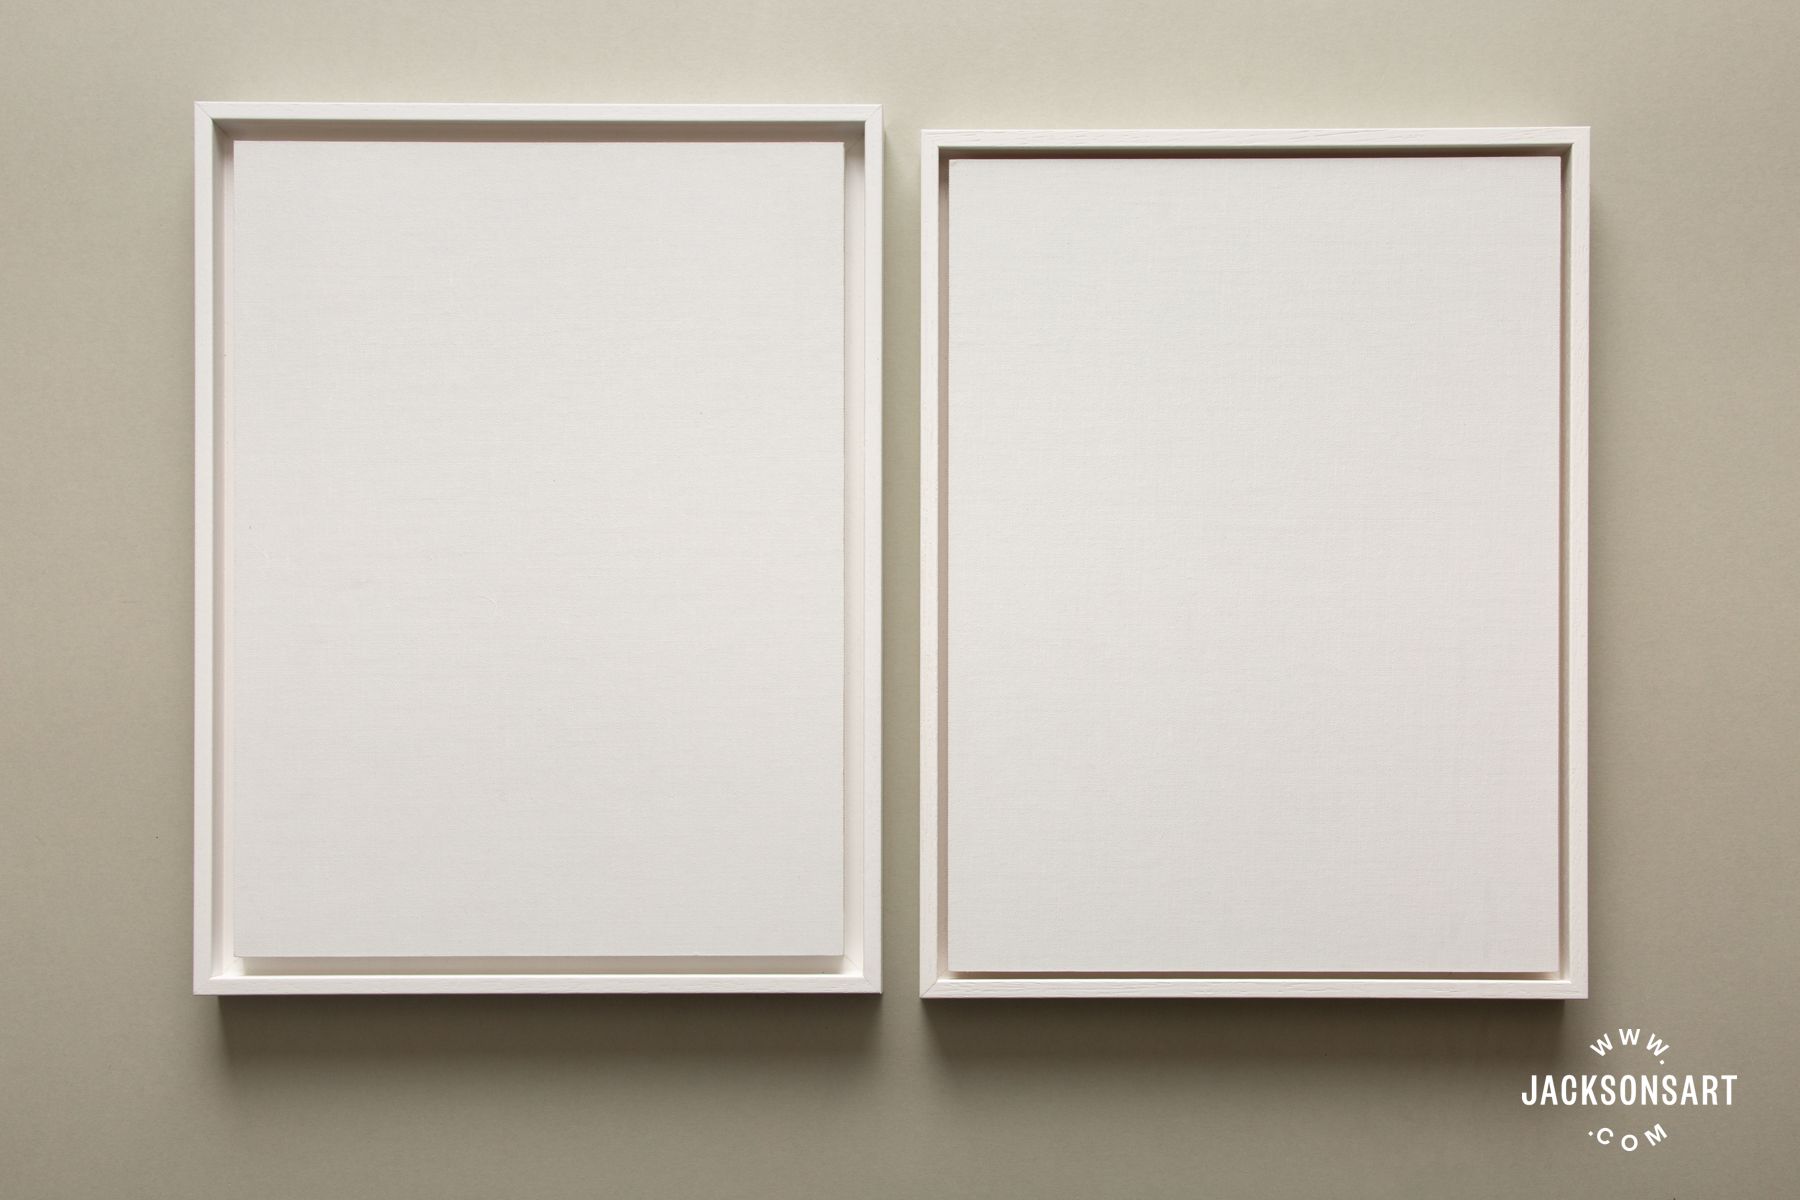
The maximum shadow gap for a panel frame is 10 mm because the platform strip you’ll be attaching the panel to, sits 10 mm in from the edge. If your artwork is smaller than that, there won’t be enough surface area to secure it properly – and the platform will end up showing, too. Or you may think that the edges of the panel are not very attractive, in which case the shadow gap can be smaller if you want the wood right up next to the artwork edge. You decide the shadow gap width when you are giving measurements in the frame builder.
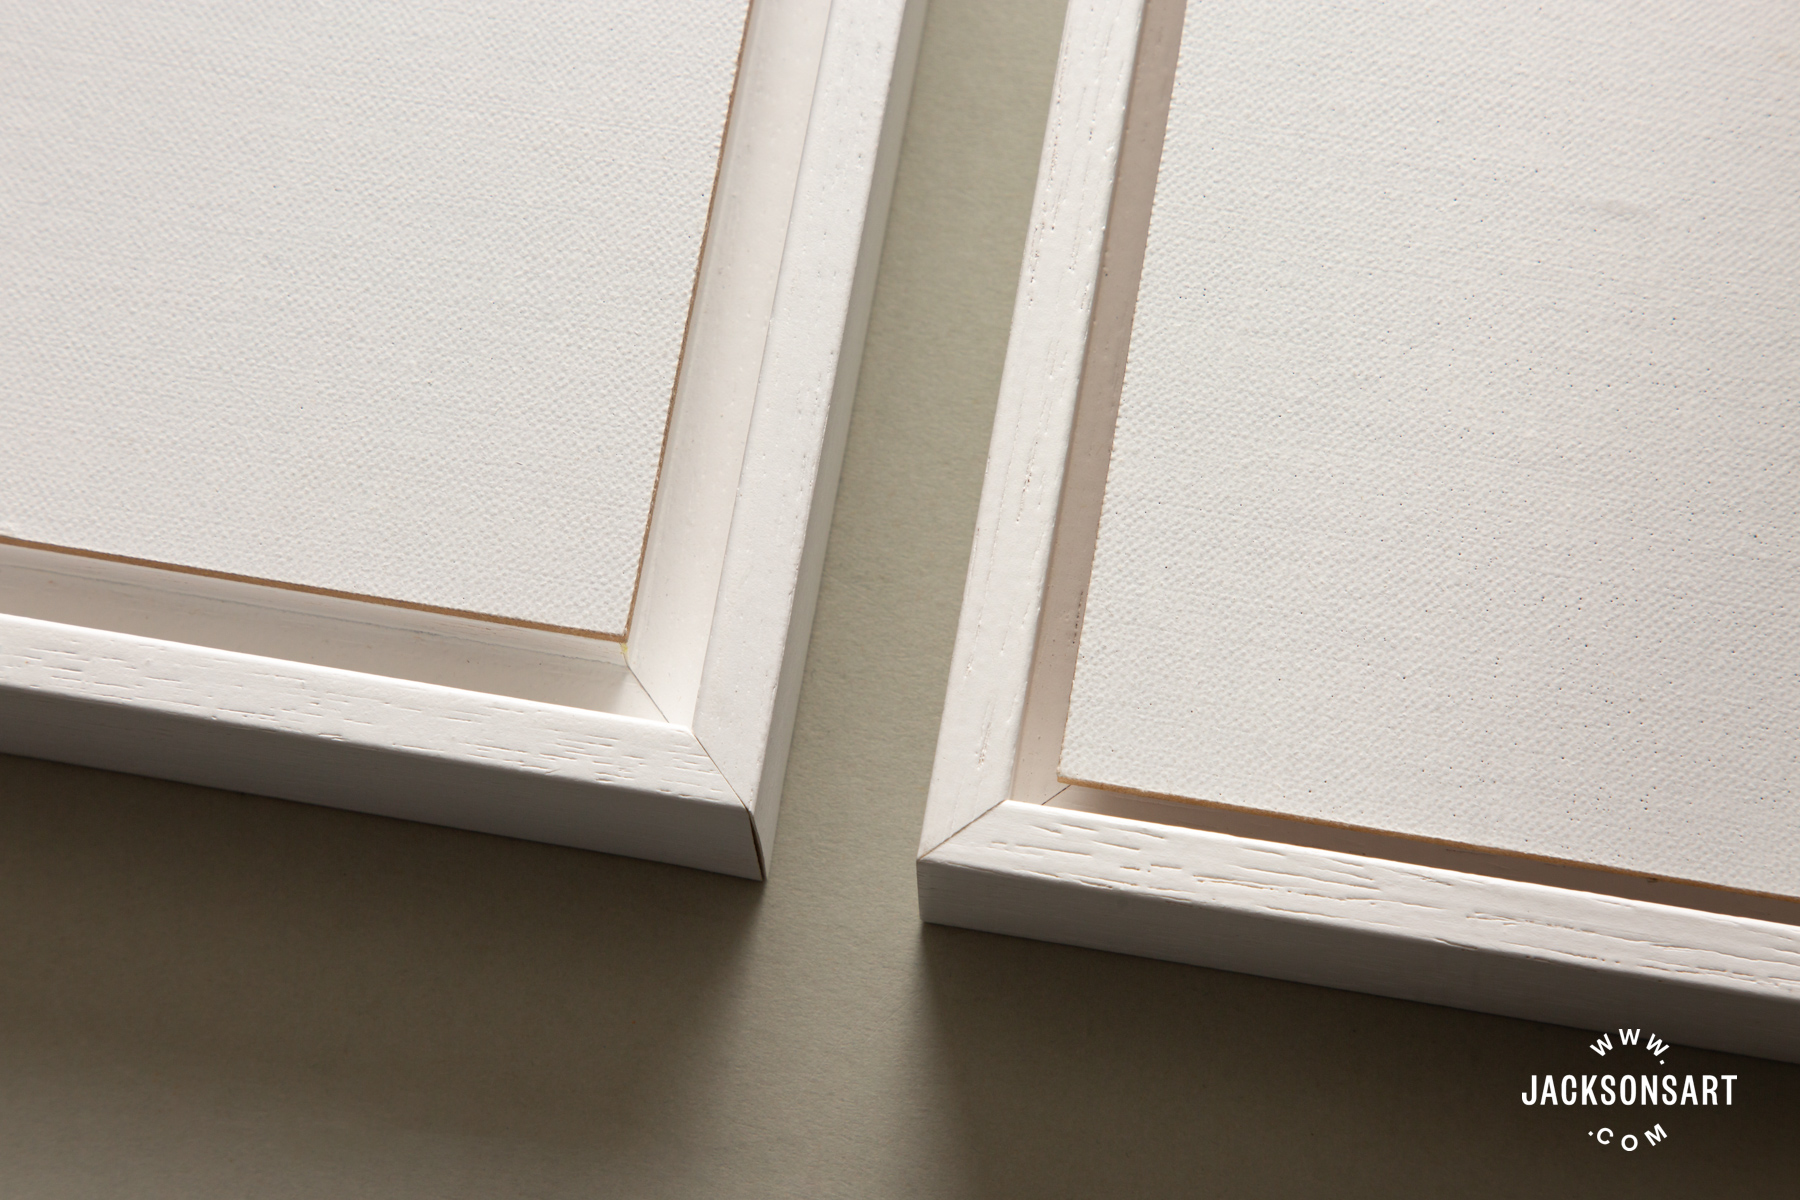
The frame is both decorative and protective. To be protective, the artwork should not protrude past the front face of the tray frame. So you’ll need to check the measurements of the frame to match the thickness of your canvas or panel. The depth inside the frame for the artwork to sit in is called the rebate and it should not be shallower than your artwork. It’s best if it’s at least a few mm deeper. Jackson’s ready-made panel tray frames, for example, have an 8 mm rebate depth and are recommended for panels of any thickness up to 6 mm.
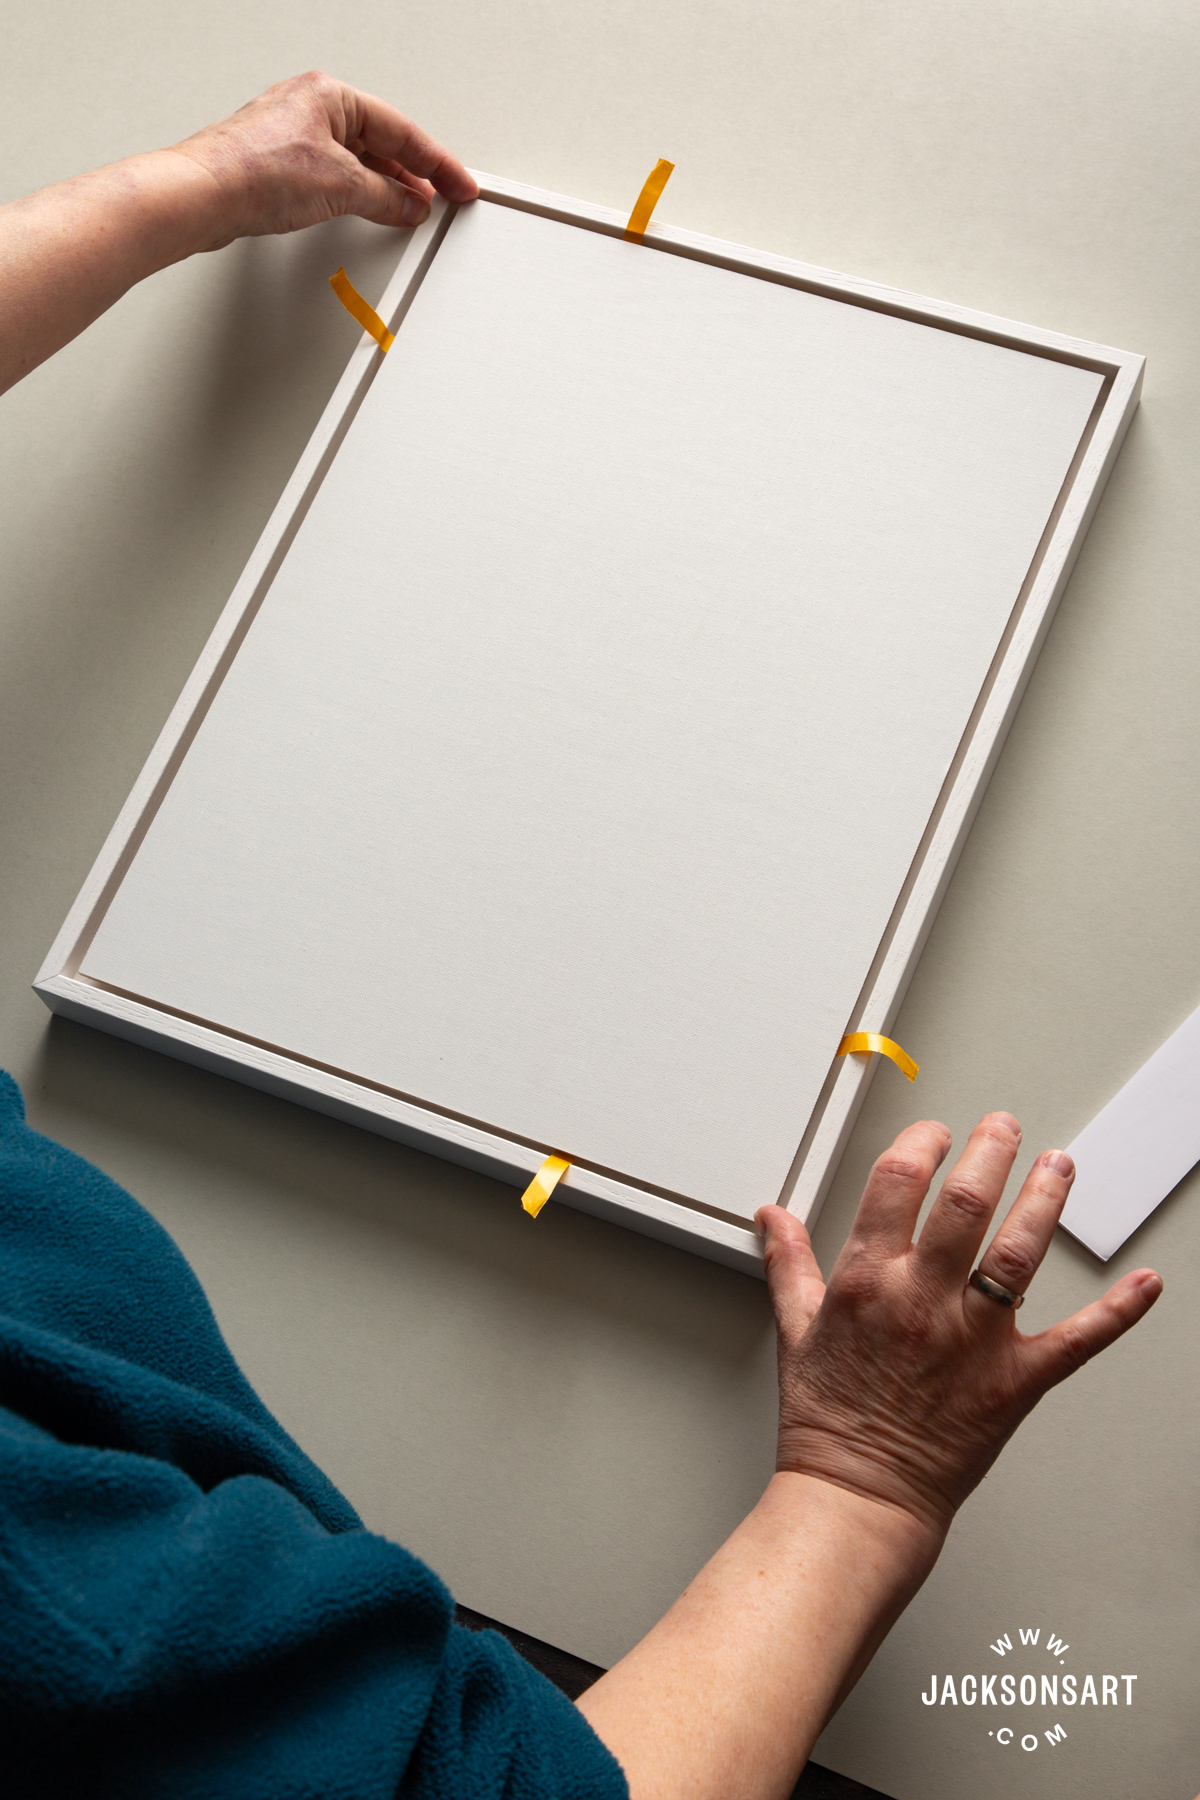
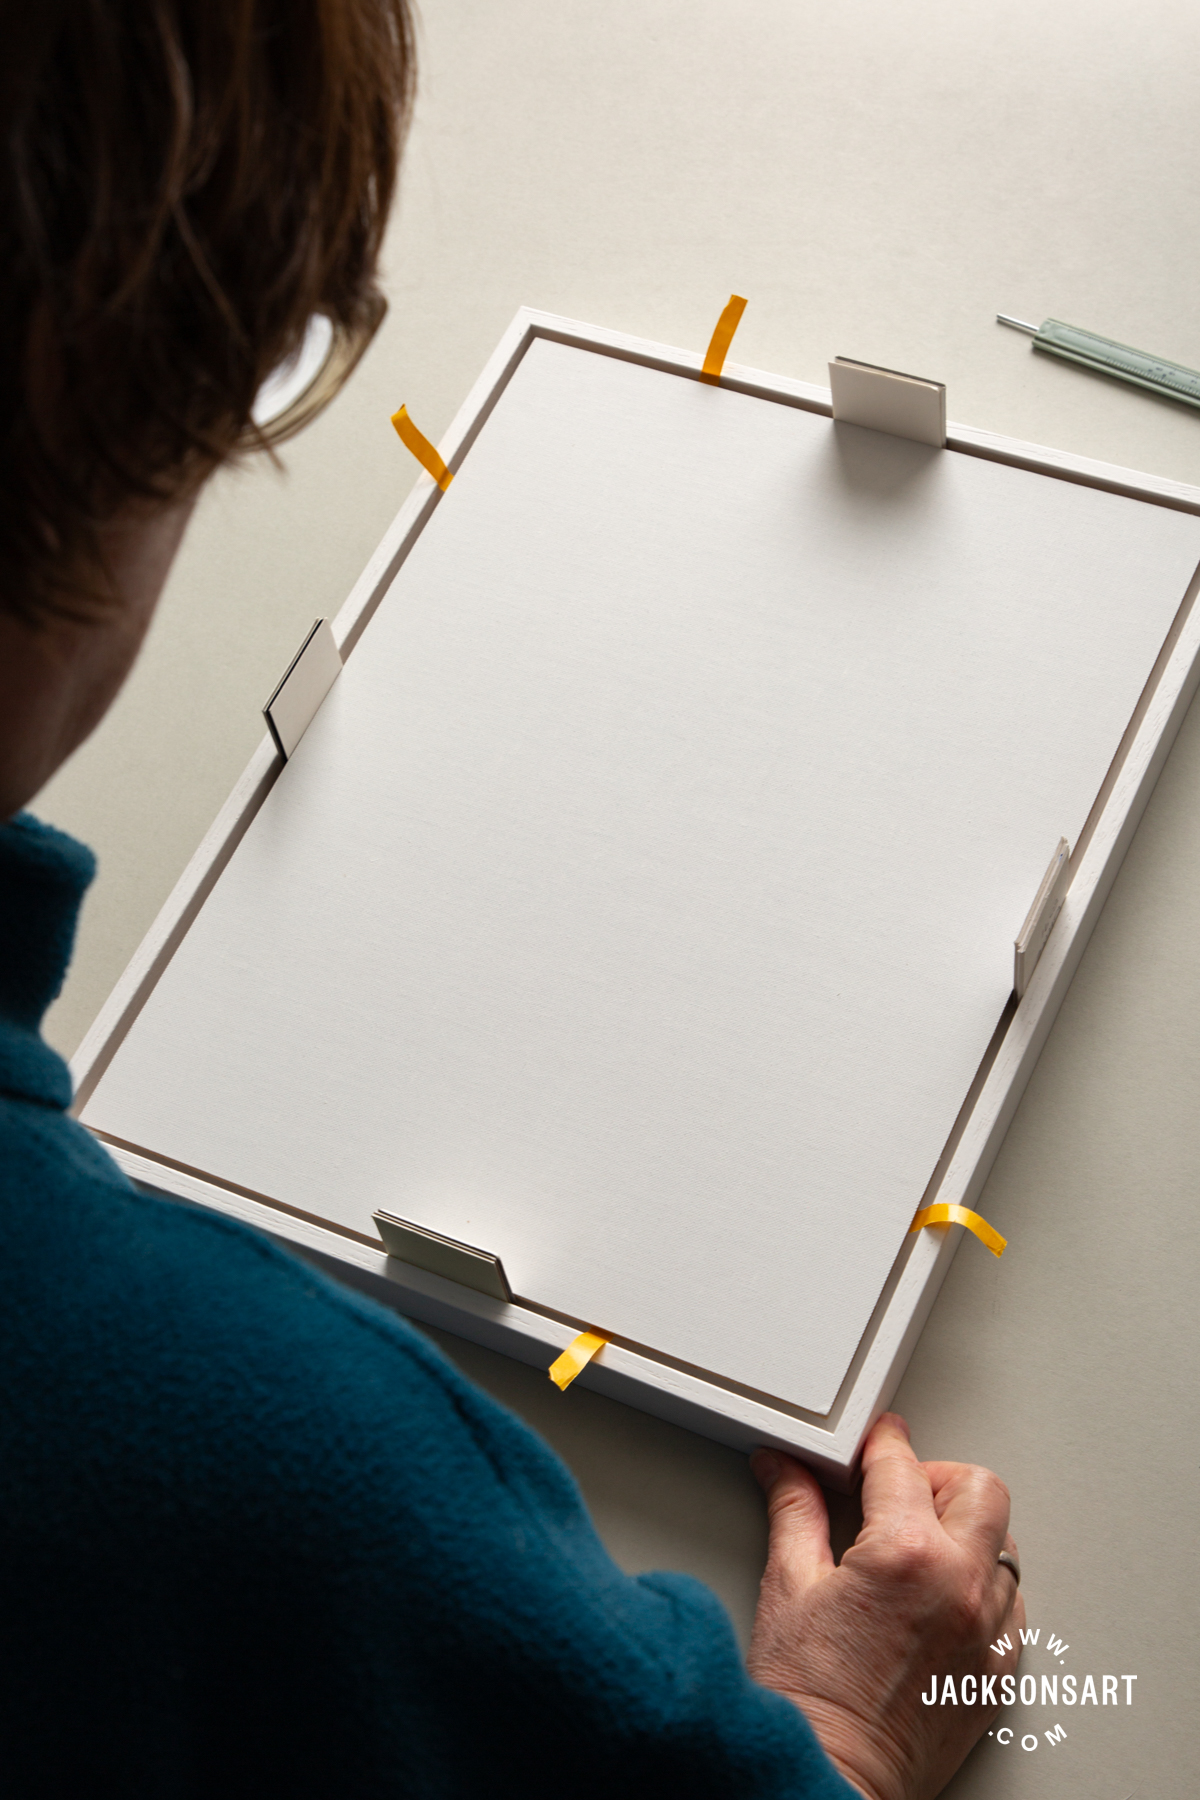
When mounting the work in a tray frame, you will need to judge that the gap around all four sides is equal before you attach your artwork. Cutting 4 strips of 5 mm foamboard or similar and inserting them on all sides can help when you’re trying to get the painting even. But in the end, you still make your final placement by eye, so take a moment to check along all the edges, looking directly from above, to judge that the gap is even all around.
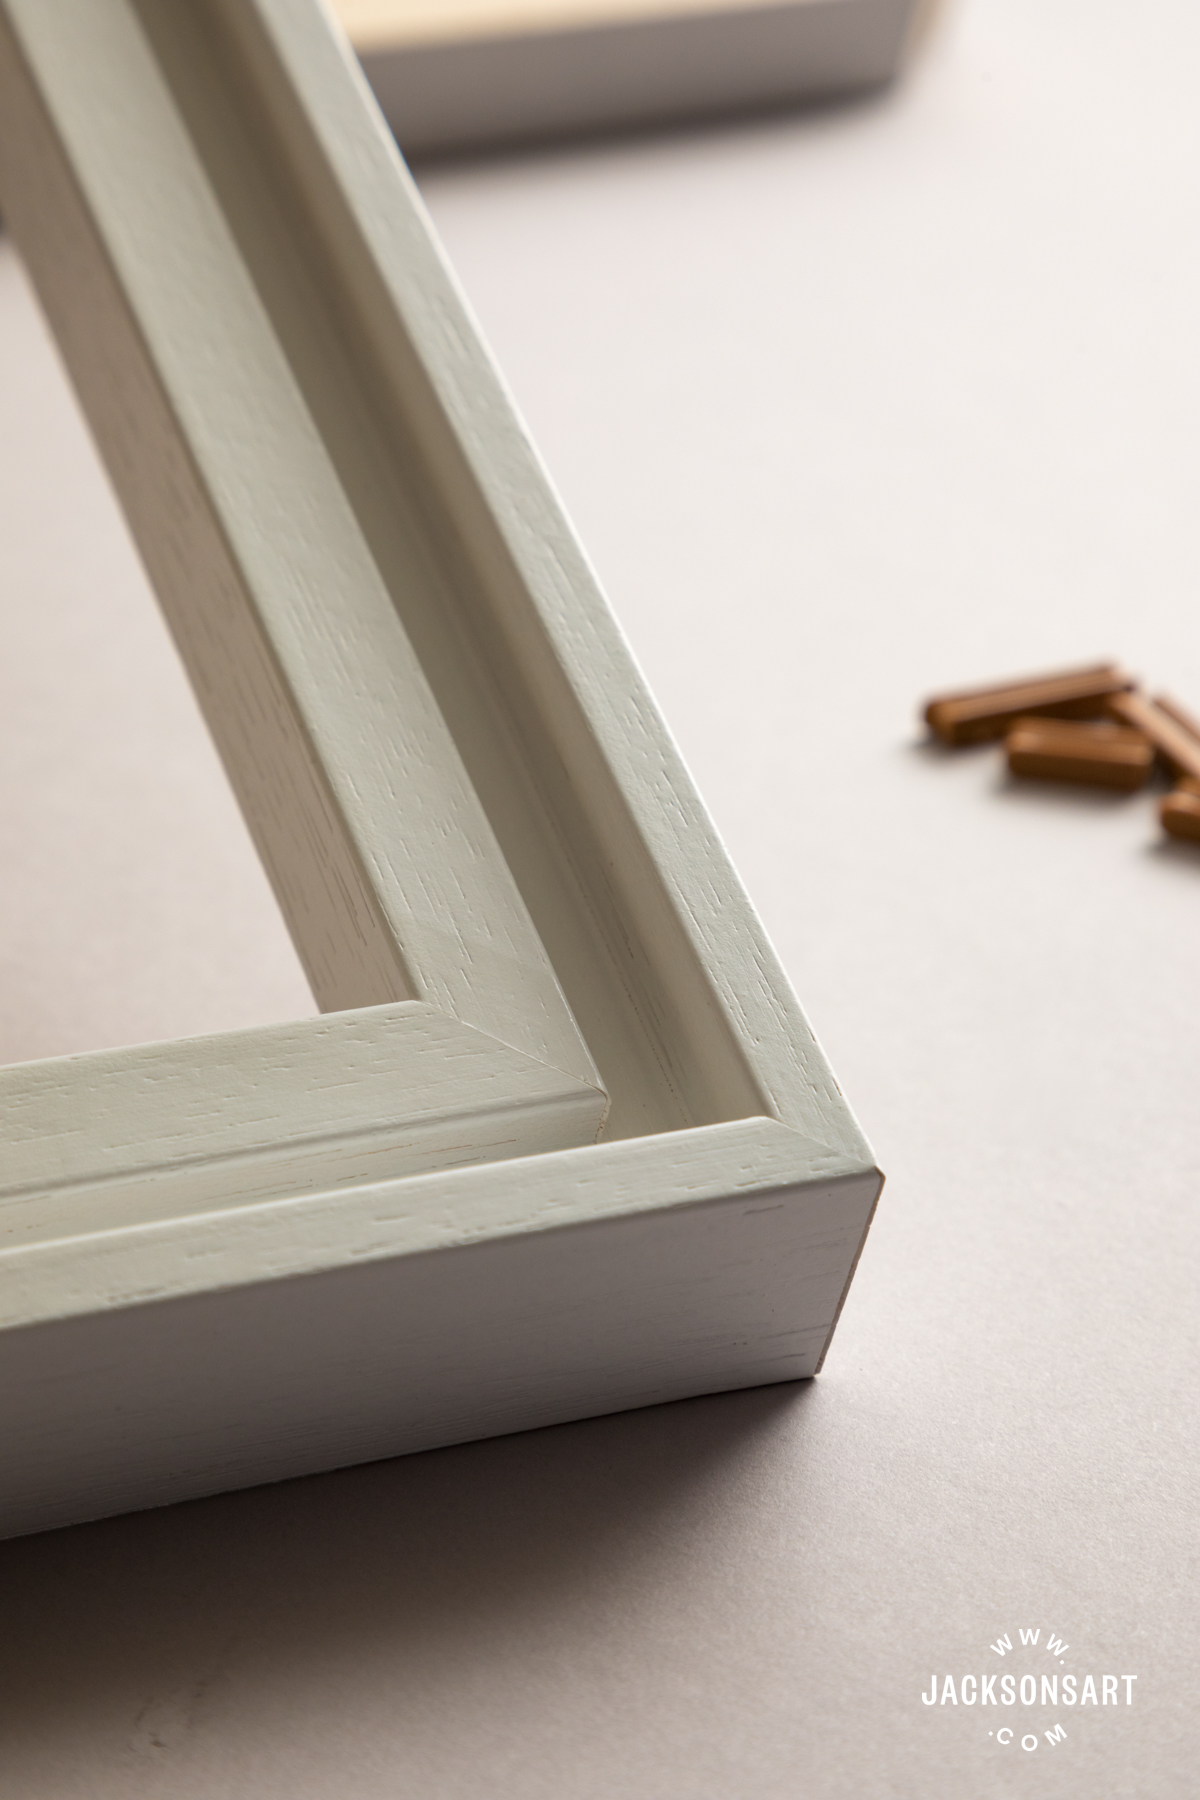
Mounting a Flat Panel or Board in a Panel Tray Frame
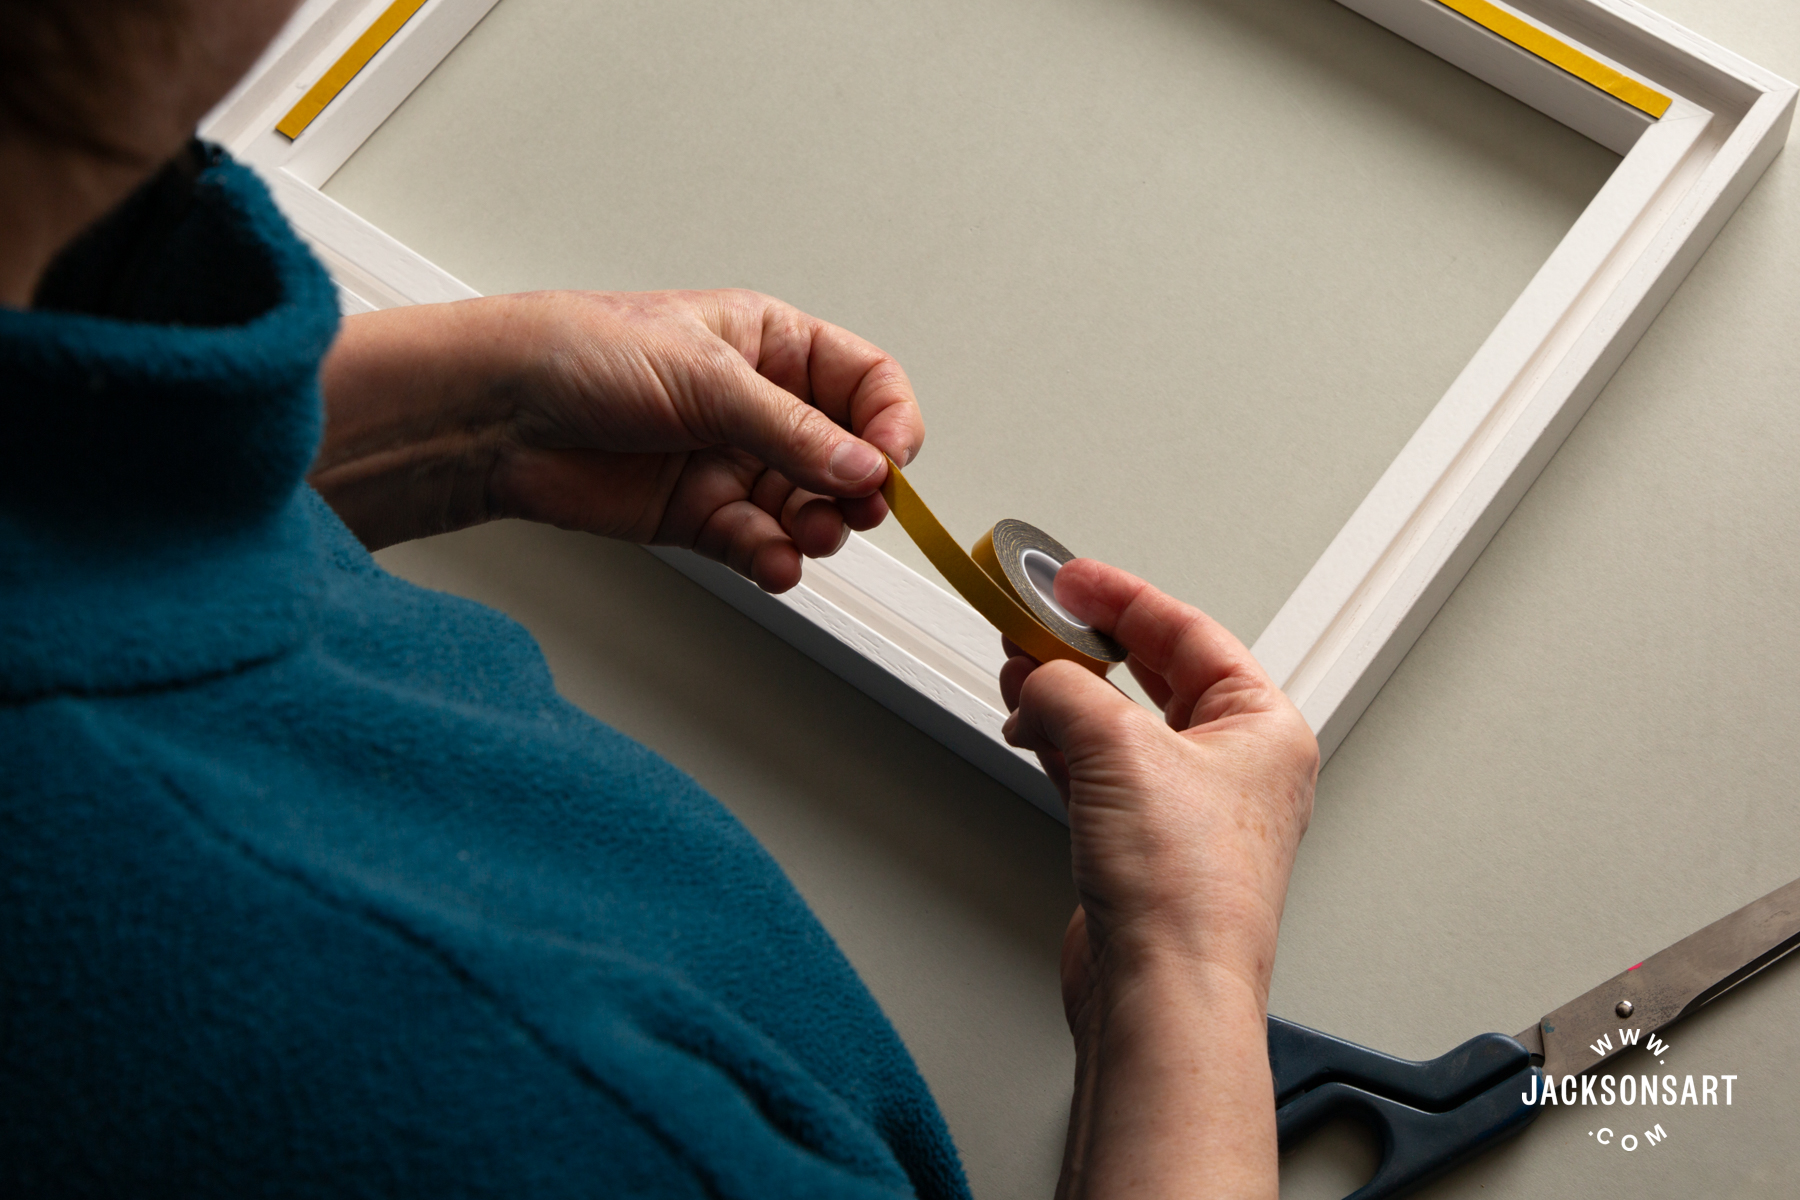
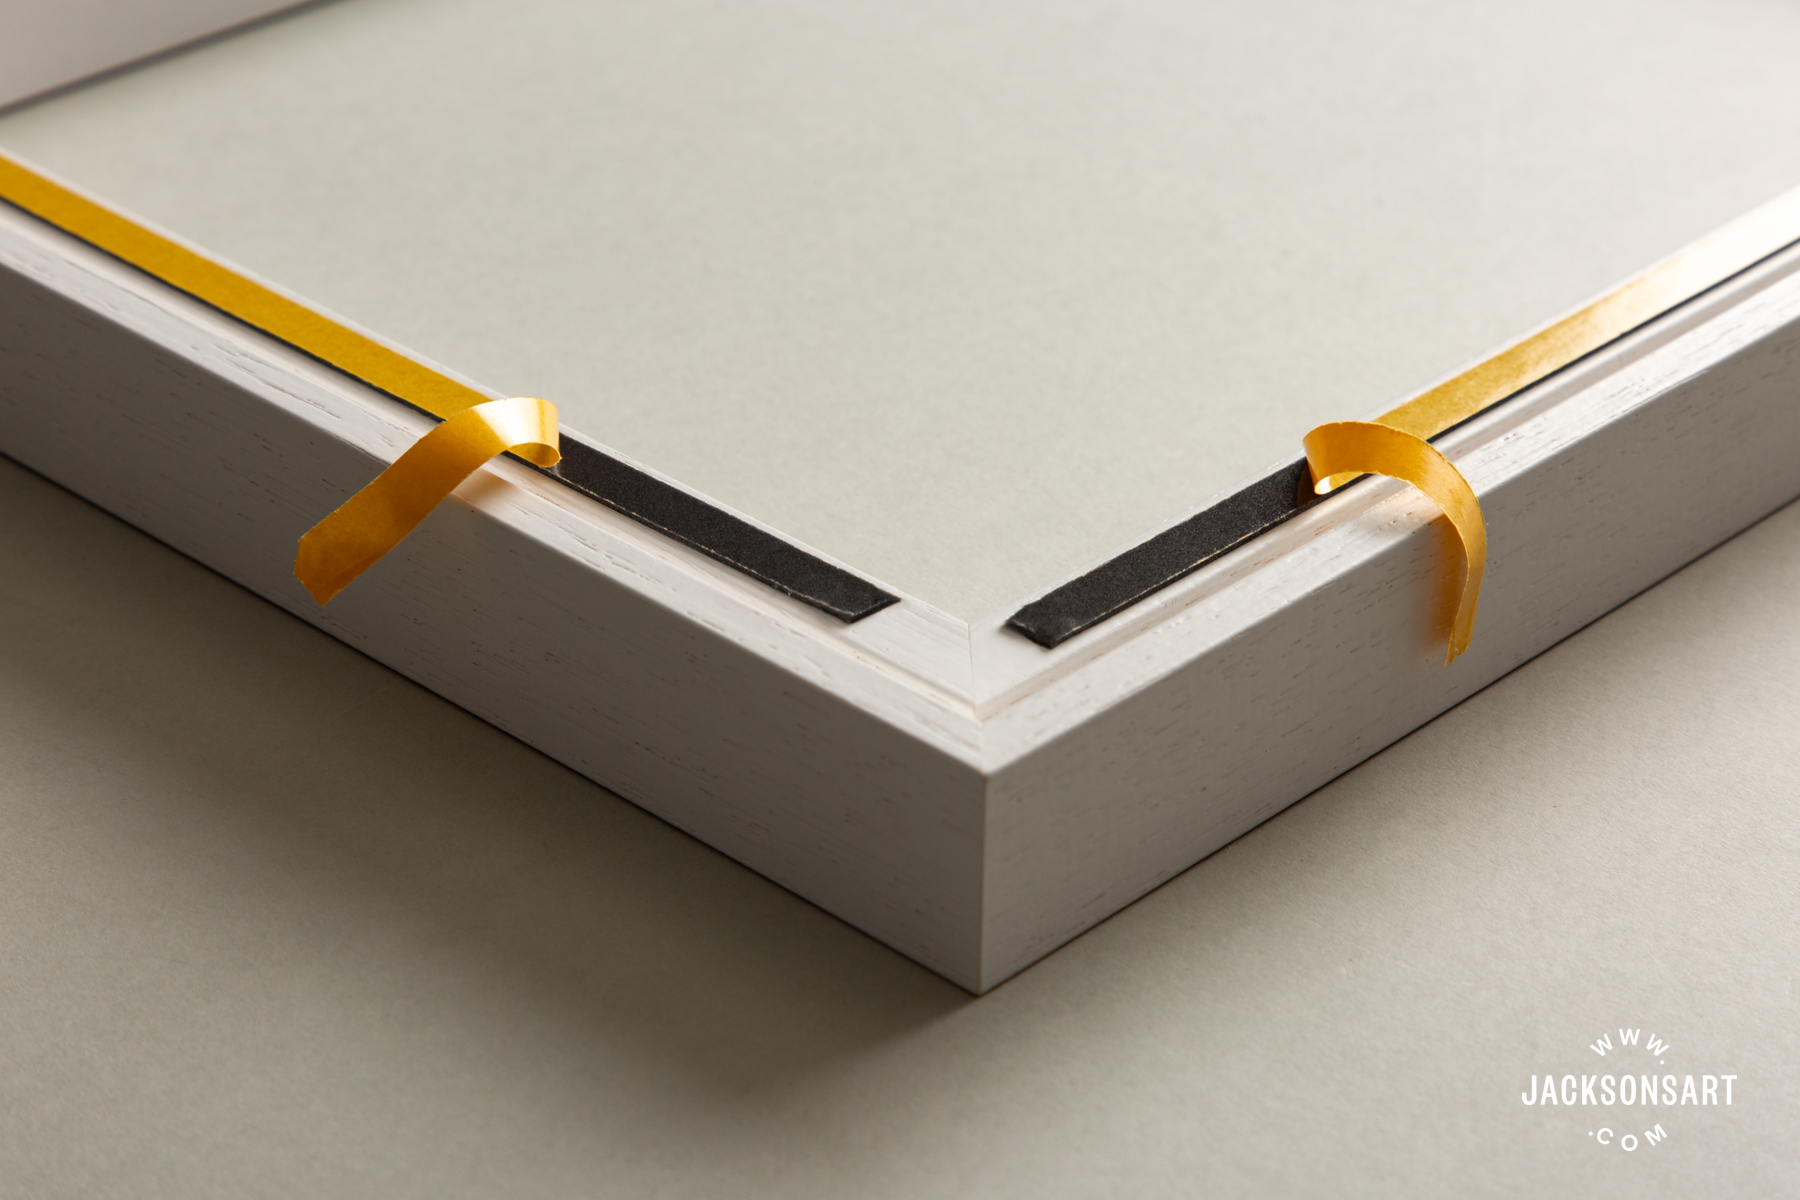
A panel is a flat sheet of wood and a board is made of thick cardboard with canvas attached to the front and wrapped around. Both are flat on the back. They are usually too thin to screw into. You secure a flat panel or board to the inside of a panel tray frame by inserting it from the front onto heavy duty, double-sided, foam tape that is placed inside the frame. The artwork is designed to sit lower than the front of the frame – not flush with it. How much lower is up to you – it can be just a little, or quite a bit, depending on your preference.
An instruction leaflet showing you how to mount your panel comes with the ready made panel frames.
Note: A cradled panel is not treated the same as a flat panel. It has bars of wood around the edges on the back that prevent warping, and make the panel look thick from the side. And the bars create a hollow area in the back for hanging or framing. You can treat a cradled panel more like a stretched canvas because you can screw into the bars. It is also too deep for any of our panel frames.
Materials:
- Panel frame
- Double-sided foam tape. A ready-made panel frame includes the right amount of this. A bespoke frame has this as an optional extra at the bottom of the frame builder page. We also sell this tape separately.
- Optional pieces of 5 mm foam board to help you centre the painting panel evenly.

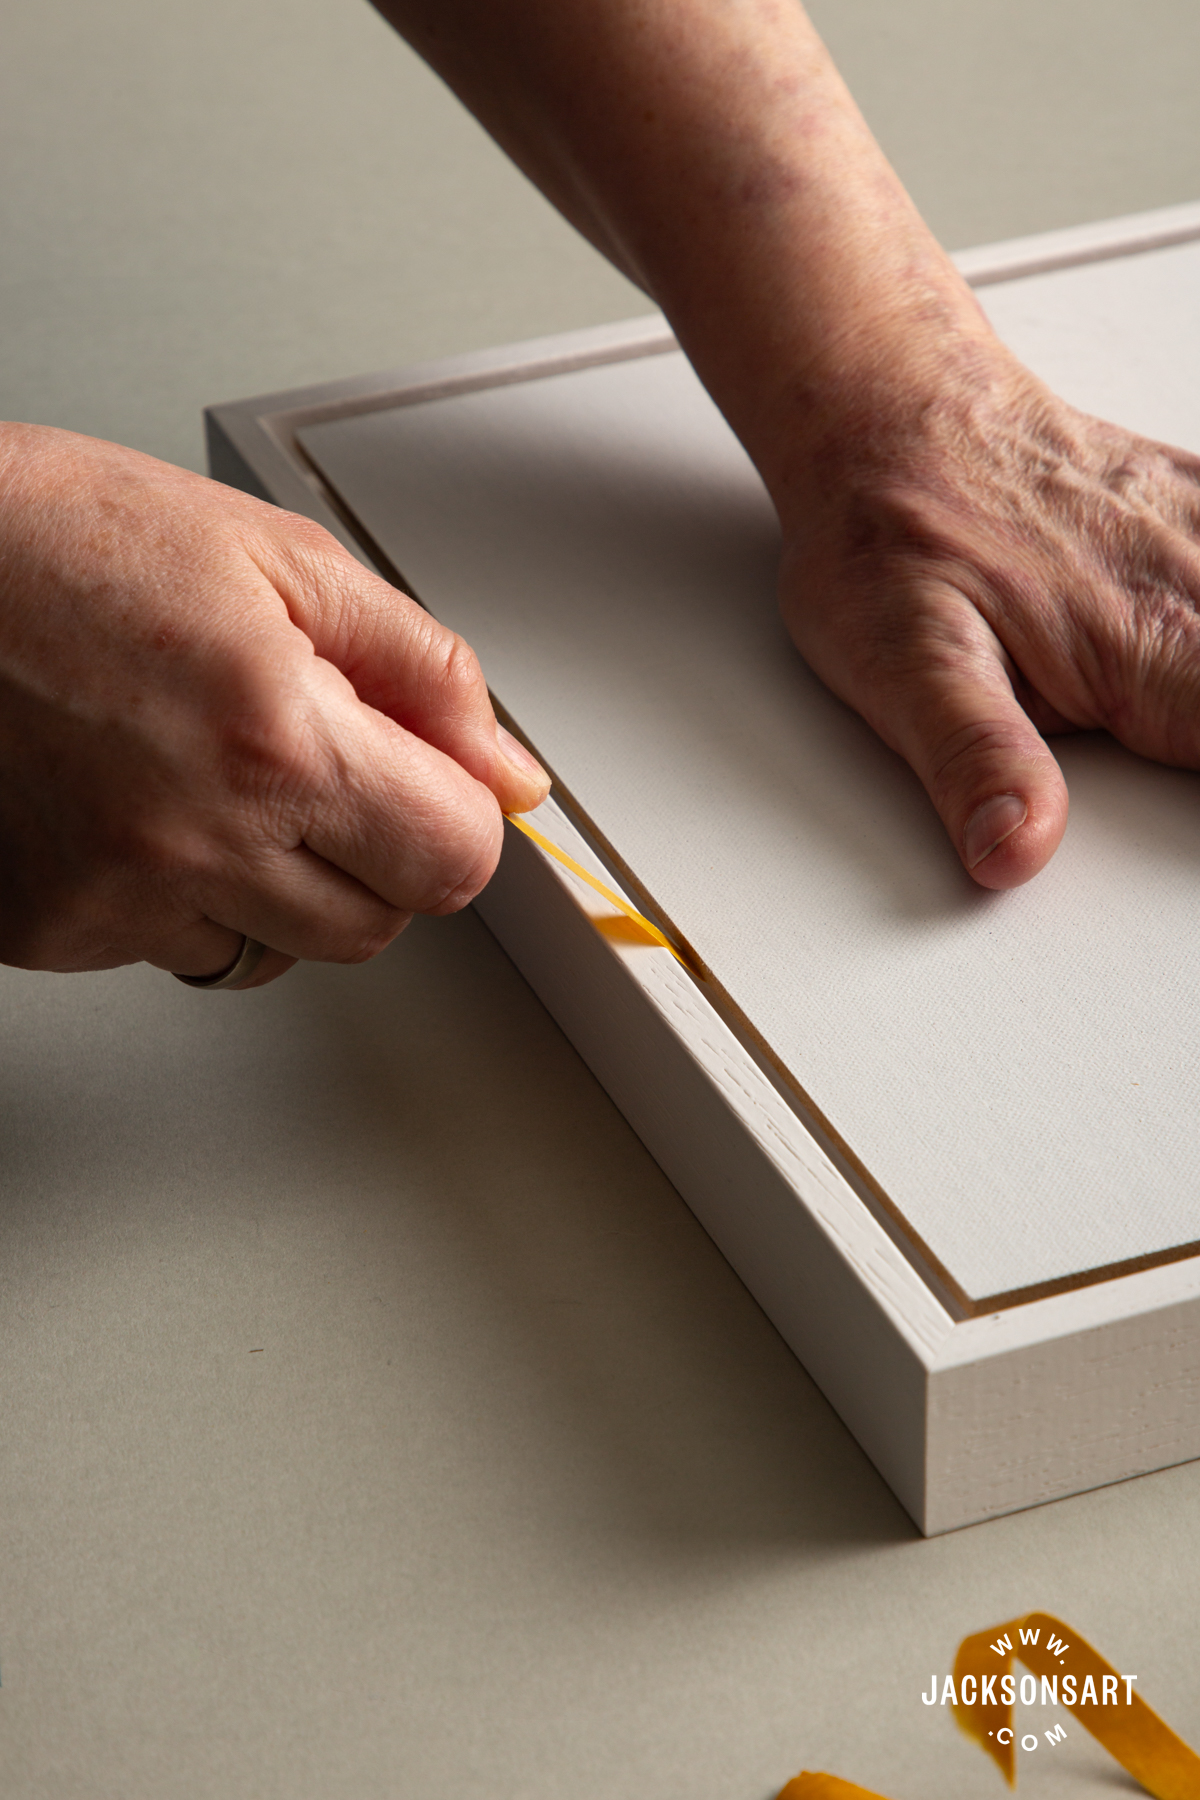
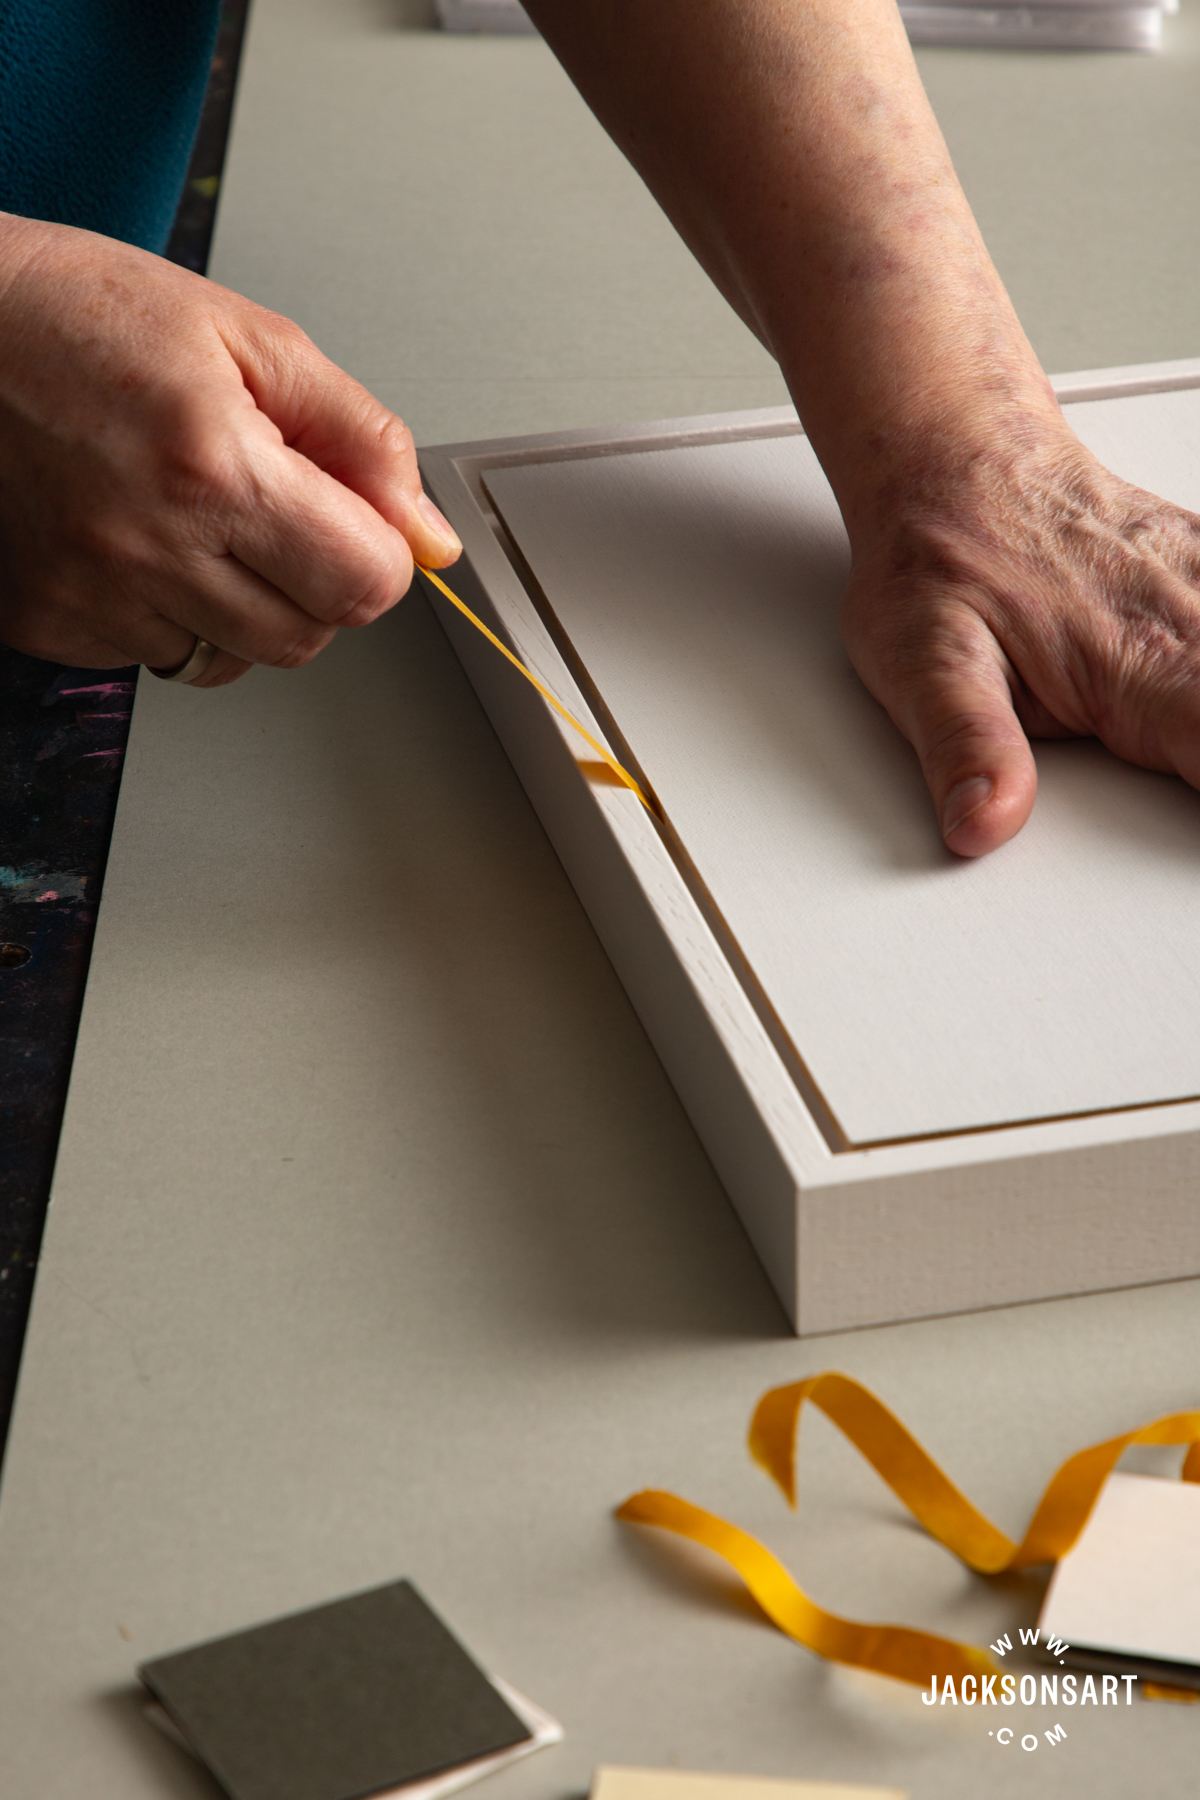
Mounting a Stretched Canvas or Cradled Panel in a Canvas Tray Frame
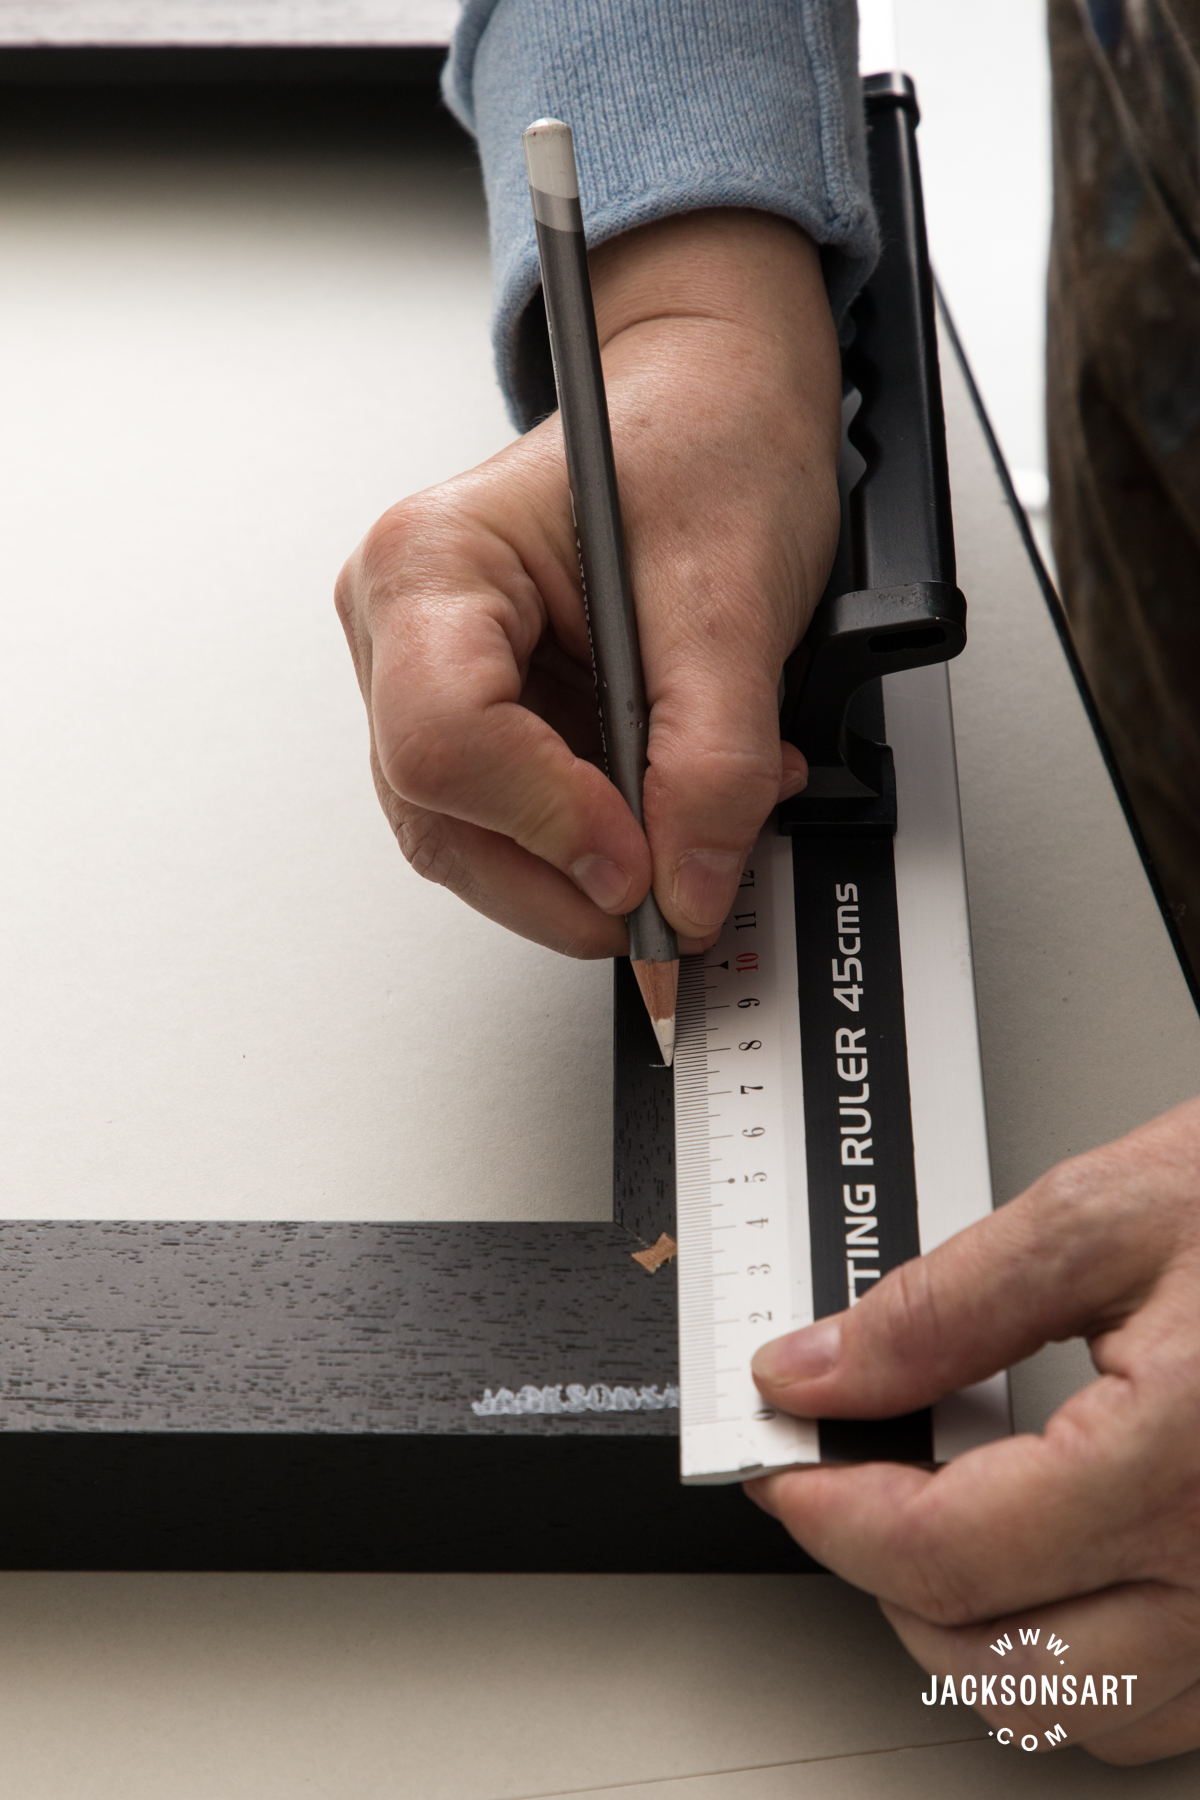
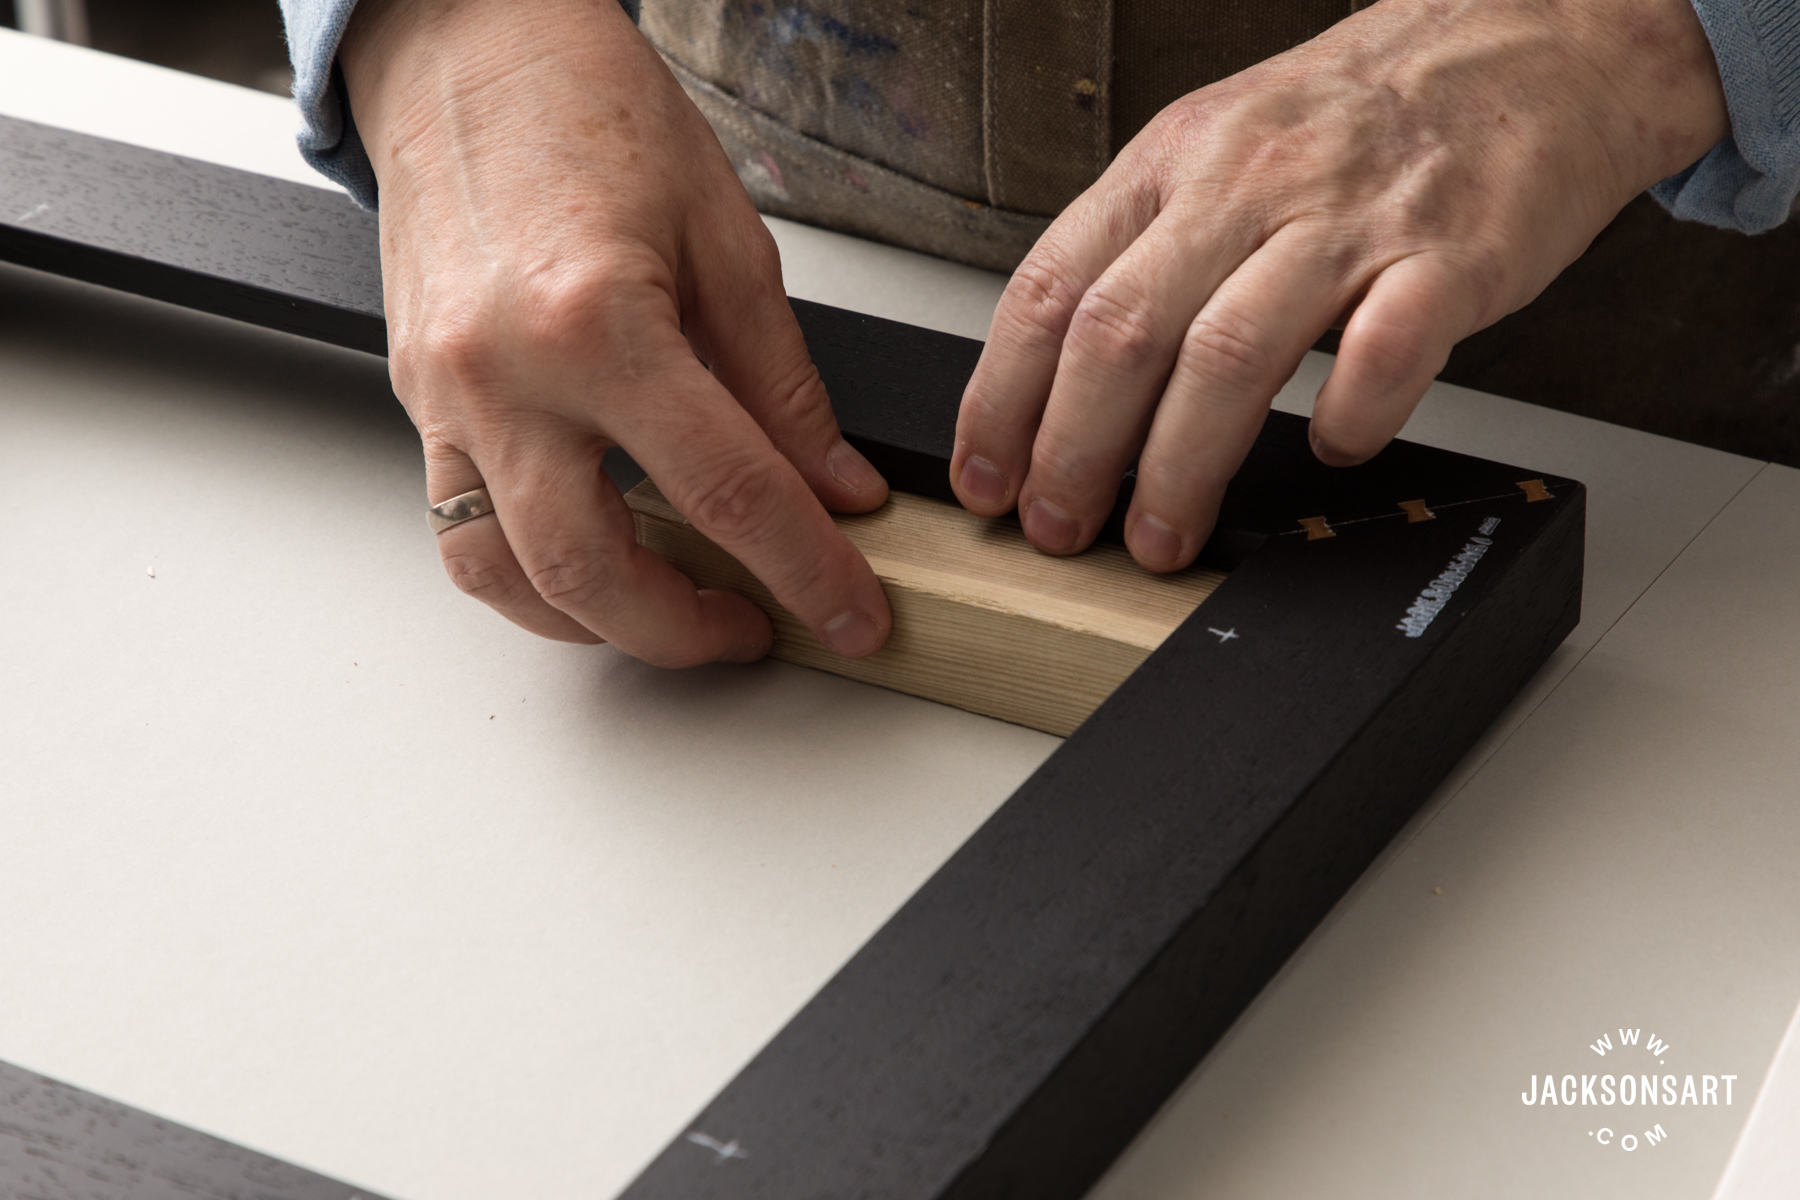
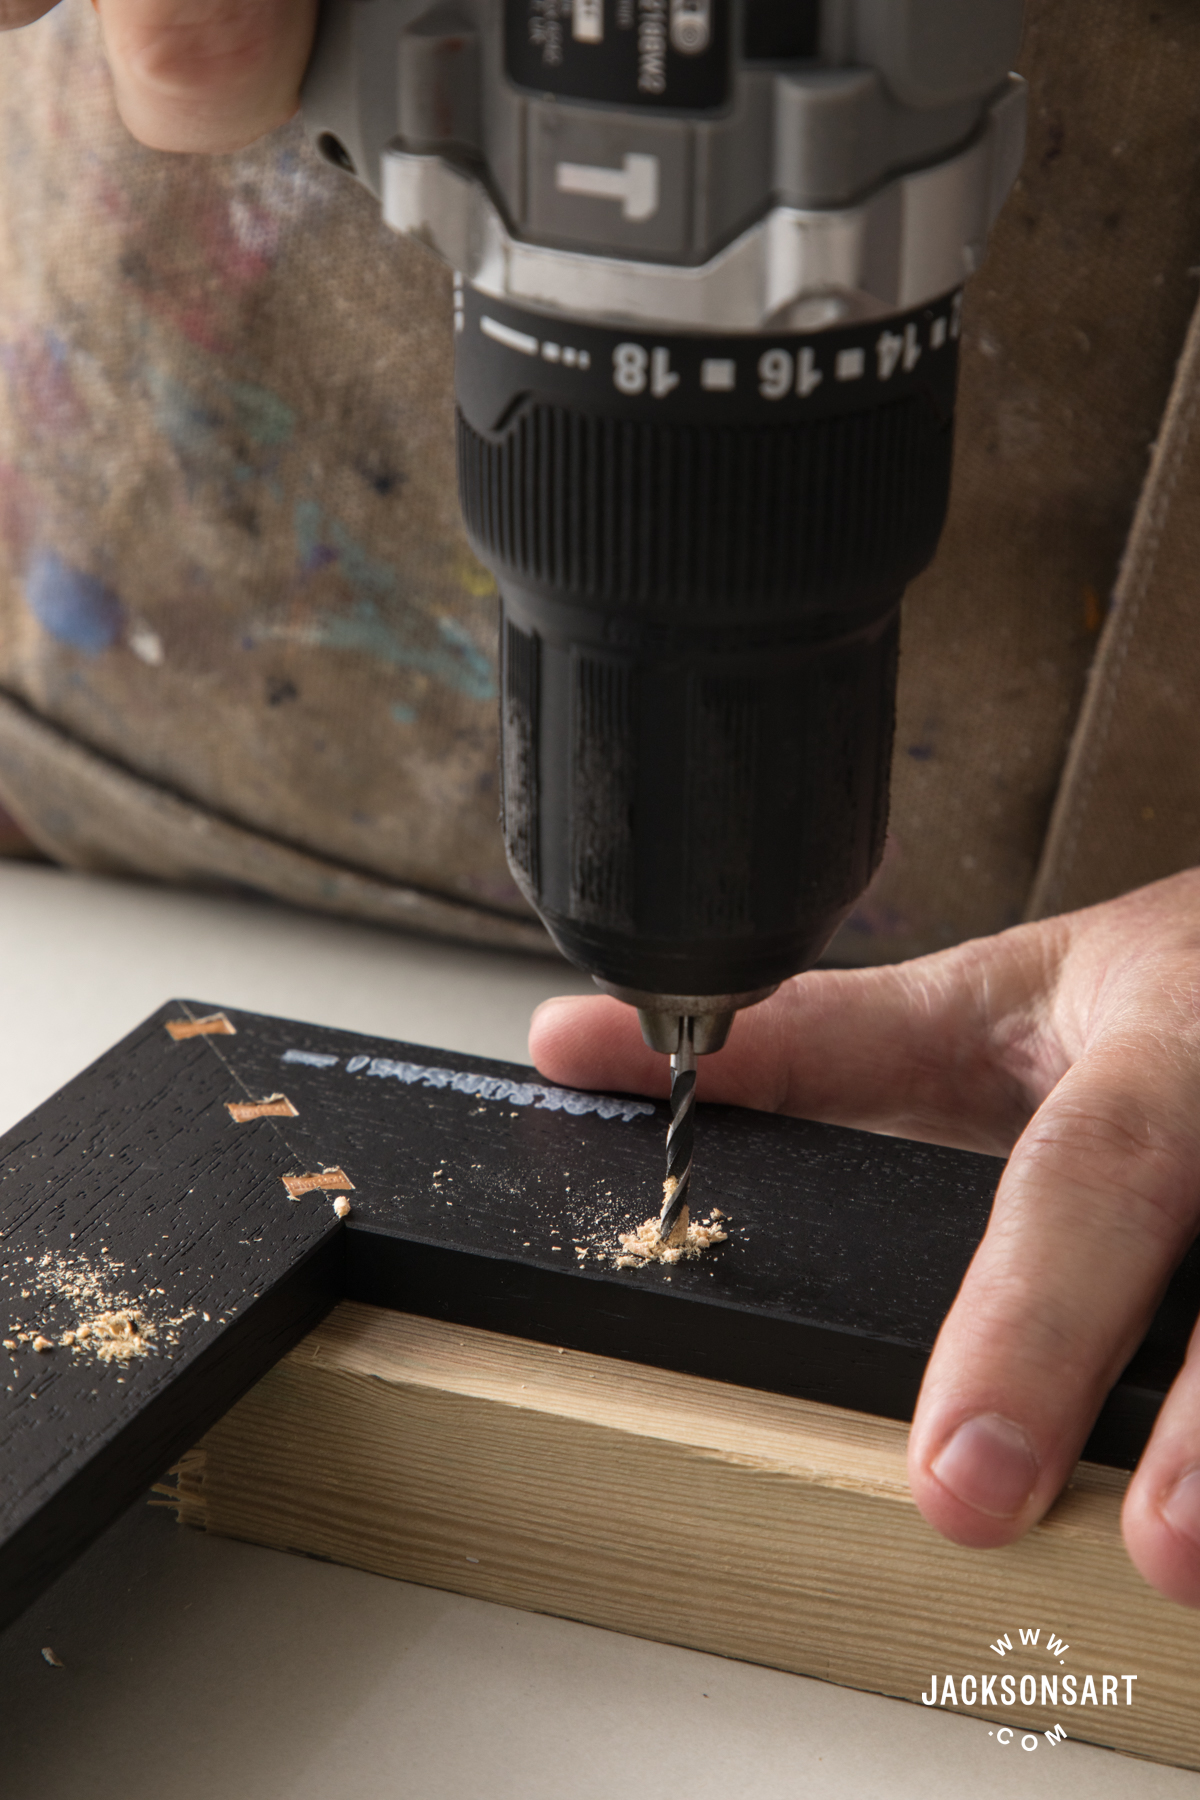
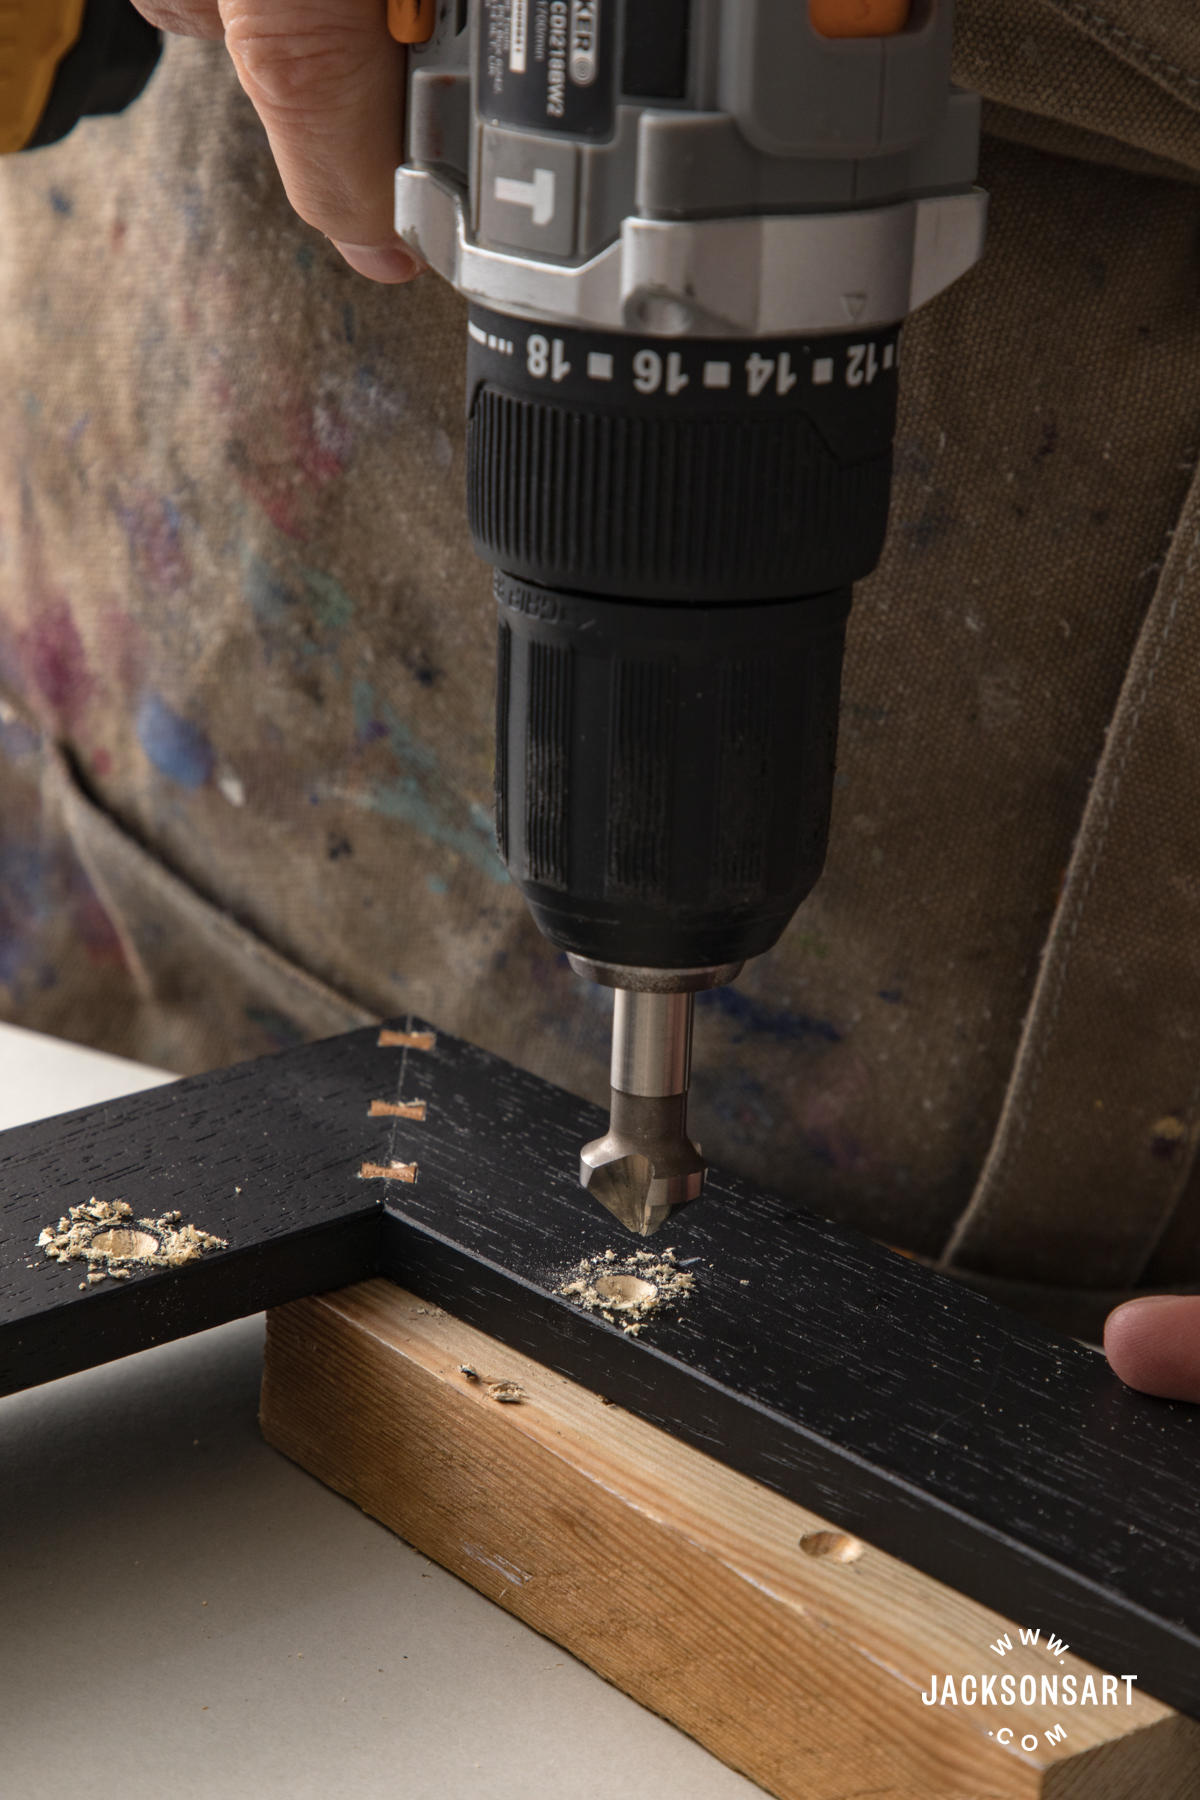
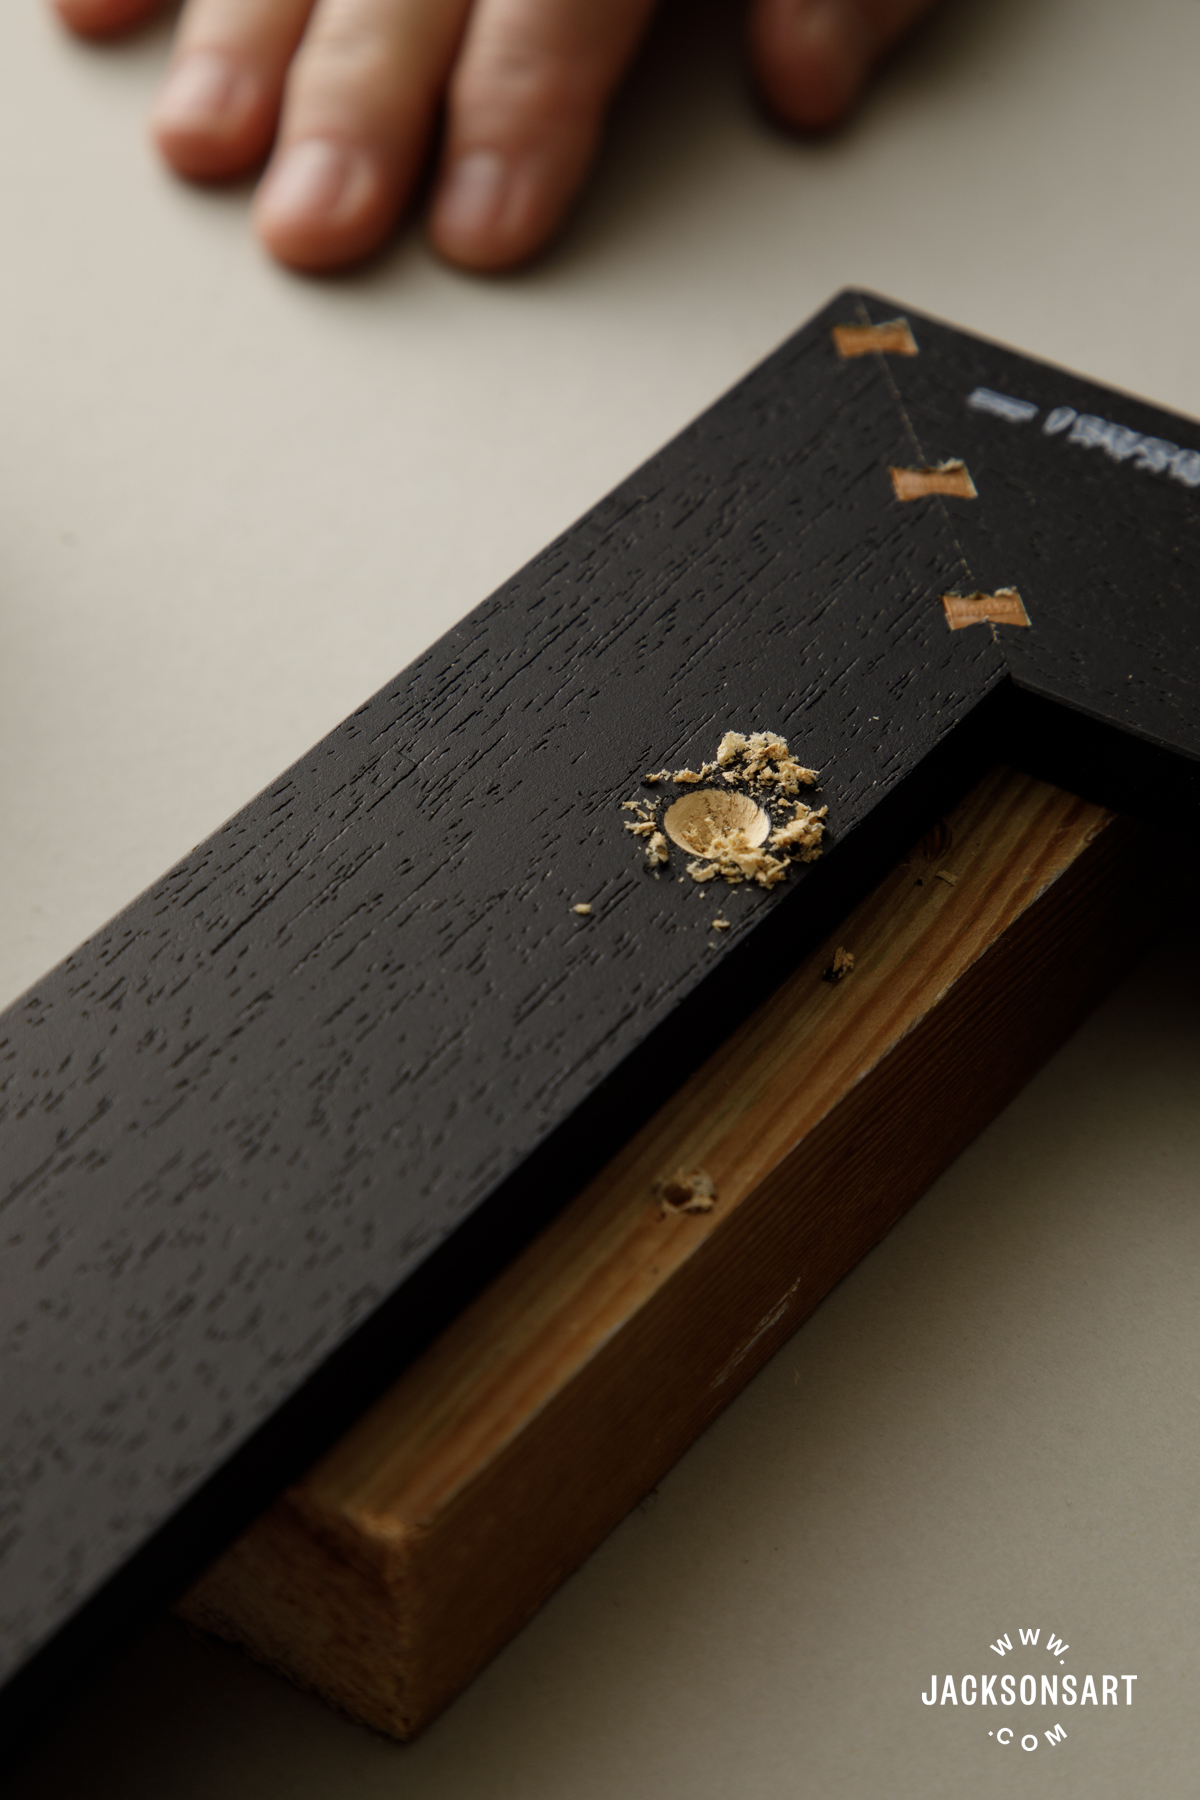
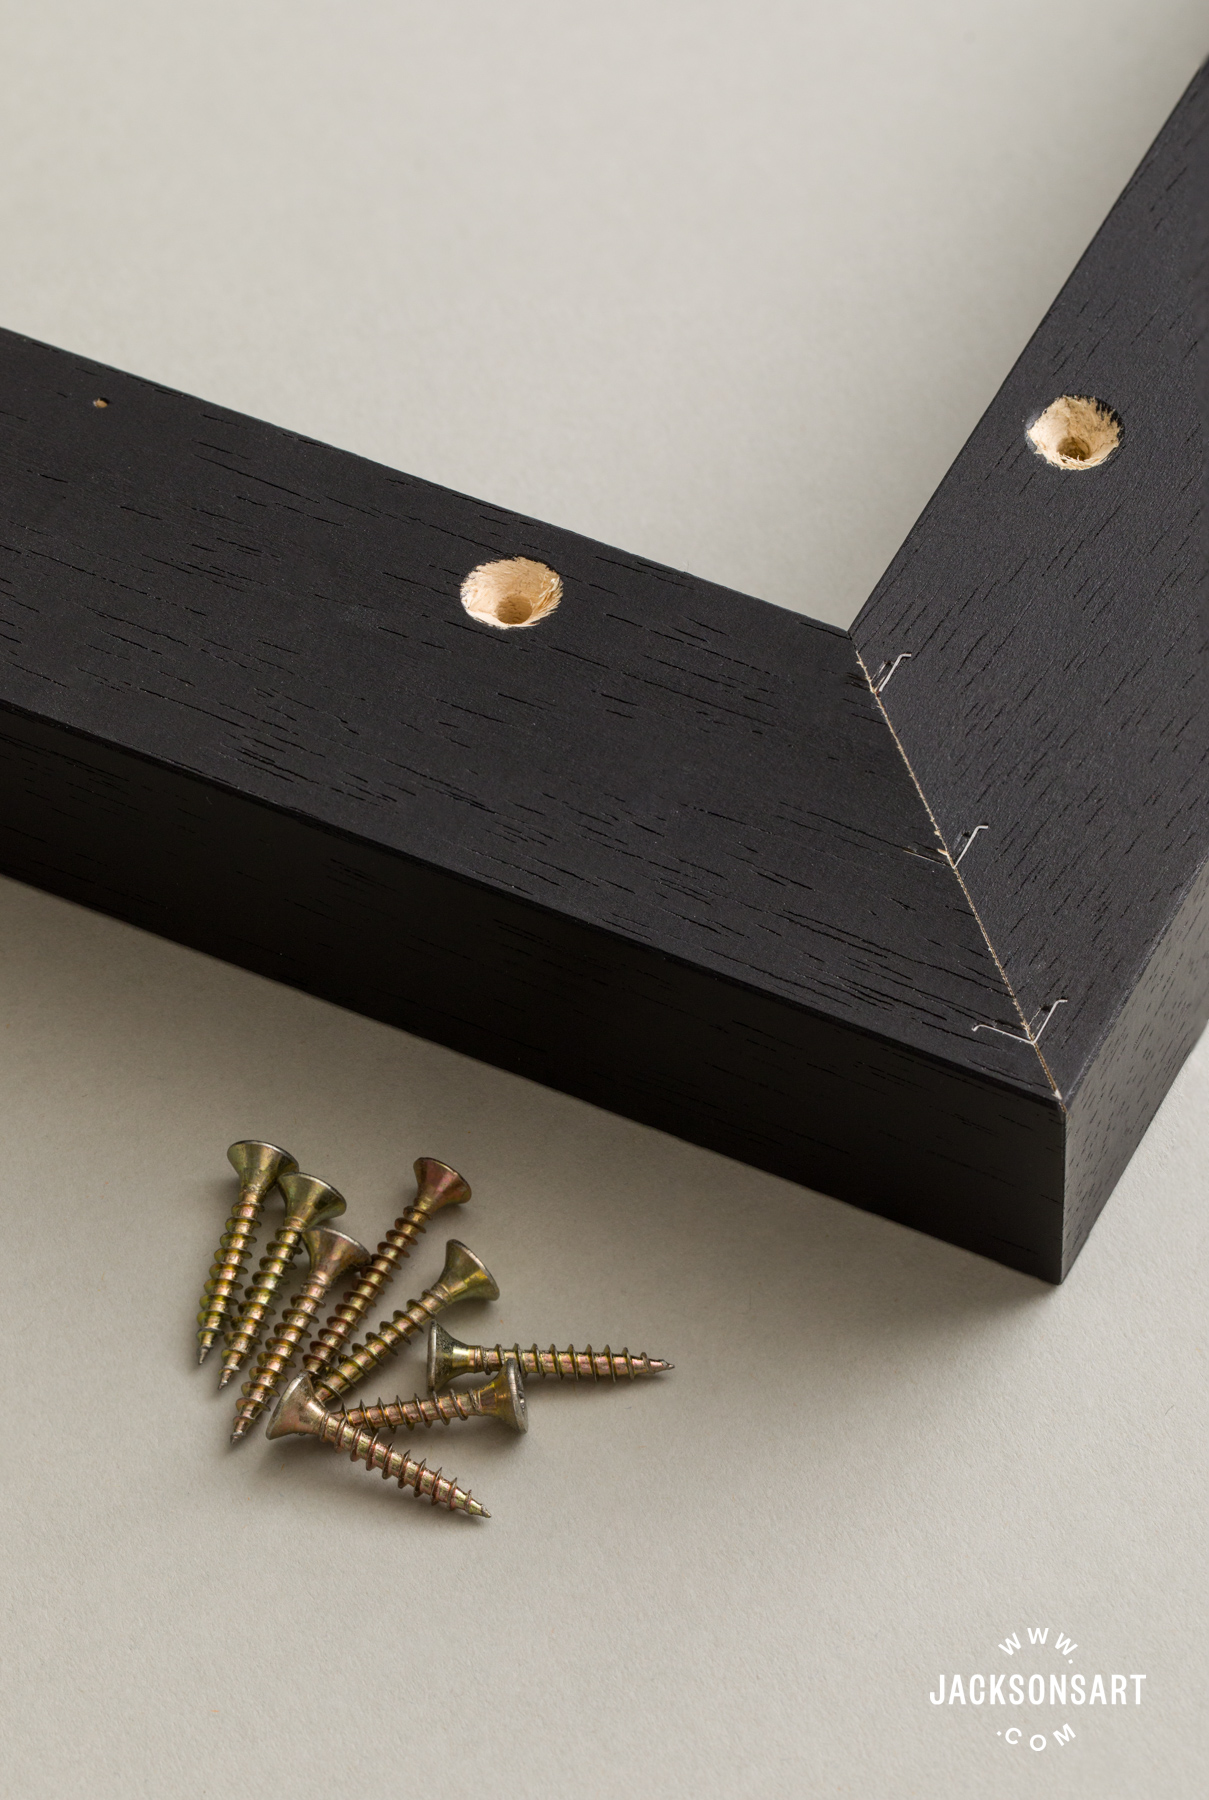
To secure a stretched canvas into a tray frame, the canvas is placed in the frame from the front and screws are driven in from the back, through pre-drilled holes in the frame, into the wood of the stretcher bars. If you have a ready-made Jackson’s frame it will come with the necessary predrilled holes. If you have a self-assembly frame, you can either drill your own holes or add the hole drilling service to your order (which comes with the appropriate screws). If you try to screw through the wood of the tray frame without pre-drilled holes, you will split the wood.
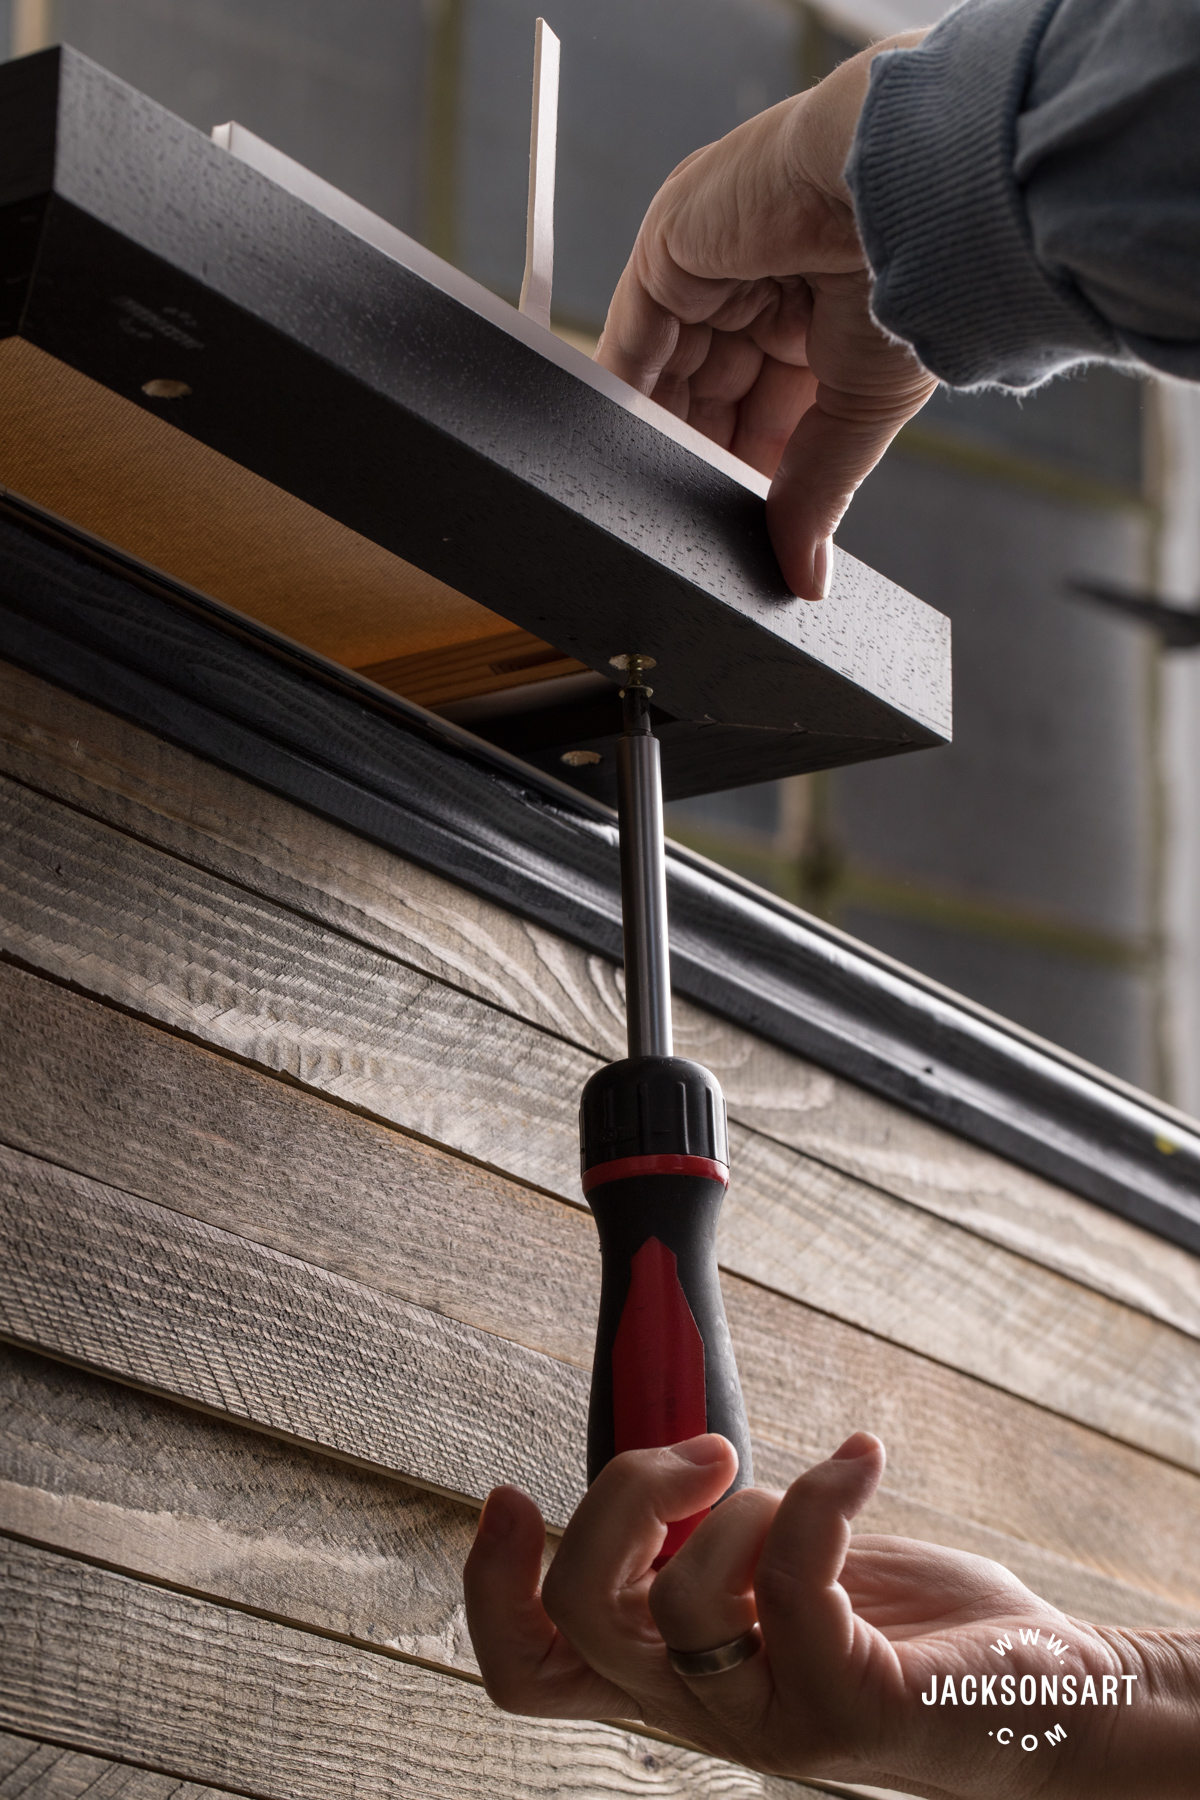
You will need to centre the canvas evenly in the frame from the front. Doing it by eye is usually fine. If you are unsure, you may wish to cut pieces of foam board or mountboard the width of your shadow gap and temporarily insert them to help you. You may wish to stand on a stool to see the frame from directly above so that you can be sure it is even all around. Check along the sides, then check the corners and adjust until all the sides and all the corners have the same gap. Since you won’t want to disturb your now perfect position, it is best to screw your first two screws in from below.
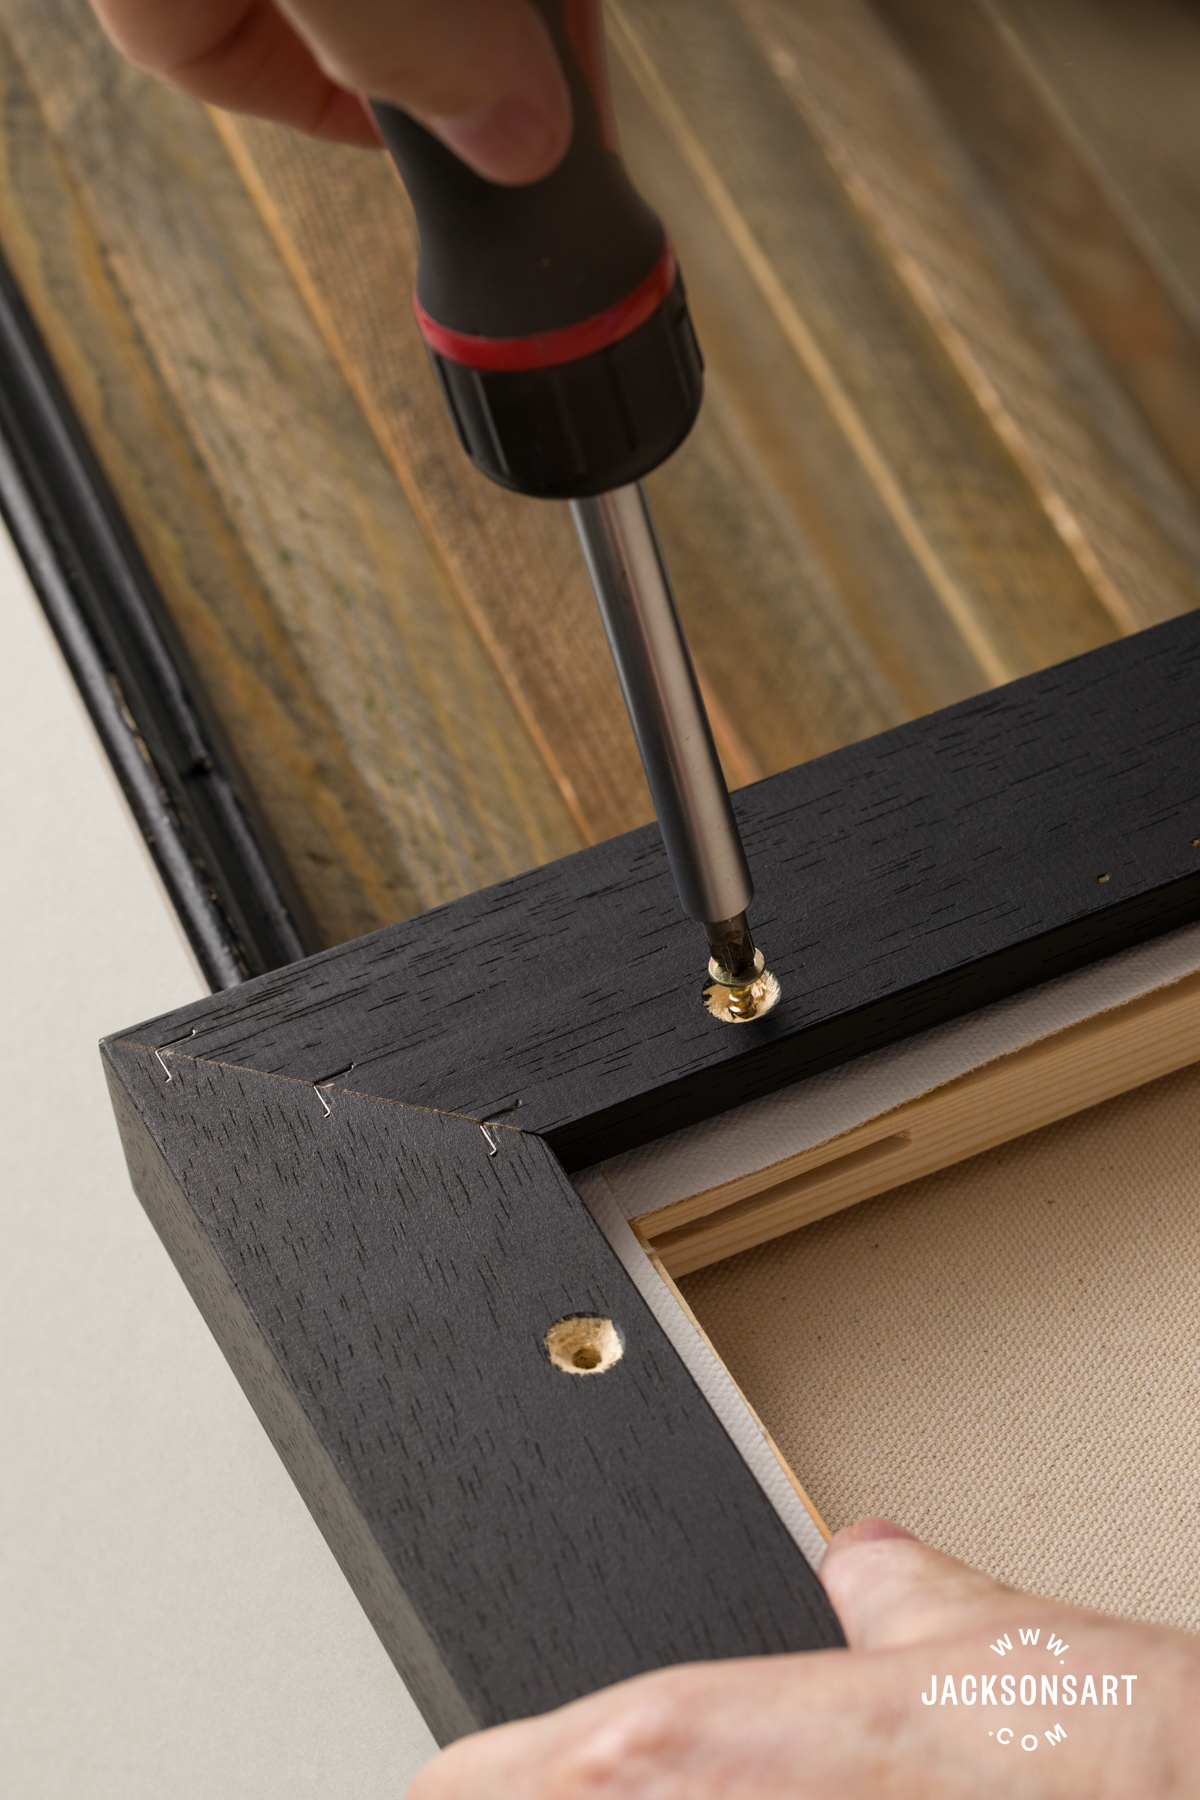
Position the edge of the frame nearest you hanging over the edge of the table. Then when you have your canvas centred, hold it pressed tightly into the frame and screw the screw into the stretcher bar from underneath. Turn the canvas around so the opposite side is towards you hanging over the edge, check it is still centered, clamp it with your hand and screw upwards through the hole. After the first two screws, double-check the positioning of the canvas. Then you can turn it over onto a smooth clean surface and do the rest of the screws from above on the table.
Note: A cradled panel can sometimes be mounted in a similar way but using thinner screws. But the cradling may be too narrow so you may need to try another method. Flexi-plates or framing tape might be a good choice. But, cradled panels are also often displayed unframed, as the wood on the side adds depth that looks somewhat like a frame and there is enough wood to screw in hanging hardware. However, the edges are unprotected if not framed and they can be fragile.
Materials:
- Canvas tray frame
- Wood screws and screwdriver. 8 screws for most sizes, 2 on each side, perhaps more for a very large canvas. A good screw size is 3 x 20 mm. This means the shaft is 3 mm thick and the length of the screw is 20 mm. Any longer and it risks going through the stretcher bar and out the other side into the artwork.
- Optional drill, if you are drilling the holes yourself.
- Optional framers tape to cover the hardware on the back for a tidy appearance and to add dust, moisture, and insect protection.
- Optional pieces of 5 mm foam board to help you centre the canvas evenly.
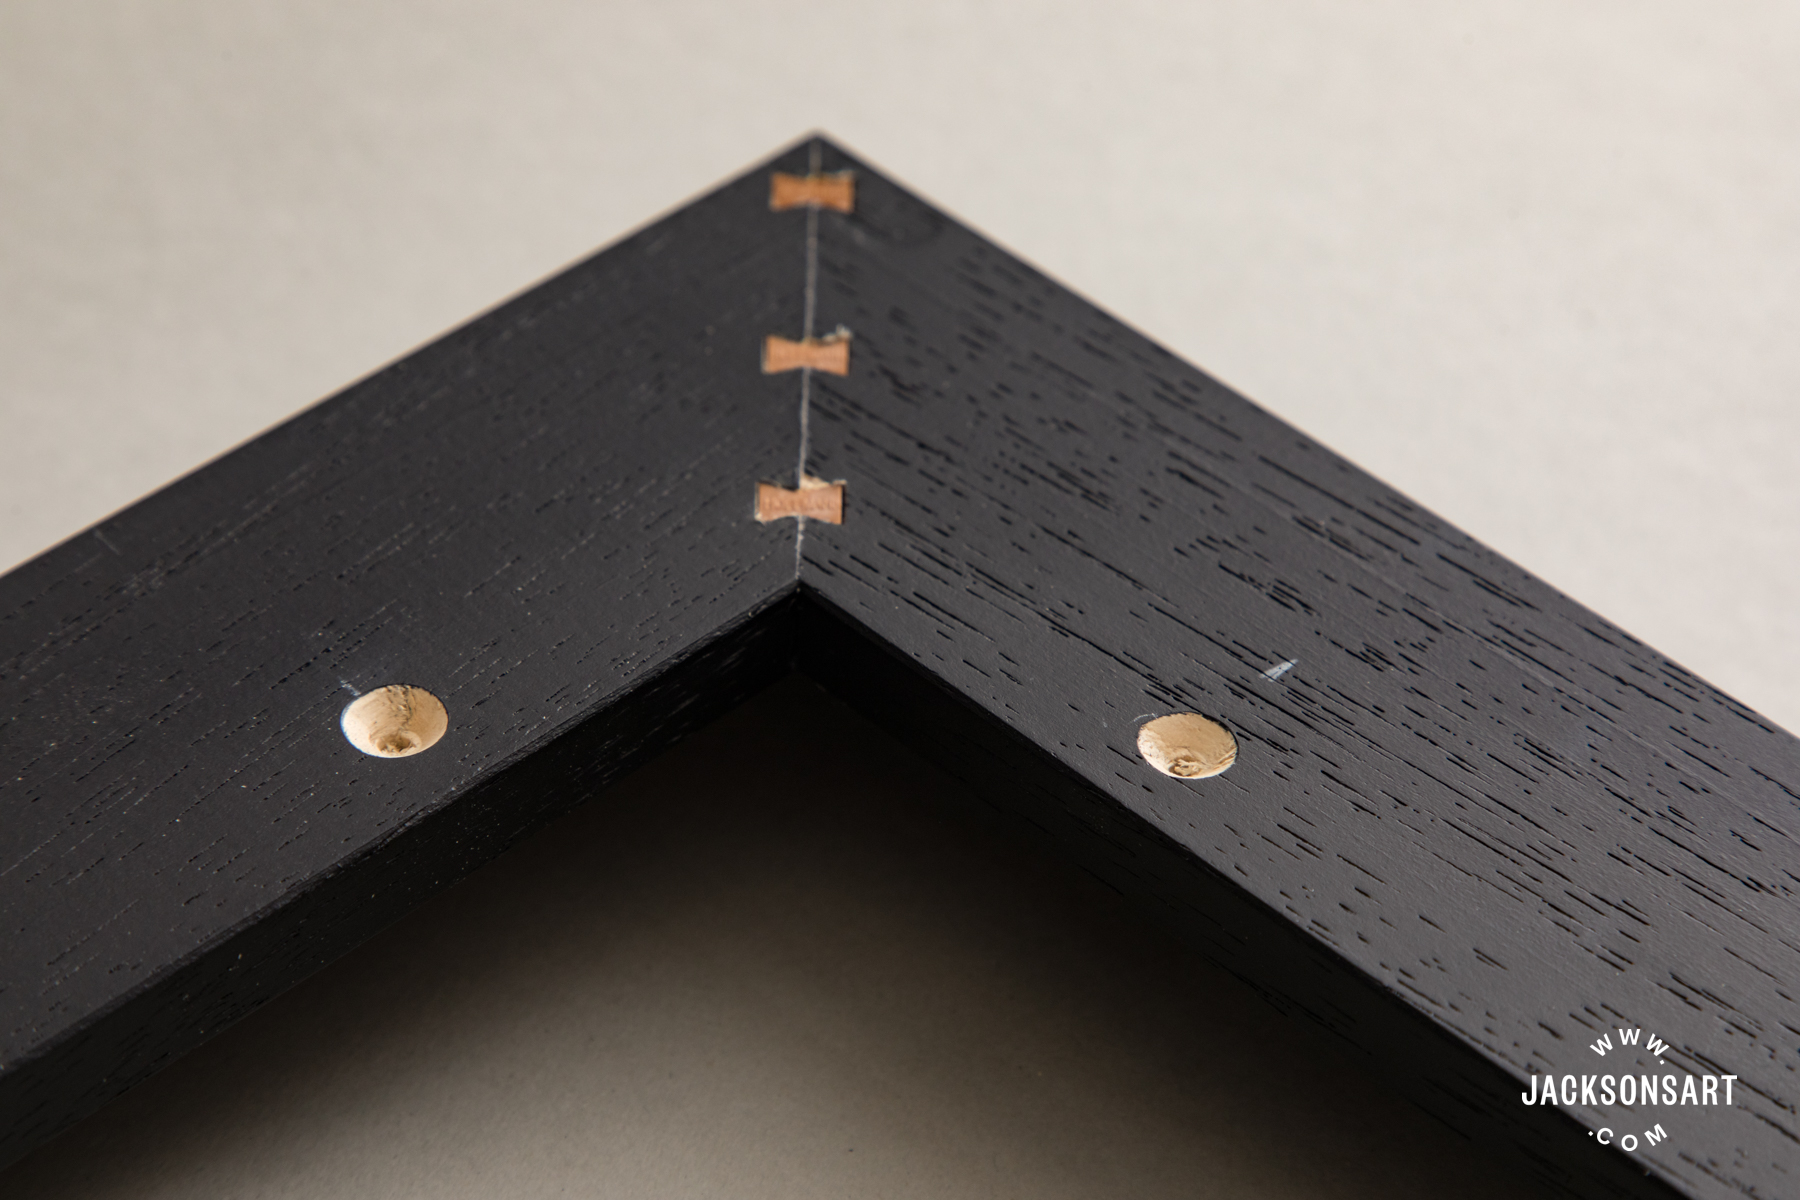
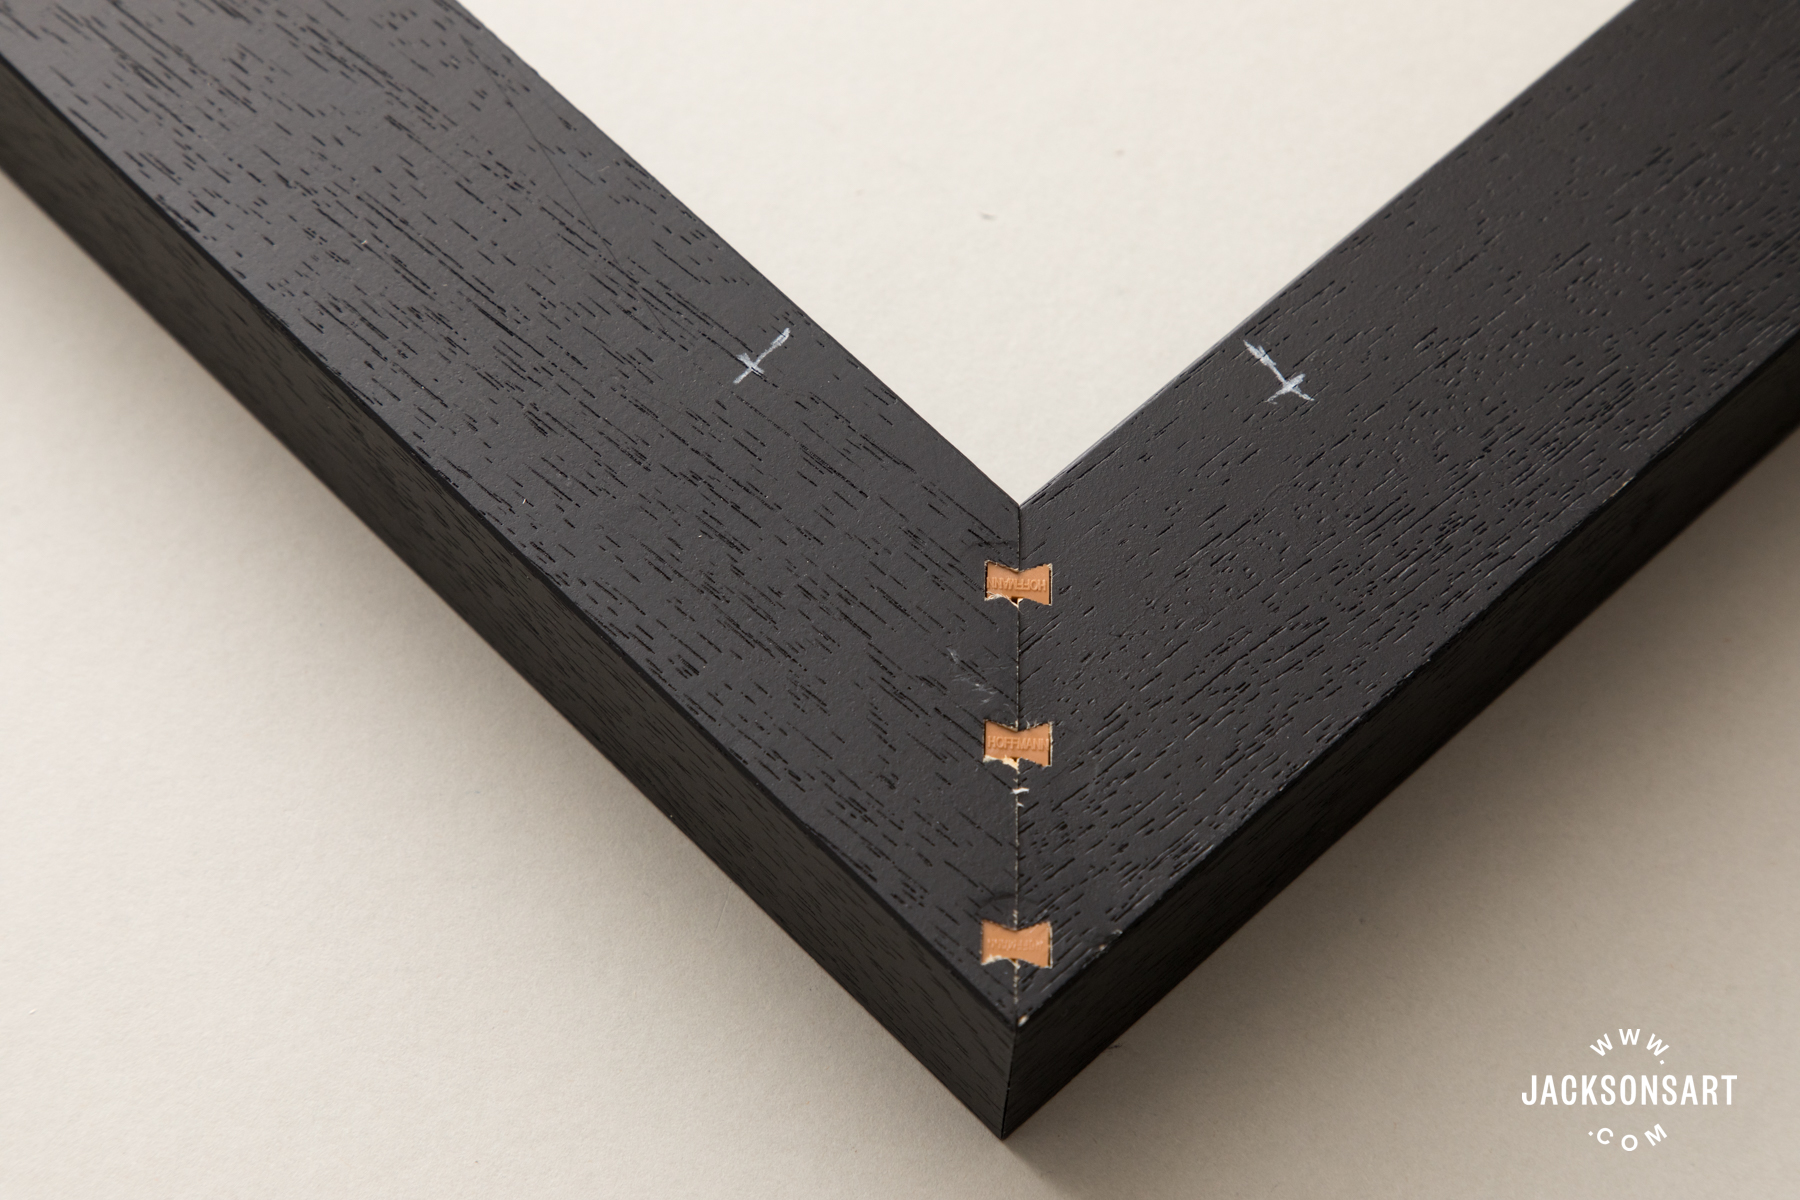
Mounting a Flat Panel in a Standard Frame with a Lip
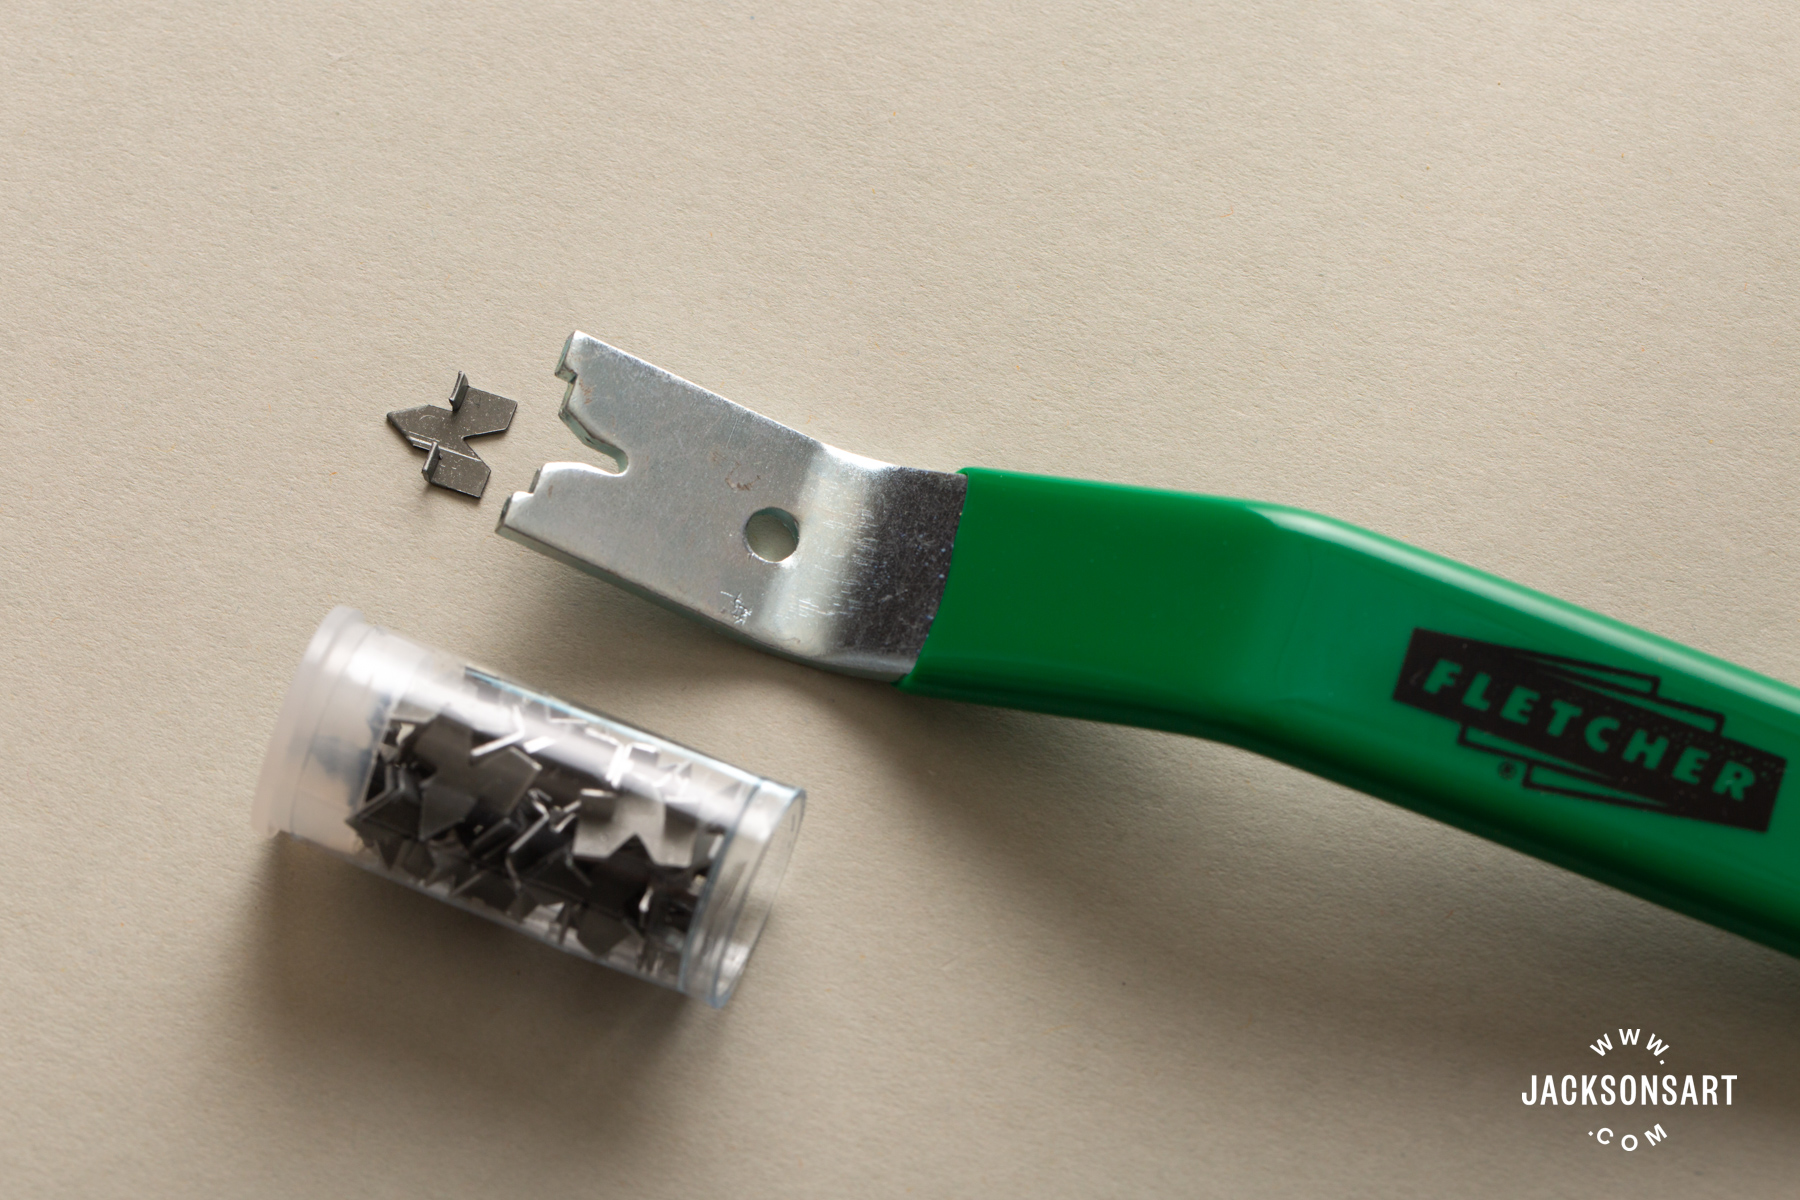
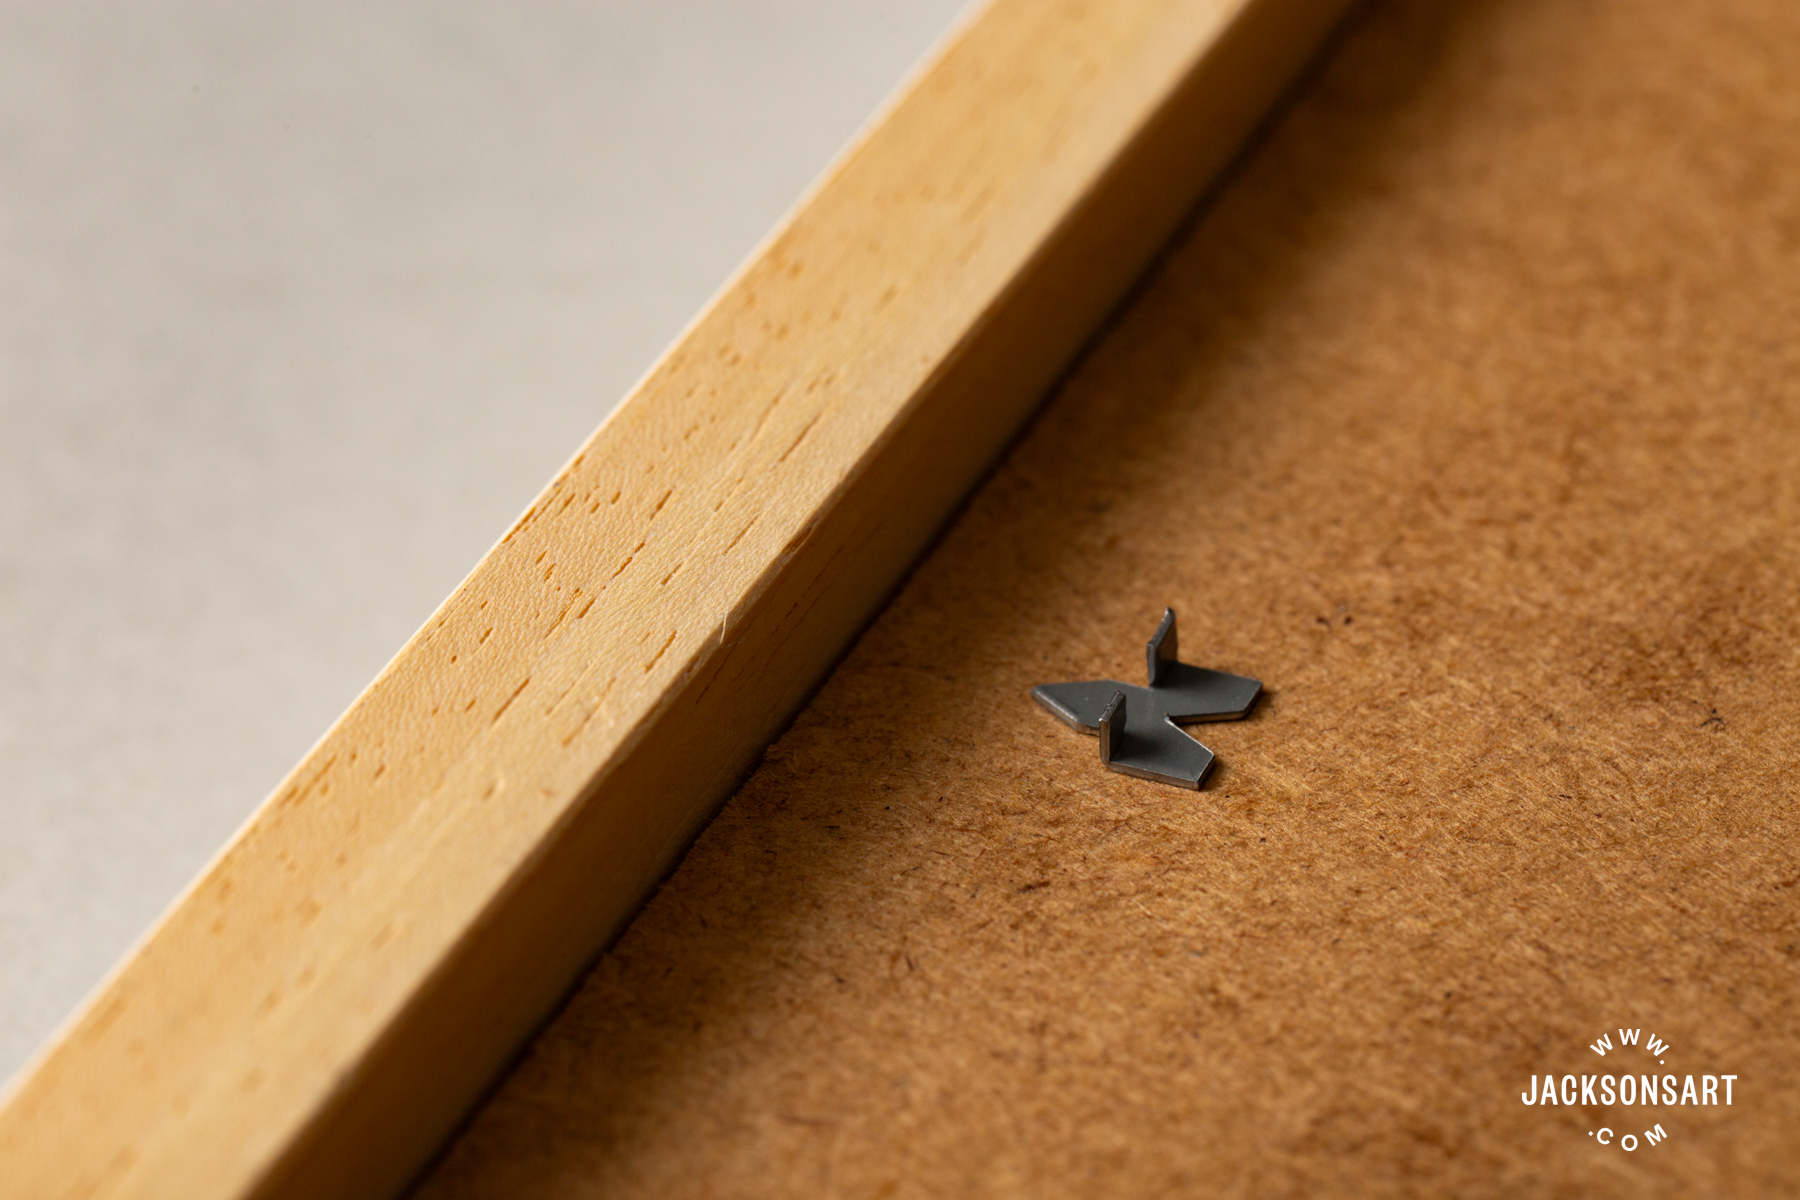
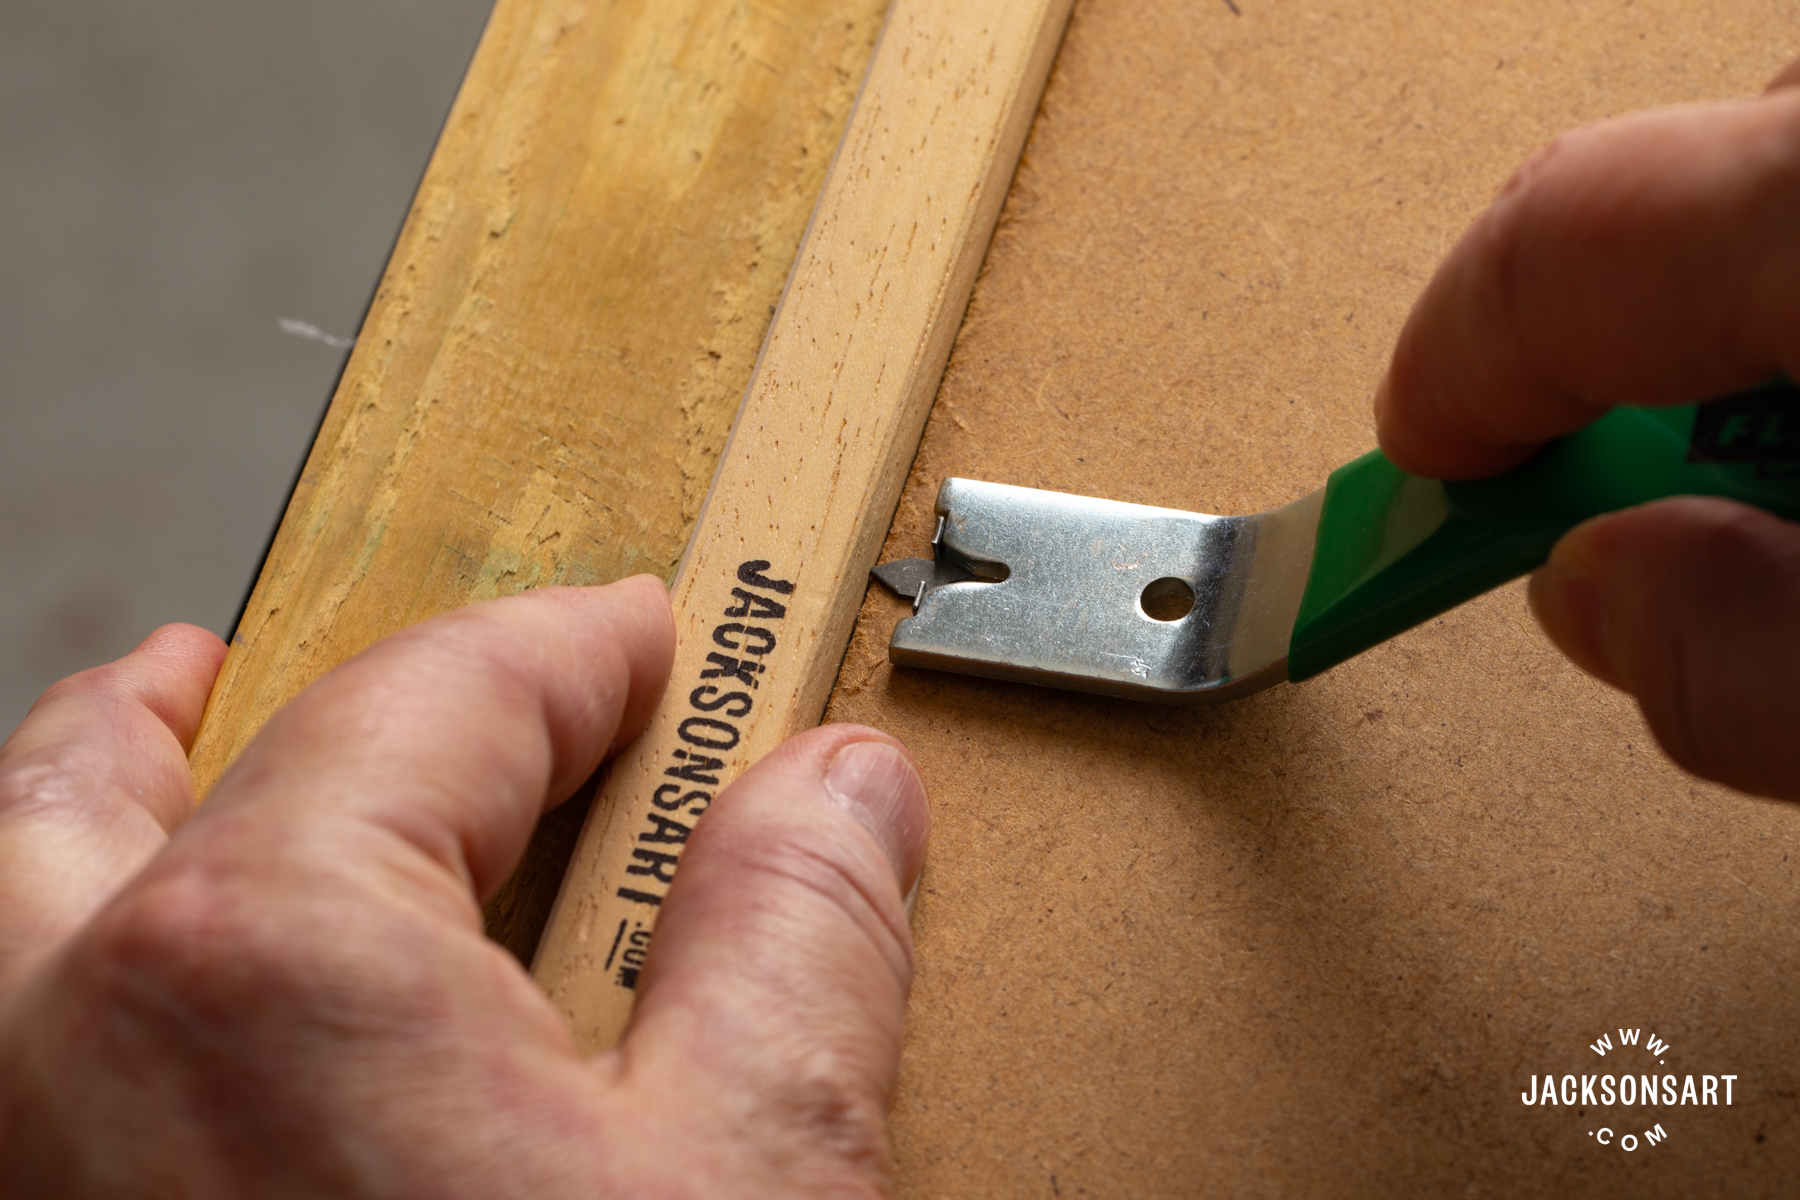
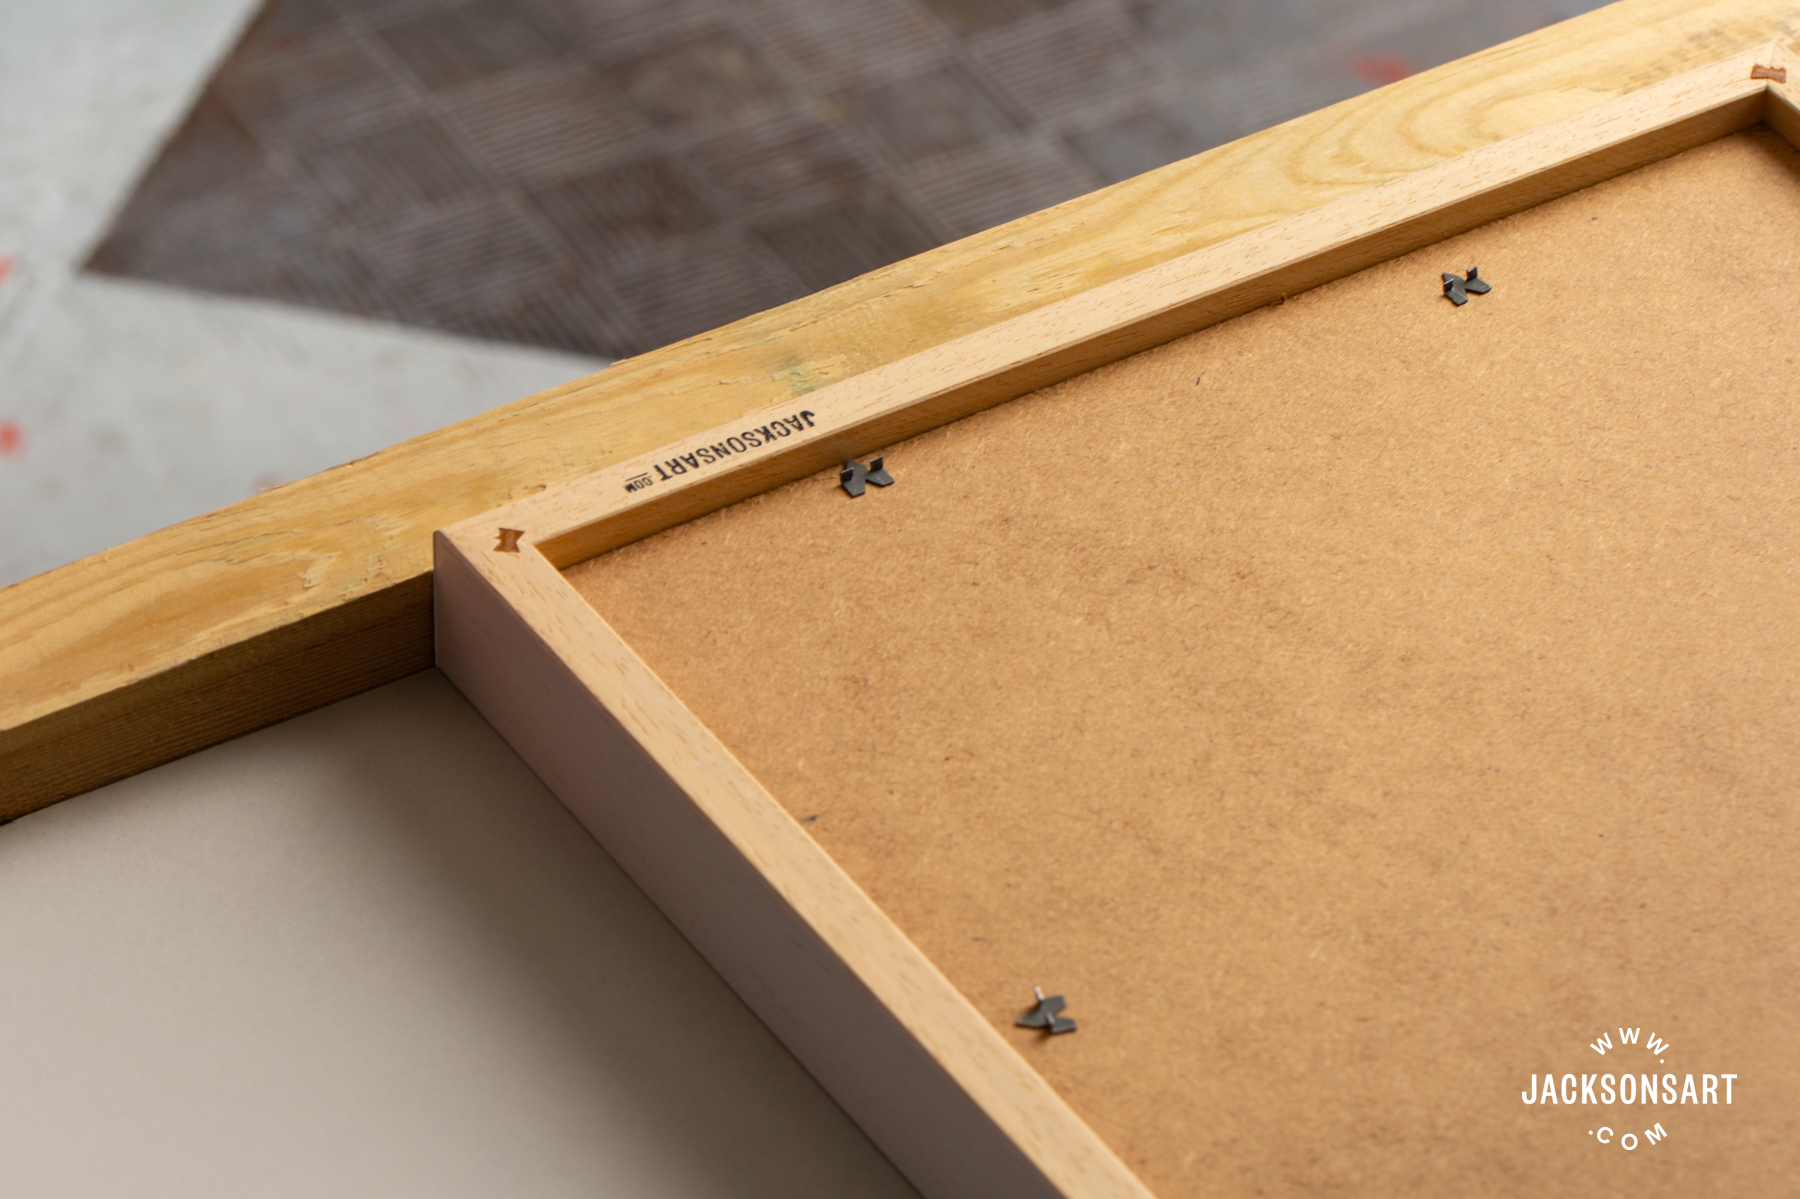
With this type of frame, you insert the panel from the back and secure it pushed up behind the lip. Many of the methods that work for stretched canvas don’t work for a panel, since it’s too thin to screw into the back. There are two good options. One is using glazier points or similar pushed-in inserts. The glazier points work best with a dedicated tool, though a flat-head screwdriver can do the job (just with a bit more effort). Other pushed-in inserts usually require the specific tool they’re designed for. The second method is to use strong framers tape applied from behind. Both methods are very simple. You can also use the framers tape on top of the glazier points to create a tidier, more finished appearance.
Materials:
- A standard frame with a lip
- Glazier points
- A glazier push tool
- Or framers tape
Mounting a Stretched Canvas in a Standard Frame with a Lip
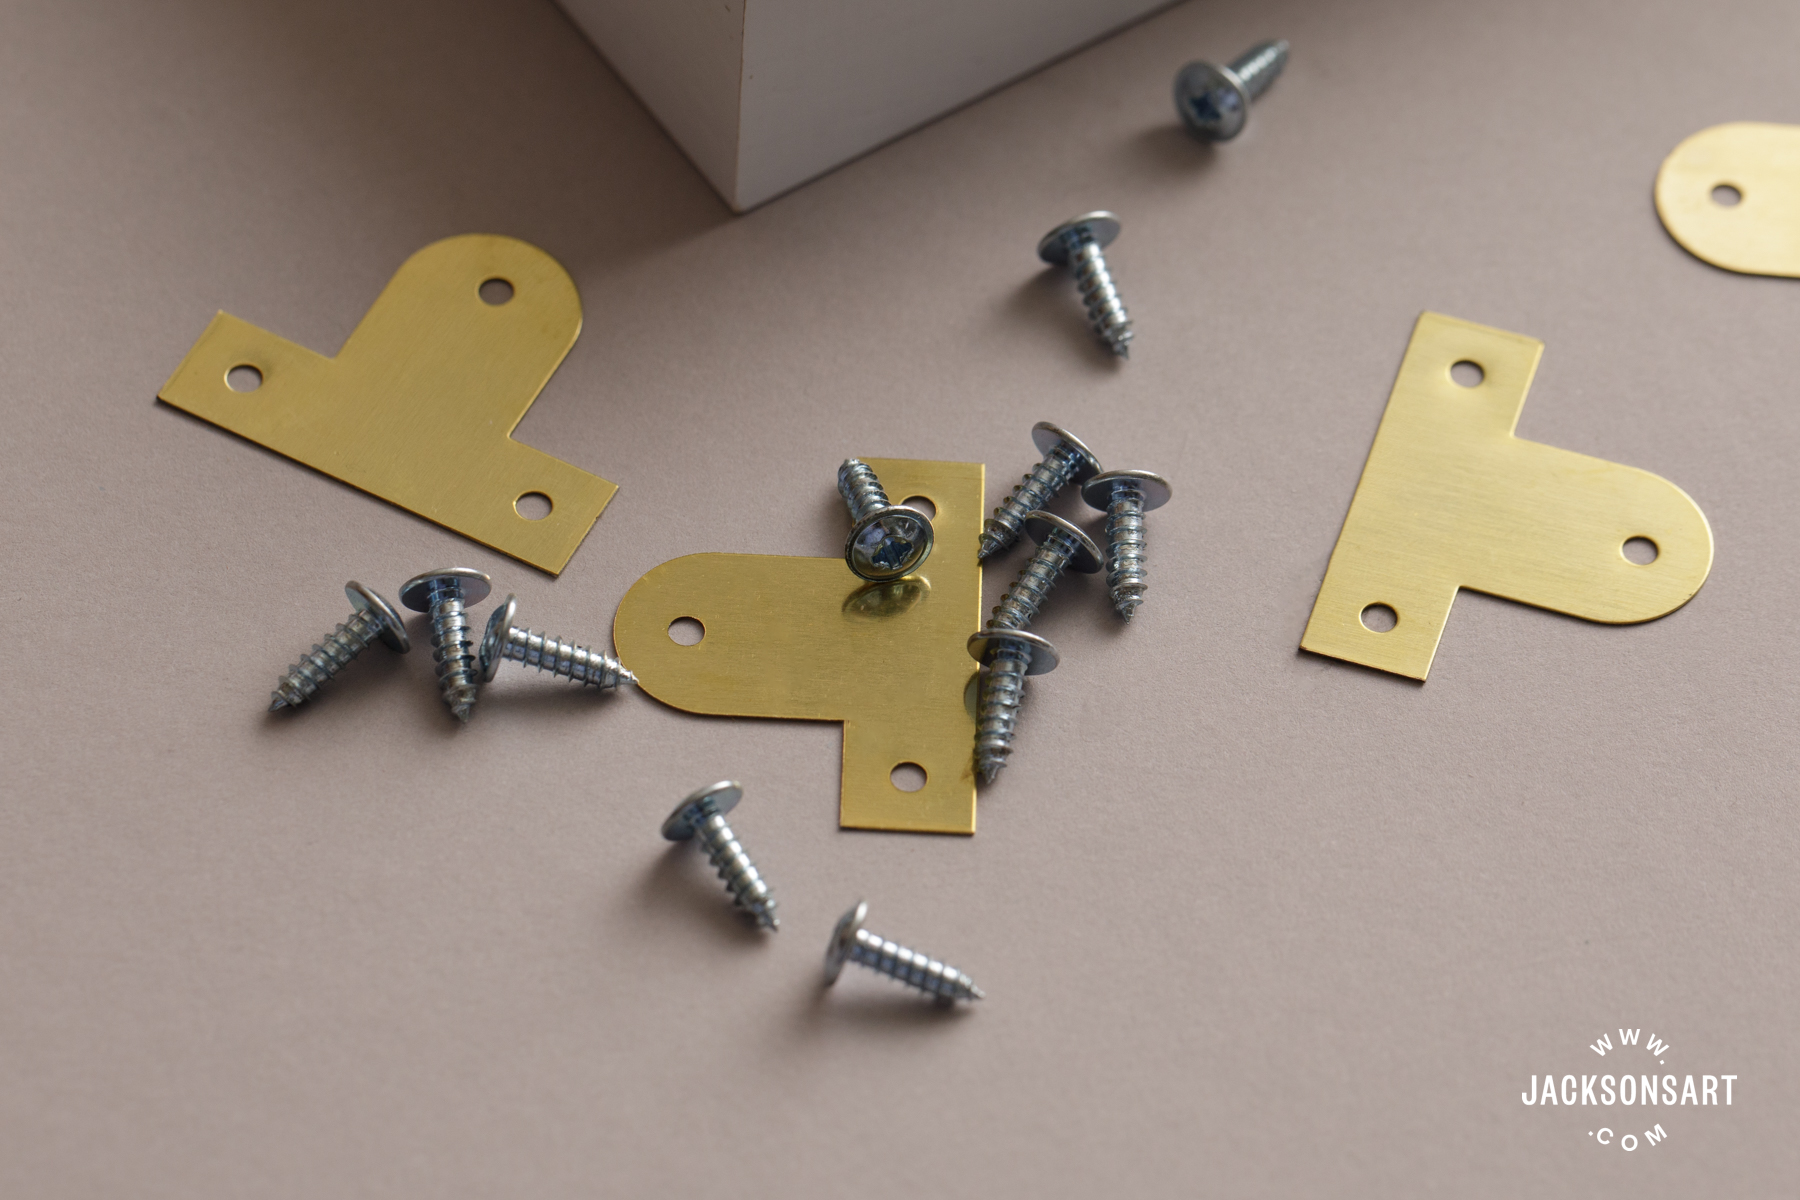
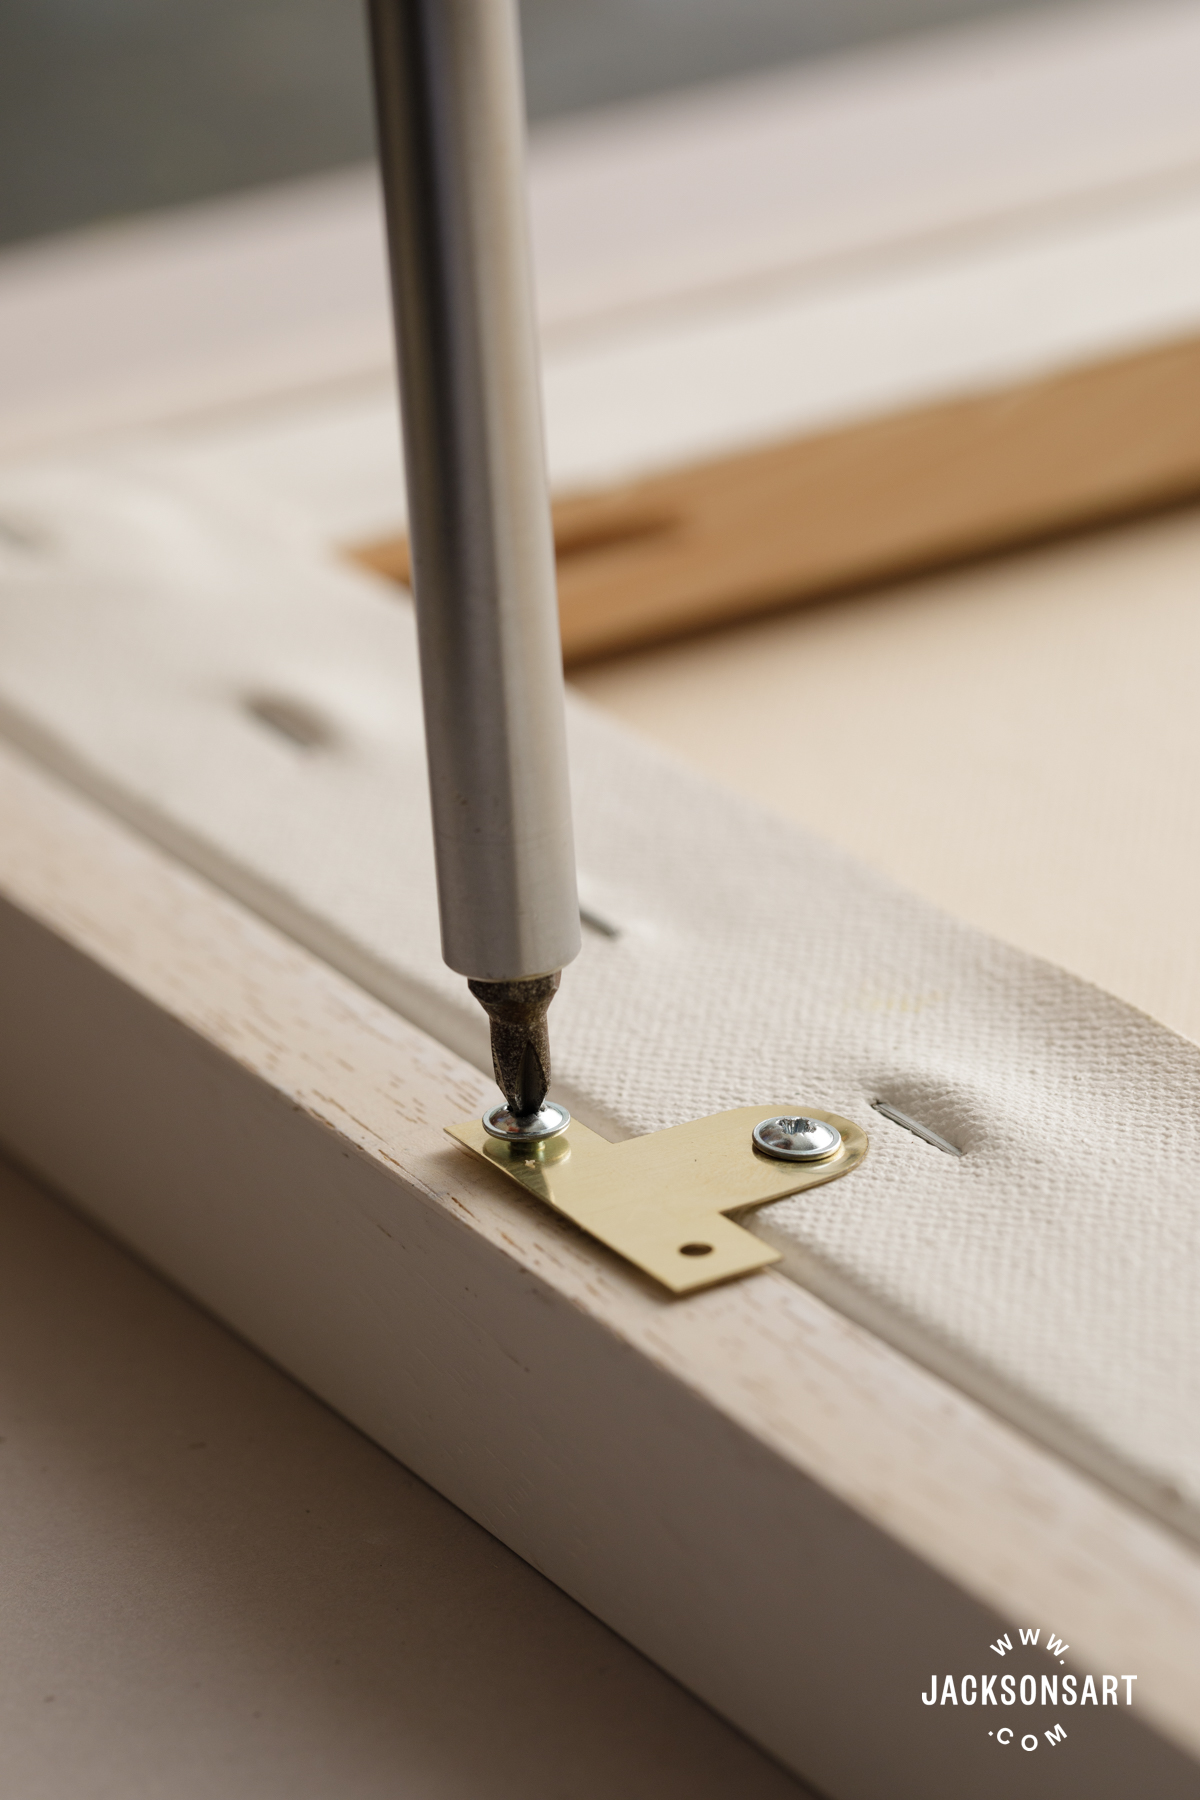
With this type of frame, you insert the stretched canvas from the back and secure it pushed up behind the lip. Flexi plates are a good choice to attach a stretched canvas to the back of a frame. These thin brass plates can be bent into a ‘Z’ shape with pliers or along the edge of your table to accommodate up to a 10 mm difference between the depth of your frame and your stretcher bars. If the thickness of your frame is nearly the same you don’t need to bend them at all.
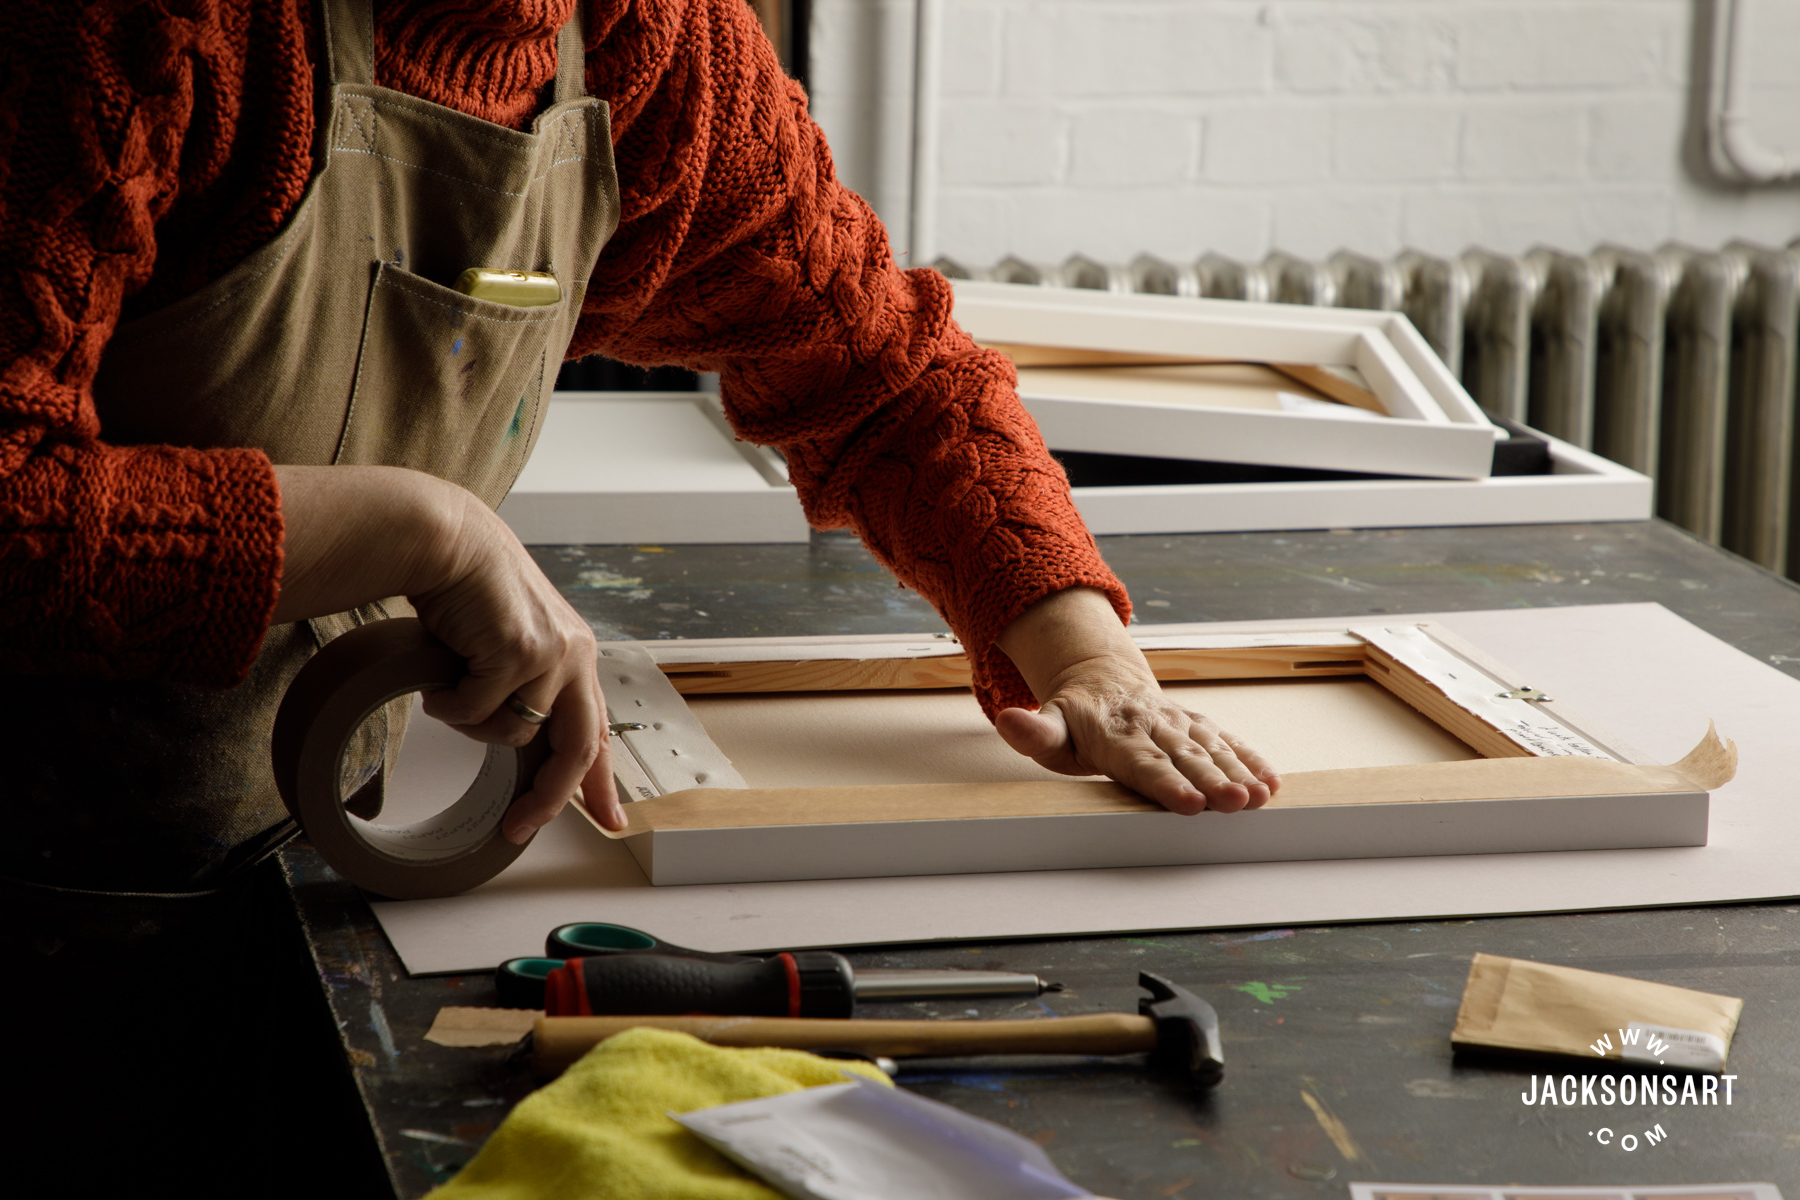
If you have used flexi plates, you may find that the screw heads protrude a bit on the back. One or two layers of framers tape on all four sections will make it look tidy and keep the screws from scratching the wall.
Materials:
- A standard frame with a lip
- Flexi plates and screws: 4 for a canvas up to 60 cm, and 6 for a larger canvas, more for an extra-large canvas.
- Framers tape to cover the back edges of the frame to prevent the screws from scratching the wall.


After the painting is securely mounted in the frame, the next step is to attach the hanging hardware. You may wish to take a look at our article How to Choose Hanging Hardware for a Picture Frame.
Further Reading
How to Assemble Jackson’s Bespoke Frames
Artist Review of Jackson’s Museum Stretched Canvas
Choosing the Right Frame for Your Artwork
Shop Framing on jacksonsart.com


4 thoughts on “How to Mount Artwork in a Frame”
Thank you, this is wonderfully clear and helpful. Is it easy to remove glazier points? I was using an extra layer of mdf cut to size with tape, which is more crude but makes it easy to remove the painting for reframing.
Hi Julian
Thank you, I’m glad you found it helpful!
Yes, the glazier points can be prized out easily with a flat head screwdriver.
This is a fantastic and incredibly helpful guide! The step-by-step instructions and clear visuals make mounting artwork in a frame seem much less daunting. Great job!
Thank you, I’m glad you found it helpful!
Comments are closed.