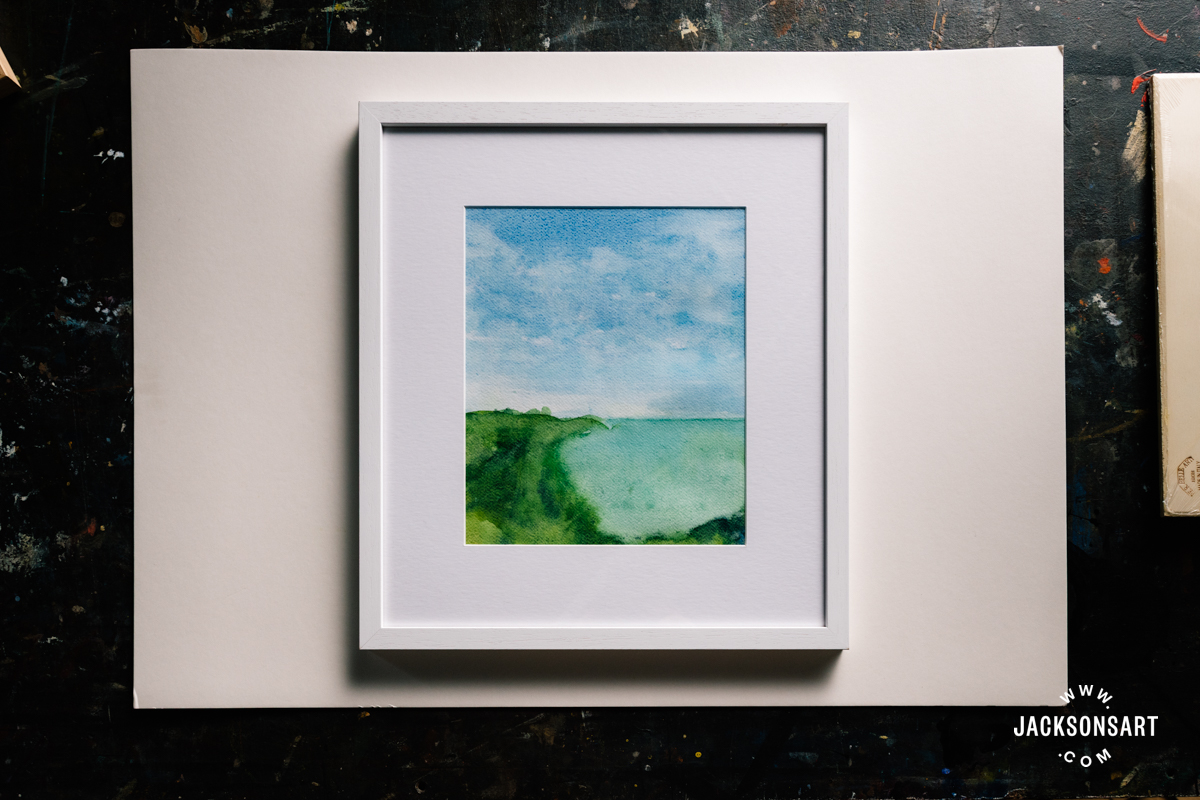
If you want your entire artwork on paper to be visible in the frame, rather than covering the edges with a mount, you can use a technique called float mounting. With this framing method, your artwork on paper is secured from behind, creating the illusion that your work is floating within the frame. This article explains how to float frame a watercolour painting, drawing, or print using either a ready-made frame or a frame from our Bespoke Frame Builder.
Our How to Frame Artwork series covers the fundamentals of framing your artwork through clear, visual guides.
What is a Float Frame?
Most artworks made on paper – including watercolours, drawings, pastels, and original prints – are framed using a window mount that covers the edges of the artwork and is visible in the frame. But if you wish to show the whole piece of paper, including its edges, you can use a deeper frame fitted with spacers. These are strips of wood that are hidden beneath the frame moulding and raise the glass away from the artwork. With float mounting, the artwork is secured from behind and appears to float within the frame.
At Jackson’s, we offer ready-made deep frames with spacers for float mounting in seven standard sizes, from 6 x 8 inches to 12 x 16 inches. Available in black or white, these frames come complete with acrylic glazing, backing board, mountboard, and hanging hardware.
We also have six styles of moulding suitable for float framing to choose from in our Bespoke Frame Builder. These can be custom-built to your dimensions in sizes from 12.7 cm to 80 cm. For moulding styles suitable for this method, look for the word ‘spacers’ in the product description. For these bespoke options you will need to order the glazing, boards, and hardware separately at the bottom of the page.
If you are using a ready-made float frame, it comes completely assembled. However, our bespoke frames are self-assembly; please see How to Assemble Jackson’s Bespoke Frames for the initial steps of frame assembly.
Once your frame is assembled, here are the next steps for float mounting, also known as box framing.
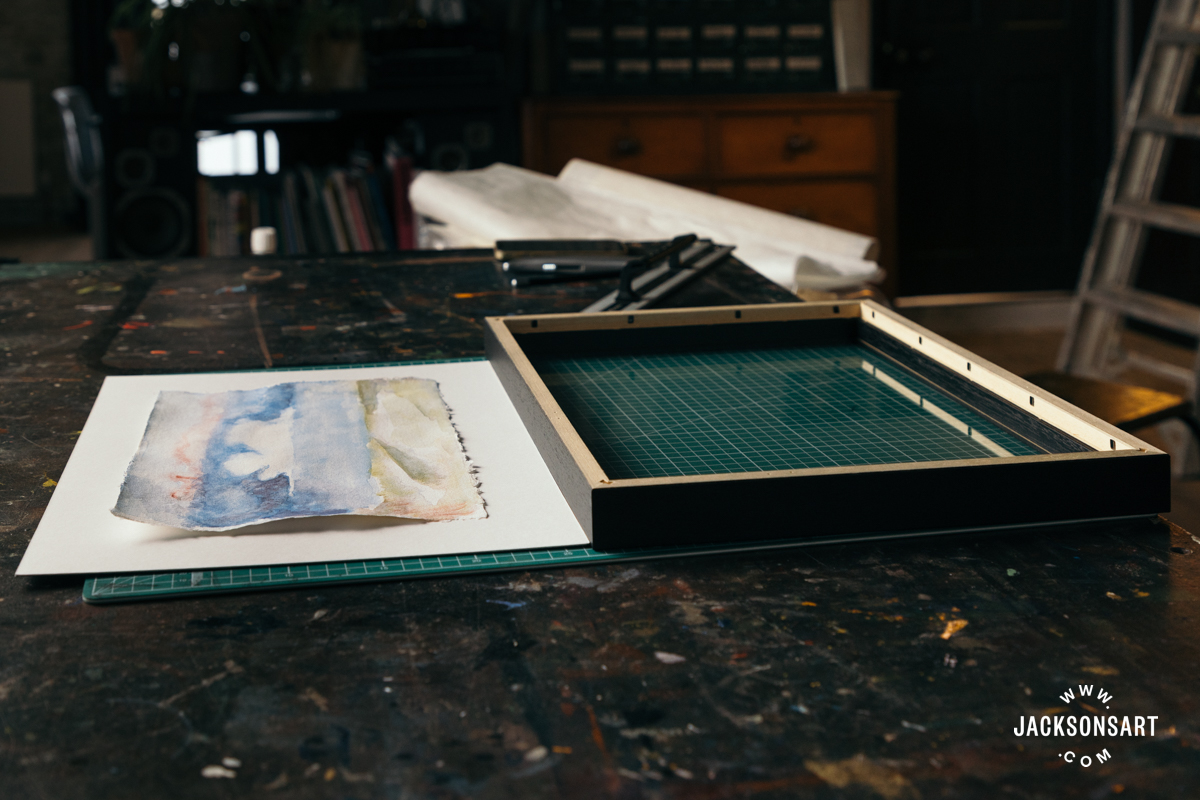
How to Assemble the Spacers in Your Float Frame
With the bespoke float frames you will need to insert the spacers after you have built the frame. The spacers’ job is to hold the glazing to the front of the frame and the mountboard to the back. First, you will need to insert the glazing into the frame. Peel the backing off the adhesive tape on the spacers and insert them next. Then, insert the mountboard with the artwork attached. Finally, you add the backing board and close up the frame as you would any other frame.
1. The acrylic glazing comes with a protective film on the front and the back; peel that off and dust off the glazing.
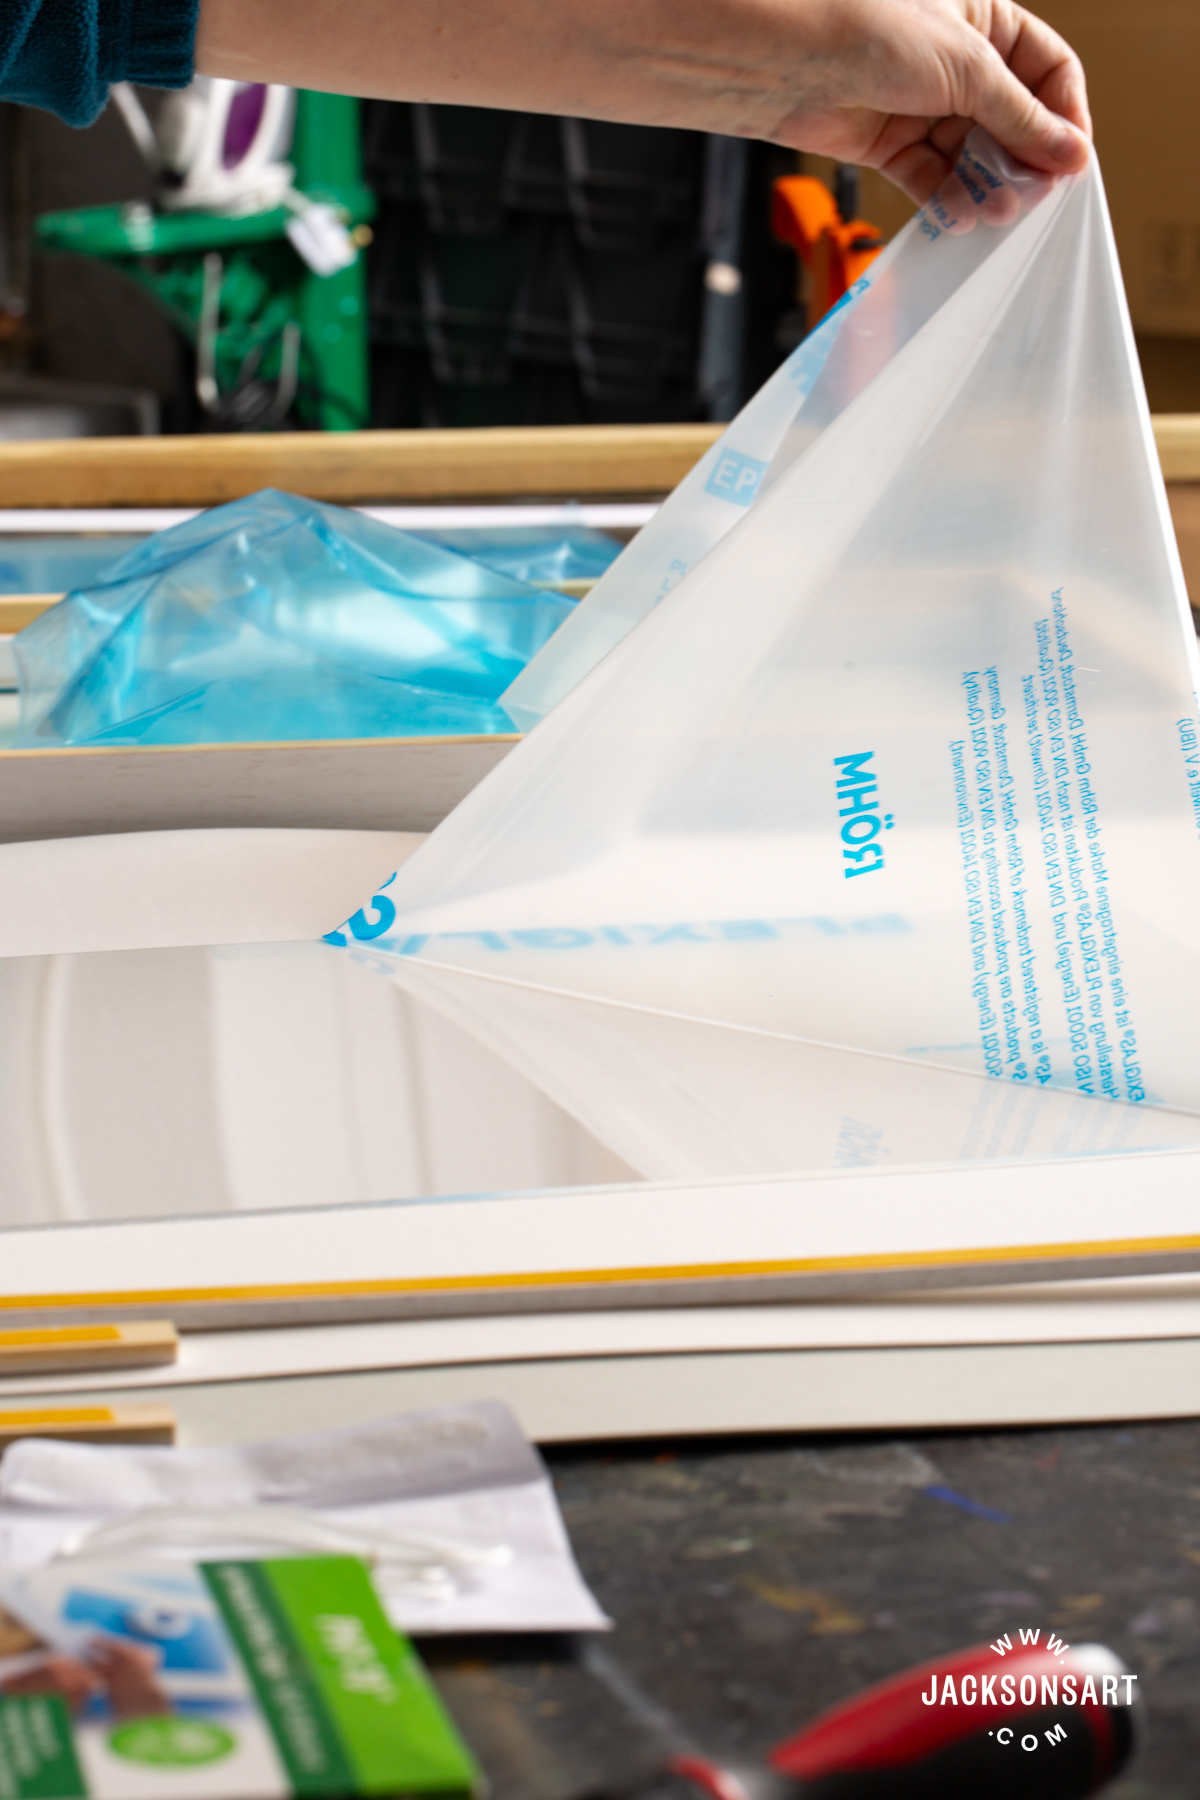
2. From the back of the frame, carefully lower the clean glazing into the frame.
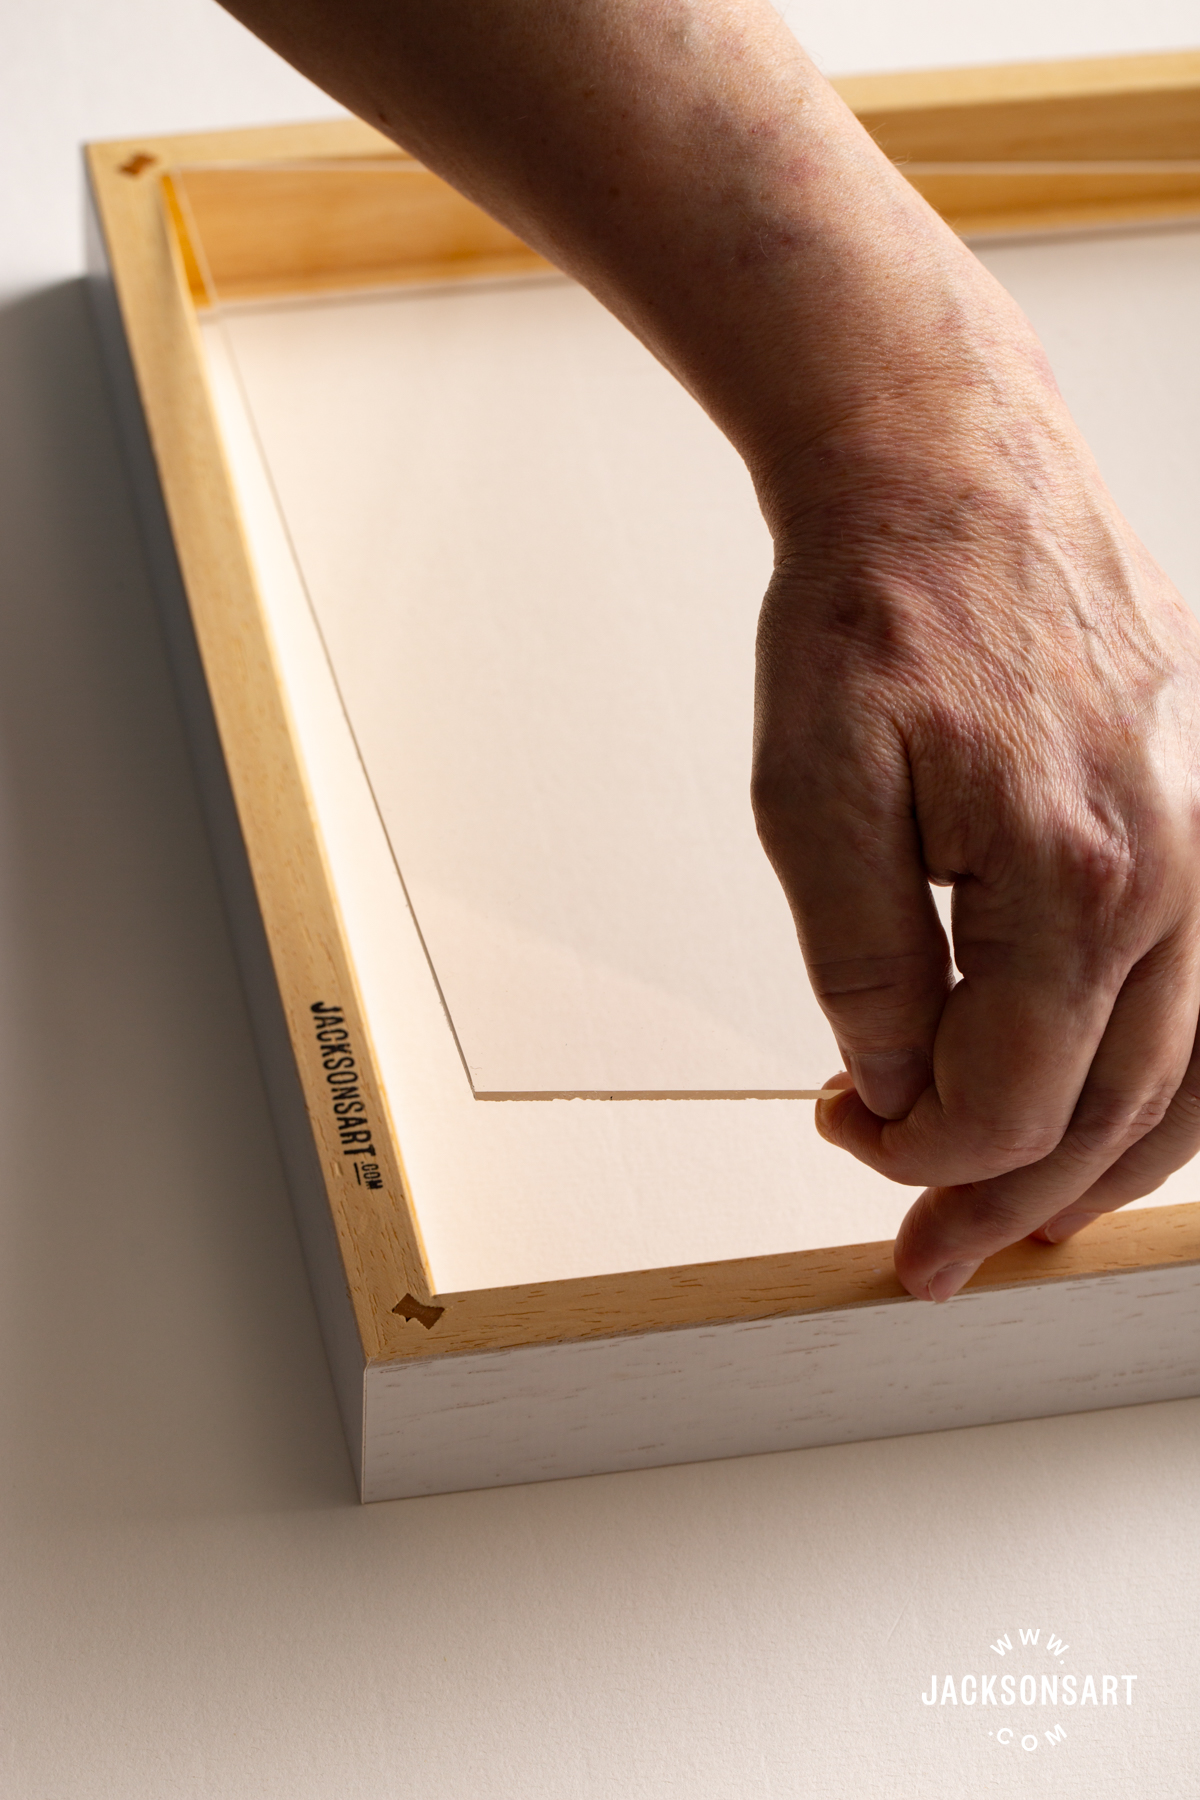
3. Arrange the four spacers along the inside edges of the frame so there are no visible gaps.
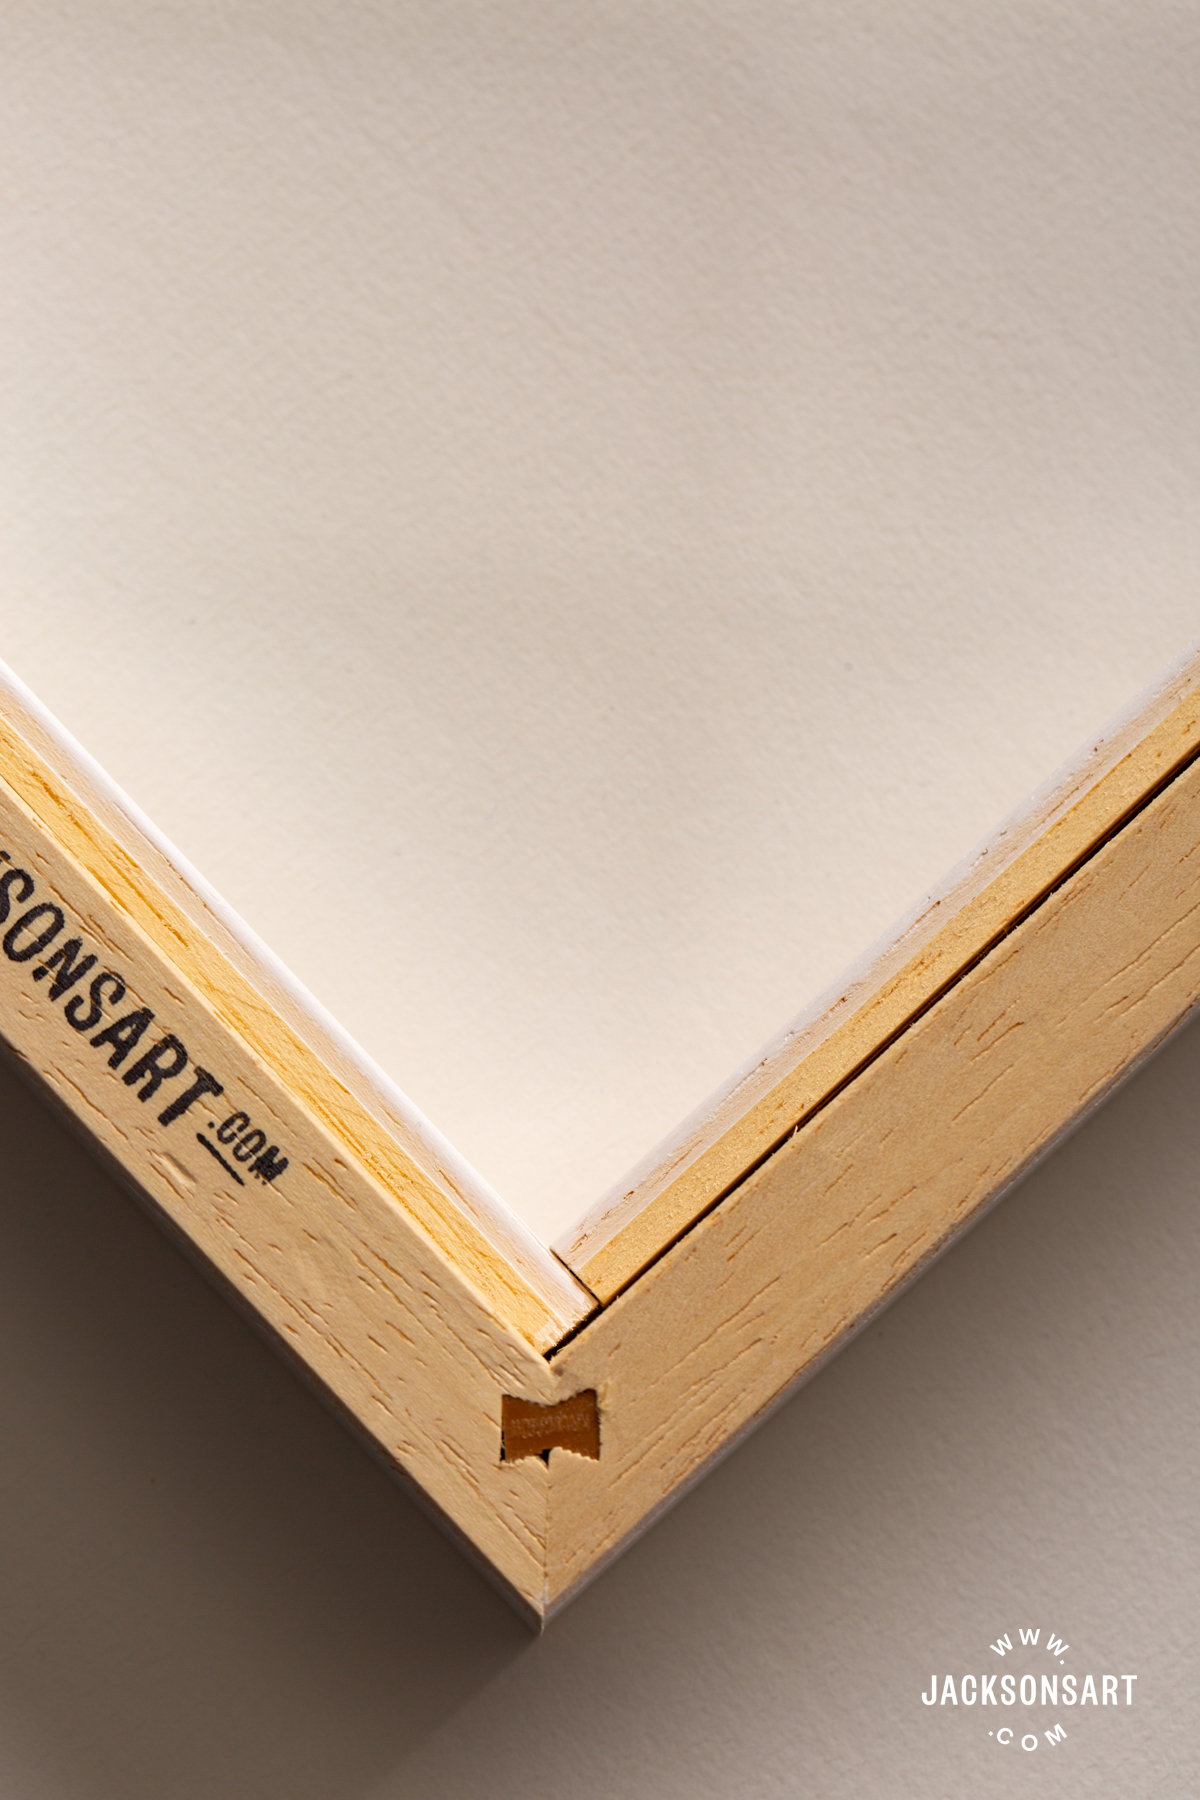
This shows a gap between the spacers. Arrange the four strips so that any gaps are hidden in the corners and cannot be seen from the front of the frame.
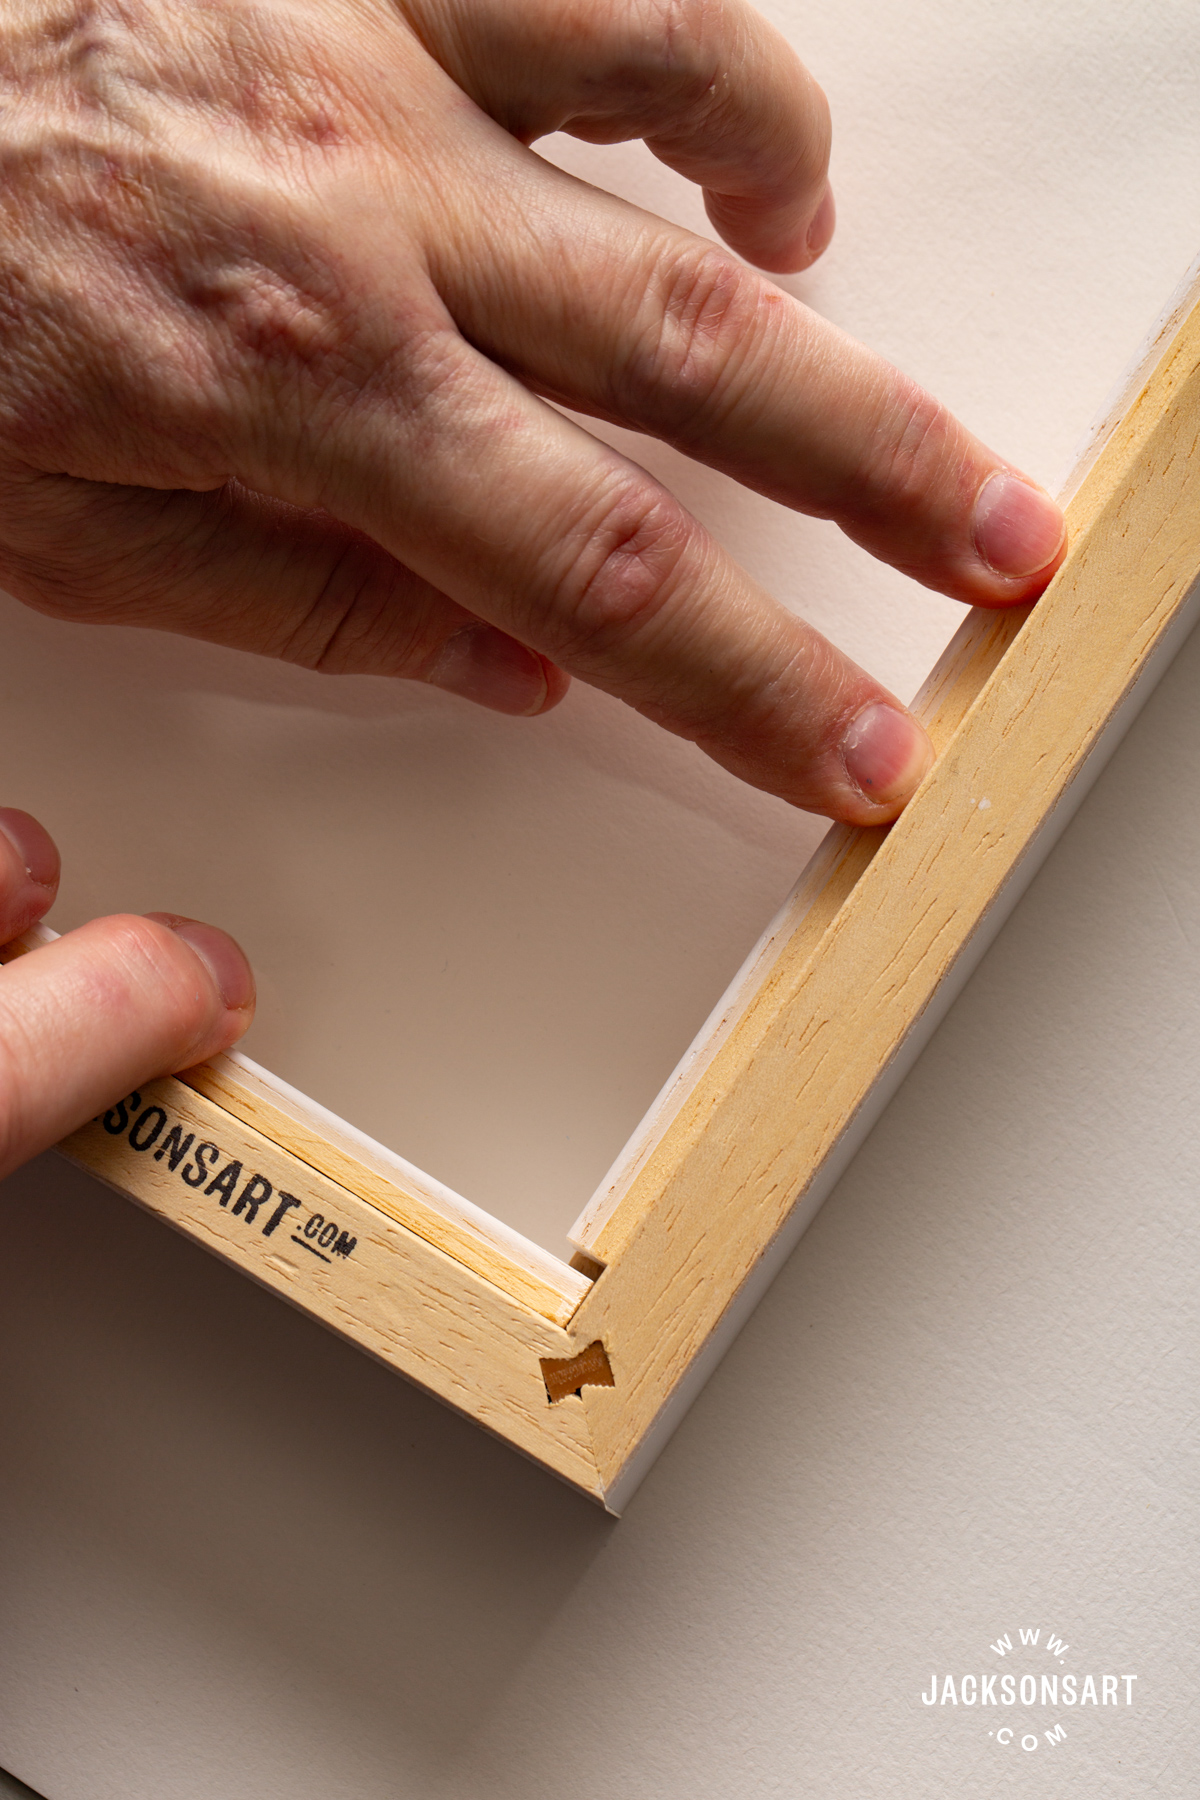
4. Peel the backing off of the tape.
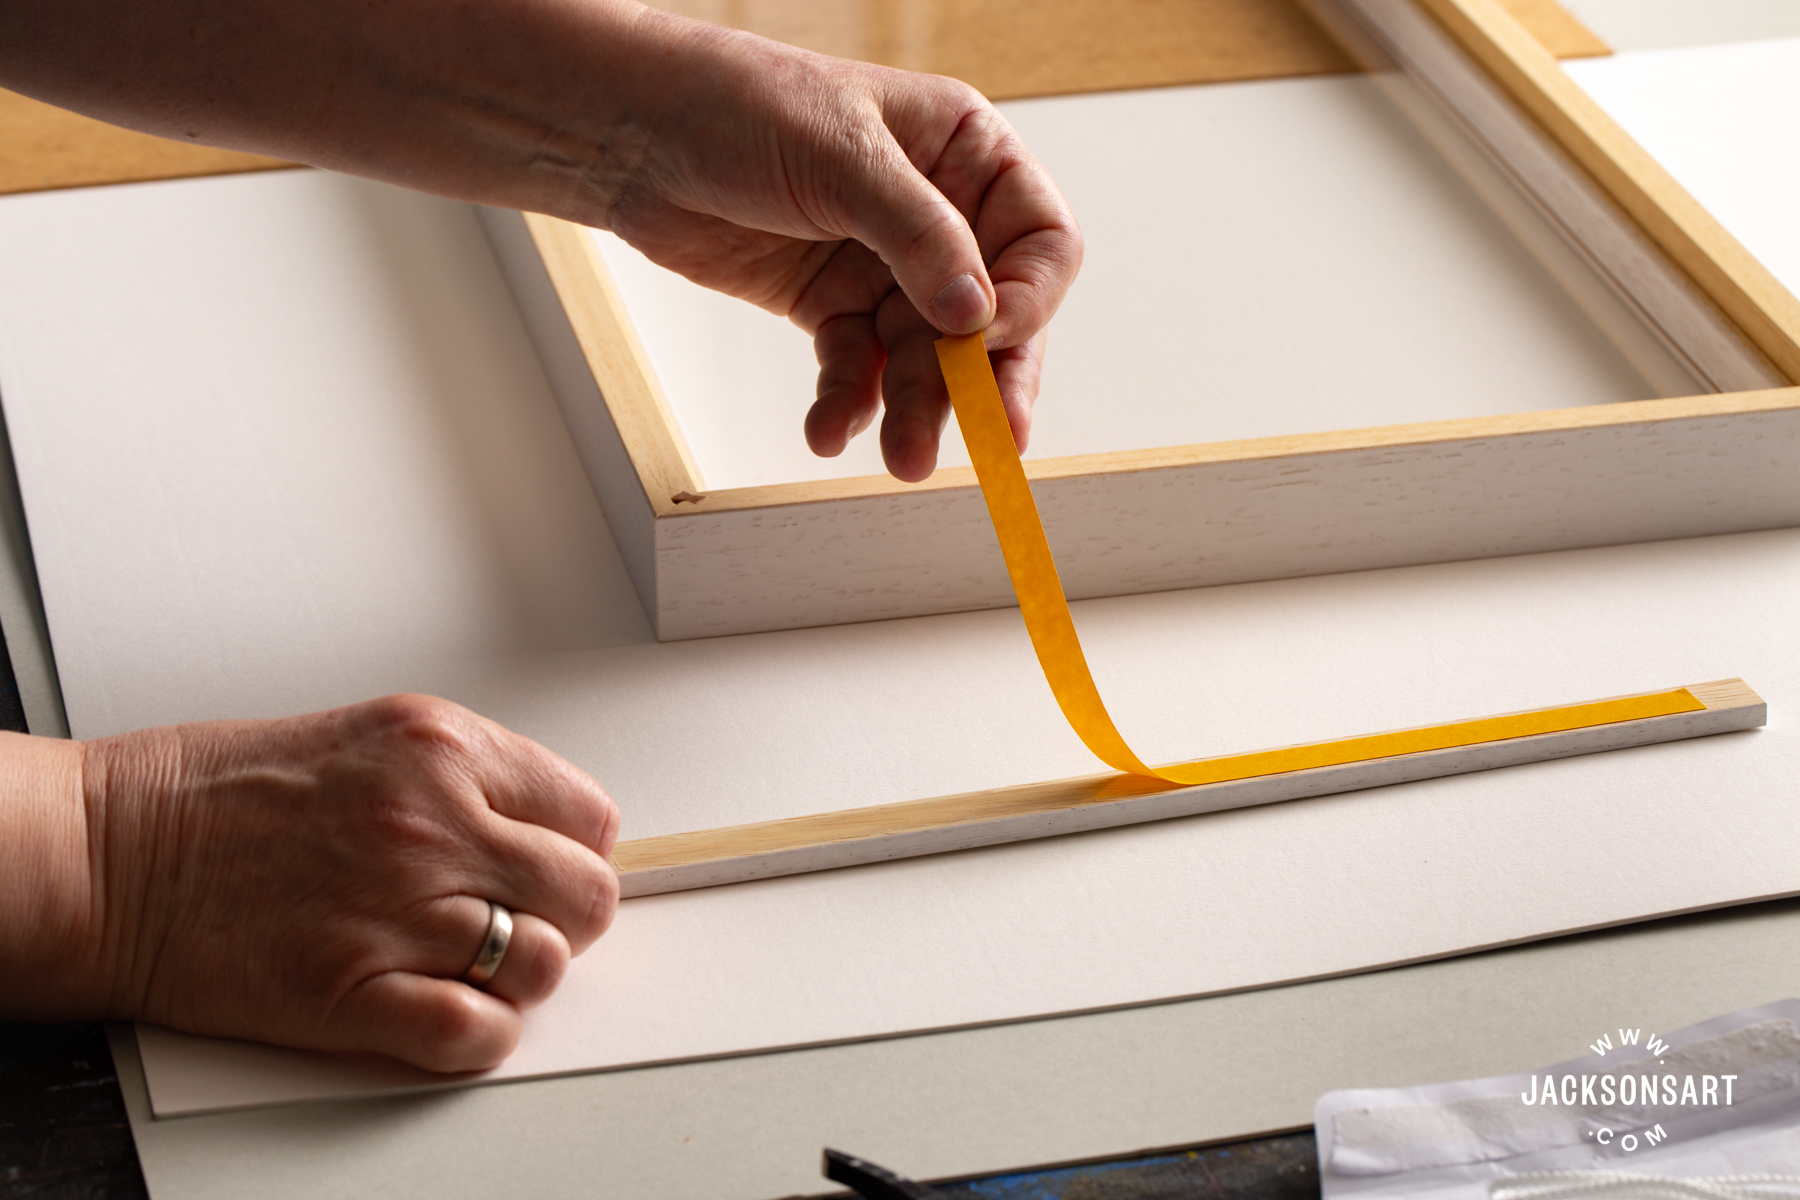
5. Stick the spacers to the inside of the frame, pressing the glazing in place at the front. The mountboard with the artwork will now sit on the ledge behind the spacers, leaving a significant gap between the artwork and the glazing in front.
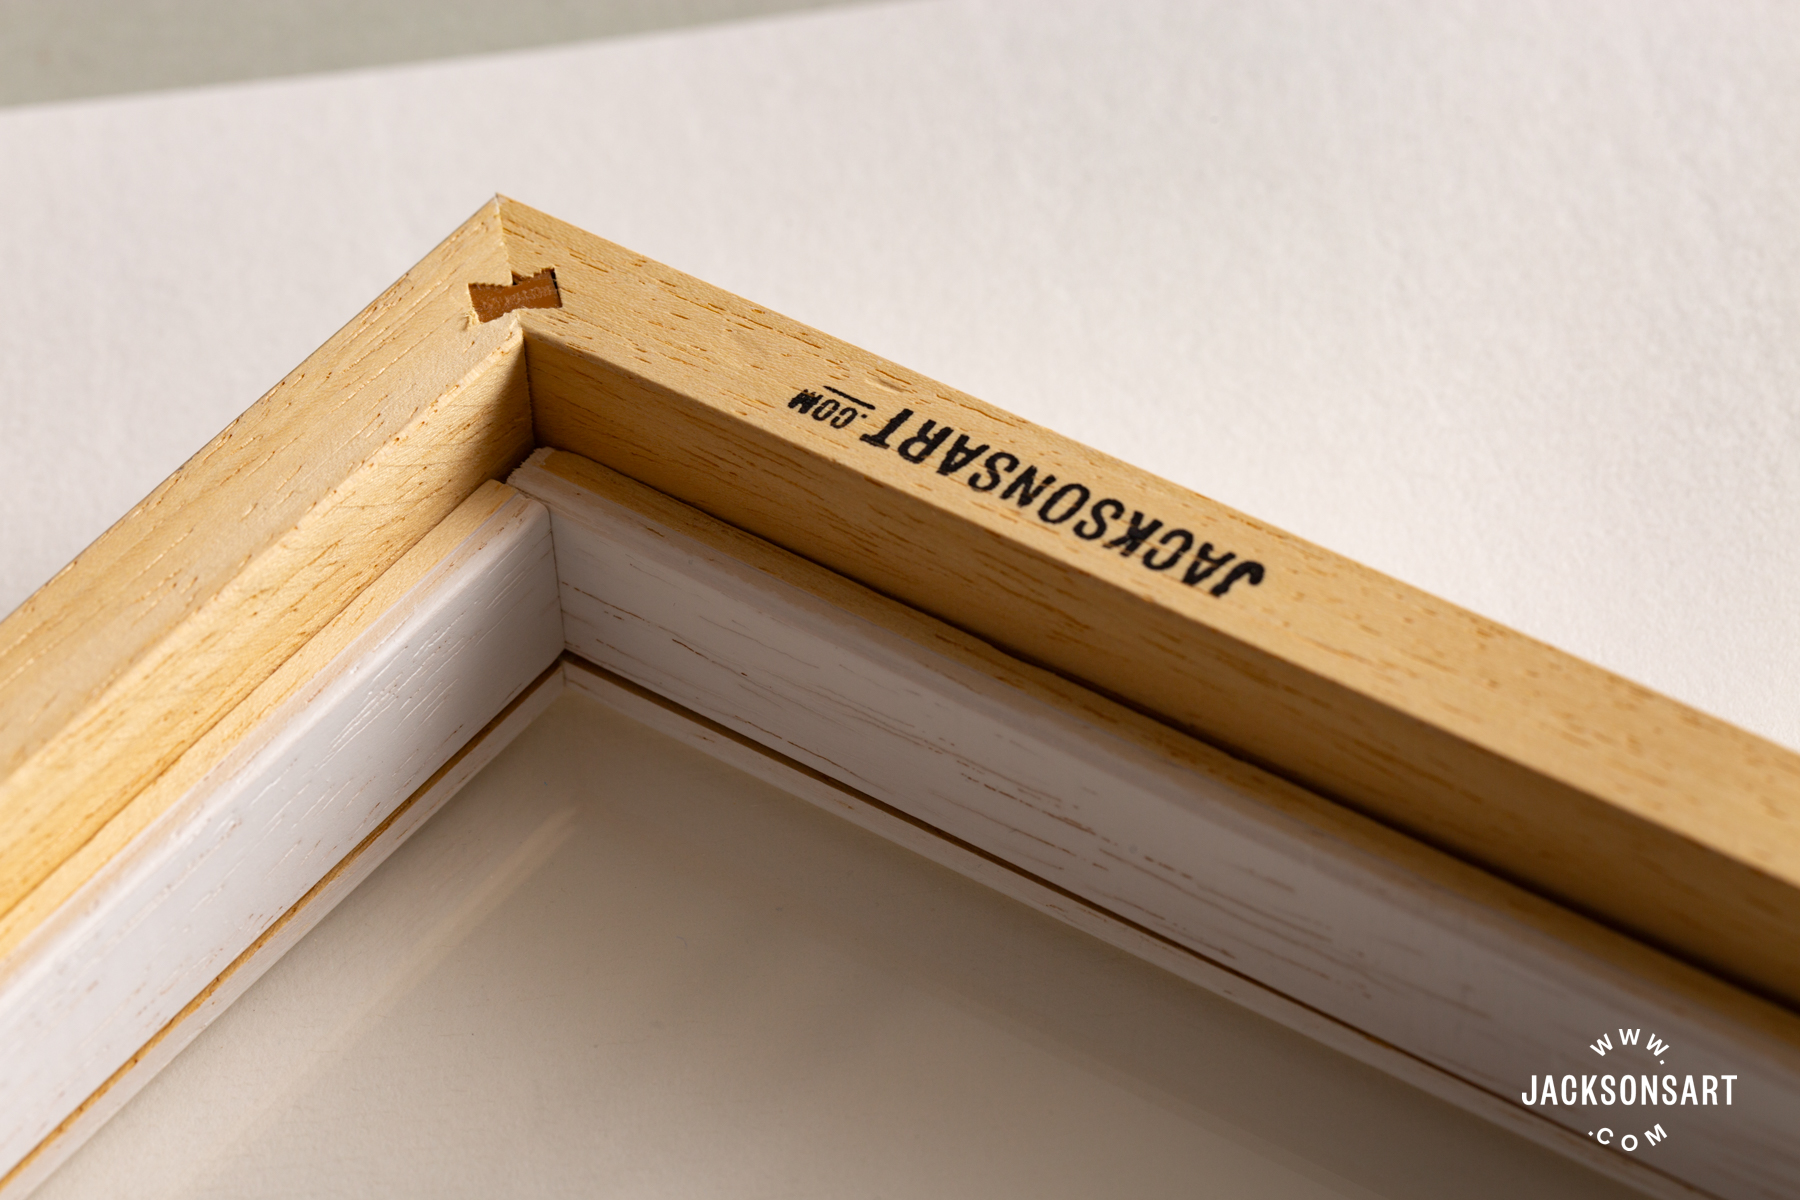
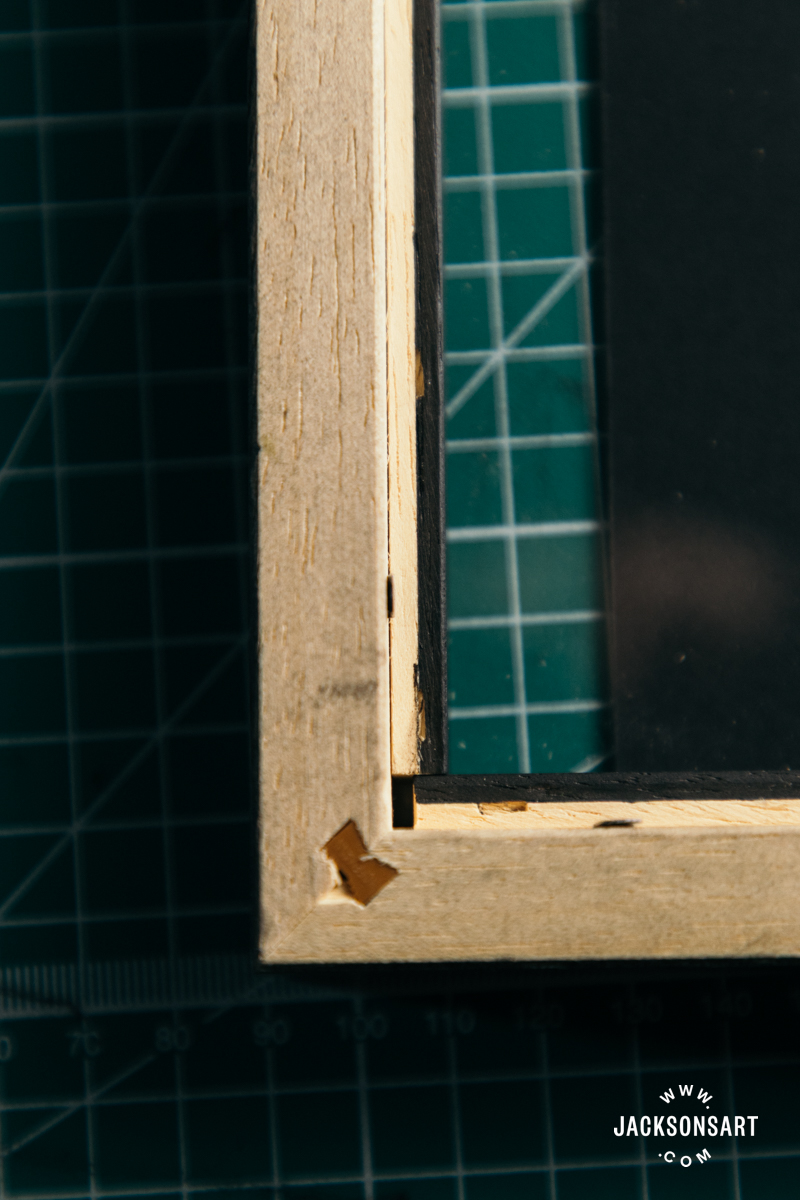
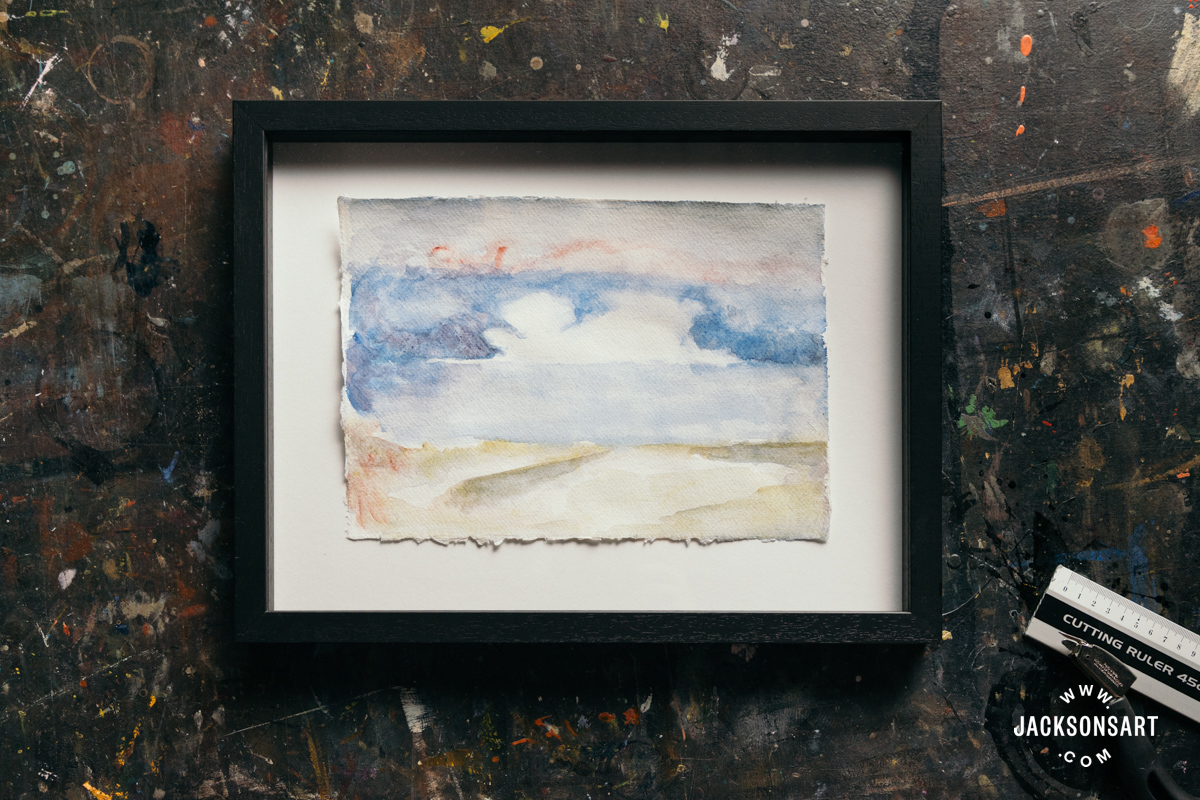
Below shows a ready-made float frame with the spacers already installed. The gap between the spacers is correctly hidden in the corner, leaving an uninterrupted black interior around the frame.
How to Float Mount a Work on Paper
If you want the entire piece of paper to be visible, a deep frame with spacers is an ideal option. Perhaps you have painted right to the edge of the paper and don’t want any of the artwork covered, or your paper has a lovely deckled edge that you want to show. You might be framing a work by another artist who has signed or titled it near the edge, or a charcoal or pastel drawing where you want to avoid loose material being rubbed off by a window mount. In these cases, a deep frame with spacers will allow you to use ‘S-hinges’ so that the artwork floats in the centre of the frame.
The amount of space the work floats in is entirely up to you. The artwork can be very close to the edge of the frame, because you only want the edge visible to show some pencil writing near the edge of the paper perhaps, or it can be a small artwork floated in the centre of a large frame to create a dramatic effect. It can be attractive to have equal borders on the top, left, and right sides, but make the bottom border a bit larger. This is known as ‘bottom weighting’.
Hinging for Float Mounting
If the painting is wavy or cockled, you may wish to flatten the work before framing. This article gives some advice on that step: How to Flatten a Buckled Watercolour Painting.
For this float mounting method, the connection pieces are hidden behind the artwork. You will be suspending the work using hinges made of tabs of tape in a similar way to the ones shown in How to Frame Artwork on Paper. But instead of attaching the tape to the top edge of the artwork, you will be attaching it on the back, a little below the top edge. With this method of float framing, instead of securing the other end of the tape on the backing board above the work, where it would be hidden by a window mount on top of it, you will pass the tape through a slit hidden behind the artwork and attach it to the reverse side. This is called an S-hinge because as the tape curves from the back of the artwork, through the slit and up the back of the mountboard, it creates an ‘S’ shape. They are also called ‘pass-through hinges’ or ‘pendant hinges’.
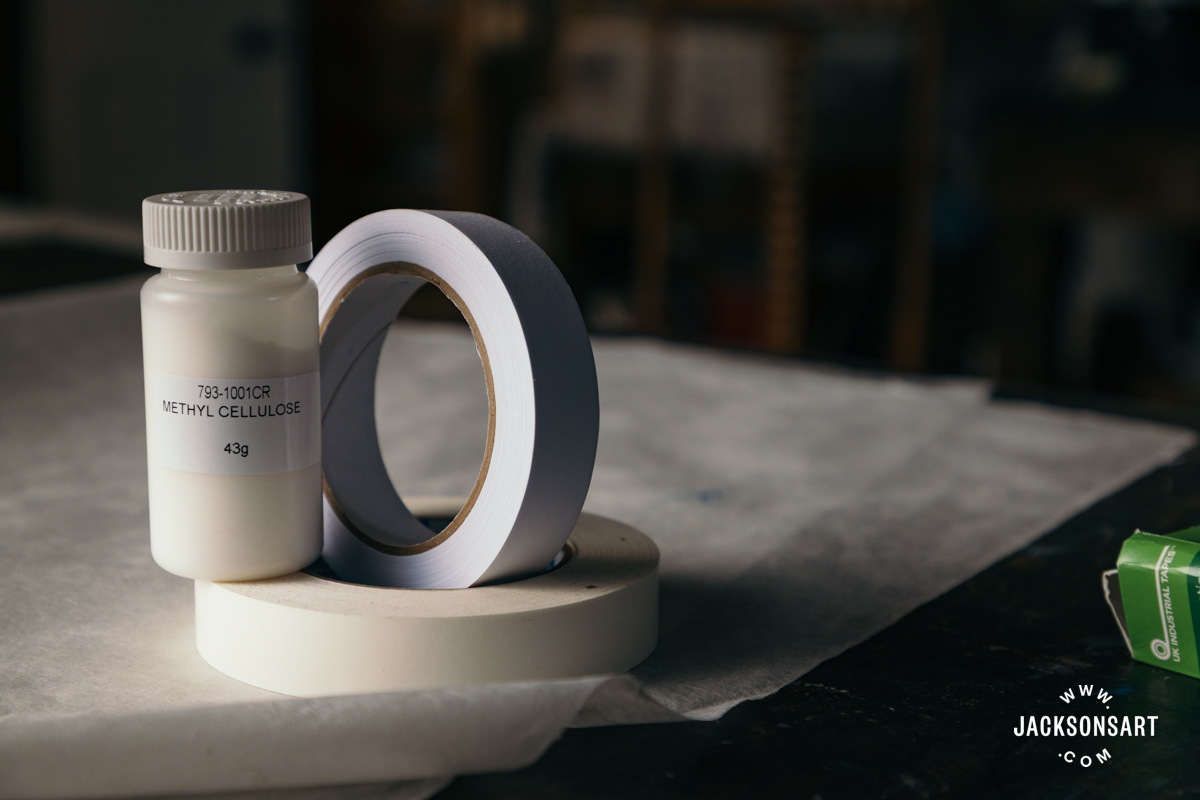
The three types of materials you can use for this technique are acid-free gummed paper tape that you activate by wetting, archival linen hinging tape, and methyl cellulose paste that you use with small torn pieces of mulberry tissue paper.
Your Choices of Tape for Hinge Mounting
There are three types of tape you can use for S-hinges. For longevity reasons, you will want to use acid-free mountboard and tape, and you will want as little adhesive touching the work as possible while still using enough contact for it to be secure over time.
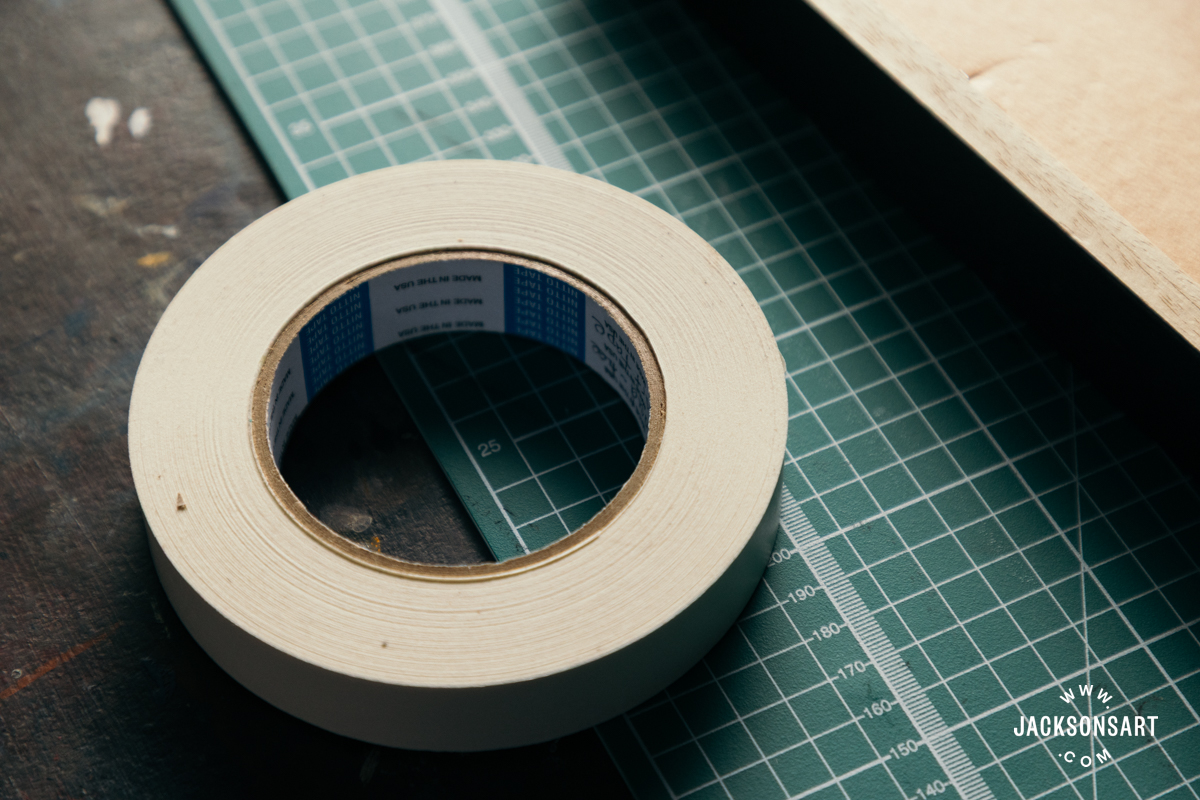
The most common method is to use acid-free gummed paper tape. This is the same water-activated paper tape that you use when stretching watercolour paper. The advantage of choosing this tape is that it is reversible. At a later date, the adhesive can be wetted and removed from the artwork.
You can also use the same archival linen hinging tape we used in the window mount demonstration and that we use here to close the back of the mount slit. This may not be as strong as the gummed paper tape, and because it is sticky, unlike the unwetted part of the gummed paper tape, it can be a bit finicky to get through the cut slit.
The third type is using a strong mulberry tissue paper, such as a lightweight washi paper, and methyl cellulose paste to make your own tape strips. You would use this for very delicate, lightweight work. This method often uses more hinges than the other two methods, including side and bottom hinges. This is a more specialist method for fragile antique posters.
I will be demonstrating the hinges with the water-activated gummed paper tape.
Pass-through, Pendant, or S-Hinges for Framing
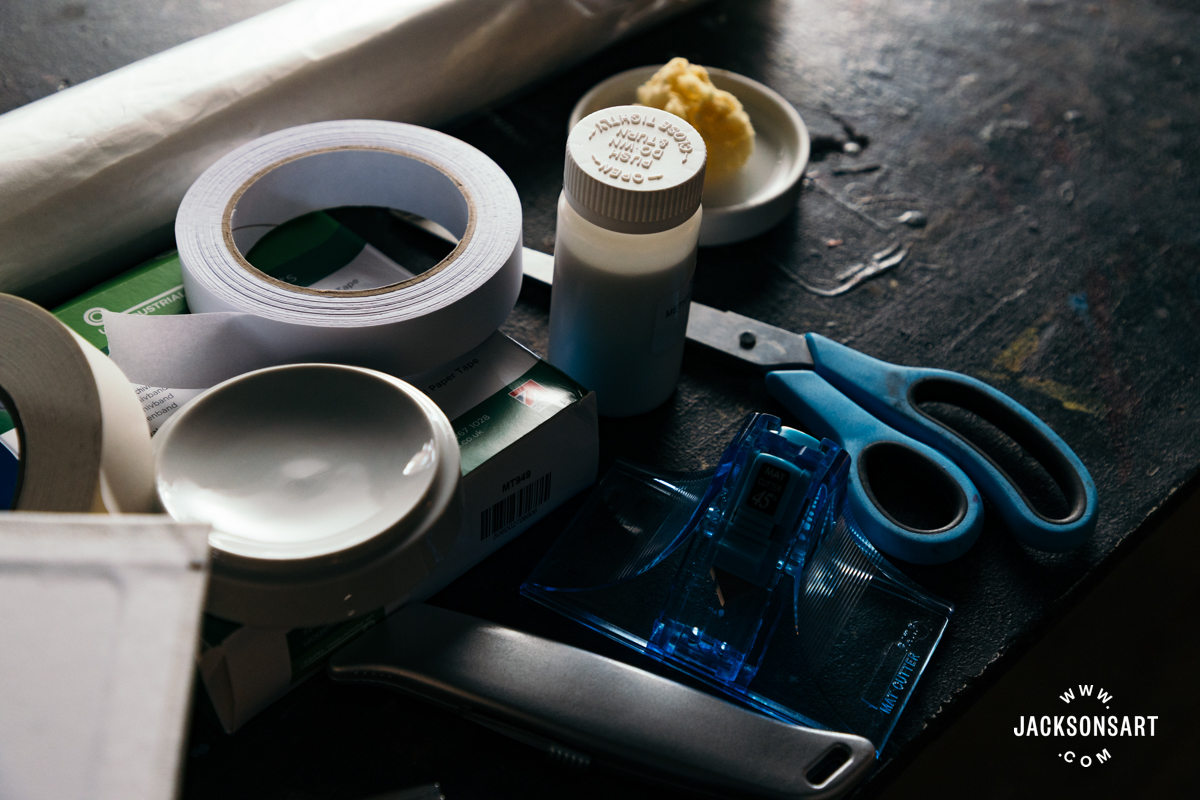
You will need:
- Your artwork on paper with edges you want to show, flattened if needed
- A frame with spacers that fits the artwork
- A solid mountboard cut to fit in the frame. This is included in our ready-made frames and can be added in our Bespoke Frame Builder.
- Acid-free gummed paper tape
- Straight edge and utility knife or a mountboard cutter
- Cutting mat
- A ruler and pencil
- Acid-free self-adhesive tape, like archival linen hinging tape
1. Jackson’s mountboard is black on one side and white on the other, so you can choose which side you want to use.
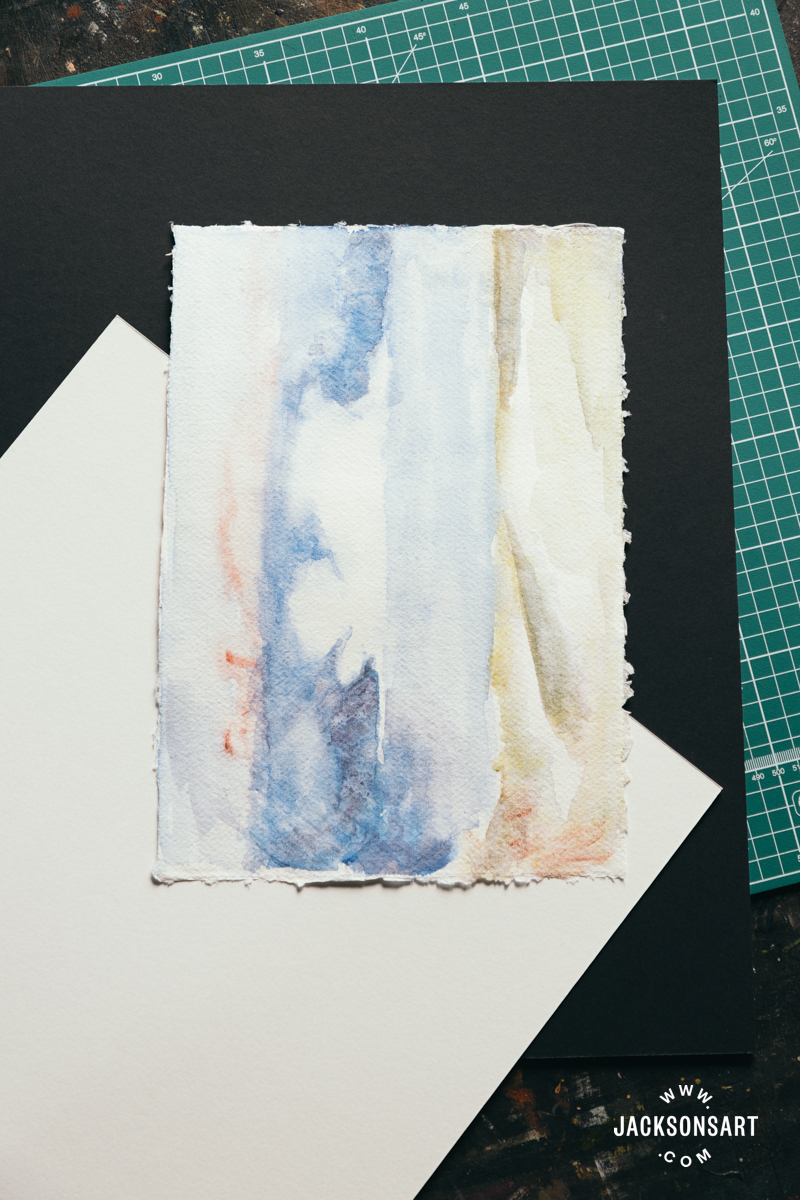
2. Flip the mountboard over so you are marking and cutting on the back, in case your ruler mars the surface.
3. Using a combination of your eye and double-checking with a ruler, place the artwork in the centre as you’d like it. As handmade paper with deckled edges isn’t always perfectly square, your eye can be more accurate than measuring, but it can be helpful to verify with a ruler.
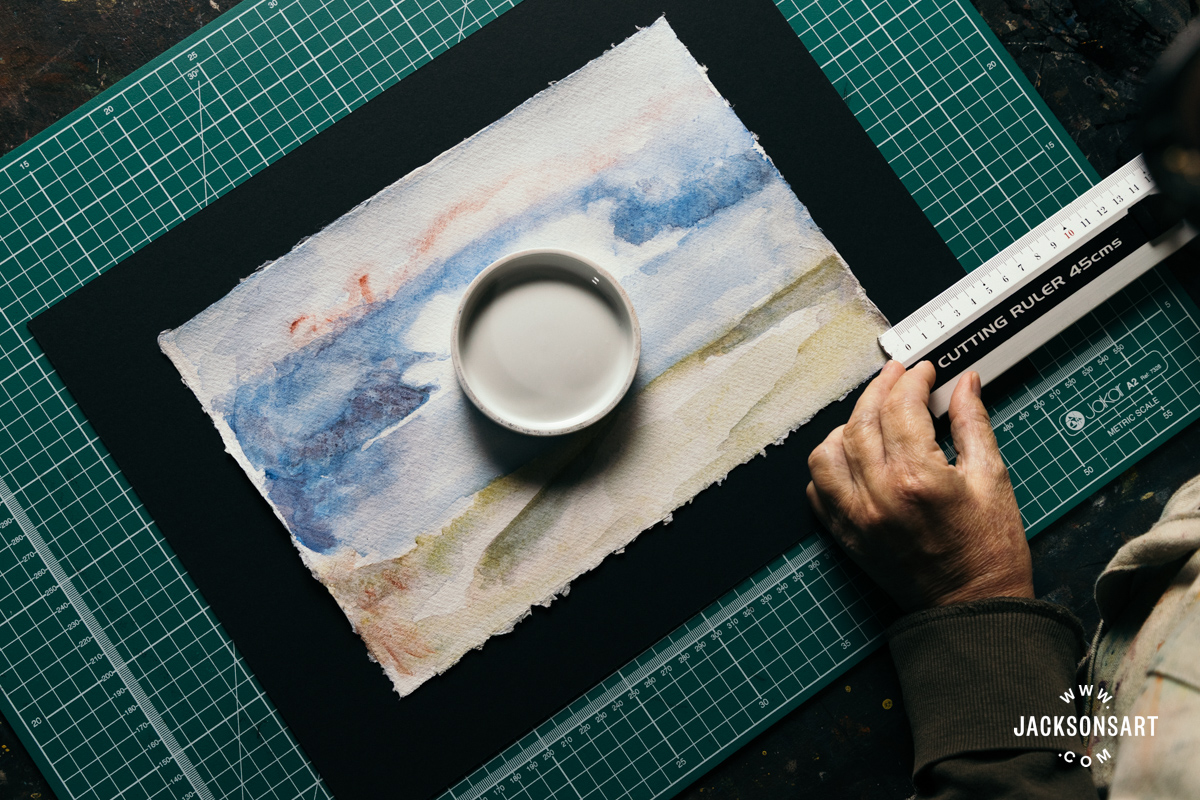
4. Place a clean paperweight in the centre of your work to secure it in place, and then make marks around the top two corners on the mountboard with a pencil. Set the artwork aside.
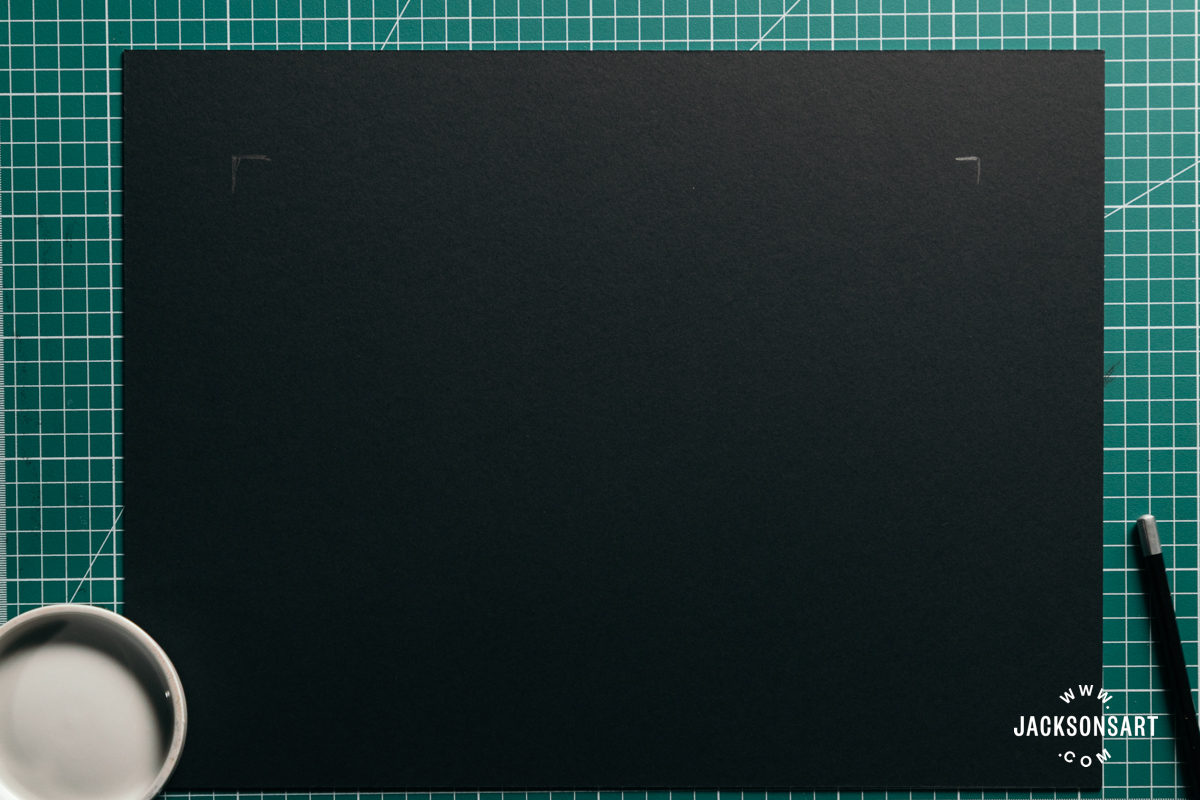
5. Still working on the back, make marks for cutting your slit about 3 cm lower than the top edge of the artwork and 3 cm in from the left and right side edges of the work. By cutting your slit 3 cm away from the margins of your artwork, it will be hidden behind the mounted artwork.
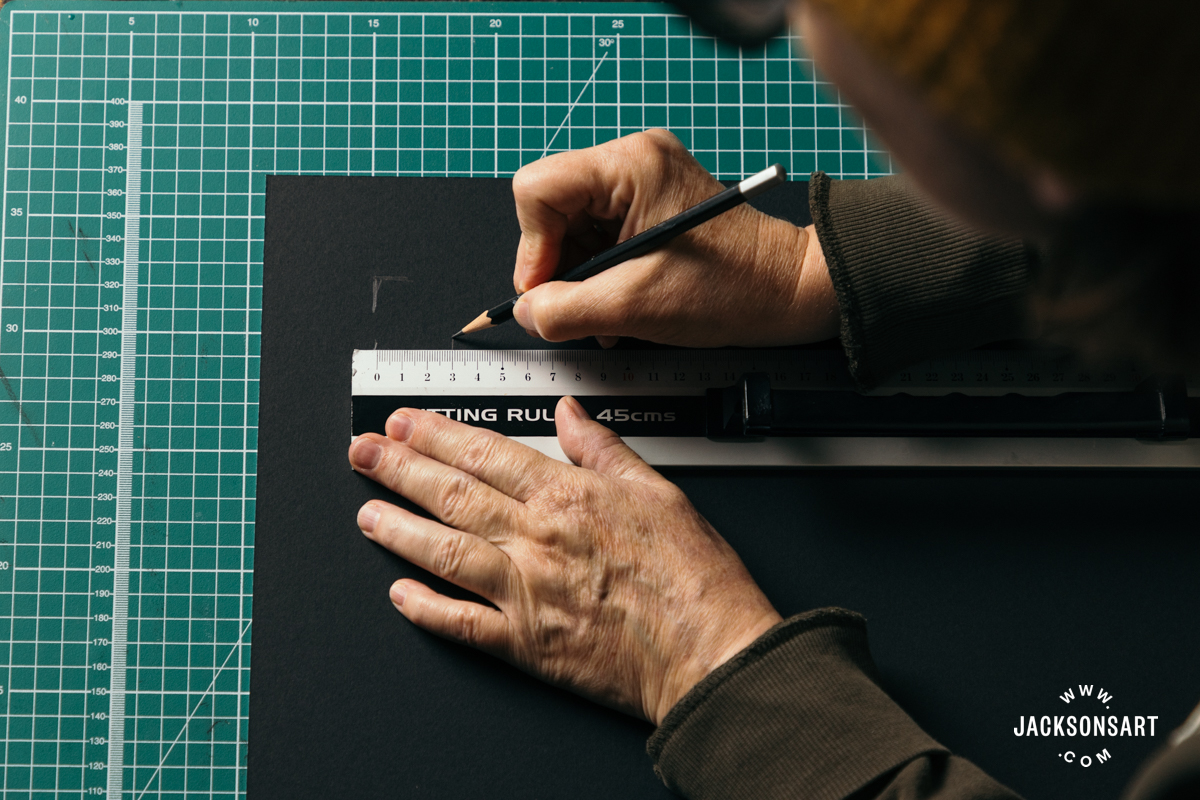
6. Cut a long slit using a straight edge and a utility knife.
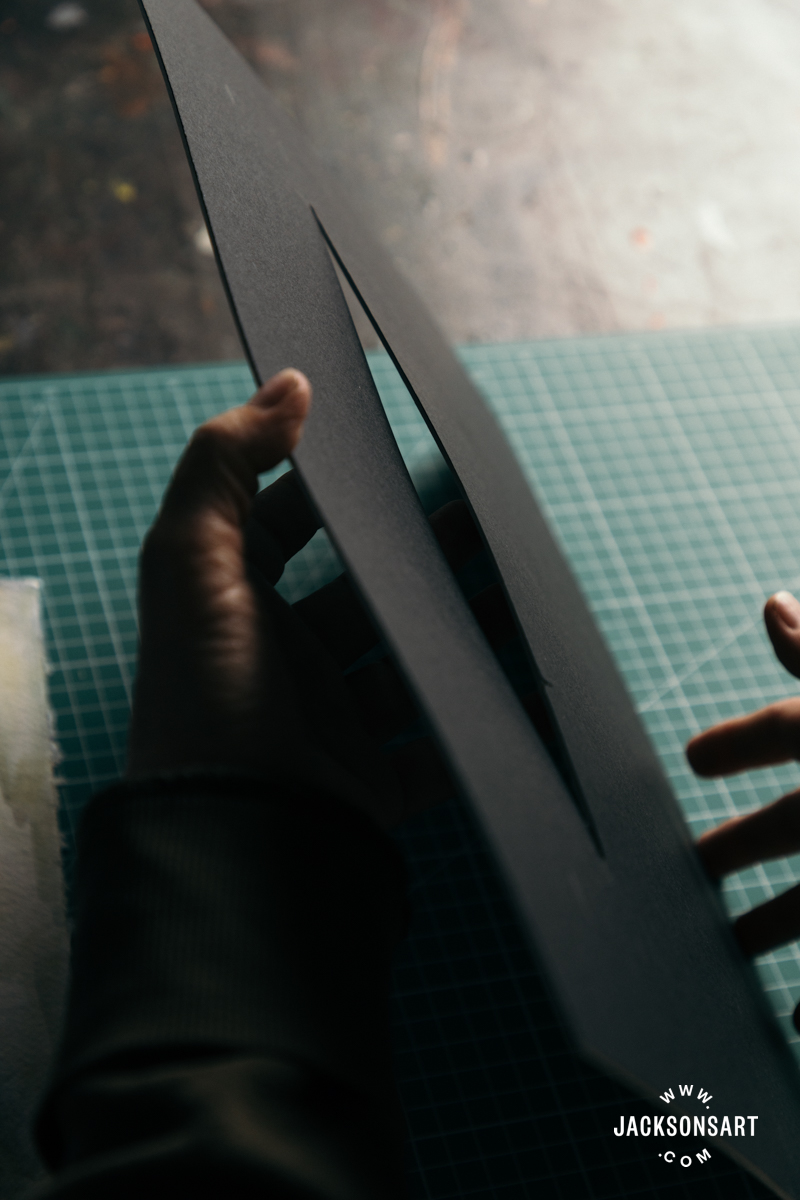
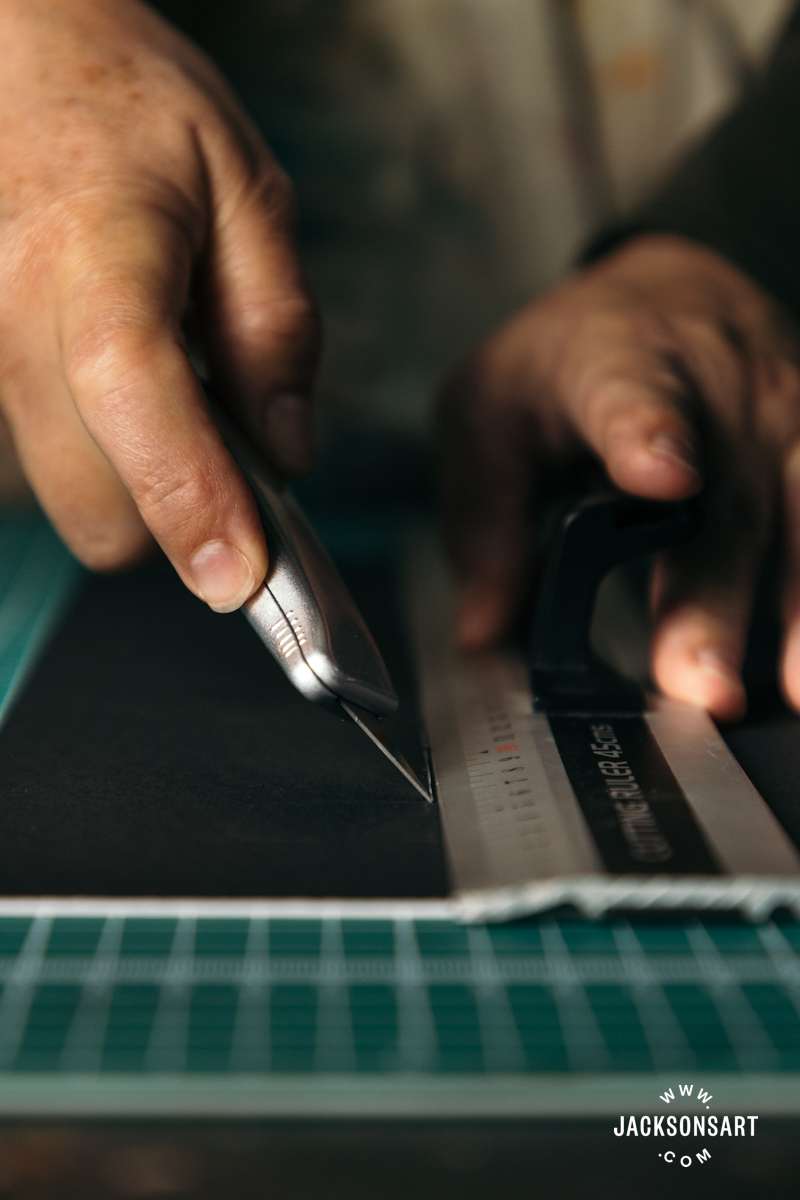
7. If you can, cut the slit at a bevel. If the cut is angled approximately 45 degrees from low in the front of the board to high at the back, that’s a bonus. You could use a mount cutter to achieve the bevel, but a utility knife will do too. To avoid pushing the straight edge out of alignment, it is best to make a few passes with the knife using light pressure, rather than to use heavy pressure and try to cut through in one go. And you will need to give it a few extra passes until you can feel that you have cut all the way through, because it can be difficult to realign the blade with the angled cut once you’ve started. It also helps if you snap a fresh blade on your utility knife to keep the cut clean and precise.
8. Place the artwork face down and lightly mark 5 cm down and 4 cm in from the top corners with a pencil.
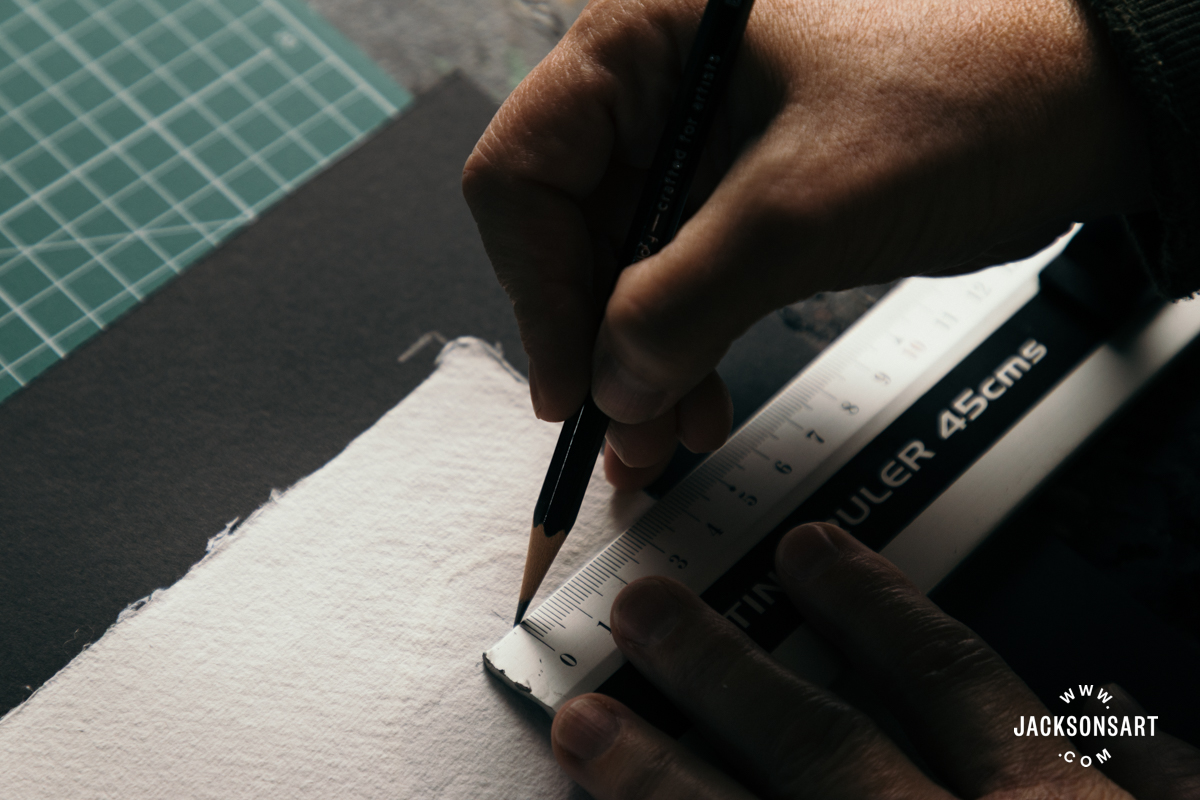
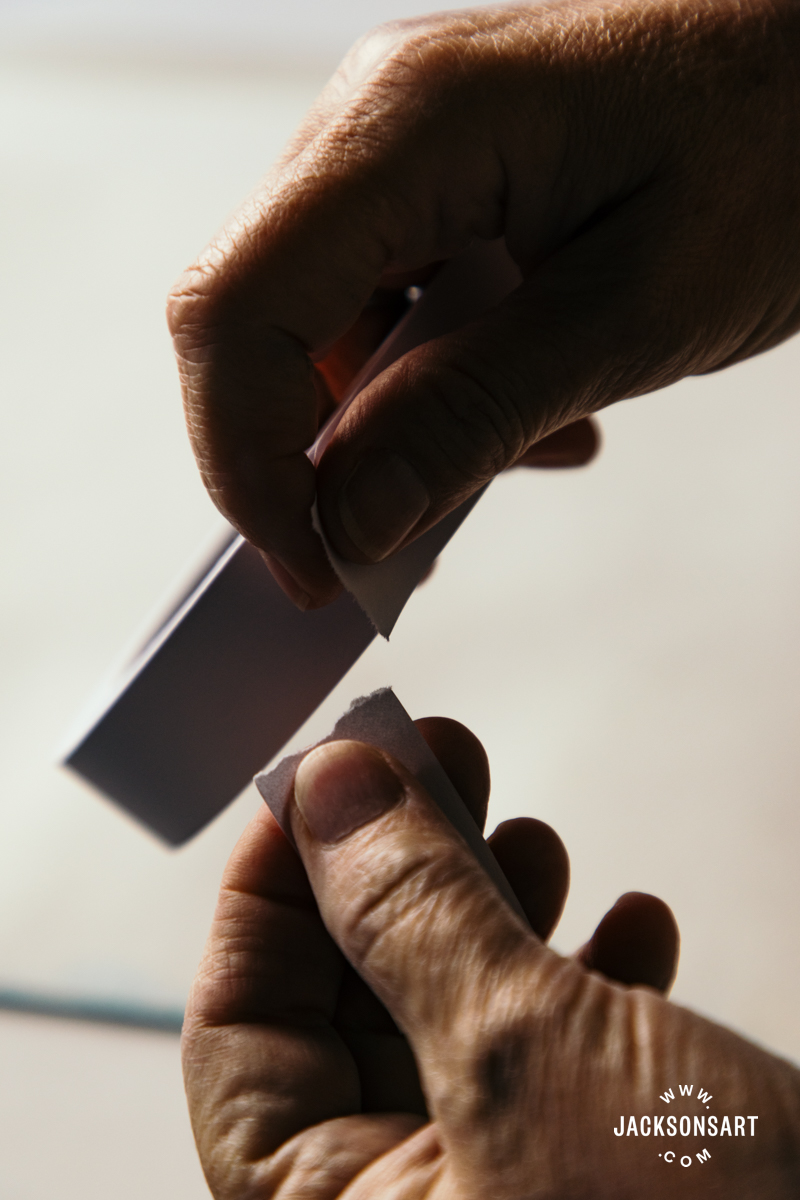
9. Cut or tear two strips of gummed tape 6 cm long. Tearing helps to feather the edge slightly to reduce the possibility of a hard line showing through at the edge.
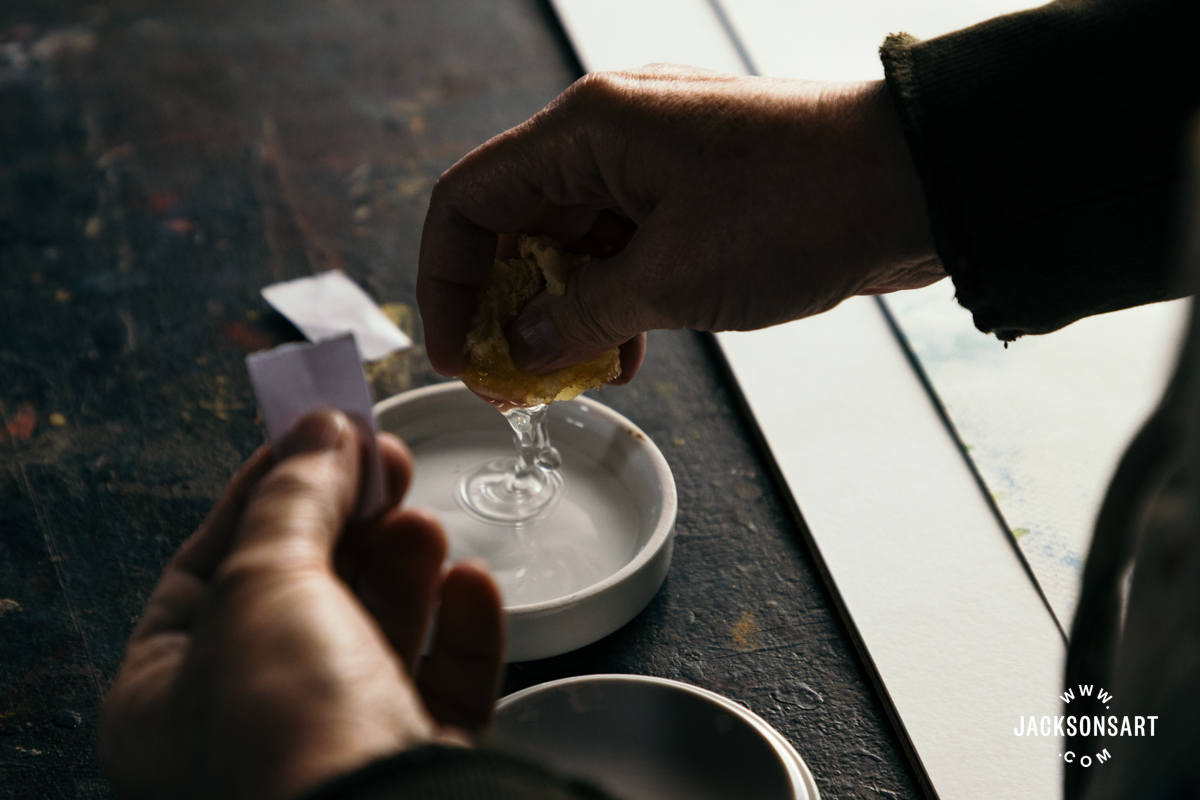
10. Using your finger, a brush, or a sponge, wet the last 2 cm of the end of the strips. Set them on the table and wait 1 minute for them to curl a bit and lose some of their shine. Remember to take care with dripping or spilling the water, especially around pastel and charcoal drawings.
11. Then, with dry fingers, firmly attach the moistened bottom edge of the tape to the back of the artwork, just inside the marks you made earlier. The remaining dry section of tape should extend upwards, beyond the top edge of the artwork.
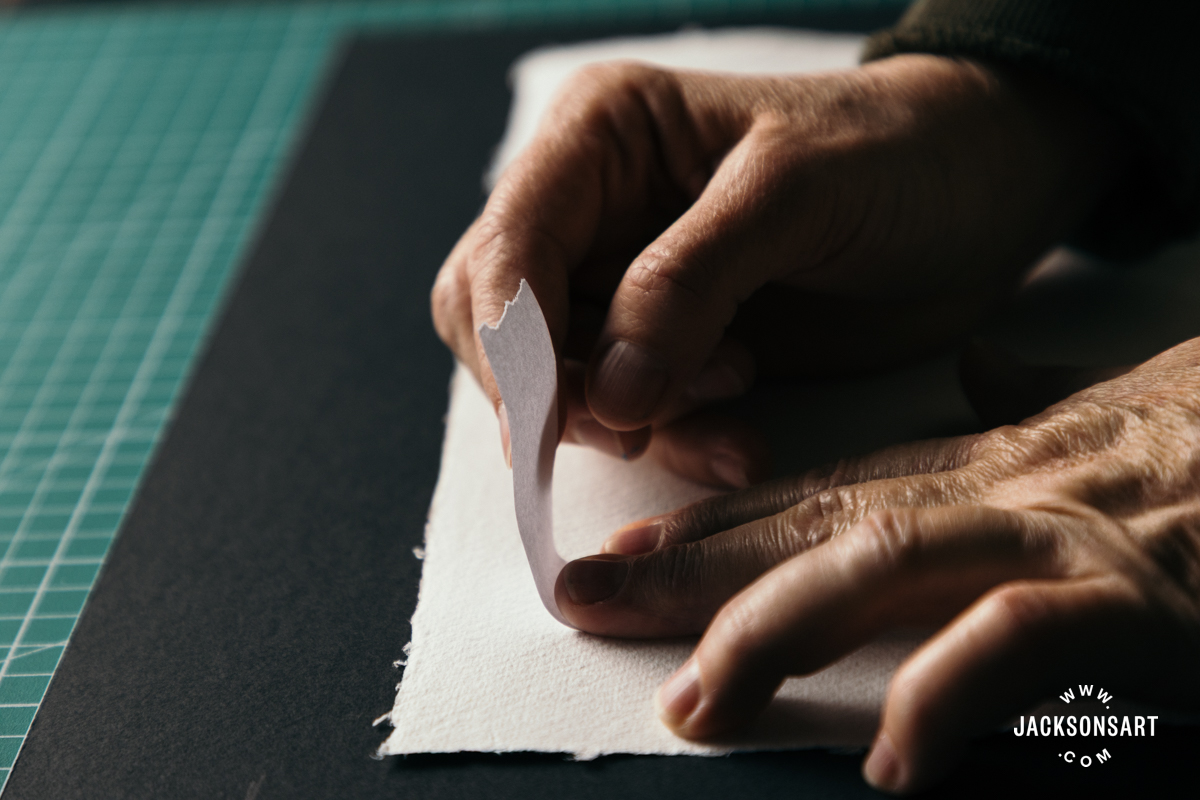
12. Hold them in place for a few seconds. Then wait at least a couple of hours for the tape to dry thoroughly on the work, or you may pull it off as you do the next step.
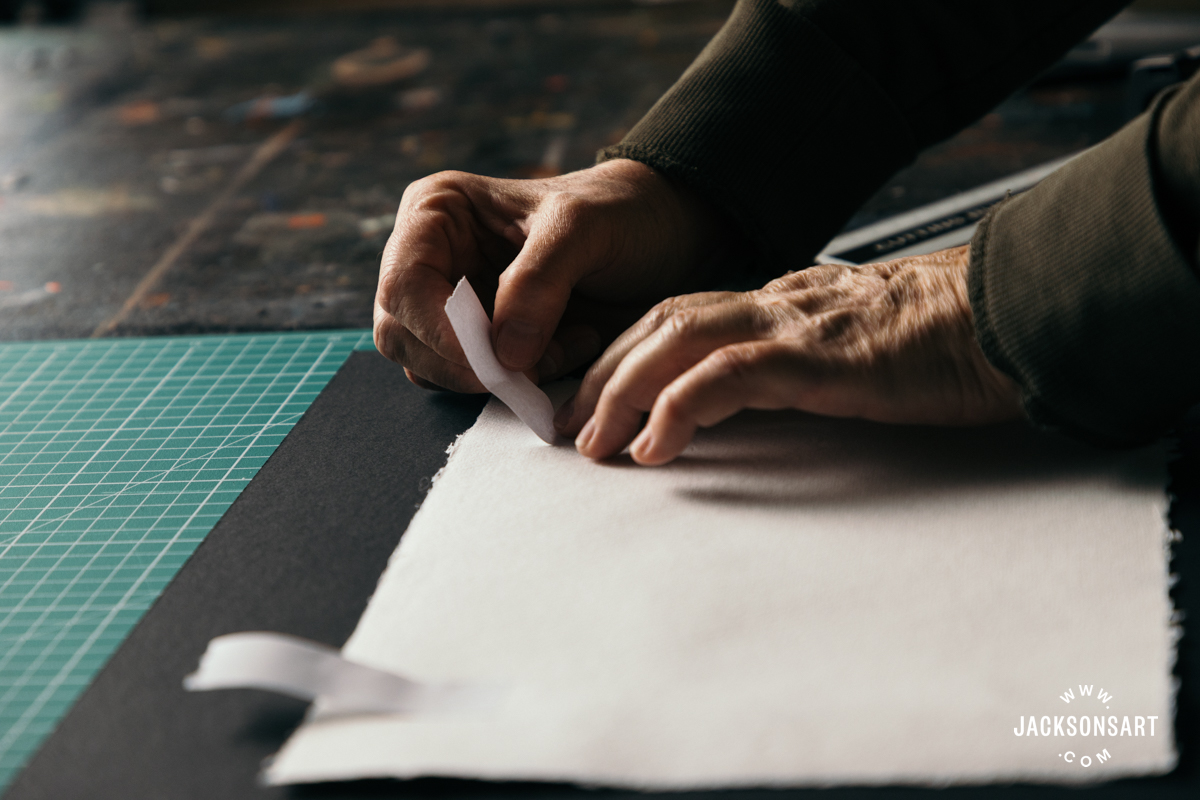
13. Then, from the front of the mountboard, pass the strips of tape through the slit to the back side of the mountboard.
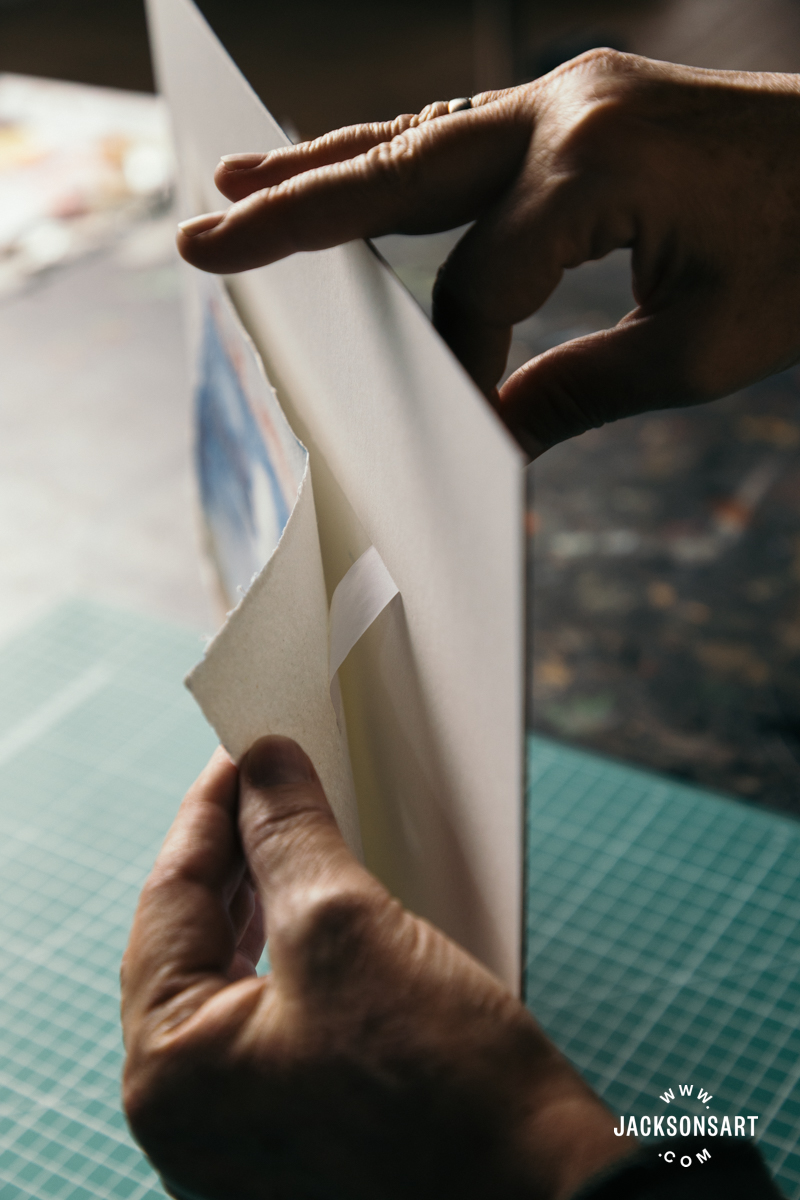
Because it was cut at an angle, the slit will only open in one direction.
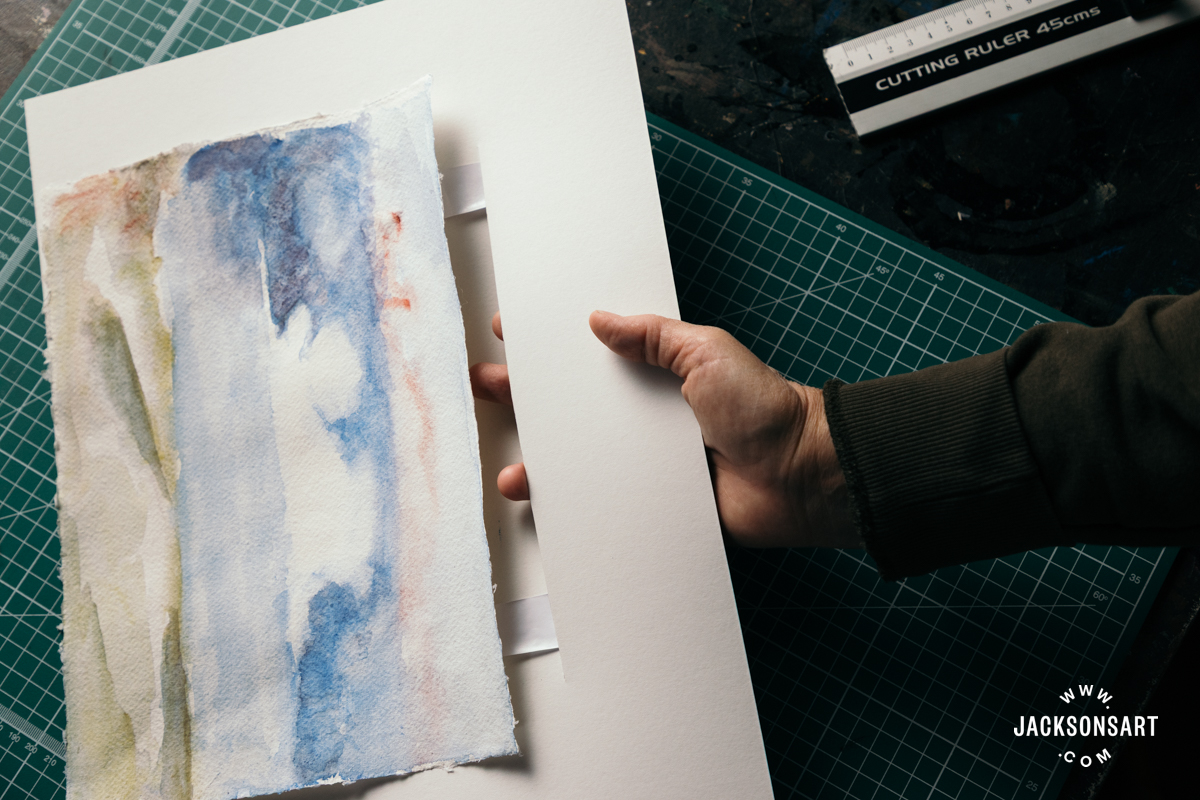
14. Arrange the artwork to your liking; you will have some leeway to go both up and down as well as left and right.
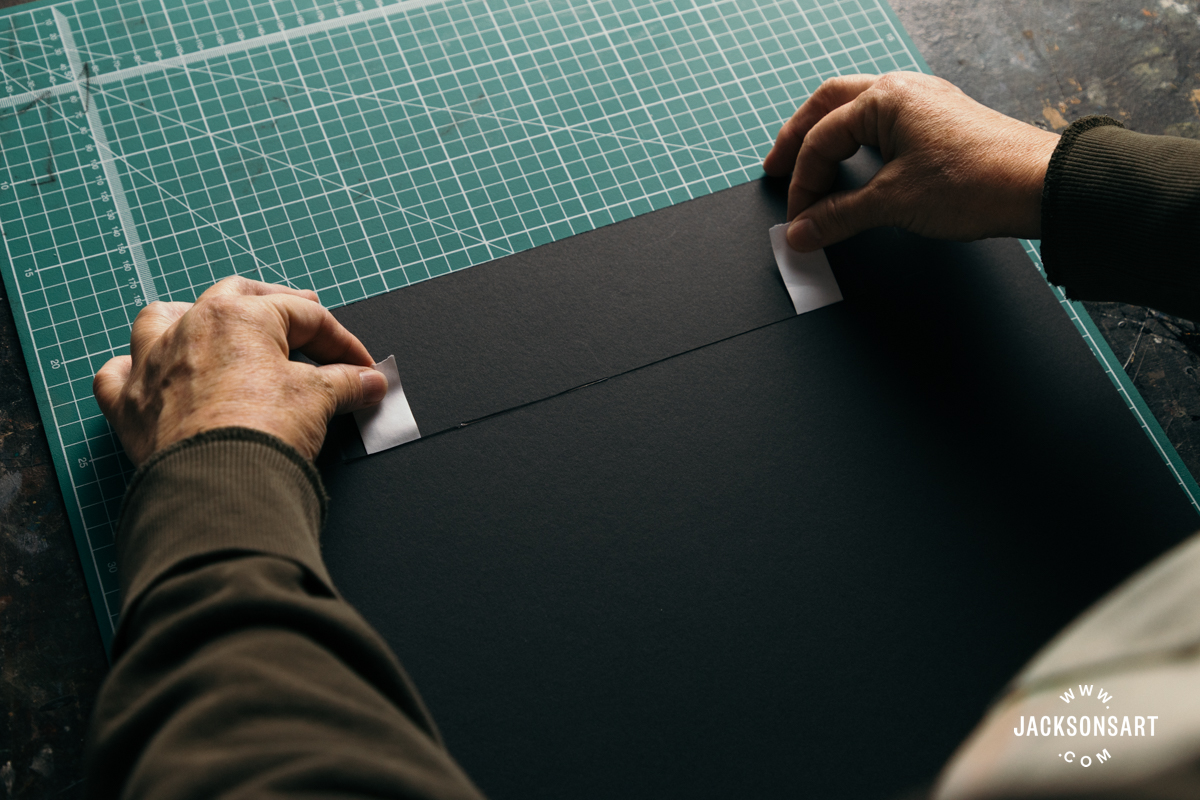
15. Then wet the last 2-3 cm of tape and attach each upwards on the outside of the back of the mountboard.
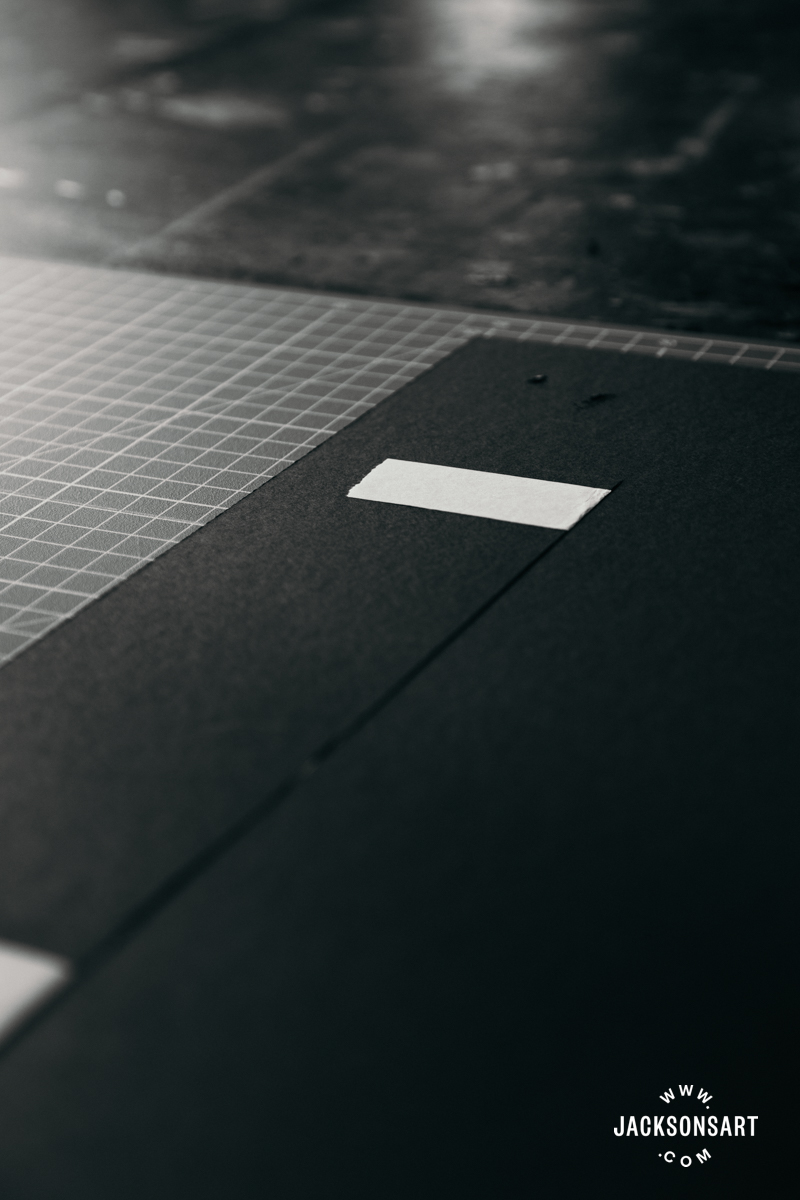
16. Apply a short strip dampened tape across the hinges for added strength.
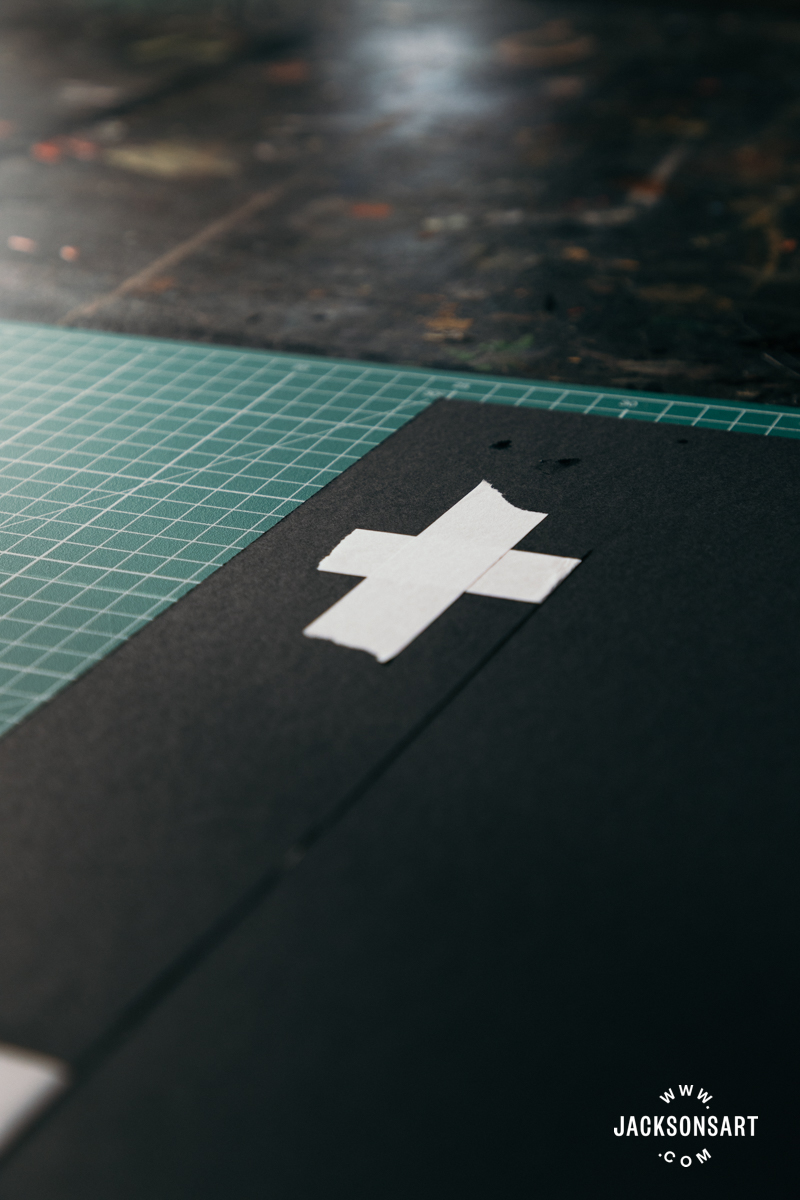
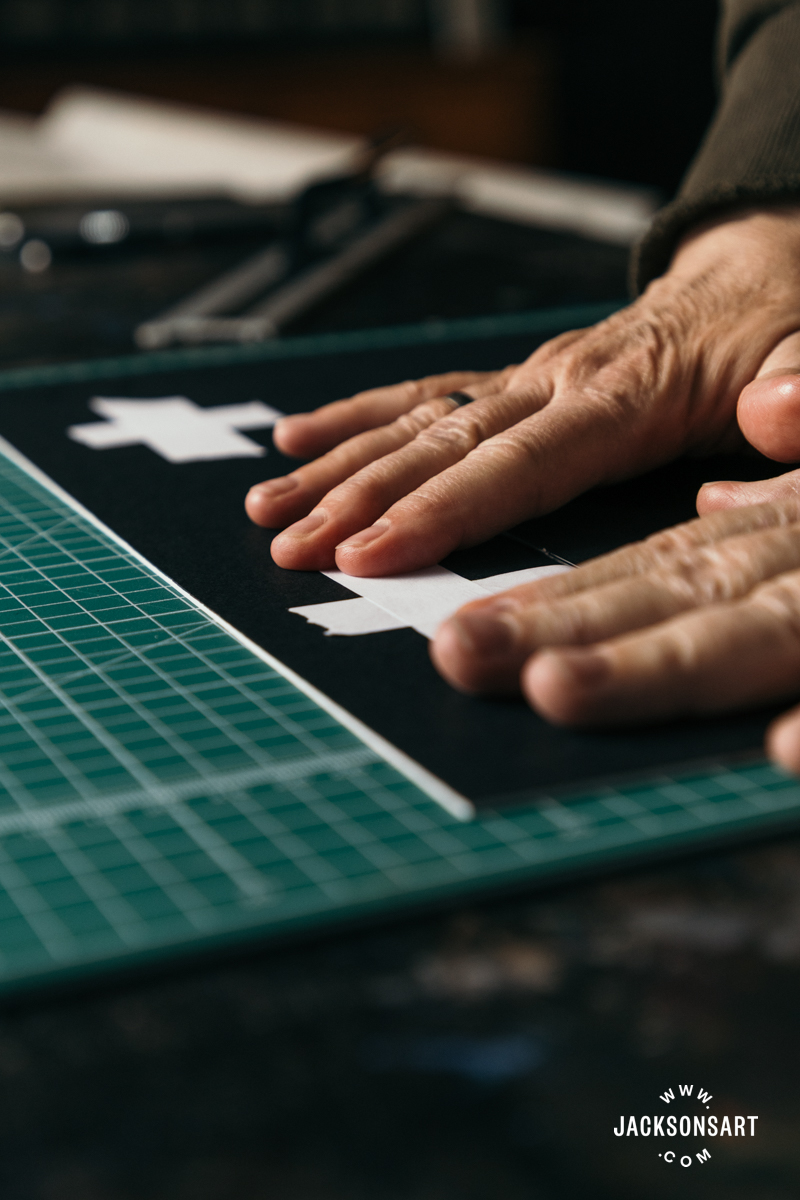
Press firmly. Let them dry.
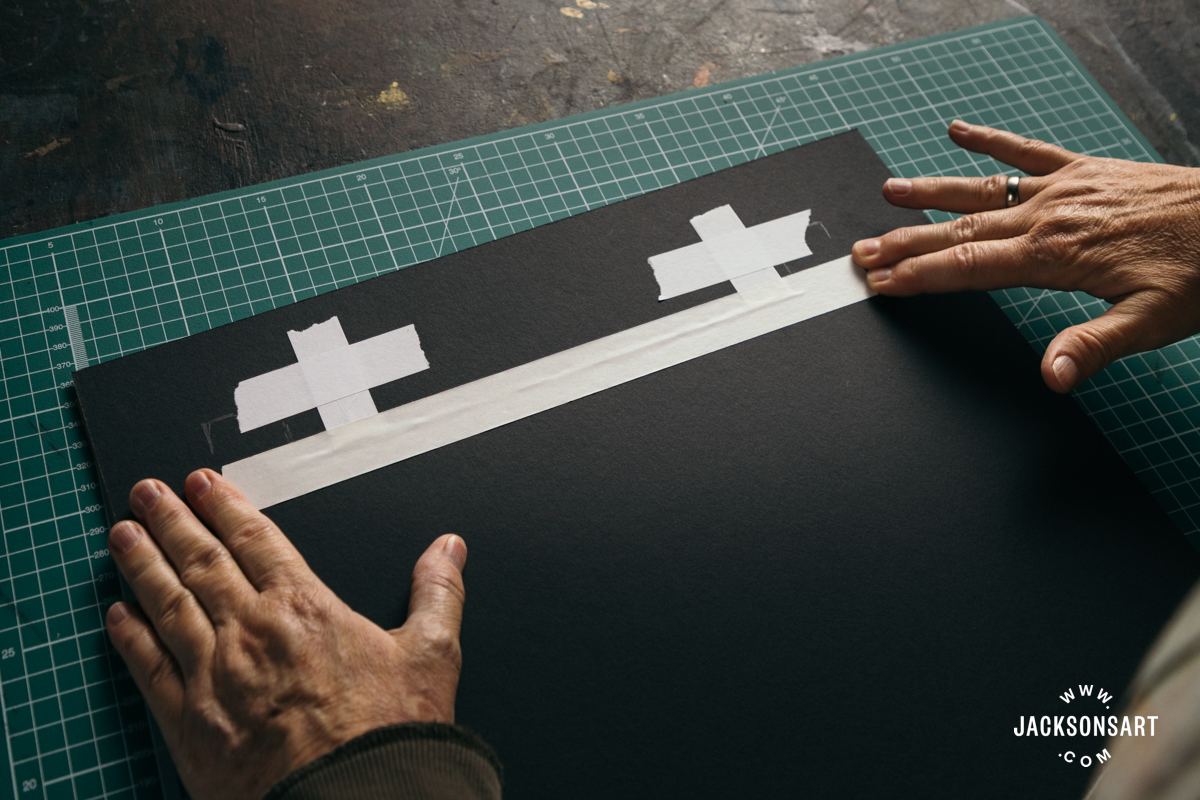
17. Then, using self-adhesive tape (the archival linen hinging tape), cover the slit in the mountboard between the hinges from the back. This will help secure the work and prevent any possible issues down the line.
18. Now insert the hinge-mounted work into the frame with the spacers in place.
19. Close up the back of the frame. If you stretch your own canvas you will probably have a staple lifter; they are invaluable for removing loads of staples. But it is also a great tool for use in framing. It is much better than a screwdriver for bending up flexible inserts when you open the back, using the thin, strong edge to get under and the flat edge to bend them back. And it gets in the small gap to lift out the backing board. It is just as useful in reverse when putting the back on.
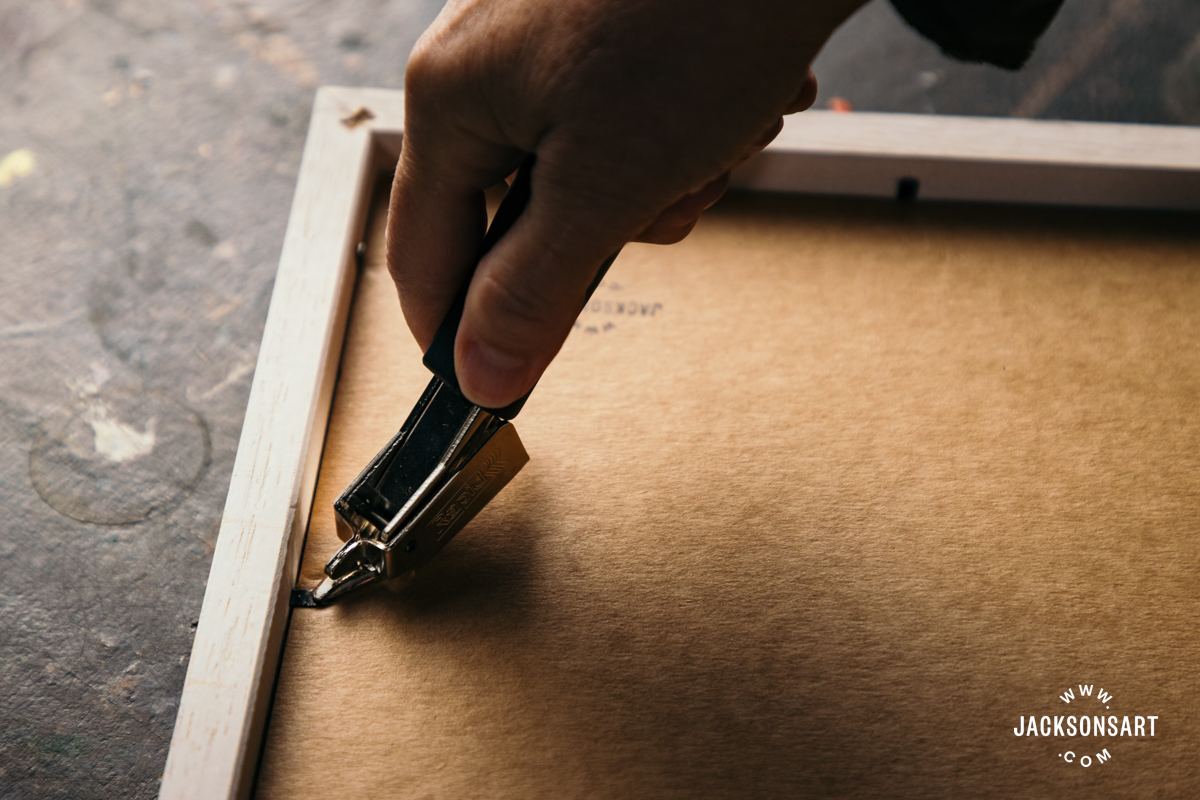
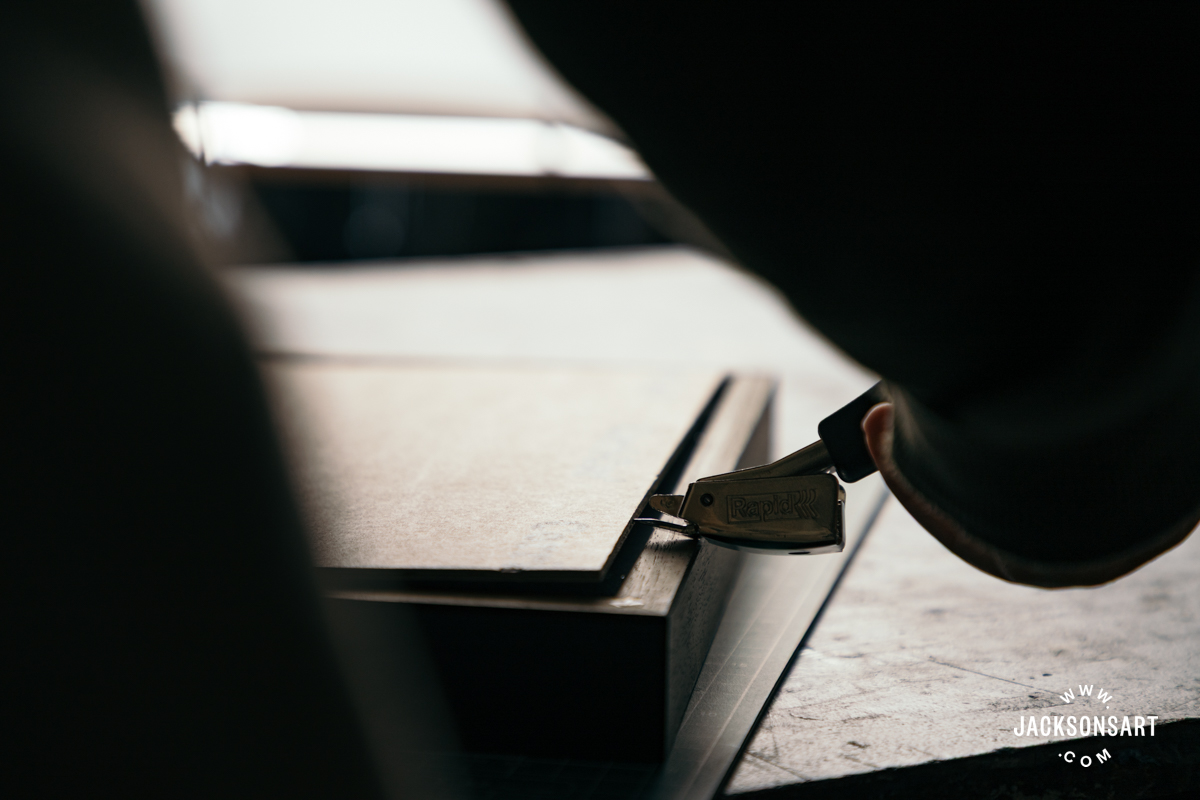
20. Tape the gap all the way around with framing tape. Optionally, you can also add a layer of brown paper the size of the whole back, using double-sided tape around the edges. Finally, add your hanging hardware.
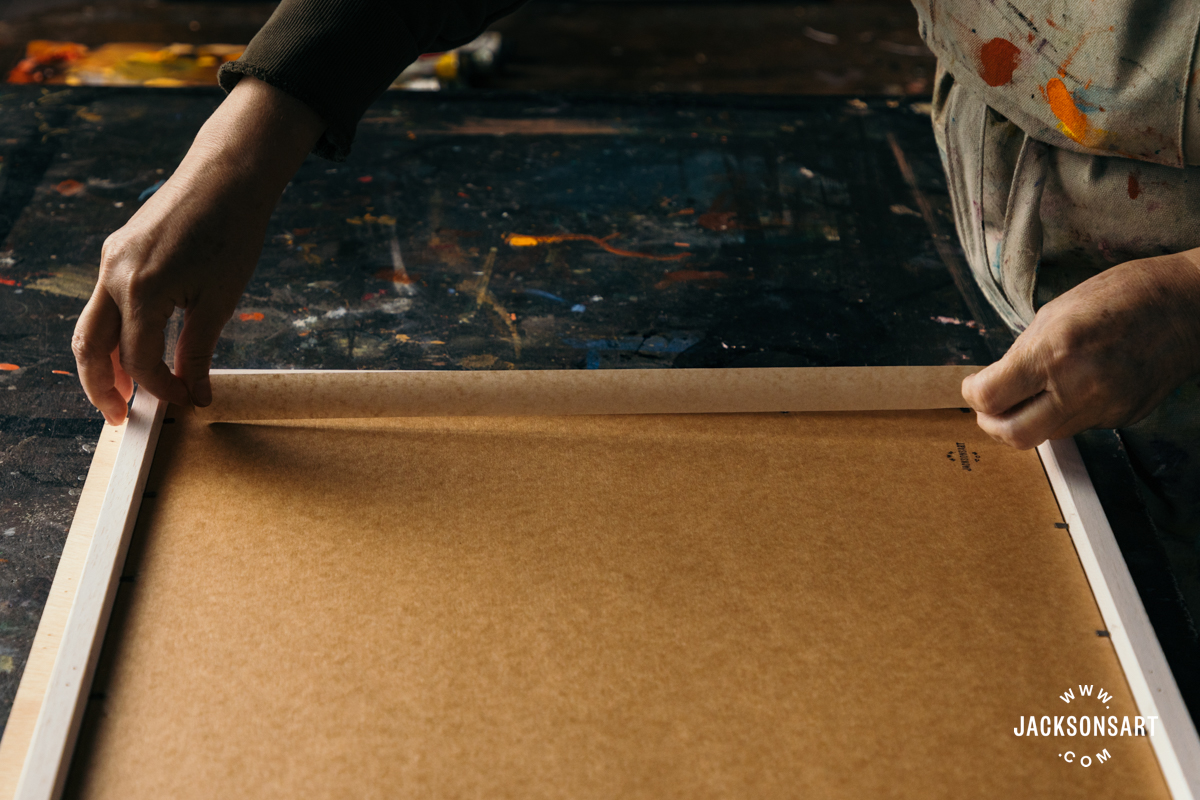
You now have finished mounting and framing your artwork.
Note: This method of framing is generally more fragile than a window mount, so it may be more susceptible to damage during shipping or transportation. The artwork can swing around, and if laid flat, it may slip upwards, moving the tape on the back into a peeling position. This is less secure than having the tape in a hanging position.
Other Methods of Float Mounting
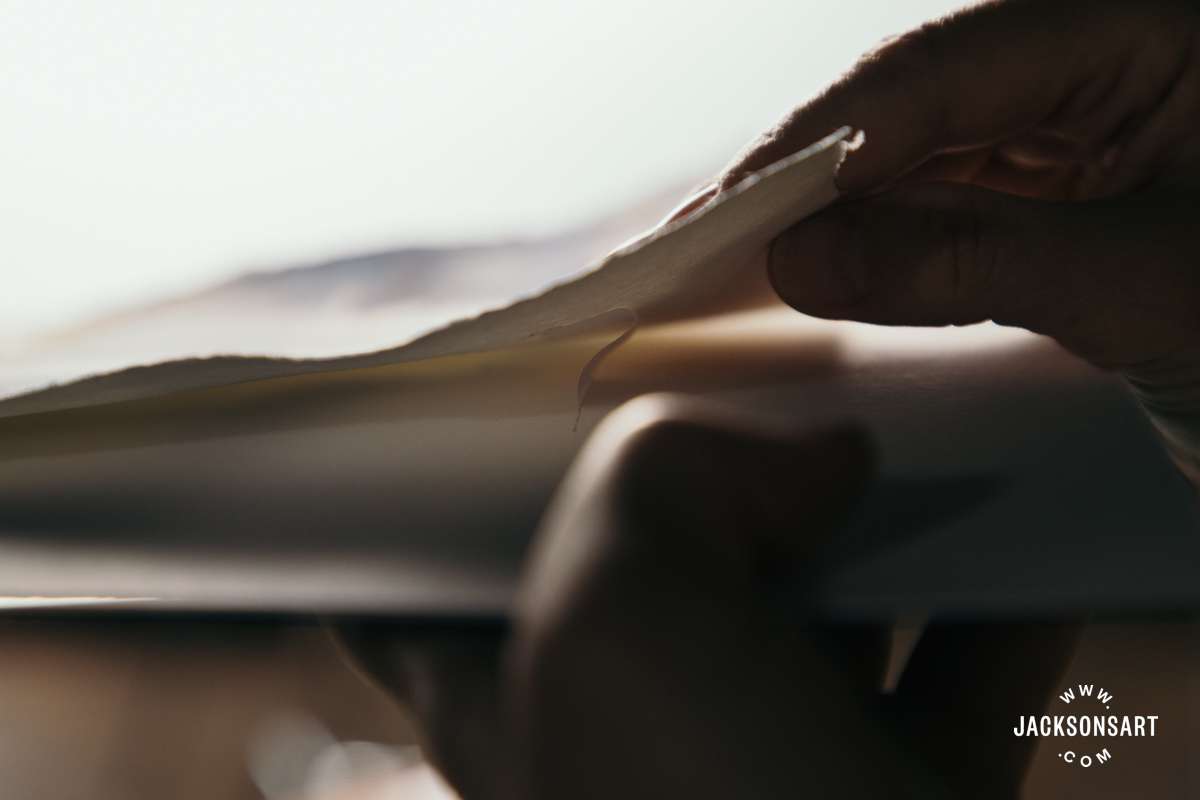
Hinge mounting with gummed tape is the most popular method of float mounting. But there are other methods of float mounting for specific situations. You may wish to look into these methods yourself. They include tissue and paste hinges and mounting the work on a foam board plinth.
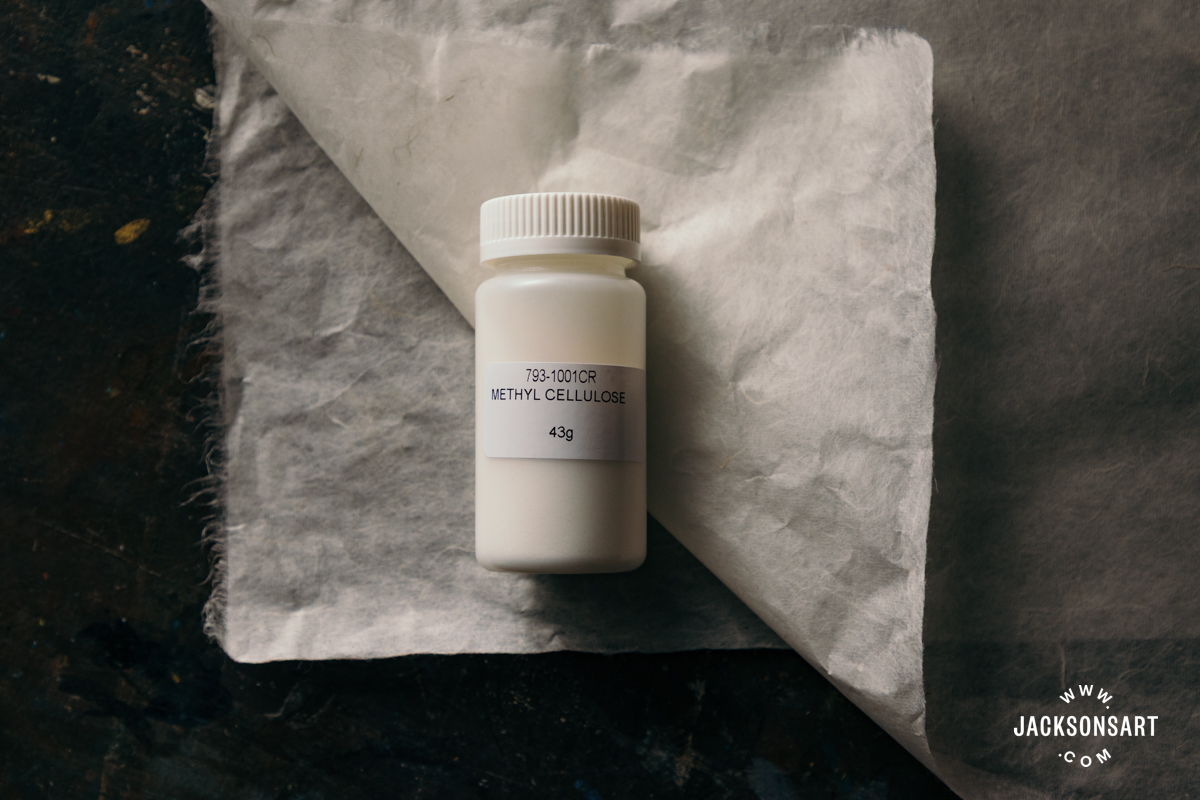
Mulberry tissue paper and wheat paste hinges are less commonly used, usually only for very delicate paper. These hinges are considered sacrificial as they are even weaker than the delicate artwork and will tear first if the framed work were dropped, rather than tearing a hole in the work. Methyl cellulose paste comes as a powder that you add water to. It is a refined wheat paste, made with only the starch. Jackson’s stock a selection of the appropriate tissue paper and the methyl cellulose glue powder.
Other methods of float mounting include using foam board behind the work to raise it from the back. As the foam board holds the work securely in place without allowing it to move around, it is a safer option for sending artwork in the post. We stock several types of foam board.
Further Reading
Choosing the Right Frame for Your Artwork
How to Assemble Jackson’s Bespoke Frames
A Guide To Stretching Watercolour Paper
Shop All Framing on jacksonsart.com