



There are many possibilities with collage. From the highly intricate and detailed to bold, arte povera inspired work, collage as a medium offers an alternative to painting, drawing and print, but relates to and overlaps with these processes. Often collage is a great diversion if you feel you’ve hit a wall with your current practice, as it can reintroduce the idea of working with solid shapes of colour and tone and help to deconstruct the picture-making process. It could also be a great way to give a second life to work on paper that’s no longer needed. Below, we outline some of the materials you will need and others you might like to try when taking your first steps into this exciting image-making process.

Preparatory Materials
As with painting, there are many ways to approach collage, and they fall between two extremes. At one end of the spectrum is working with intuition, cutting and tearing paper and placing it in a completely intuitive way, following your gut. At the other end of the spectrum is creating a plan for your collage before you even source your materials – this could be through drawing, writing or photography. Once a composition is formalised you can trace it with tracing paper, which could then be used to transfer the exact shapes you need for your collage. As well as spending time preparing your composition you might think about a palette of colours you wish to work with – the colours that best reflect the mood or concept of your collage and any drawn or painted marks that might be applied to your work once the initial assemblage has been pieced together.


You may find the following materials useful for generating and developing ideas for collage:
Drawing tools, such as graphite, pens, pastels, and pencils.
Sketchbook or cartridge paper.
Paints – whether they’re acrylics, oils, watercolour or gouache
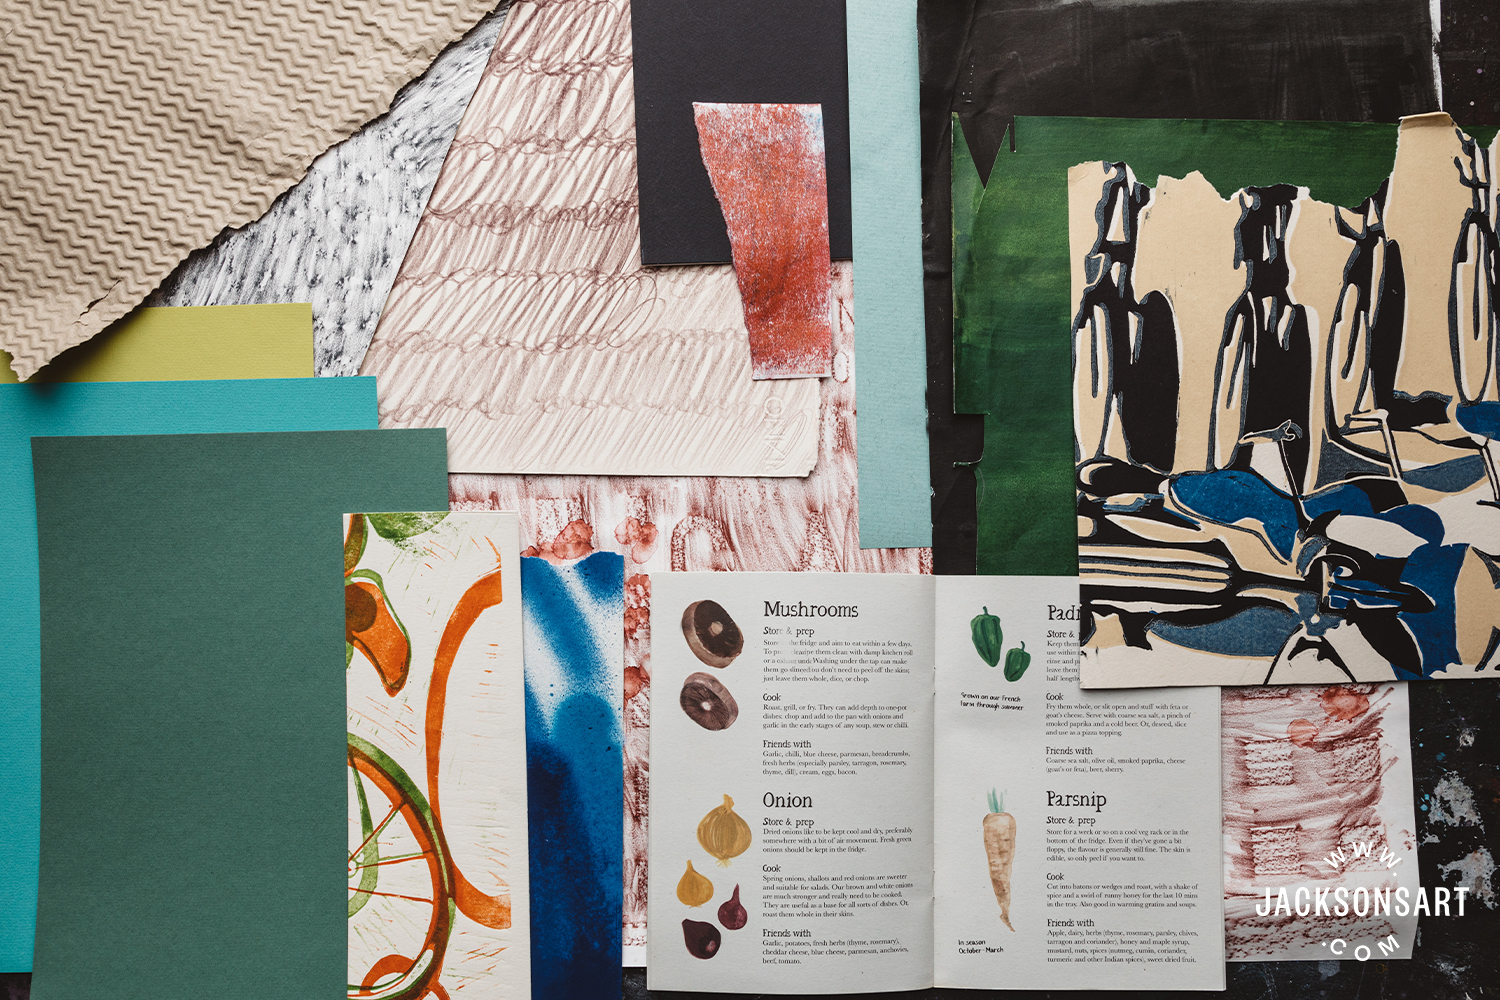
Paper
If you’re a seasoned painter, then you might find it helpful to think of the process of collage as ‘painting with paper.’ By thinking in these terms you will find very quickly that many of the formal considerations of painting transfer seamlessly to the realms of collage. You may find it helpful to determine a particular palette of colours with which you wish to work. Consider if there are any key colours that you wish your collage to possess in the majority – a largely red collage is likely to be bold and express a direct mood, in contrast to a collage that may not have any particular colour theme. Think about whether you want your collage to be made up of a few big shapes, or lots of little shapes, and whether you want it to feel ordered, or more haphazard – these considerations will help to determine the visual language of your piece. It can be helpful to collect collage papers and organise them into colour groups so that you can more easily locate the papers that will be of use.

Texture, both of the surface of the paper and of the colour the paper has, is another consideration. A collage made with papers that each have a uniform application of opaque colour to them will feel very different to a collage made up of paper that has been washed loosely with transparent colour. Similarly, a collage made of smooth glossy papers will feel different to one made of rough and textured papers. You don’t necessarily need to only work with paper that has textural properties in common, but if you mix it up it is worth making sure that no piece looks out of place or is inadvertently inconsistent.

Magazine and newspaper cutouts are a popular and inexpensive collage material. Thicker, higher-quality paper is usually used for high-end glossy fashion and art magazines and tends to be more resistant to wrinkling when being glued in a collage. Often such papers are optically very busy – full of bright colours, texts and images. Consequently, a lot of skill is required in making cut pieces of newspaper readable in terms of a single tone or colour within your collage. You may need to only work with pieces that have the same size font of text printed on them, or images that have a similar colour. Alternatively, you can pre-colour your newspaper with a transparent colour such as watercolour or ink. This will make it easier to work with the paper without whatever is printed on it causing too much distraction.

At Jackson’s, we sell several coloured artist papers. Non-coated pastel papers are relatively lightweight and easy to cut with a scalpel or scissors, have a light texture, and are ideal for collage. Here are some recommended coloured papers:


Colour
Matisse would prepare the paper before cutting it for his Cut-Outs by applying opaque layers of gouache to large sheets of paper in bright colours. If you prepare paper in batches in this way it helps to ensure you have a good supply, and it is also less messy than painting lots of little pieces of paper. It is also easier to keep large sheets flat as they dry, before collaging. If you’re not likely to need a vast supply of one colour of paper you can paint your collage paper once it has been cut, but it may curl depending on how thick it is.
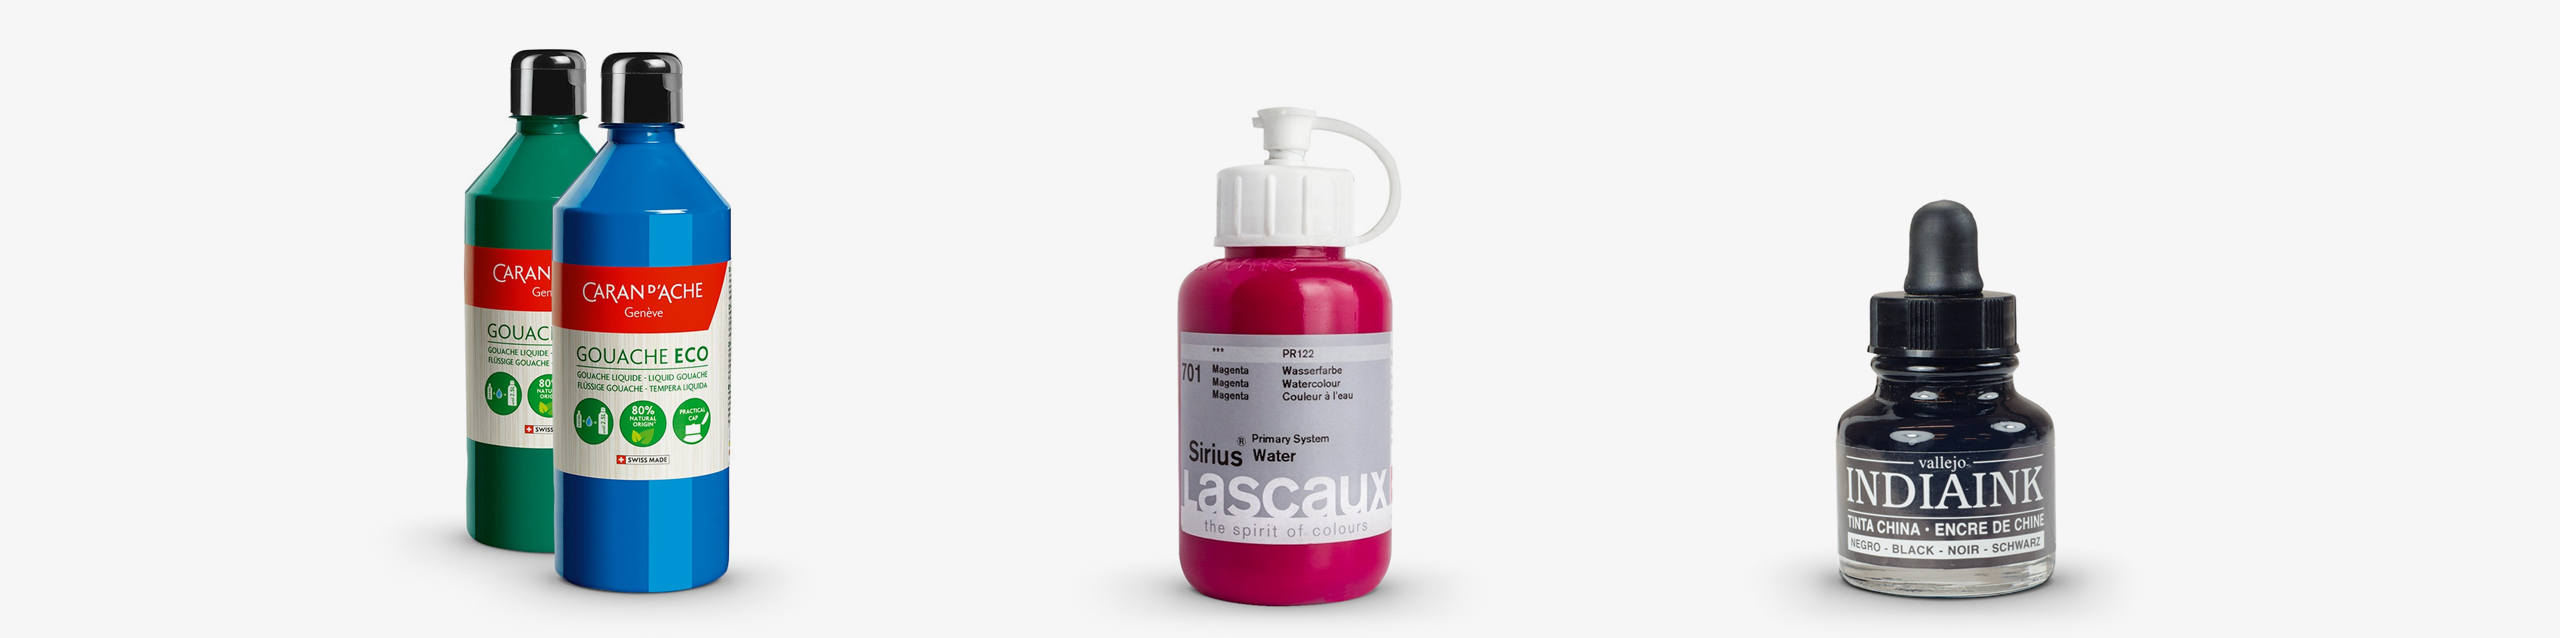
Gouache is recommended for flat, matt colour. Acrylic spray paint is great for even, satin finish colour, and of course, a distinctive powdery texture if you spray lightly. Watercolour appears less even when used to colour paper for collage because it is transparent, and so any modulations in pigment saturation are easy to see. Drawing Ink is usually less transparent and offers stronger colours, although some will not be as lightfast.


Cutting Tools
A scalpel or craft knife is essential for intricate cutting. A utility knife is best for straight edges and thicker papers. A metal ruler is better than a plastic one as the edge is much more hard-wearing. Scissors are usually the most effective tool for cutting, although the direction they go in is not always as easy to control as using a knife. Tearing can have different results depending on the paper you are working with, so it is best to test how papers tear, and in which direction you have most control.


Adhesives
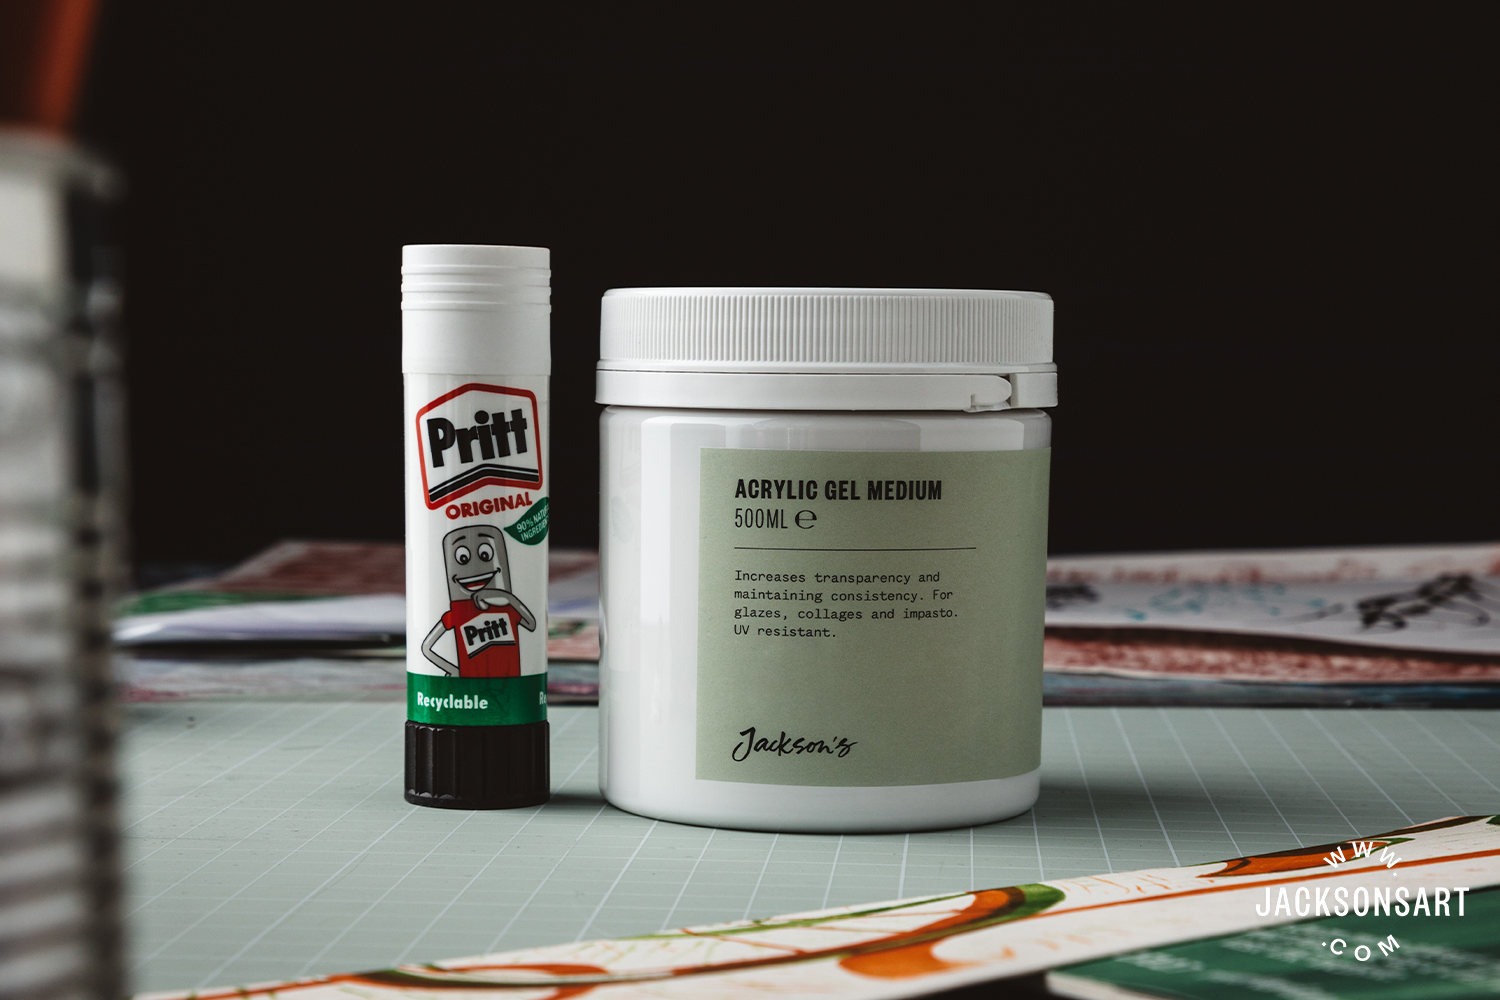
If you are concerned about the longevity of your collage, bear in mind that any papers or materials such as paints or adhesives may not be archival unless they are artist-grade. Newspapers and magazines will be yellow unless kept away from natural light. Craft glue may become brittle, and may also be yellow. If you want to avoid these issues and your work is going to be framed and hung in natural light, it is worth sticking to artist papers and paints and gluing with an archival adhesive such as acrylic gel, or a pH-neutral or acid-free PVA glue. Mod Podge is a popular decoupage glue that can be used for collage, as an adhesive and as a sealant coating. Tombow Glue stick is great for sticking medium and lightweight papers, minimising any wrinkles in the paper or seeping of excess glue from under the edges. Pure wheat starch is a glue that requires heating but offers a good, flexible, museum-grade adhesive.

Support
The surface on which you glue your collage, also known as your support, needs to be sturdy and robust enough to take the amount of glue and paper you intend to adhere to it. If it is too thin or flexible it may curl or warp once the glue is dry. For very heavy collages, you might need to use support as sturdy as a wooden panel. Any of the cradled boards available at Jackson’s could be ideal as they are relatively lightweight and very sturdy. For lighter collages, you could try using foam board, Corri-cor or mountboard. If you apply colour to your support it could become part of the composition, and not just the backing to it. If you use packaging materials as a support, a layer of acrylic primer (which is available in black, white or clear) can be used to protect any archival materials from any acid content that may be present in the card, which could potentially cause your collage to yellow over several years.
Boards
If you use a fluid glue and apply paints to your collage, you will need to let it dry between boards for it to dry flat. Sheets of glassine on either side of your work, followed by boards or books big enough to cover the whole of your work, will do the trick. The glassine will easily peel away from most surfaces and ensure your collage doesn’t stick to your boards! Once your collage is dry and flat you might like to work further into it or finish it with a sealant or varnish.

Working into your Collage
Sometimes, adding drawn, printed or painted elements to your collage can help to accentuate shapes or add detail. Some media, such as watercolour or ink, are best applied to a surface with a degree of absorbency, so it’s best to use these colours before sealing or varnishing your work. If you know you’re going to work with such media, it’s more important to try to avoid using too much glue when making your collage, as the glue may not take the watercolour or ink, if it has bled out from under the pieces of paper you have stuck. Other media, such as acrylics, oils, or pigment pens, can be applied on top of sealed surfaces.
Sealant/Varnish
An artist spray varnish offers a thin layer of protection that will not wrinkle your collage on application. Mod Podge, as previously mentioned offers a durable coating, and is water-based and non-toxic – so it’s easy to apply if working at home or in a space with limited ventilation. Alternatively, a few layers of acrylic varnish, which is available in matt, gloss and satin, will provide a durable and archival layer of varnish. Some varnishes also offer protection against the damaging effects of UV light.
Glossary of Collage Terms
Assemblage
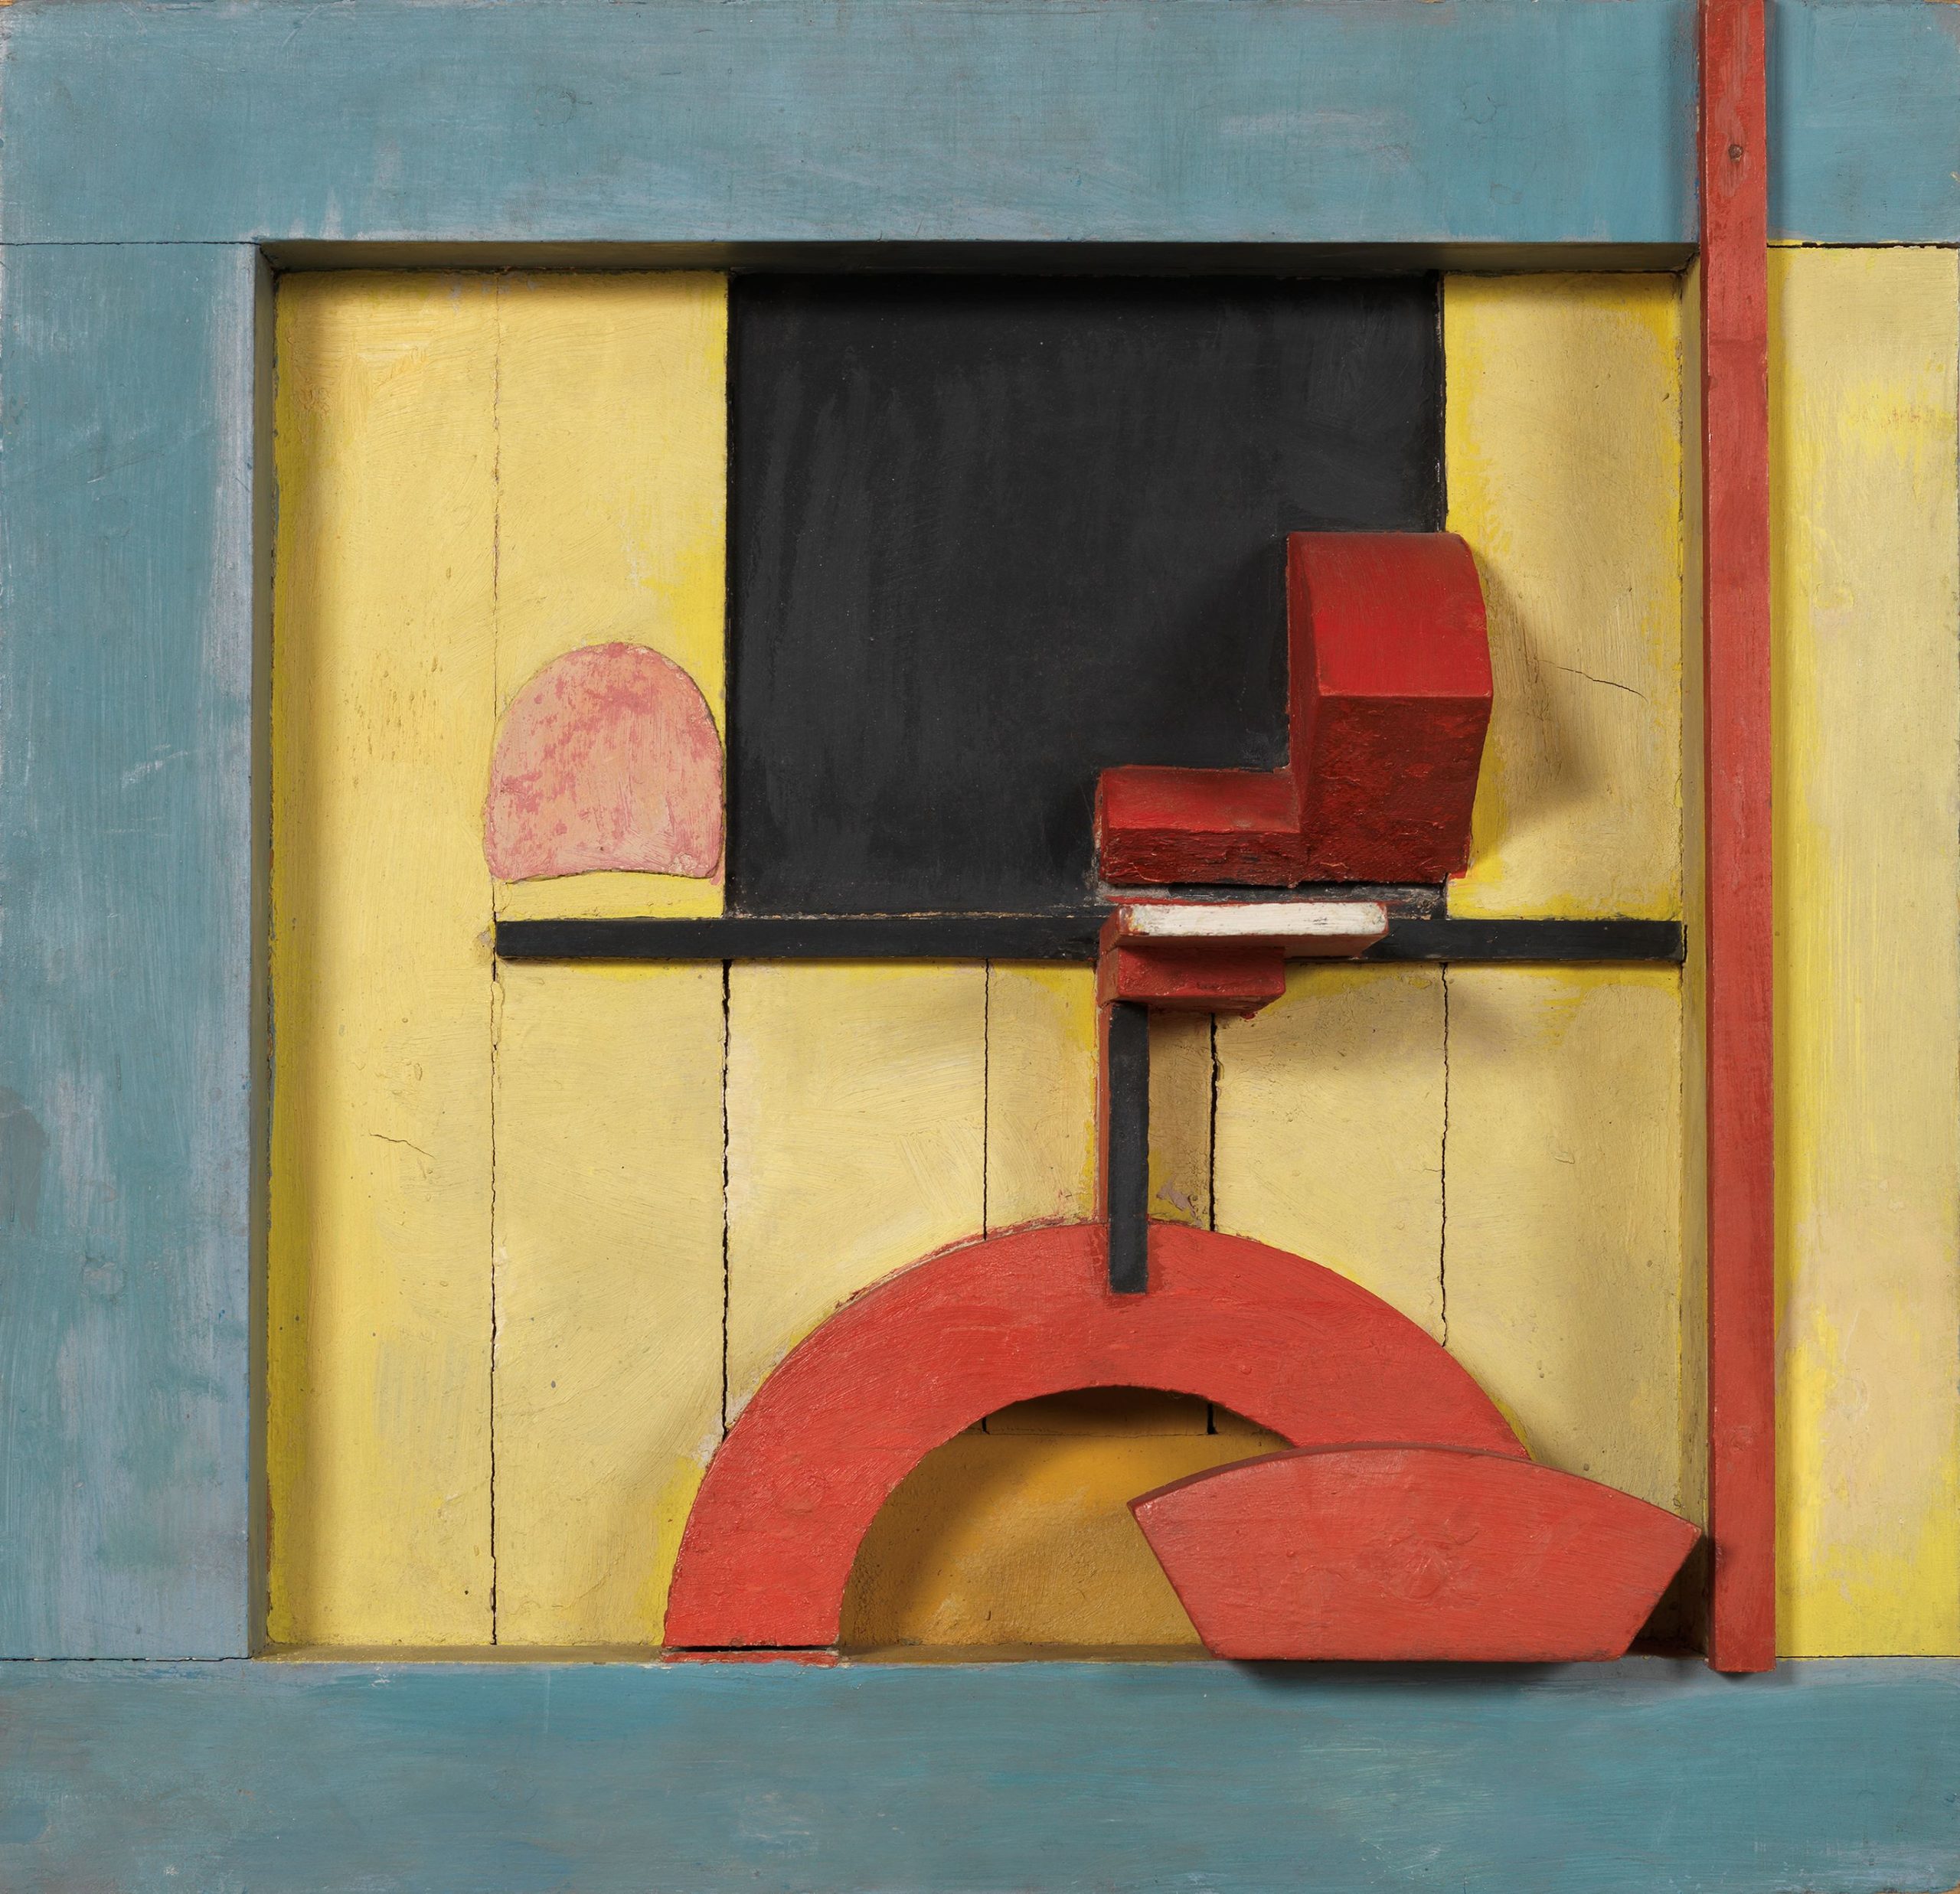
Kurt Schwitters
Assemblage and oil painting on panel, 49.5 x 50.2 cm | 19.5 x 19.8 in.
Collection Thyssen-Bornemisza Museum
An assemblage is a three-dimensional collage, with elements that project out from the support of the work. The materials used in an assemblage usually include found or ready-made elements, although not always. Assemblage as an art form came to prominence in the early twentieth century and was used by Cubist artists such as Pablo Picasso, Dadaist artists such as Kurt Schwitters, and Pop Artists including Robert Rauschenberg and Tom Wesselmann.
Décollage
Décollage is essentially the opposite of collage, where a material or object is deconstructed, perhaps by peeling away its layers, to expose its otherwise unseen characteristics. It is closely associated with Jacques Villeglé and the nouveau realism movement of the 1960s, who made art from layers of pasted posters ripped from walls in the street, which were then fixed onto stretched canvases.
Decoupage
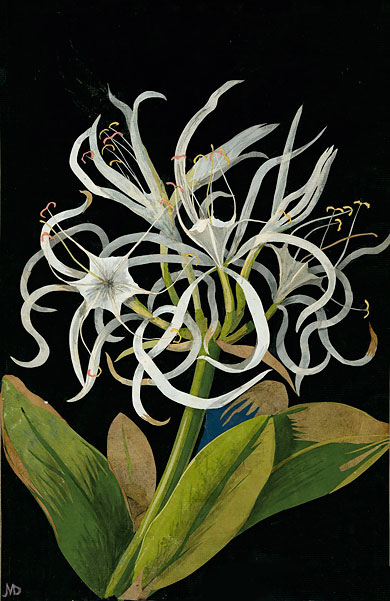
Mary Delany
Collage of coloured papers, with bodycolour and watercolour, on black ink background, 35 x 22 cm | 14 x 8.7 in.
Decoupage is a term used to describe collaging papers to objects to add decoration, but it is also used to describe collages that have been made on a flat surface, that have then been sealed or varnished with layers of lacquer, resin or varnish.
Mixed Media
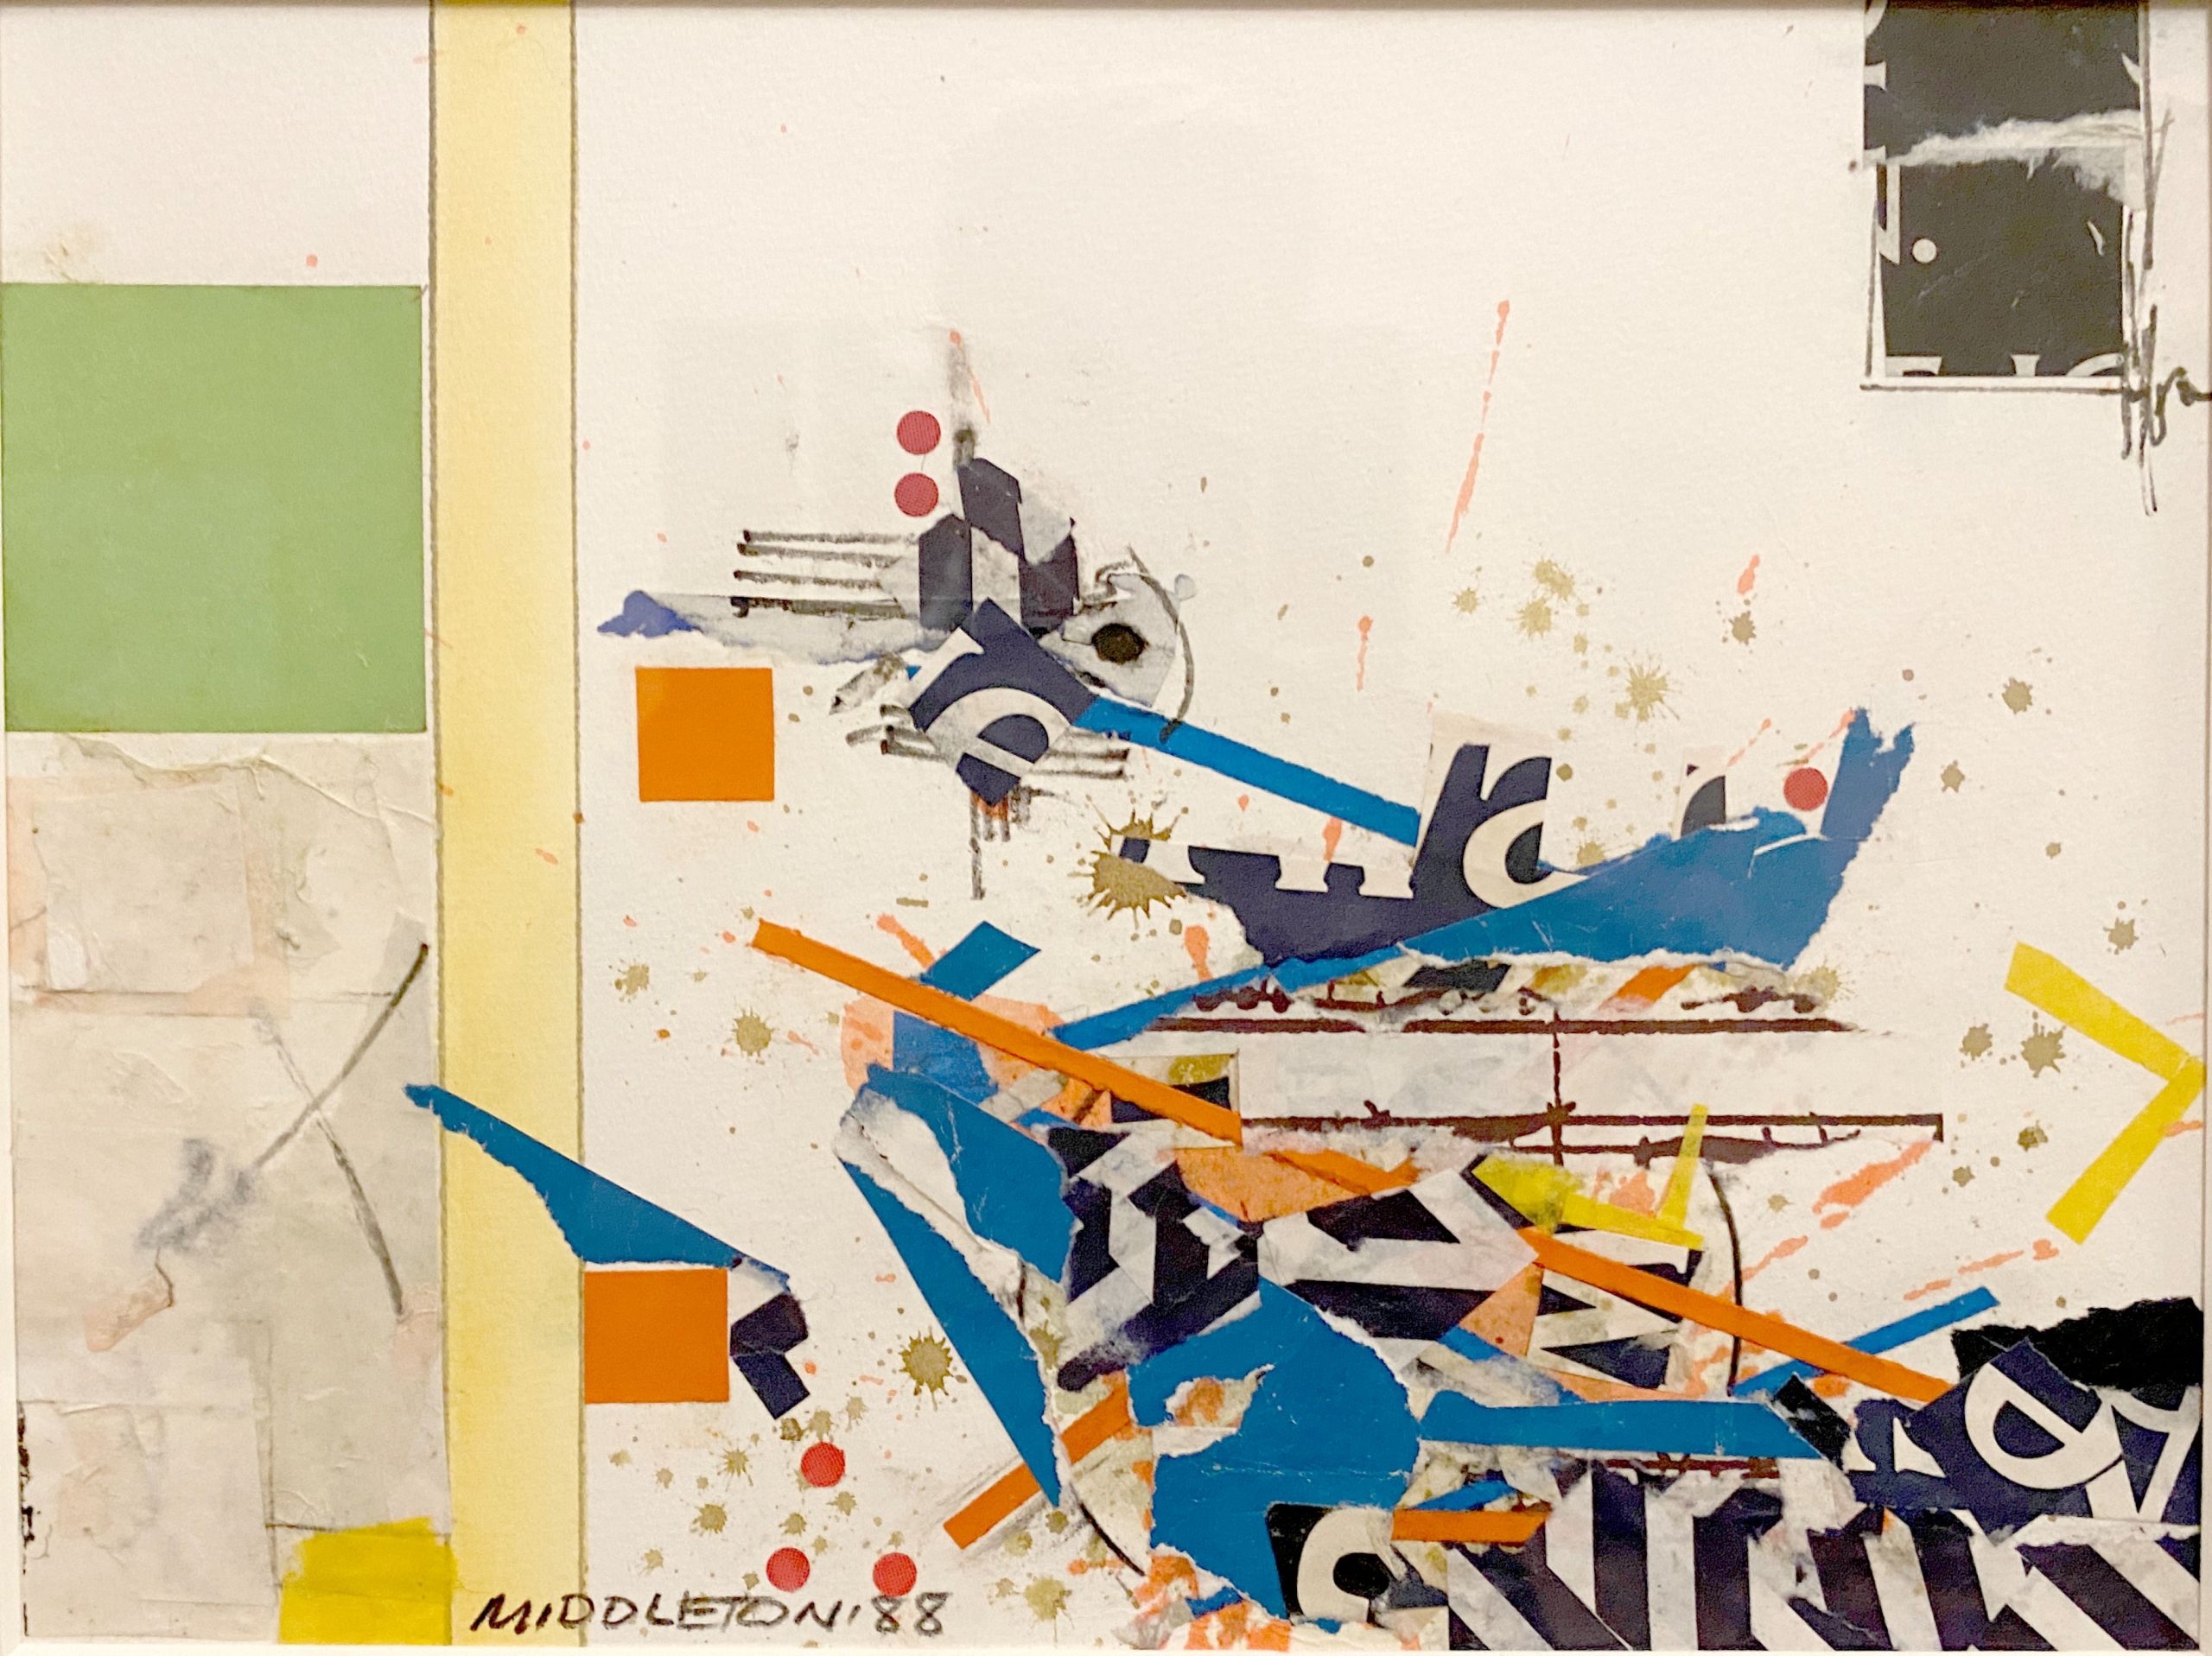
Sam Marshall
Collaged Media, Dimensions Unknown
A term to describe any work of art that uses a combination of different materials, such as paint and paper on collage, or printmaking and drawing on paper.
Montage
A collage is made up of images that have something in common with one another, which are used usually to communicate a specific message. A photo montage is a montage that has photographic elements incorporated into the work. Photomontages often have a political aspect to them, some of the very first were made by the Dadaists as protest art against the First World War in 1915.
Papier Collé of Paper Cut Out
This article is primarily concerned with Paper Collé, as it addresses the art of making an image constructed of different papers, rather than including other materials in the work. Georges Braque and Pablo Picasso were early practitioners of paper cut-out art, making still life arrangements in 1912, while immersed in their invention of and exploration within Cubism. Later on, in the twentieth century, Henri Matisse threw himself into the art of paper cutouts during his last years, making a huge volume of large-scale, expressive and colourful work.
Further Reading
Interviews with artists who work with Collage
Artist Insights: Ann Witheridge
Holbein Artists’ Gouache Irodori Autumn Palette Review
Shop Paper and Card on jacksonsart.com


16 thoughts on “Collage for Beginners – What You Need To Get Started”
Hi Lisa! I live in Somerset and would
love to know where you exhibit. Your
lesson on collages is giving me food for
thought. Thank you so much and Happy
Christmas!
Dear Patience,
Thanks so much. More information on my work can be found at lisatakahashi.com.
Many thanks
Lisa
Thanks Lisa, this is really helpful 🙂
Thanks Tracey!
As an experienced Collage artist, I also
found this article very interesting. Thank
you for sharing your tips.
Oh thank you Raina!
Informative regarding materials with clear
instructions concerning use and durability.
Also identified new or recently available
materials for consideration
Thanks Diane!
Agradezco los articulos tan especificos y
desarrollados que sirven de informacion
basica, apoyo y promocion para todos los
que nos interesa el mundo de la expresion
gráfca y artisica.
Muchas gracias!
Great article Lisa. I use Matte Medium for collage, no shine
Thanks Sally! Ah interesting, good tip!
I thoroughly enjoyed this well-written and Informative
article. It contains so much inspiration, I can’t wait to get
started.
Thanks so much for your comment!
Thank you Lisa for this in-depth, easy to
understand and reference write-up. So
appreciated!
Thanks so much Renée!
Comments are closed.