



Woodcut printmaking is a wonderfully versatile medium with a rich history, and relatively few tools and materials are needed to get started. This article describes the process of getting started with woodcut prints, explaining the materials and tools you need to create your first print at home.
Contents
What does woodcut printmaking involve?
What’s the difference between Japanese and European woodcut printmaking?
Essential tools for woodcut printmaking
Colour in Woodcut Printmaking:
Inking up a single block with multiple colours
Printing with one block (reduction method)
What Does Woodcut Printmaking Involve?
Woodcut printmaking involves carving an image into the surface of a block of wood, rolling ink onto it, and then taking an impression or print. It is the oldest form of ‘relief printmaking,’ where the print comes from the surface of the block. Two distinguishable approaches to woodcut printmaking exist: one from the western tradition and the other from the eastern tradition. Eastern woodcut printmaking techniques date back to 9th-century China, while Western woodcut printing developed with the invention of the printing press in 14th-century Germany.
What’s the Difference Between Japanese and European Woodcut Printmaking?
The key difference between Japanese and European woodcut printmaking is the printing method. In western printmaking, oil or water-based relief ink is rolled onto the block, and printed onto heavyweight cotton paper, traditionally with a press. In Mokuhanga or Japanese woodblock printing, water-based paint, ink, or pigments are brushed onto the woodblock with sosaku or inking brushes. The printing is then done with hand pressure, using a disc made of string and bamboo leaf called a ‘baren’, onto very thin and strong paper. A press is never used, and colour is built up by printing by layer upon layer. See our article on Japanese woodcut printmaking for more information on the technique. Some of the most famous woodcut artists include Katsushika Hokusai and Katsushika Hokusai in the East and Albrecht Durer and Kathe Kollwitz in the West.


Essential Tools for Woodcut Printmaking
Soft Pencil and Tracing paper or Carbon Paper
Drawing your design onto the wood block as a guide before cutting makes the process of cutting the wood easier. But remember, your image will print back to front. So for text or designs where the orientation is important, trace the image onto tracing paper from your sketch, then flip and copy it onto the block using tracing paper with carbon paper or a soft pencil rubbing. Rub the soft pencil over the lines you want to transfer, then flip the tracing paper to transfer the pencil line. You can find this technique explained further here.
The Woodblock


Japanese Magnolia 10 mm Side Grain Wood Block
There are a variety of woods to choose from and blocks are specially prepared for woodcut printmaking to ensure even and consistent printing. The wood used in Jackson’s Baltic Birch plywood is dense and fine grained, which allows it to be cut into cleanly and evenly providing you’re using sharp tools. As it is 9 mm thick, it will not split or weaken as it is carved providing you cut into it at a standard depth of around 2-3 mm. It is available in five sizes, ranging from 106 x 145 mm to 605 x 915 mm.
The Jackson’s Japanese Magnolia block is 10 mm thick and can be carved on both sides, which is great when you are still experimenting. Magnolia is softer and smoother than plywood, which makes it better for printing large areas of colour. It is available in two sizes.
The Japanese Katsura block is 13 mm thick, and can be carved on both sides. It is excellent quality and is great for finer detailed carving. You can also use Japanese Katsura blocks with water and oil-based ink, even though they are designed for Mokuhanga.
Carving Tools


Pfeil Linoleum And Block Cutters
Japanese Woodcarving Tool, Set Of 5 With Sharpening Stone
Essdee Lino Carving Tool Set, Handle With 5 Blades
Good, sharp tools will minimise the risk of them slipping across the surface. A simple, inexpensive set of woodcutting tools is a good way to start. The basic Jacksons woodcut set contains five knives in different sizes, with sturdy wooden handles which are easy to grip. The different blade types create different marks in the wood – from the V shaped tool for detailed lines to the large U shaped tool for clear areas around your design. There are also sets of 8, 10 and 12 that will provide more choice of tool sizes. Those sizes are described using the blade type and width in mm – e.g. V-Straight Parting Chisel 6 mm.
Investing in more expensive carving tools can be cost-effective in the long run, as good quality tools can last a lifetime if properly cared for. Pfeil make a range of tools suitable for both linocut and woodcut in various sizes, individually and in sets. Their mushroom-shaped handles are designed to fit into the palm of your hand. The tools each have a number – e.g. 1/8 which refers to the curvature and the width of the blade in mm. Flexcut are another excellent quality option and are available in a range of sets, from micro for fine detail to wide for clearing areas and larger work.
Sharpening Tools
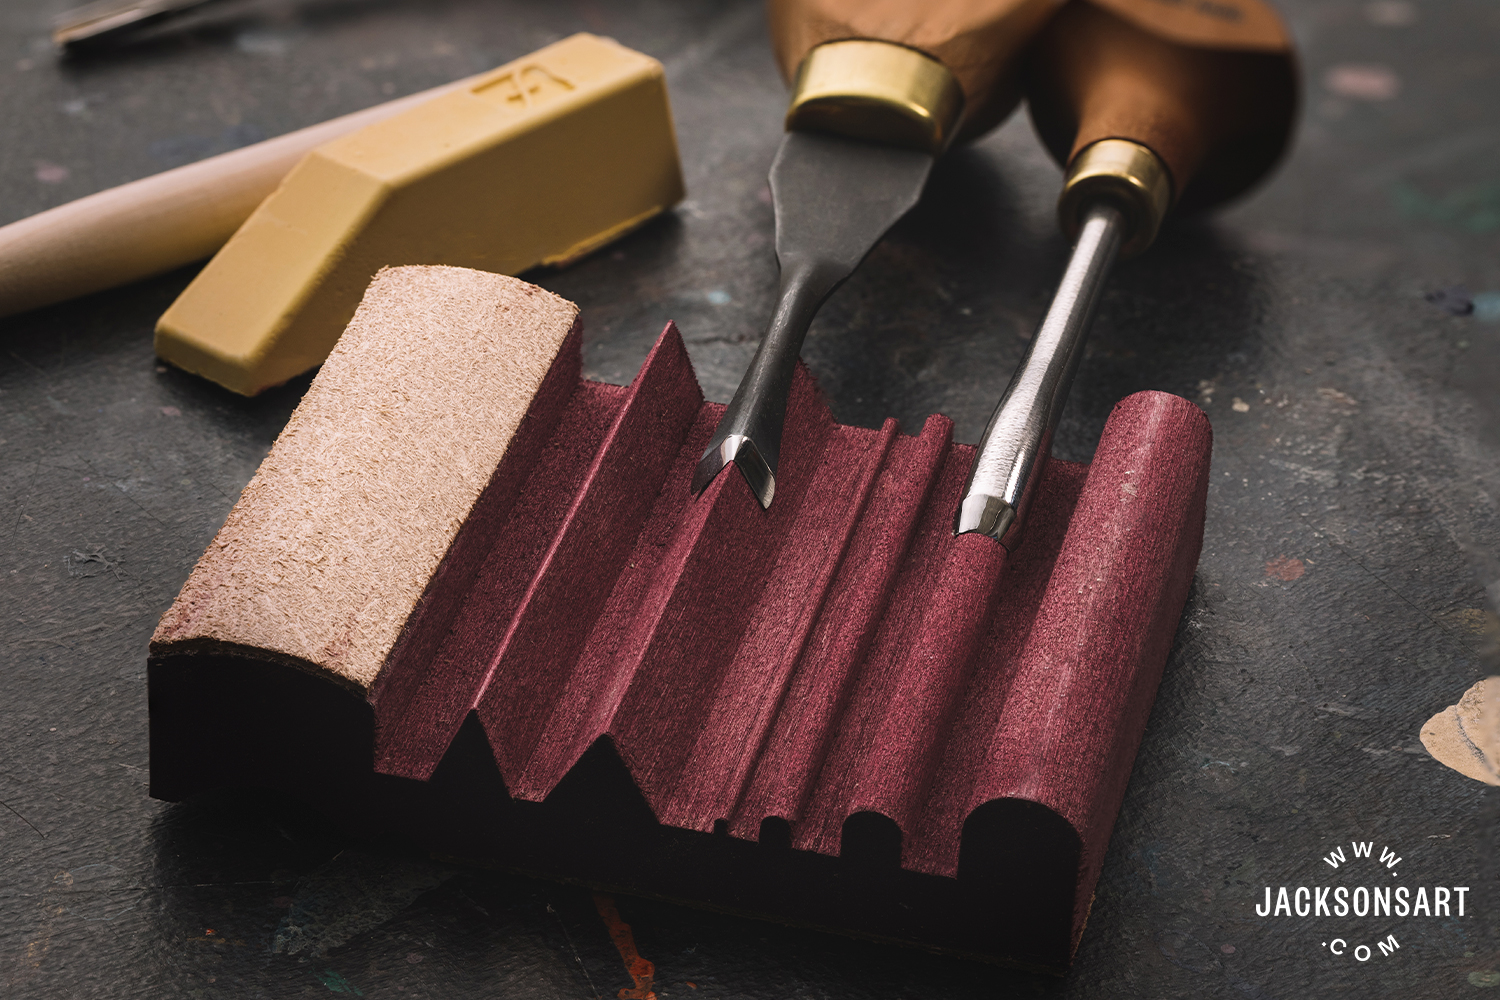

Round India Sharpening Stone Double Sided Oilstone, 25 mm Depth, 100 mm Diameter
Sharpening Stone Japanese Deluxe Multiform Waterstone 1000 Grit
Flexcut Slipstrop Carving Tool Sharpening Kit
It is essential that woodcut tools are kept sharp, otherwise they will slip and slide over the surface of the wood. Colin Blanchard wrote an article on sharpening tools, which is a comprehensive guide. For retaining sharpness, the Flexcut slipstrop is excellent for maintaining your tools.
Roller or Brayer


Cold Wax Academy Soft Rollers / Brayers
Speedball Soft Rubber Rollers / Brayers
Japanese Hard Rubber Roller / Brayer
In woodcut printmaking, a roller or brayer is used to roll a thin layer of ink over the surface of the wood. They are made from durathene or tough rubber and have a sturdy handle. The shore value on some rollers refers to their softness – hard is over 50 shore and soft under 50 shore. For woodcut, a softer roller is recommended to obtain better coverage on uneven blocks. The Esdee soft lino rollers and Japanese soft rubber rollers come in a variety of widths. It is recommended to choose a roller that will cover the whole width of the wood block, however, it is a good idea to use a middle sized roller (7-10cm) when starting out. And if looked after well, it will last for years, so it is important to clean your roller thoroughly after use.
Ink


Cranfield Traditional Relief Ink 75 ml : Light Green
Cranfield Safe Wash Etching Inks
Schmincke Aqua Linoprint Ink 20 ml Set Of 5
Woodcut printmaking uses relief printing inks, which are designed to roll out evenly and print without sticking to the block, preventing an uneven print. These inks fall into three main categories based on the binder used with the pigment.
Water-based Ink
Water-based inks use natural binders like gum arabic and are water-soluble. They clean up easily and dry quickly, making them a good choice for younger printers or those printing at home. Schmincke Aqua linoprint is an artist quality ink which comes in three sizes and a wide variety of colours.
Watersoluble Oil-based Ink
These oil-based inks are as colour-rich and buttery as any other, but you can clean them up with soap and water, without needing solvents like white spirit or turpentine. This makes them easier to use if you print at home or want to avoid harsh solvents. Cranfield Caligo Safe Wash Relief Inks are one such range of water washable oil based inks that are good for printing at home or at the studio.
Oil-based Ink
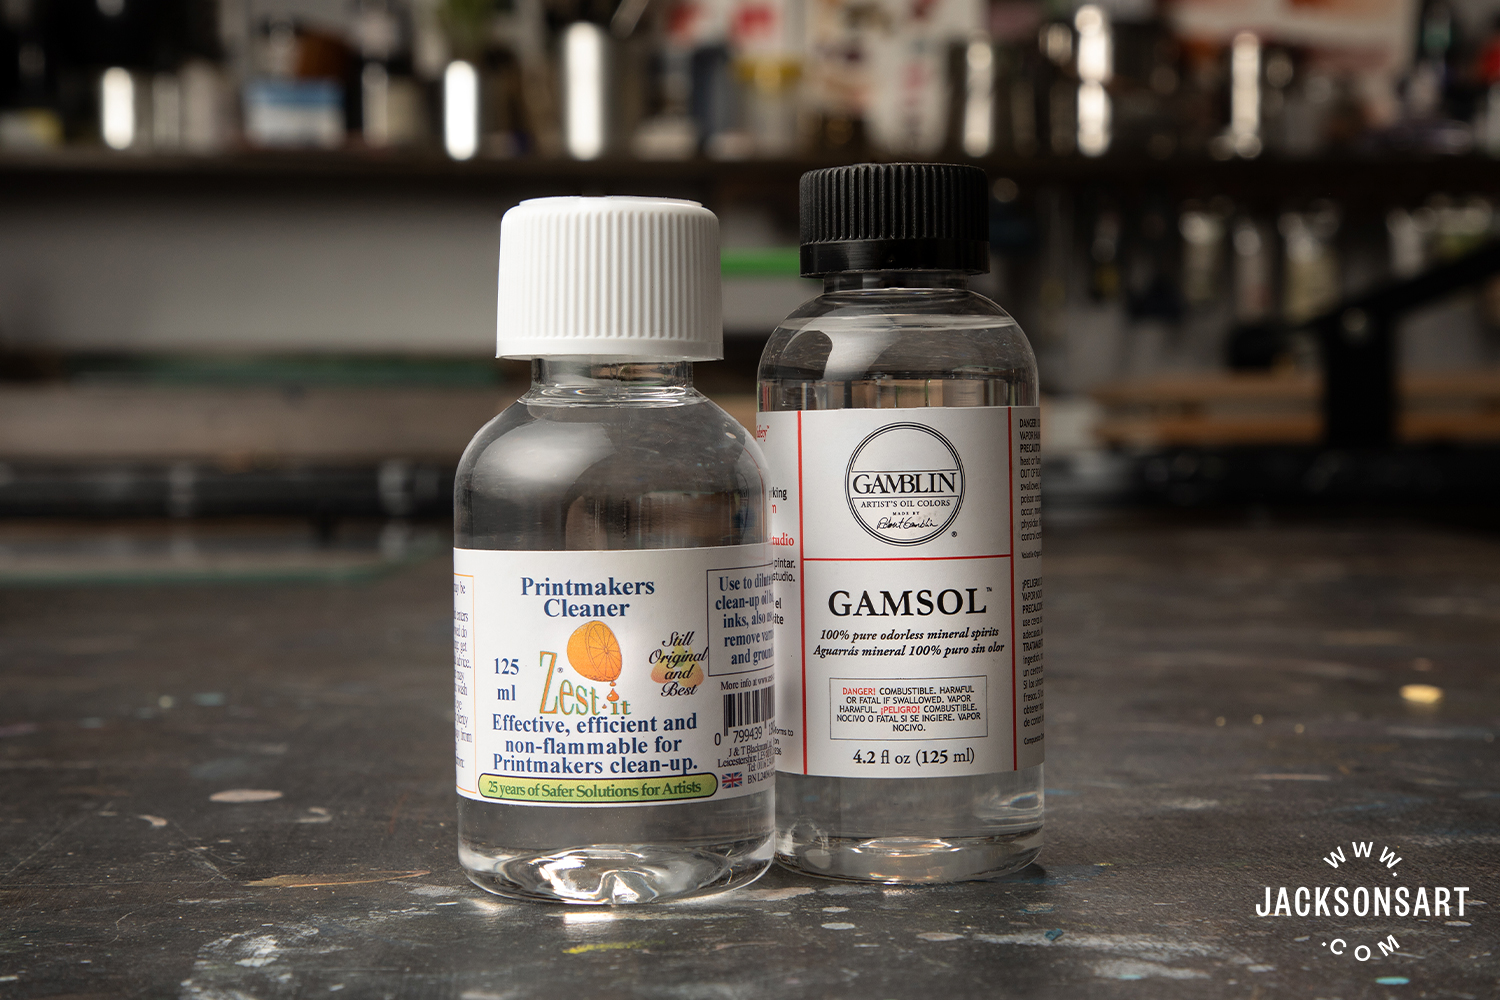
Oil-based inks have an enduring popularity within the printmaking community, and their rich, smooth colour still make them the choice of many printmakers. You can clean up without harsh solvents, by using vegetable oil and newspaper or a rag, then a plant-based solvent like gamsol. Follow this with a glass washer or multi-purpose spray if the surface is still greasy. Cranfield Traditional Relief Inks come in a range of sizes and 62 colours.
Inking Slab
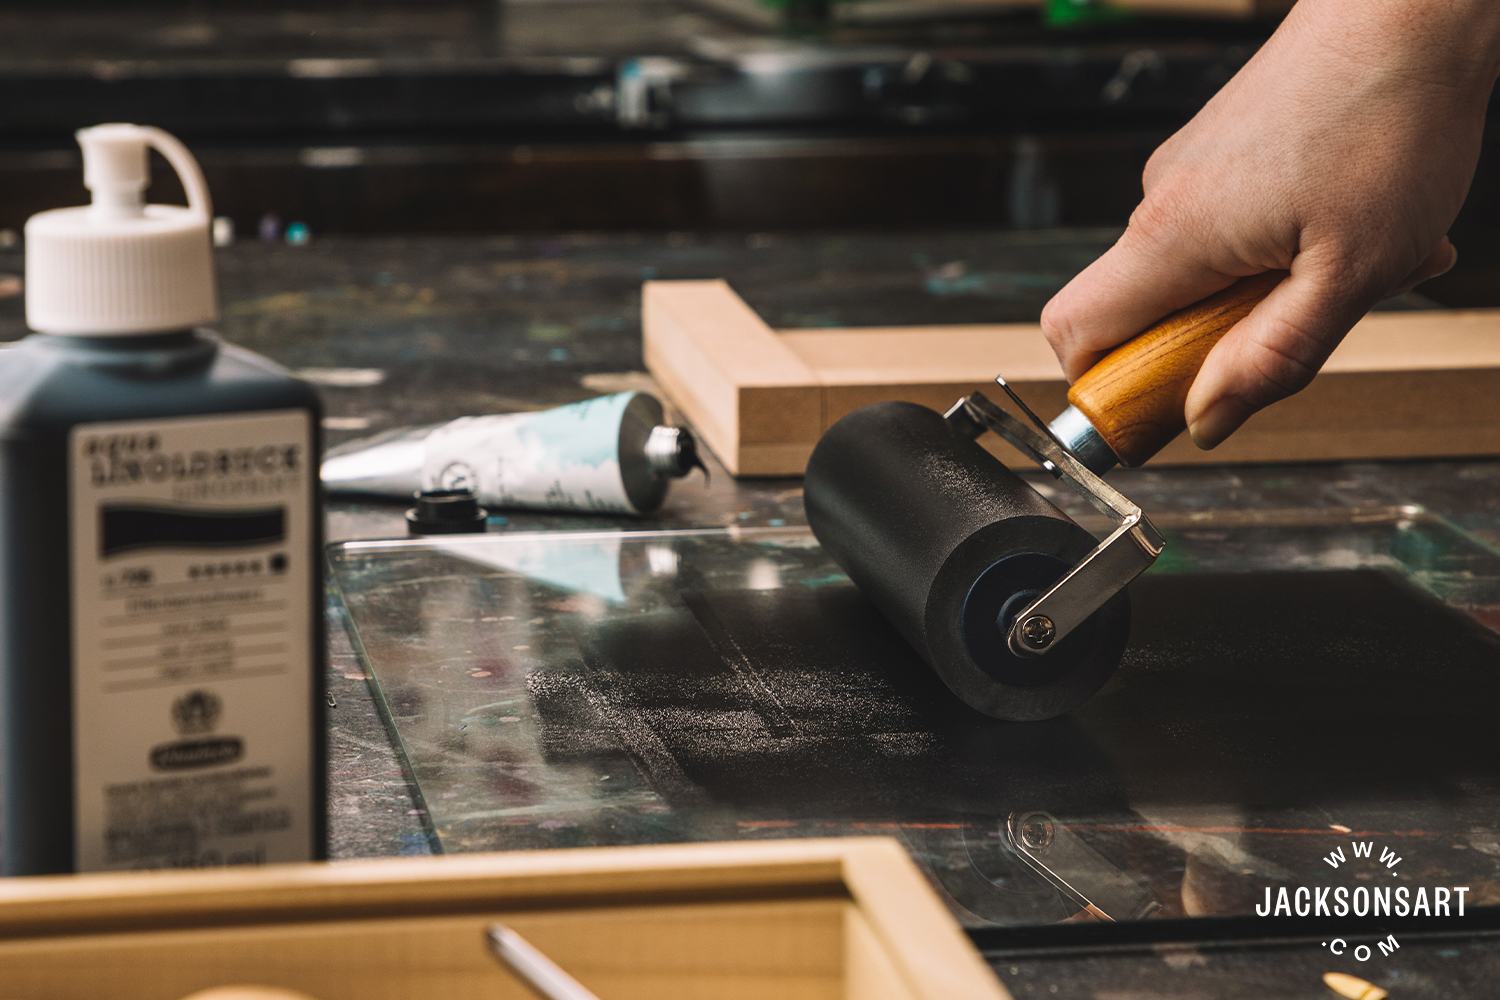
To ensure an even distribution of ink on the roller, a thin layer of ink is first rolled onto a smooth, non-absorbent, and even surface before inking the woodblock. This can be an inking slab, glass chopping board or acrylic sheet.
Printing Press or a Baren
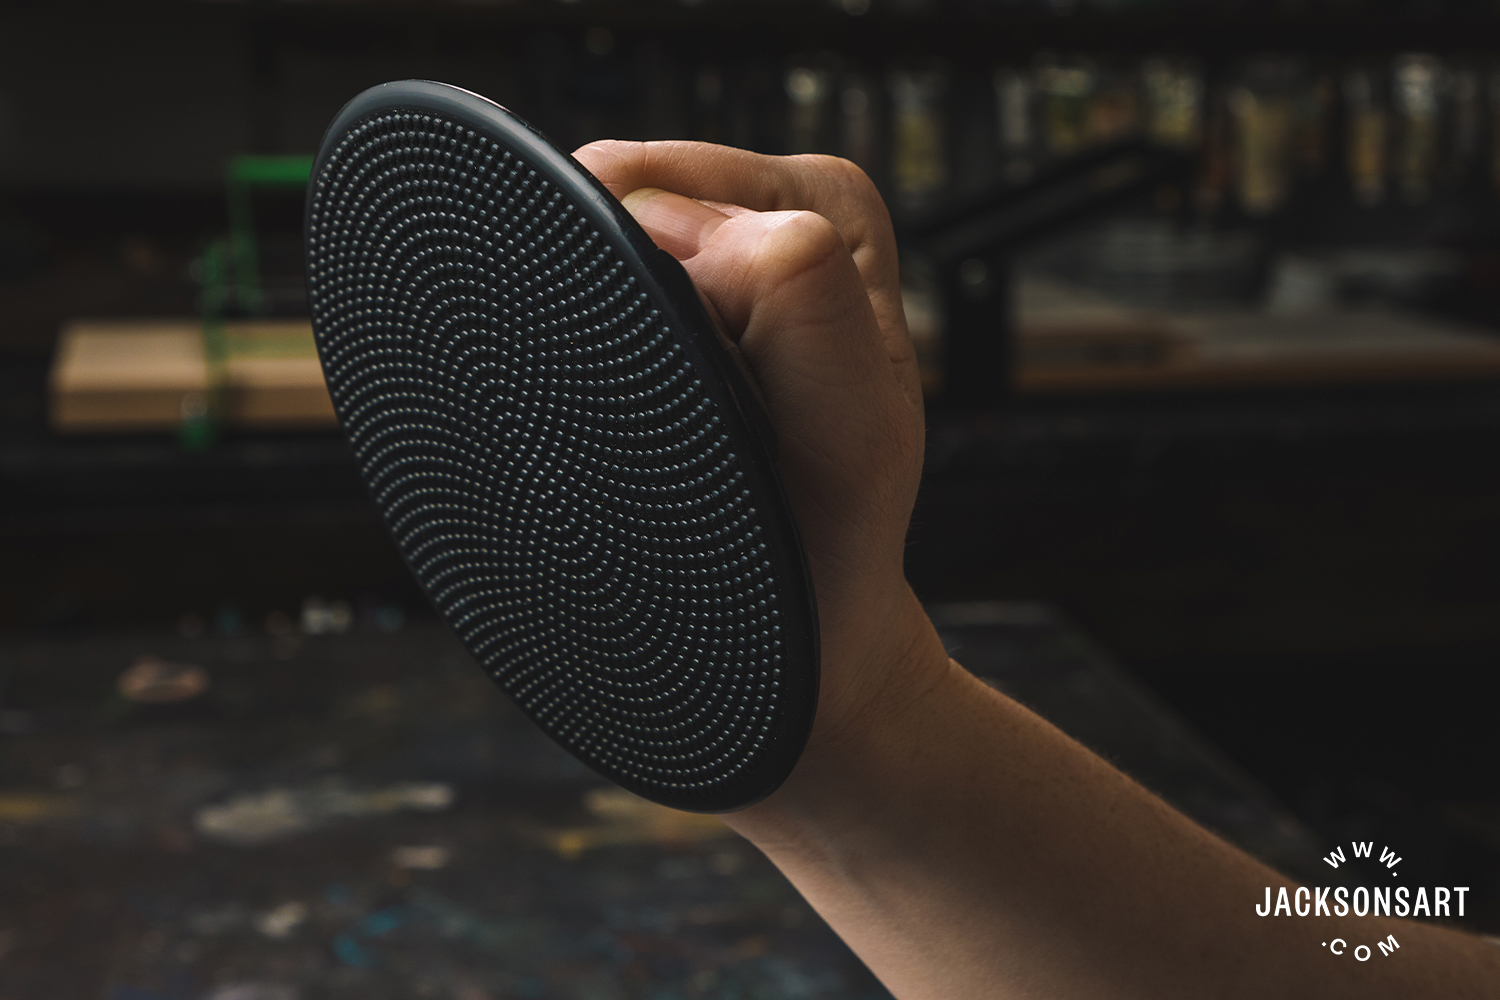
To print a woodblock, you need pressure to transfer the image from the wood to the paper. You can achieve this by hand with a baren — a flat, round disc with a handle. To print, you rub the back of the paper, which is placed face down on the inked woodblock. A Japanese baren consists of a coil of string backed onto a round piece of card or board, then wrapped in a bamboo leaf with twisted ends tied together to form a handle. The finest barens can cost hundreds of pounds, but the cheapest are affordable. While you can use the back of a spoon, a baren is flatter and covers a larger area. A spoon, with its curved surface, only makes small contact, but it can be useful for applying more pressure to a specific area of your print. The Speedball baren is a sturdy alternative, made from plastic and padded with foam. Japanese hard plastic barens have little raised bumps on the surface which are another alternative.
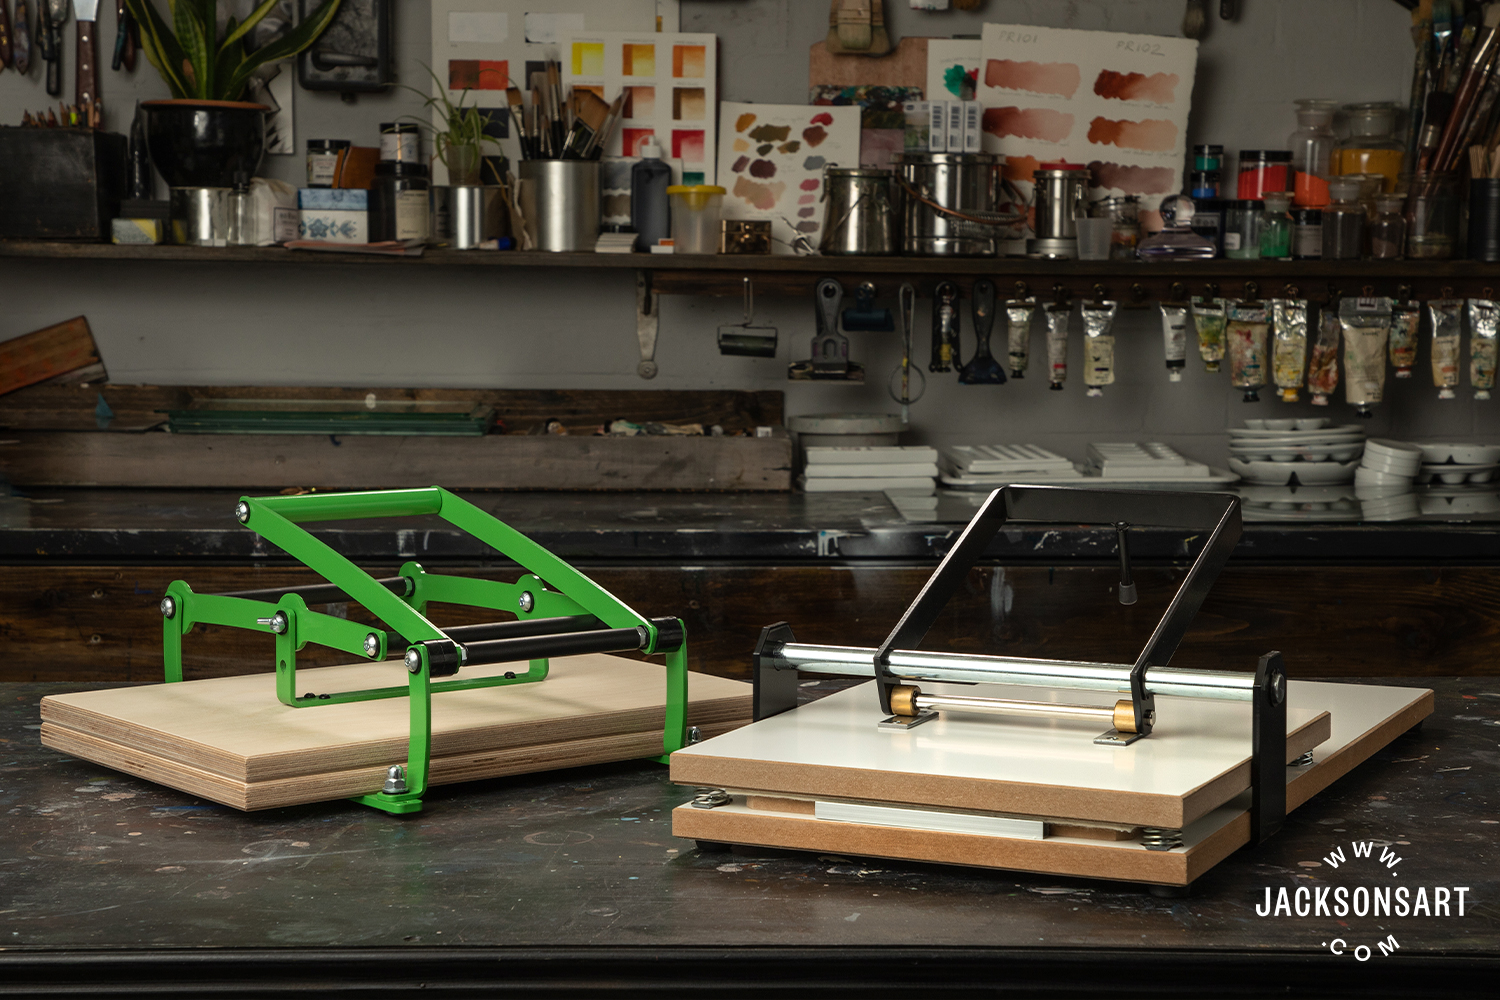
It is possible to produce prints more consistently and quickly with a printing press, especially if it is a large edition. The Pooki Press is a great little relief printing press which is sturdy but portable. It will print up to A3 and is also suitable for lino and vinyl. The Fome Manual Lino/Wood Press is another great starter press that is easy to move around. You can also use some etching presses for woodcut printmaking, as long as the cylinder can be raised to accommodate the thickness of the block you are printing. If you’re unsure, check with the manufacturer.
Paper
Paper makes a noticeable difference in how a print turns out. For relief printing, the paper must be tough enough to withstand the printing process and smooth enough to ensure even ink pickup. For test prints and experiments, you can use newsprint or basic cartridge or printer paper – anything that doesn’t have too much tooth.
European and American papers for relief printing are smooth and heavyweight, usually made from cotton or wood cellulose, while Japanese papers are thin, light, and incredibly strong, often made from other plant fibers.Read our article on printmaking papers for further more information.
Colour In Woodcut Printmaking
There are three main ways to introduce colours to your prints:
Inking up a single block with multiple colours:
You can achieve this by applying different colours to different areas of the block, using a separate roller for each colour. The downside is that fine detail is difficult to achieve with a roller. You can create finer detail more easily with Mokuhanga, where you apply ink with brushes.
Printing with multiple blocks:
This method requires a separate block for each colour. For example, if the design has four colours, you will carve four blocks, each with shapes for one colour. You will then print the blocks on top of each other to create the complete image. The white (or other colour) of the paper will act as an additional colour. During printing, you must place each woodblock precisely on the paper. This process, known as ‘registration,’ ensures the image aligns correctly. Many printmakers prefer Ternes Burton registration pins for their reliability.See our article on creating multi-block prints for further information.
Printing with one block (reduction method):
This method uses one block which is carved then printed in the first colour, carved again then printed in the second colour, carved and printed in the third colour and so on until the edition is printed. Care must be taken over registration of the block for each colour. This method is also known as the ‘suicide print’ as a mistake in cutting can spoil a whole edition of prints, while a mistake in printing the final layers can reduce the number of prints you can produce!
The process of woodcut printmaking is deeply satisfying. Working with an organic, sustainable material, carving the design, rolling ink, and experiencing the surprise when your image turns into a print all make it a unique experience. With just a few simple tools, you can experiment, play, and print your own editions.
Further Reading:
Hilary Daltry Re: Woodcut Prints without a Press
Everything You Need to Know About Printmaking Paper
Mokuhanha: Japanese Woodblock Printmaking
The Best Way To Transfer Images To Lino


2 thoughts on “Woodcut Printmaking For Beginners – What You Need to Get Started”
Hi, I was wondering if there was any news on
the Pfeil Colin Blanchard set stocking any
time soon? Its due date has been unavailable
for some time. Thanks!
Hi! I apologise for your having to wait for the set. Looks like it will be a little less than a month still.
I checked with our buyer and he said:
For RKFSCB5, we’re justing wait for RKFL11/1 to arrive, should be back in stock within 4 weeks.
Comments are closed.