



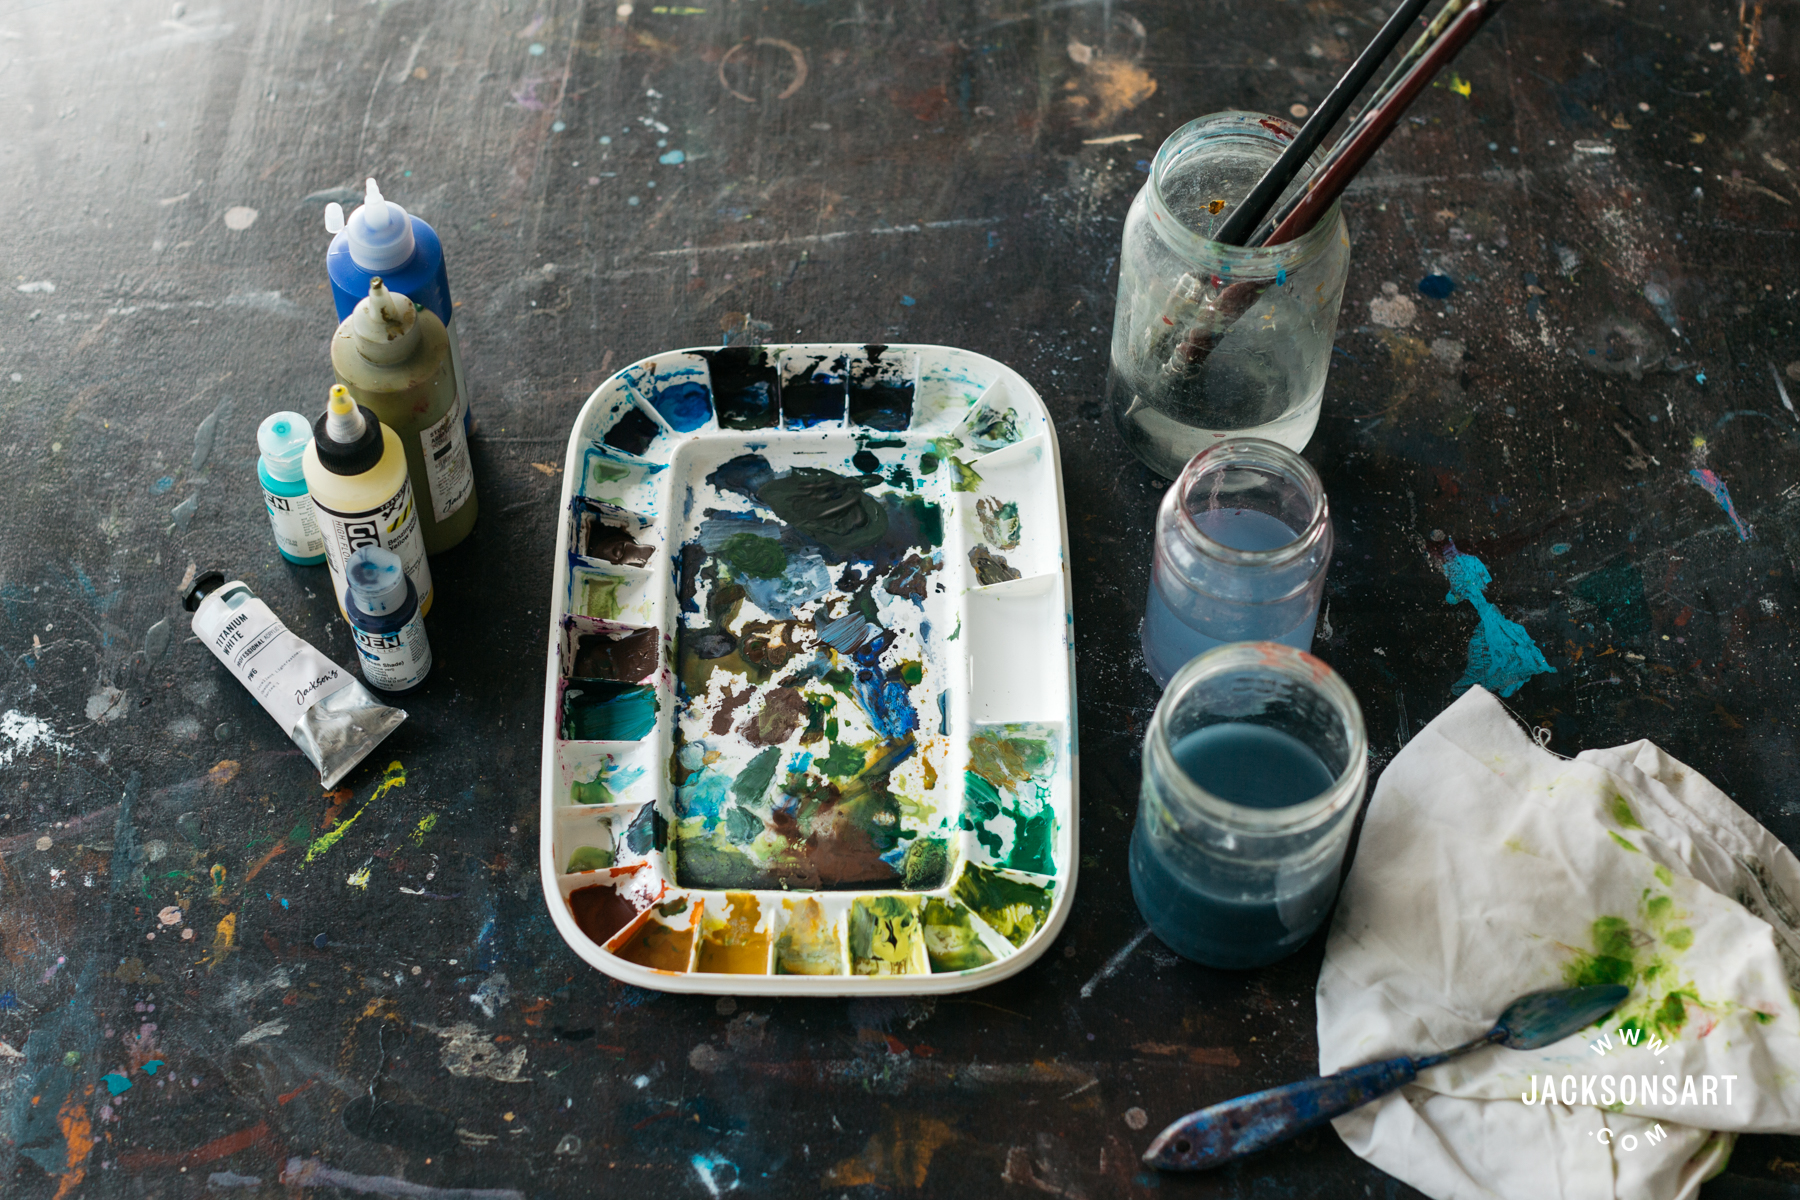
I was surprised to find out that the container of rinse water from acrylic painting, that gets poured down the sink, actually contains microplastics. I looked into it to find out how much of a problem it is and what steps acrylic painters can take to reduce their impact on the environment.

Acrylic Painting and Microplastics
History of Acrylic Paint
Acrylic paint as we know it today has only been around for about 60 years. Unlike oil paint which has been used by artists since about 1400, acrylic paint is a more recent invention. At the beginning of the 1900s, a solvent-based acrylic emulsion was starting to be used for industrial applications. In the 1920s, painters in Mexico took it up for painting outdoor murals because it dried fast and was flexible and durable enough to last outdoors. By the late 1940s mineral spirit acrylics were being produced for artists for painting on canvas and were being tried out by well-known artists in the US and Europe. In the mid 1950s the first water-based acrylic paint was developed. It was fairly fluid, with the drippy body of house paint. The first heavy body, water-based, acrylic paint for artists wasn’t developed until the 1960s. The Pop Art movement embraced this and brought acrylic paint into popularity. Modern, artist-quality acrylic paints are lightfast, flexible (so there is no need to adhere to the fat-over-lean principle you have with oil paint to prevent cracking), will stick to almost any surface, can be diluted to resemble watercolour or use thickly to resemble oil paint, have the widest selection of mediums to modify the paint, are very user friendly for beginners and well-respected for professional artists, and they are extremely versatile.
Painting with Acrylics Creates Wastewater
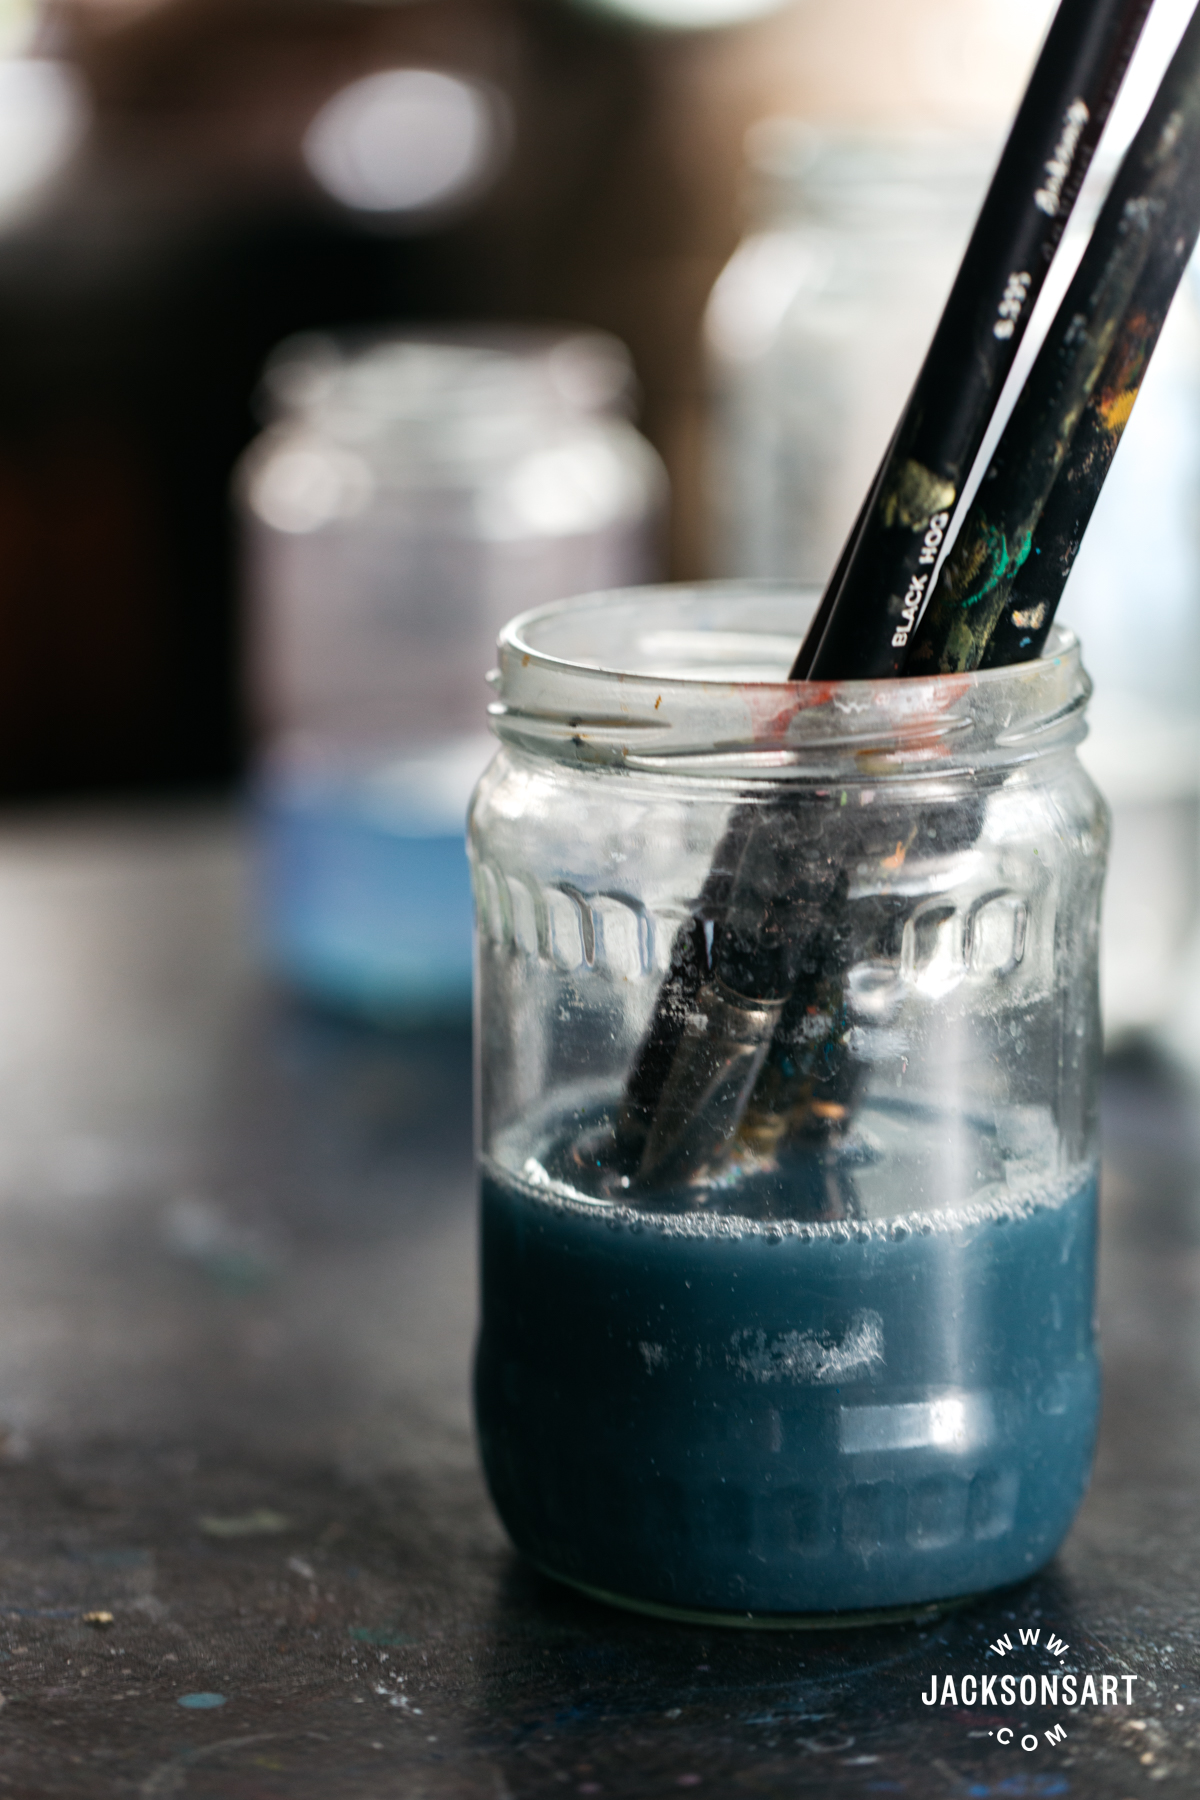
Because acrylic paint dries fast, brushes are often left in a container of water until they can be washed and brushes are dipped in the water container often during the painting process and rinsed there to change colours. So at the end of an acrylic painting session the artist not only washes their brushes in the sink but pours a container of paint-filled water down the drain as well. For many years I have been answering artists’ questions about how to responsibly dispose of acrylic paint waste water and how to responsibly wash brushes. The focus had been on preventing the more toxic pigments from going down the drain. But now, as we are becoming more aware of the problems that microplastics in the water supply pose to the environment, more artists are starting to be concerned about the acrylic polymer part of the paint – the plastic – entering the water supply. I’ve done some research and spoken with a chemist that makes acrylic paint.
Acrylics and Microplastics
Acrylic paint is composed of molecules that remain individual until the water evaporates, when they then clump together (polymerise) to form a paint film, dried either on your palette or on the painting. If we wash off our acrylic under the tap then we heavily dilute and separate those small globules of acrylic so that they will not come back together to form larger macro components. In this way they remain a microplastic with the potential to pass through various water screening/filtering processes, depending on the individual water treatment plant practices or capabilities. What gets through can then be released into water systems, such as rivers or returned to reservoirs where it can enter the food chain. These microscopic particles are microplastics, though they are not as dangerous to aquatic life as the larger microbead size particles which fish mistake for food, eat and then die from internal blockages and lack of nutrition.
What are Microplastics?
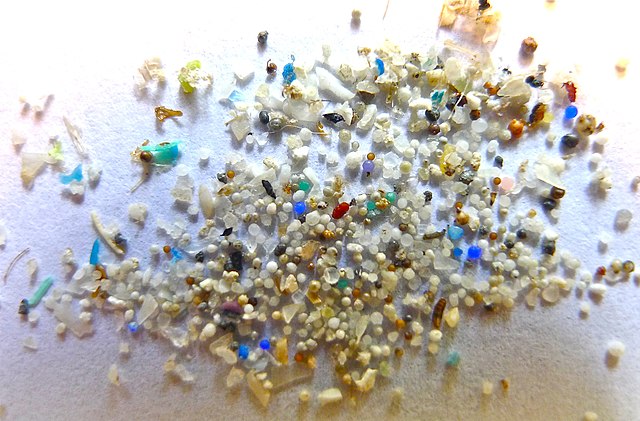
The pollution of seas and waterways with microplastics is considered a major threat to sea life and potentially also to humans consuming fish or other sea creatures. Microplastics are also in our tap water. Microplastics are less than 5 mm in size and can be divided into two categories. Primary Microplastics are intentionally made as small plastic particles. This includes the microbeads in rinse-off cosmetics and toothpaste, and the plastic pellets called nurdles, that will be melted down to make plastic objects, and are often spilled from trucks and railway cars. Secondary Microplastics are plastic particles that result from the wear and tear of larger plastic articles such as packaging materials, rubber tyres (they contain more synthetic rubber than natural rubber), synthetic fibres in the washing machine, microwave food containers, water bottles, plastic bags, and paint flaking off of surfaces, etc. When you see articles about paint being a problem for microplastics in the sea, they are always referring to the paint sandblasted off the metal surfaces of ocean going ships and containers, it’s not about artist paint.
For the last five years there have been regulations in place about Primary Microplastics. But so far the only proposed regulation about Secondary Microplastics involves eventually requiring labelling that educates the consumer on better disposal. So if regulations are created, then acrylic paint tubes will probably say something like ‘Don’t put down the drain.’
A Painter’s Impact
In the scheme of all the plastic in the world, paint is a very small portion. Then, of that small portion, the amount of microplastic that comes from all types of paint (house paint, car paint, etc.) is extremely small as most ends up on walls and cars, as it was intended to. When you then consider that artist colour is an extremely small part of the coatings market compared with decorators and paint used in a whole range of industries, it’s clear that artists play a tiny, nearly invisible part, and furthermore, most artist paint goes on a canvas or board so doesn’t go down the drain. The environmental impact from the amount of plastic involved in painting with acrylic is very small compared to the amount of plastic in your shampoo, washing up, and milk bottles, for instance. You release a lot more microplastics into the environment from your washing machine if you wear clothes made with synthetic fabrics, than you do from occasional acrylic painting water. (Even if you wear synthetic clothes you can help by not buying new garments as often because most microplastics in the wash come off in the first few washings, so don’t change it out for a new garment as often. Or switch to cotton or wool.)
You could make a bigger difference by focussing on those things that are making a bigger negative impact. And most importantly, the impact made by individual people is very small, almost all pollution is made on an industrial scale. The plastic pollution created by all acrylic painters put together is less than that of one industrial fishing company leaving nets in the ocean, for instance. So, even though many artists take steps to reduce the amount of plastic that they release into the water, it is largely negligible and makes little difference to the big picture. So any such steps are really about the conscience of the artist and to feel that we are playing our part. This is very important however, and helps play a part in the wider societal psyche and mentality towards our waste – especially concerning plastics. It could be a considered, mindful part of your practice to add some steps into your painting routine that reduce any small negative impact on the environment.
Conclusion
Acrylic painting is a very tiny contributor to the microplastics problem. If you wish to make a real impact it would be more effective to encourage industry to make changes, as they are the major contributors. As an artist, I am grateful that artist paint contributes very little to the problem, and that my painting practice is probably the smallest part of my own environmental impact.
If you would like to do something about your paint water, you can easily filter the solids out of the water with a simple procedure and dispose of them with your solid waste.
Disposing of Paint As a Solid Instead of a Liquid
The best solution is to turn your paint and your rinse water into solids and dispose of them in the bin instead of down the drain. A landfill typically has very little runoff into the water supply, and the waste slowly disperses over time. Companies who manage landfills have a specialised draining system in place that collects this runoff, and the dump is typically built upon a clay reservoir. It would be drastically less severe to place solid dried paints into an area already housing waste, that would take a very long time to be released slowly in a controlled environment, than allowing it into our water system.
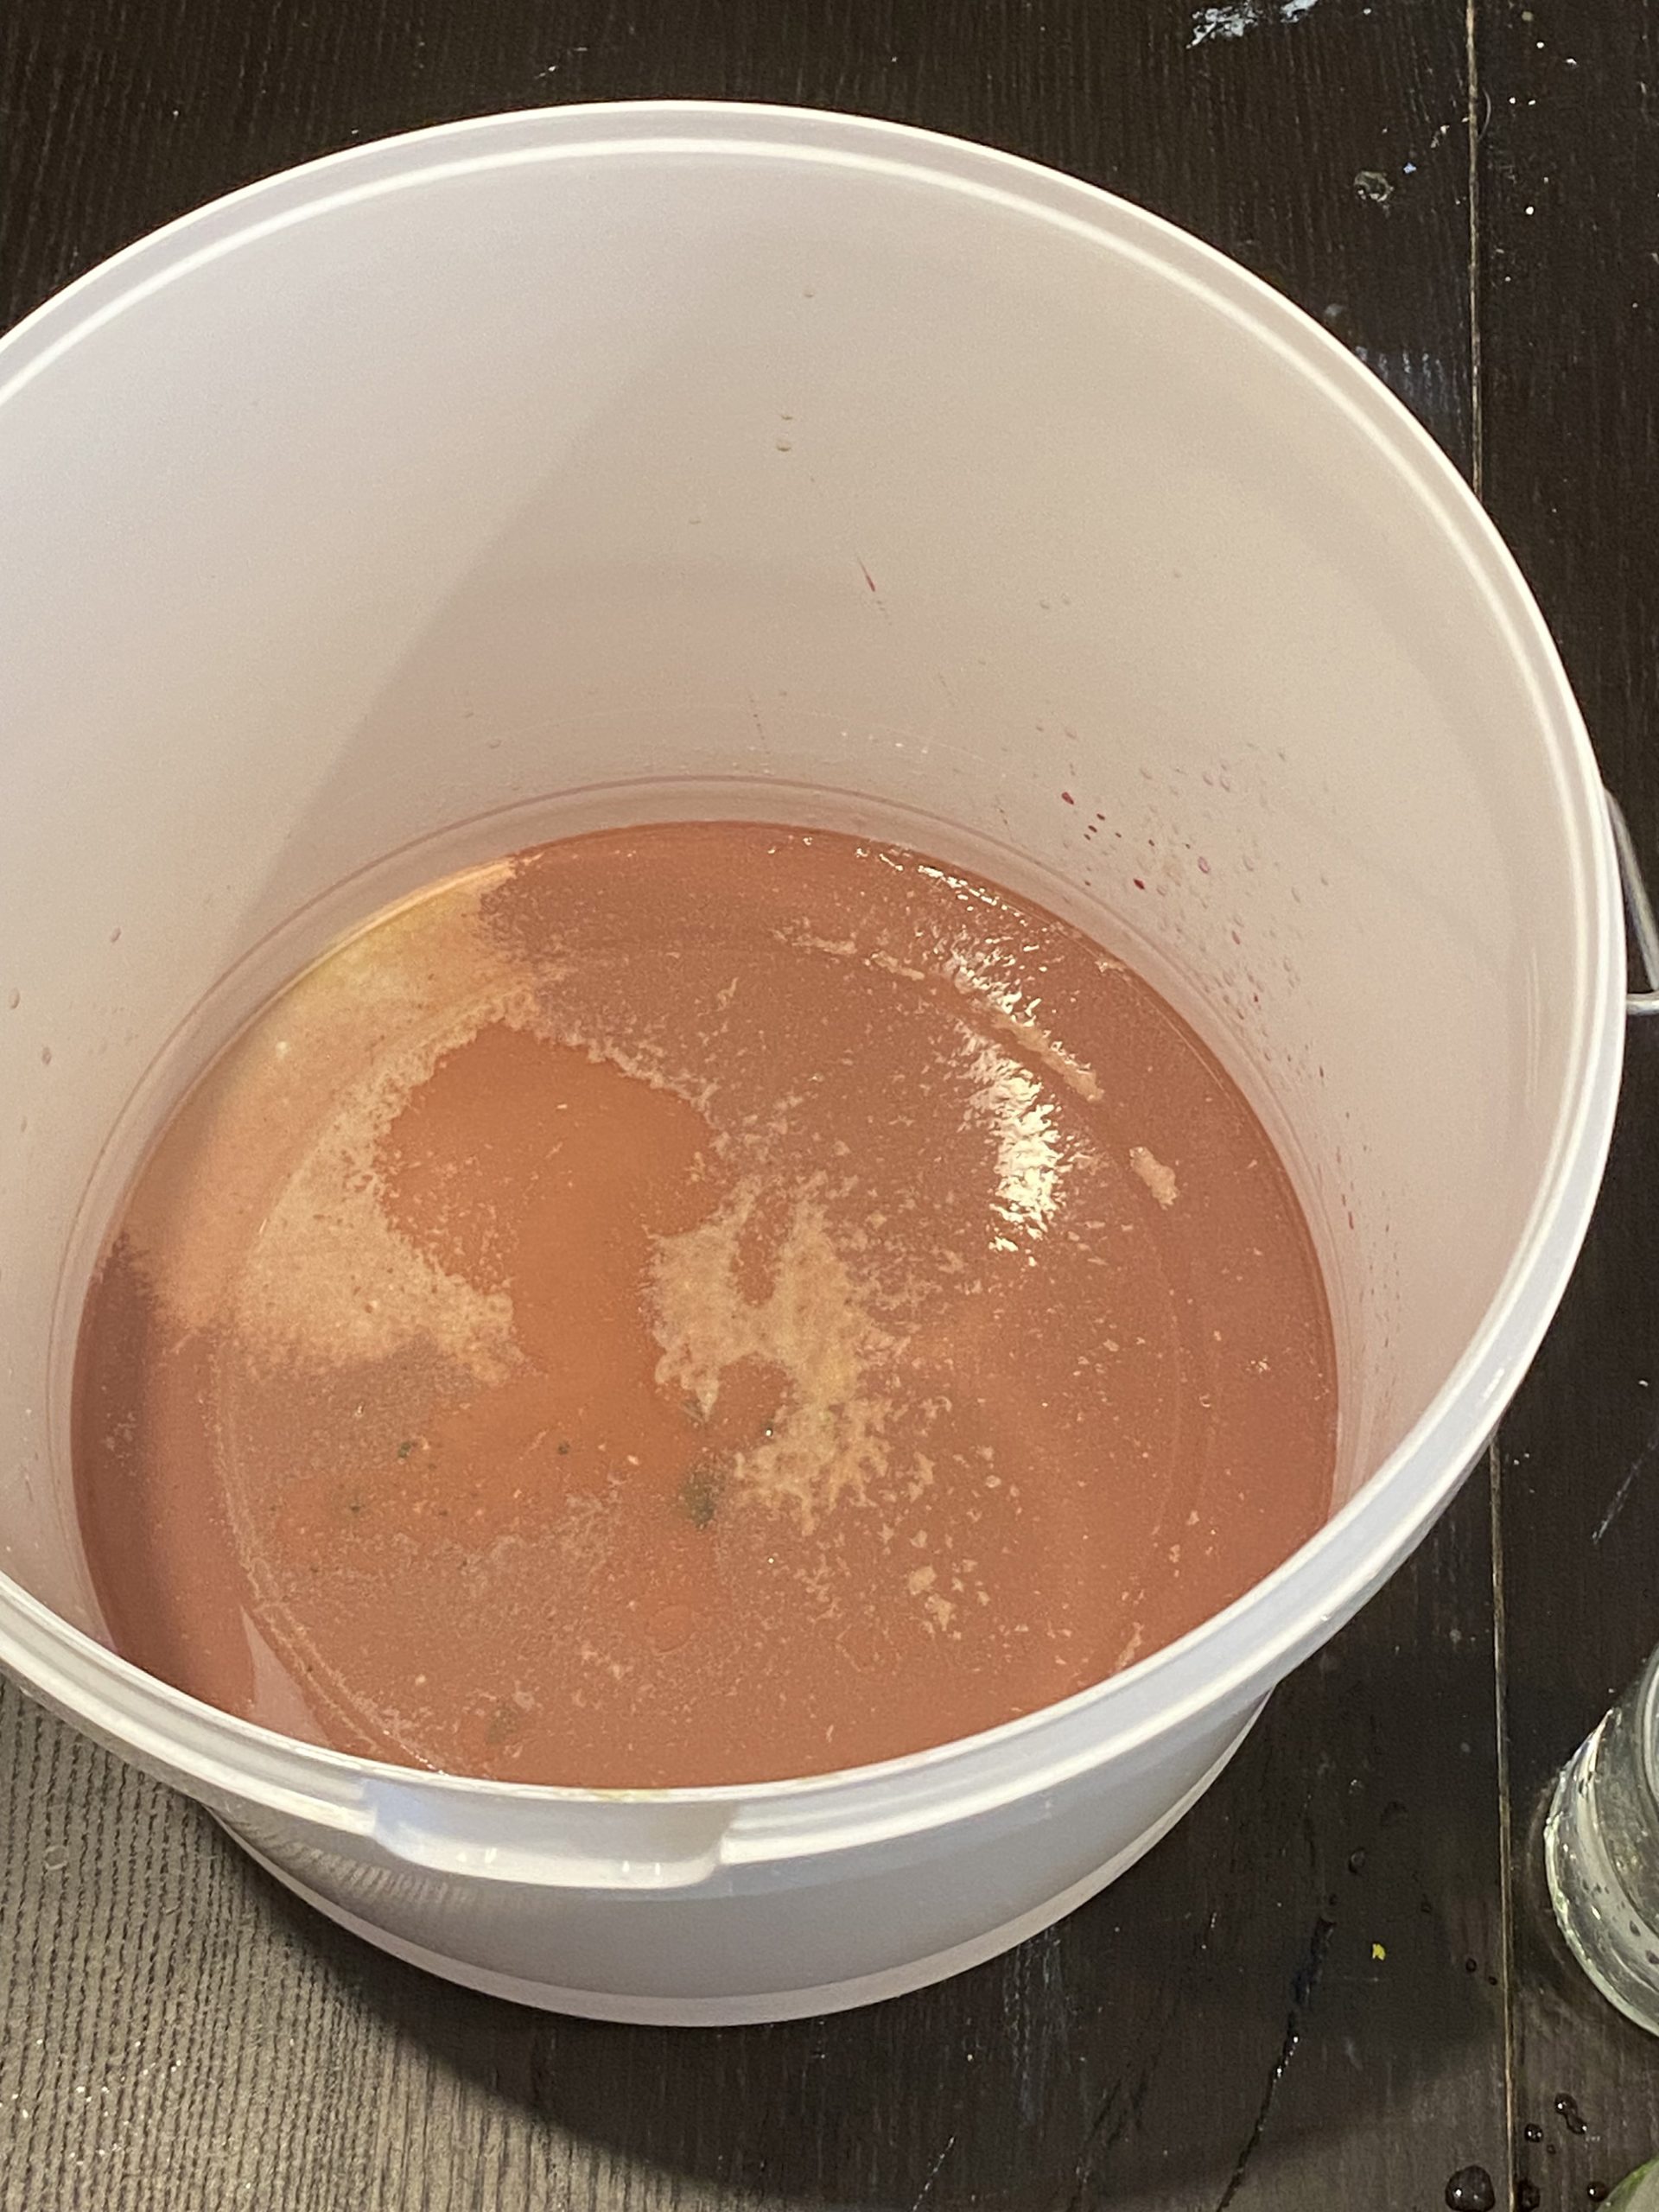
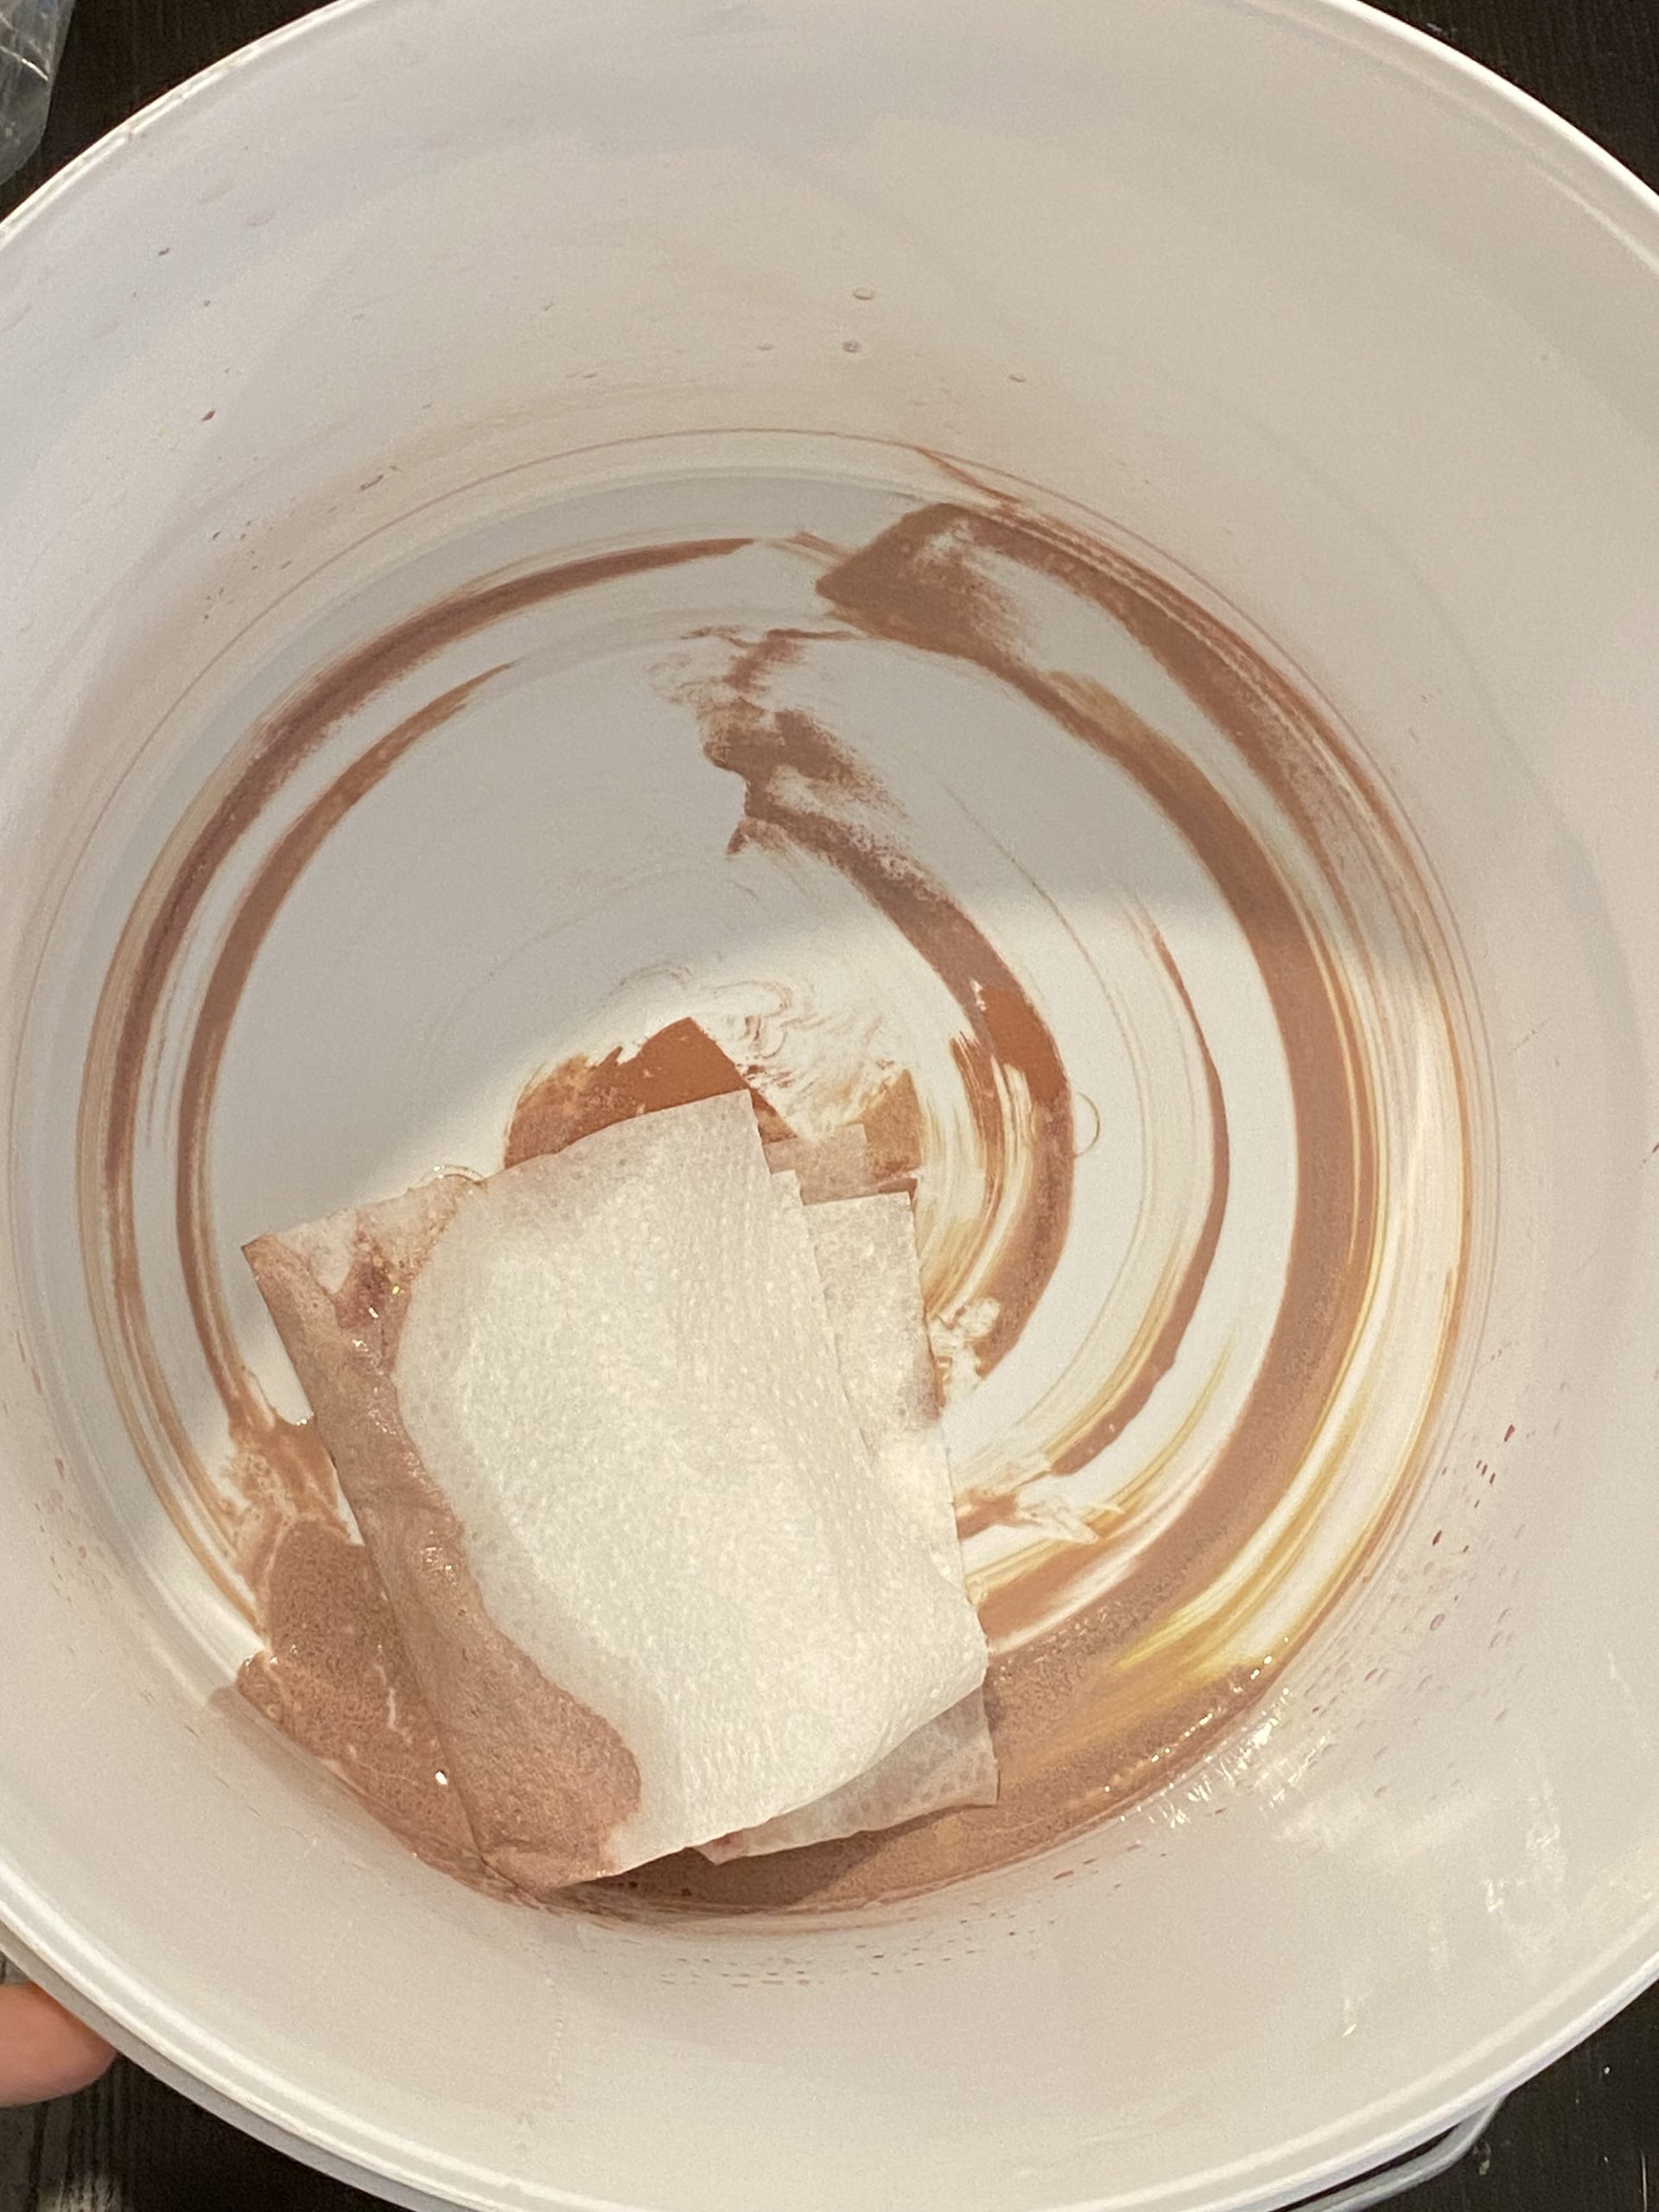
Collecting all your paint water in a big bucket and letting it evaporate takes a long time, but if you have spare space in a garage or shed you can let all the water evaporate and wipe out the solids to put in with your rubbish. This can be sped up by adding an agent to the bucket that will absorb some of the water like kitty litter or sawdust. The faster way is to filter your water and then the clear water goes down the drain and the filter full of plastic goes in the bin.
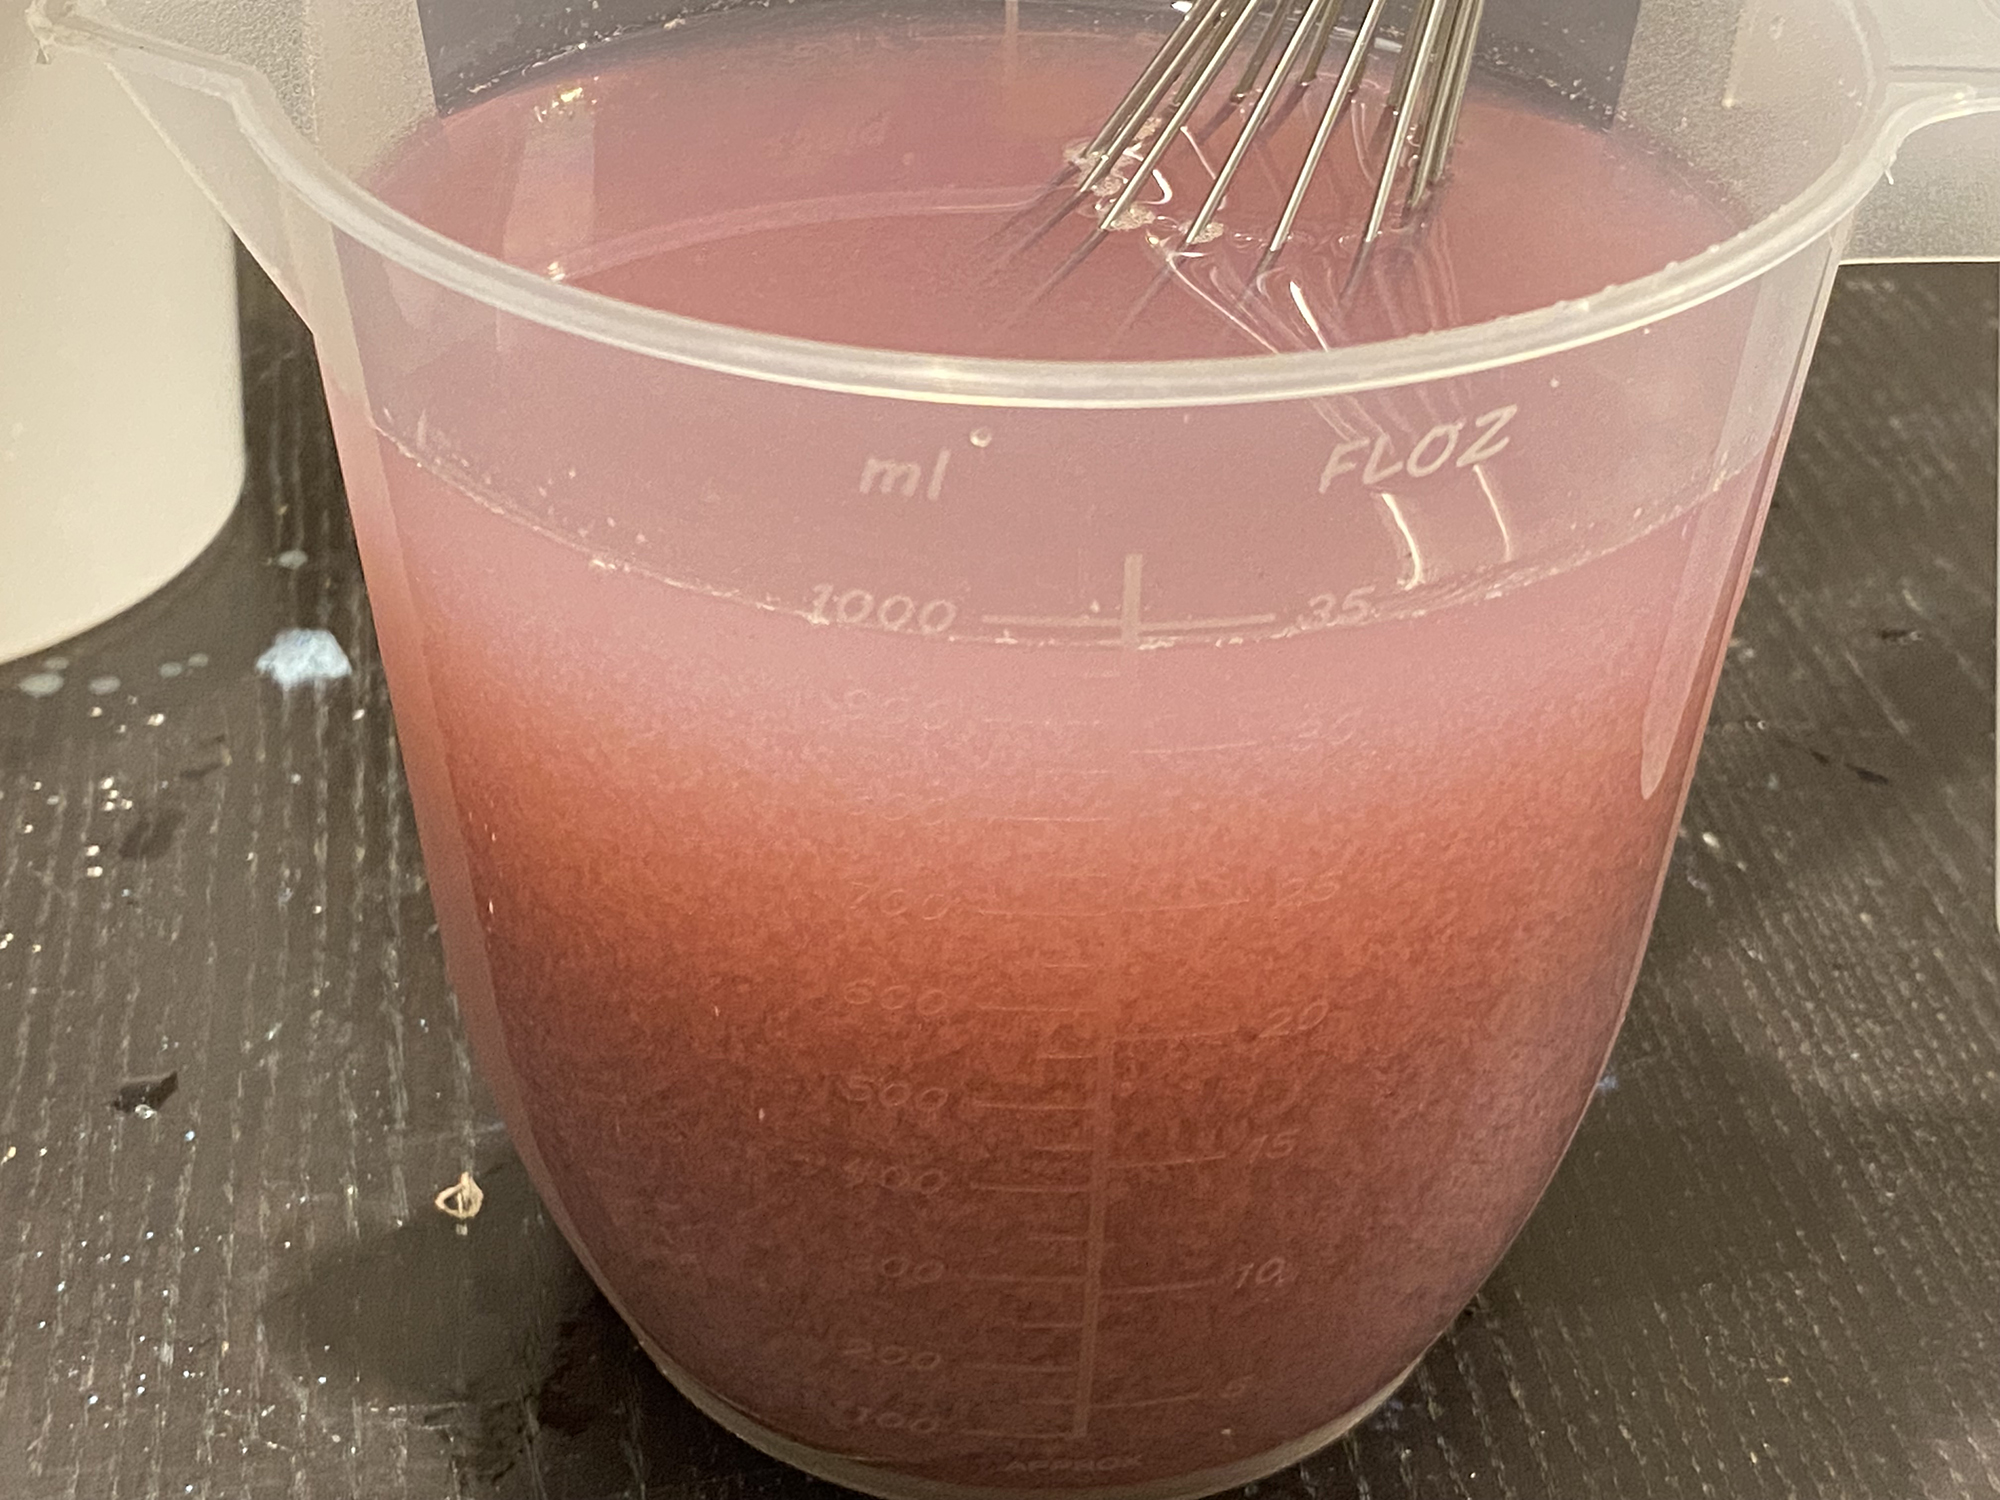
Filtering Solids Out of Your Rinse Water
More than 20 years ago Golden Artists Paints came up with a method for artists to use in their studios that is a modified version of what water reclamation plants use. I gathered the items and tried out the method to see how easy it is to incorporate the process into a studio workflow. It turned out to be much simpler than I thought. You can save up your rinse water in a bucket and filter it all either once a day, once a week, or once a month, depending on how often you paint. I wanted to try out the amounts and timing, add some explanation of the process, and see if I could simplify it.
This is an easy method to completely separate all solids from your paint water. It’s three steps: 1) stir in two powders, wait for the dirty water to flocculate and the solids to start to settle to the bottom, 2) test the pH of the water with a strip of litmus paper, 3) pour through a coffee filter.
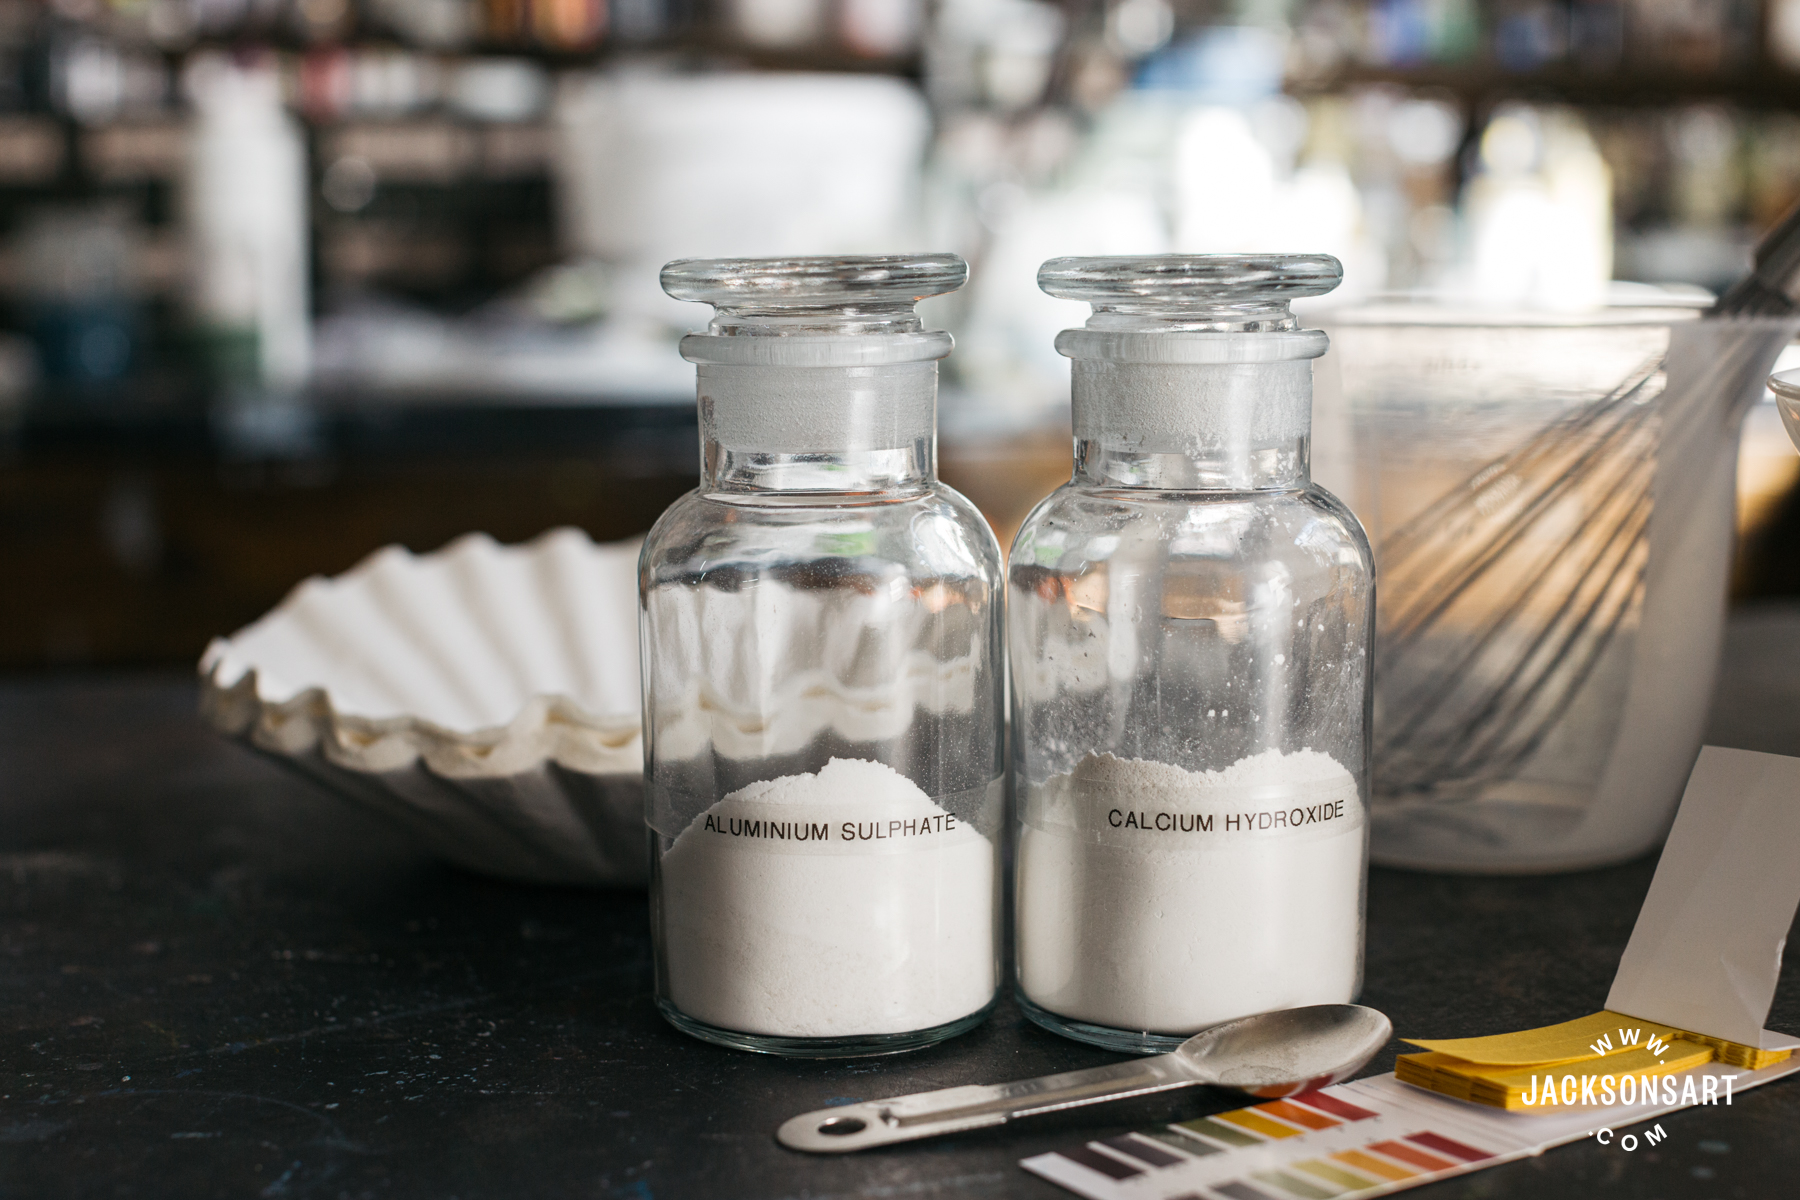
You’ll need to put together a kit of coffee filters, two powders, litmus strips, and some containers. You’ll only have to do this one time. Then have a box to store it in and a place to easily reach it once a week or month or however often you need to empty your large wastewater bucket. (Don’t use the whisk, colander and spoon for anything else.) Put powders in closed containers (by scooping not pouring, you don’t want a powder to create a cloud of dust). Label them and keep safe from children and pets.

Supplies
- Aluminium Sulphate (twice as much by weight as the hydrated lime) – see more in the section below
- Hydrated Lime (Calcium Hydroxide)
- 1 large bucket with lid – 4 to 10 litres, the size to store your amount of dirty water
- Small bucket or container – to mix crystals into some water
- 1 litre jug or bucket
- Paper coffee filters – 6 cup basket type will do larger amounts, but cone filters will work
- Colander for coffee filter or a funnel if using cone filters
- Bucket to fit under colander or funnel
- 1 teaspoon measuring spoon
- Whisk
- PH tester kit
- Safety equipment: splash goggles, dust mask, nitrile gloves.
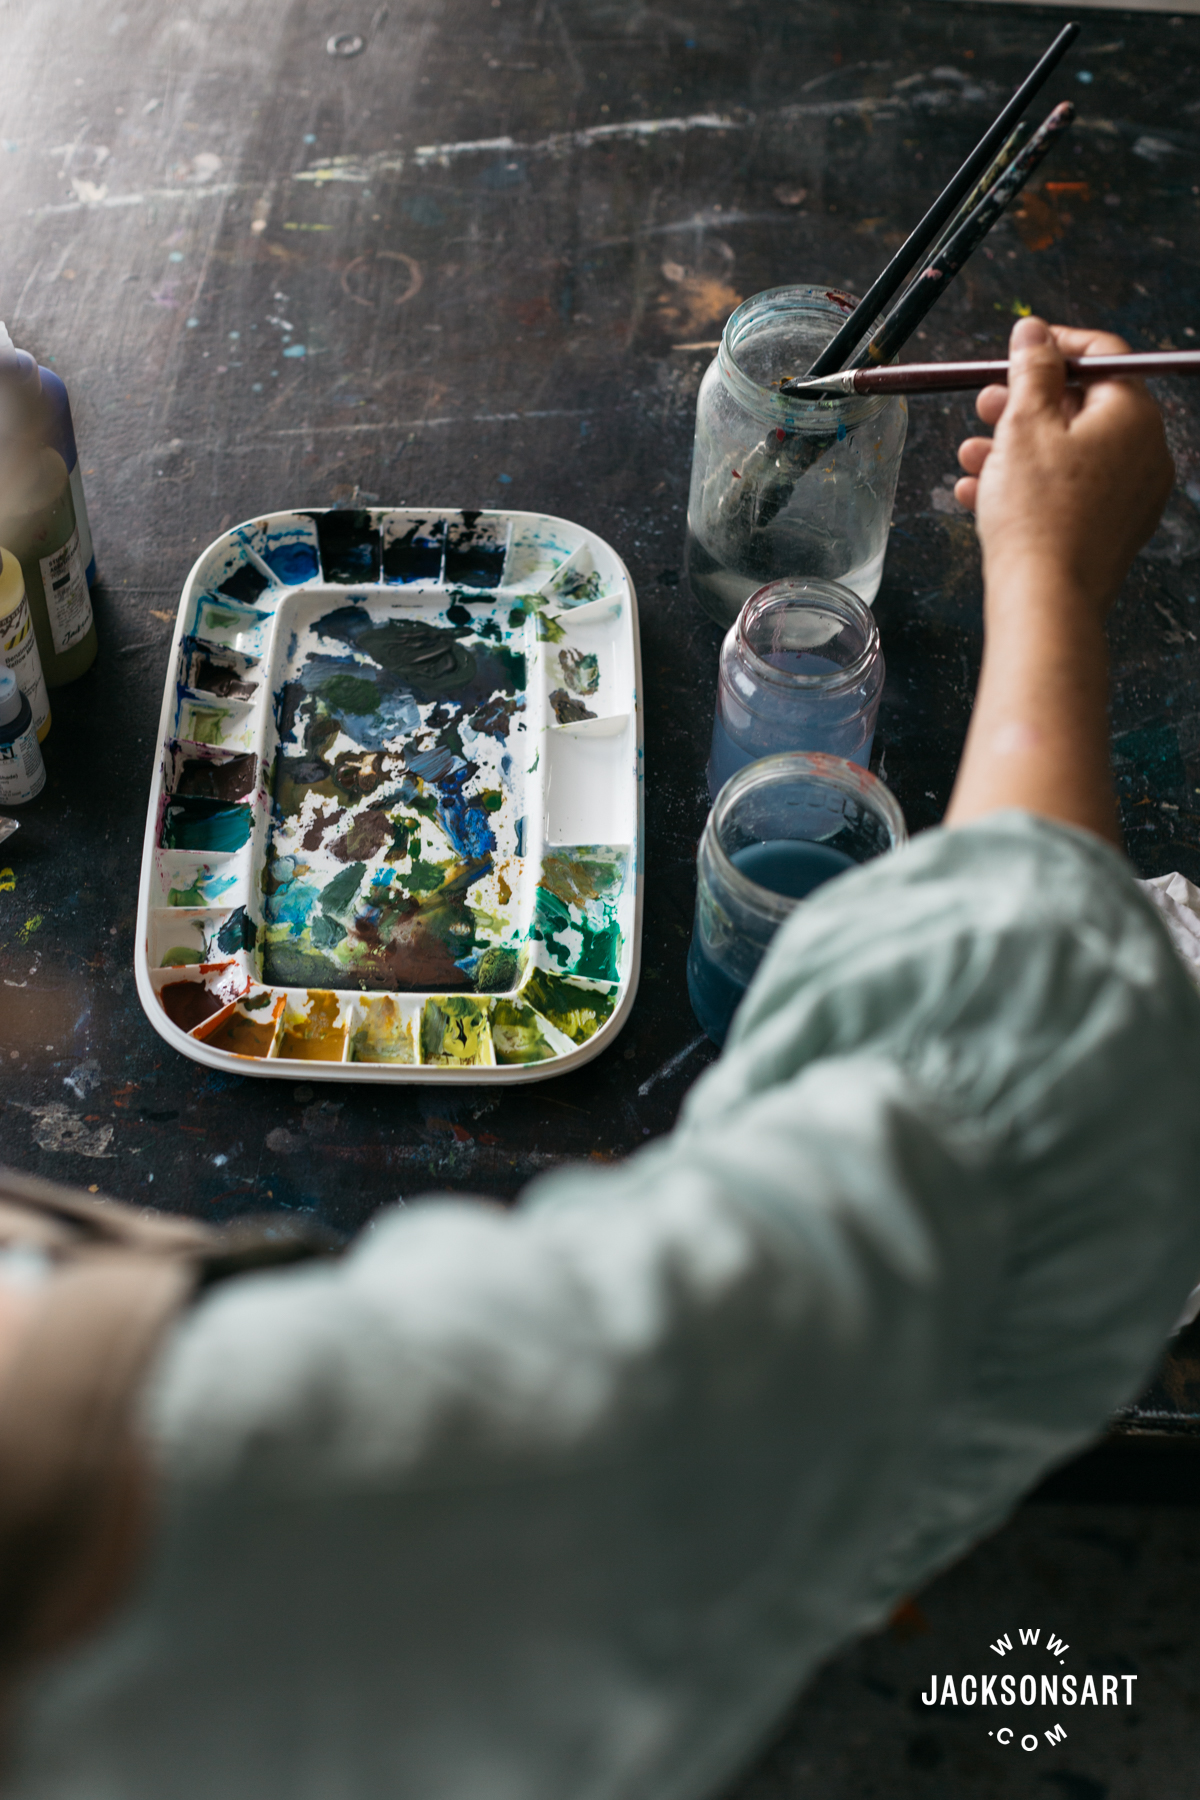
Make it Part of Cleaning Up
Like any painter, you will have systems set up for brush washing, paint saving, varnishing, wet painting storage, and perhaps canvas stretching. Adding another system shouldn’t be too complicated. You can work it into your painting clean up time this way:
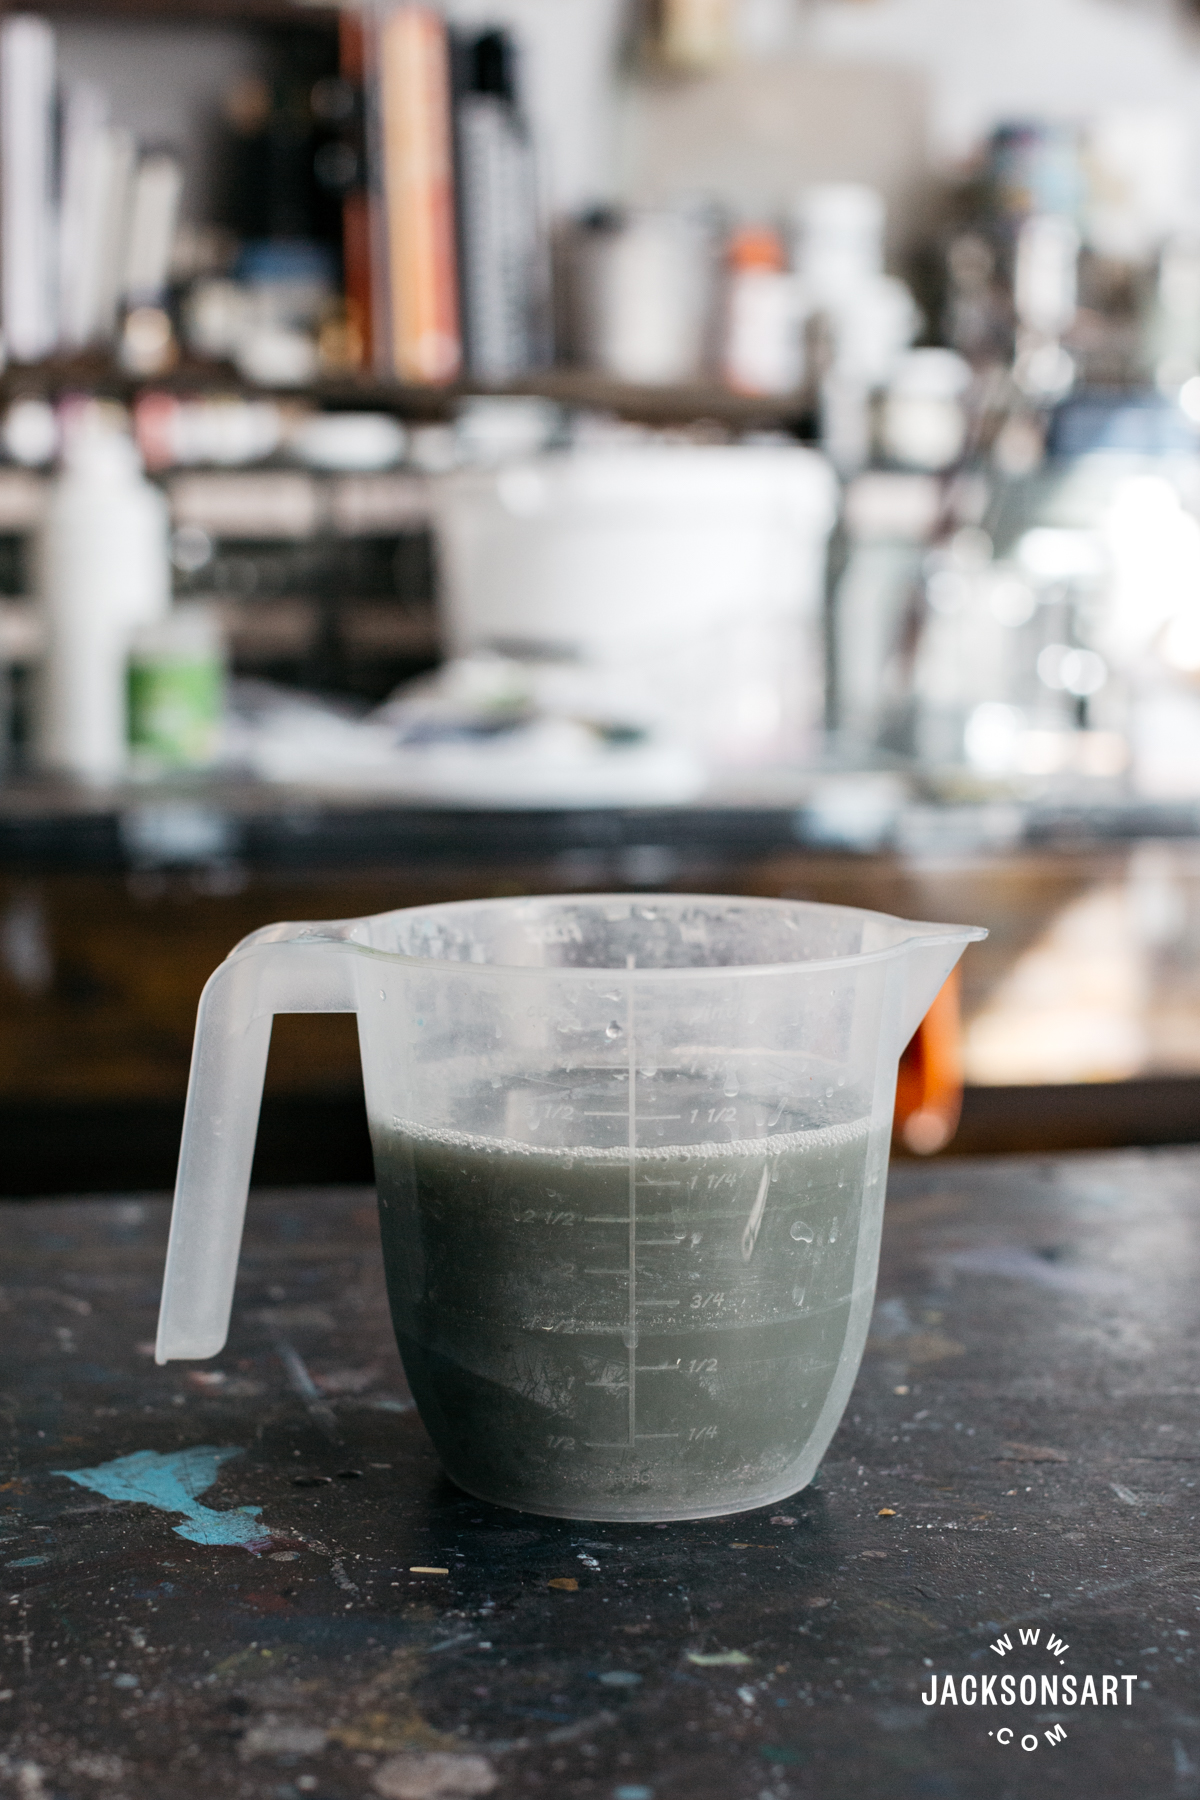
Keep a large covered bucket for your dirty water at the end of the day. Add to it every day. (The cover is for odour, the fungicides present in acrylic paint don’t work well when highly diluted with tap water and can result in smelly water.) Then either filter that each time you reach a litre, or have a larger filtering session less frequently.
Method
1. Add the two powders.
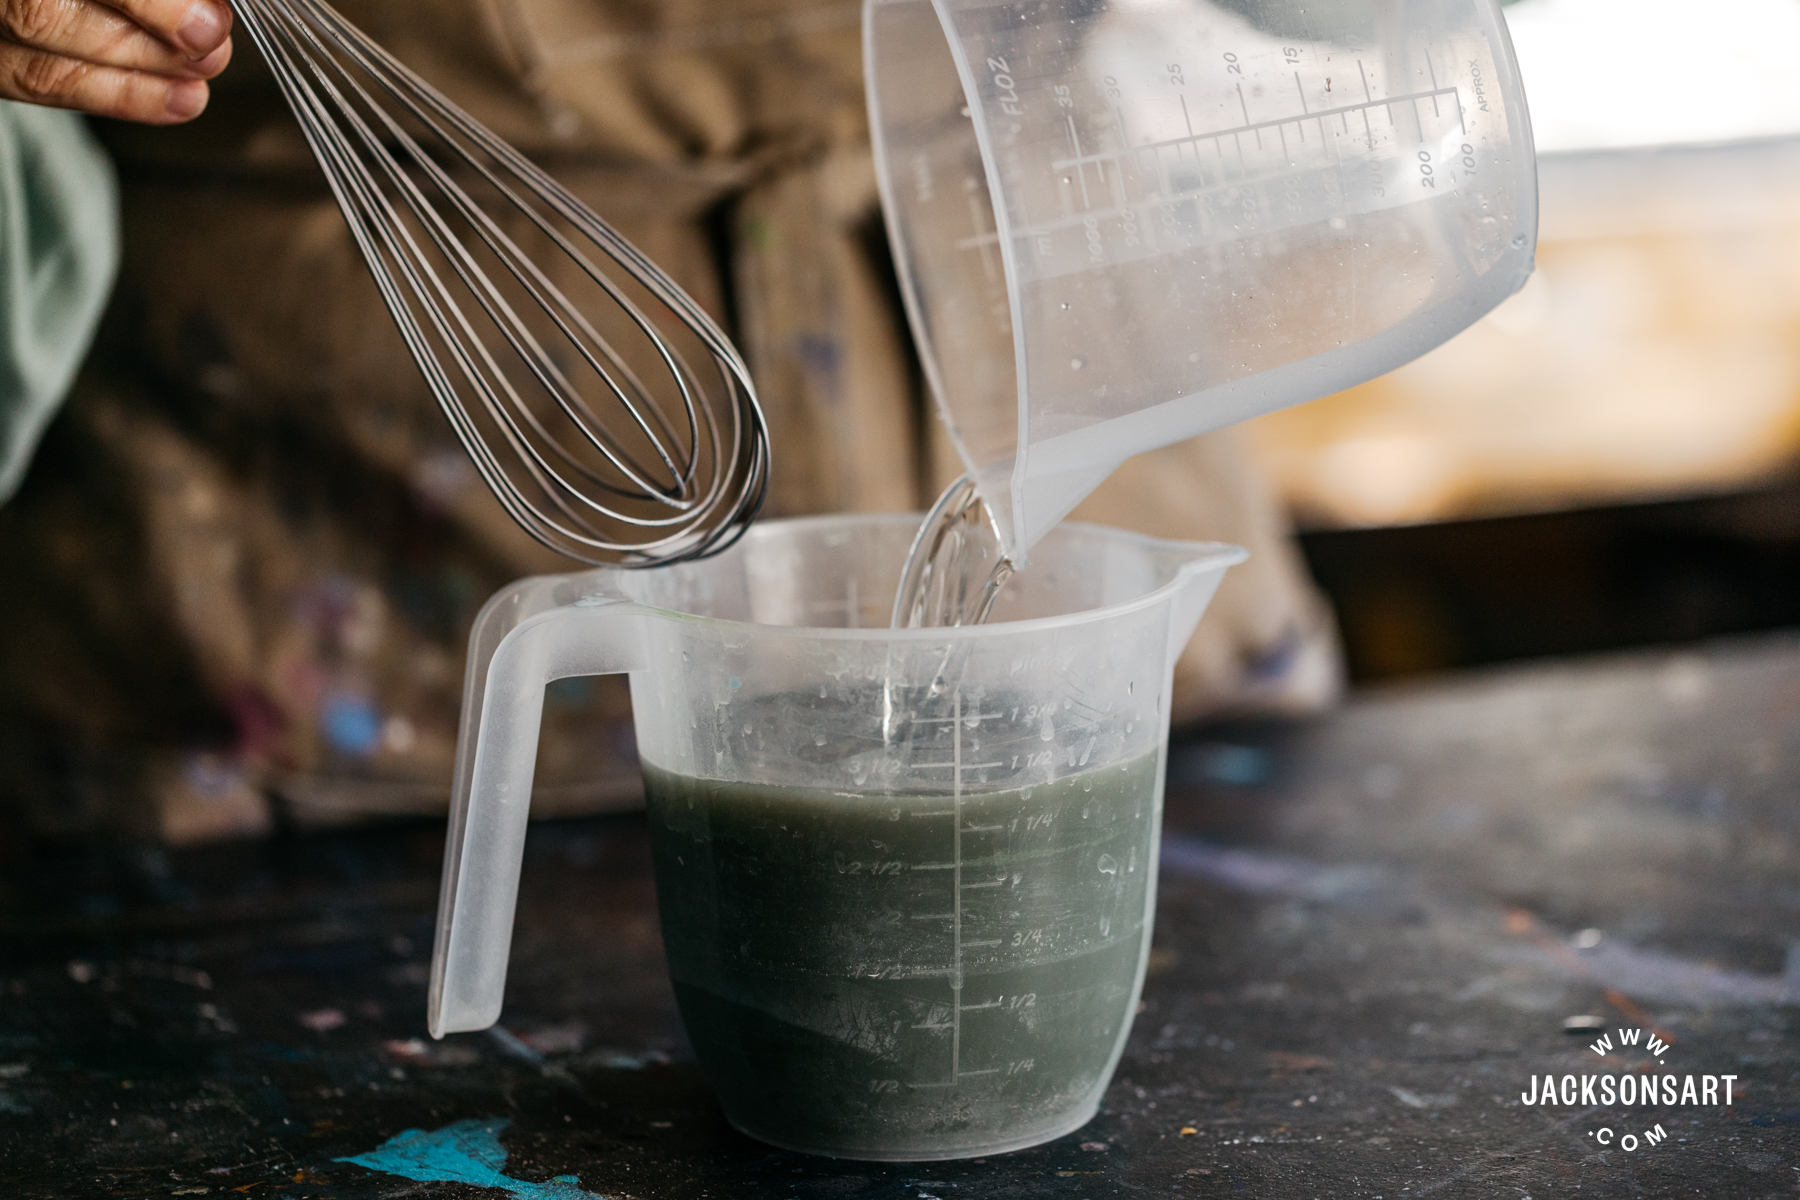
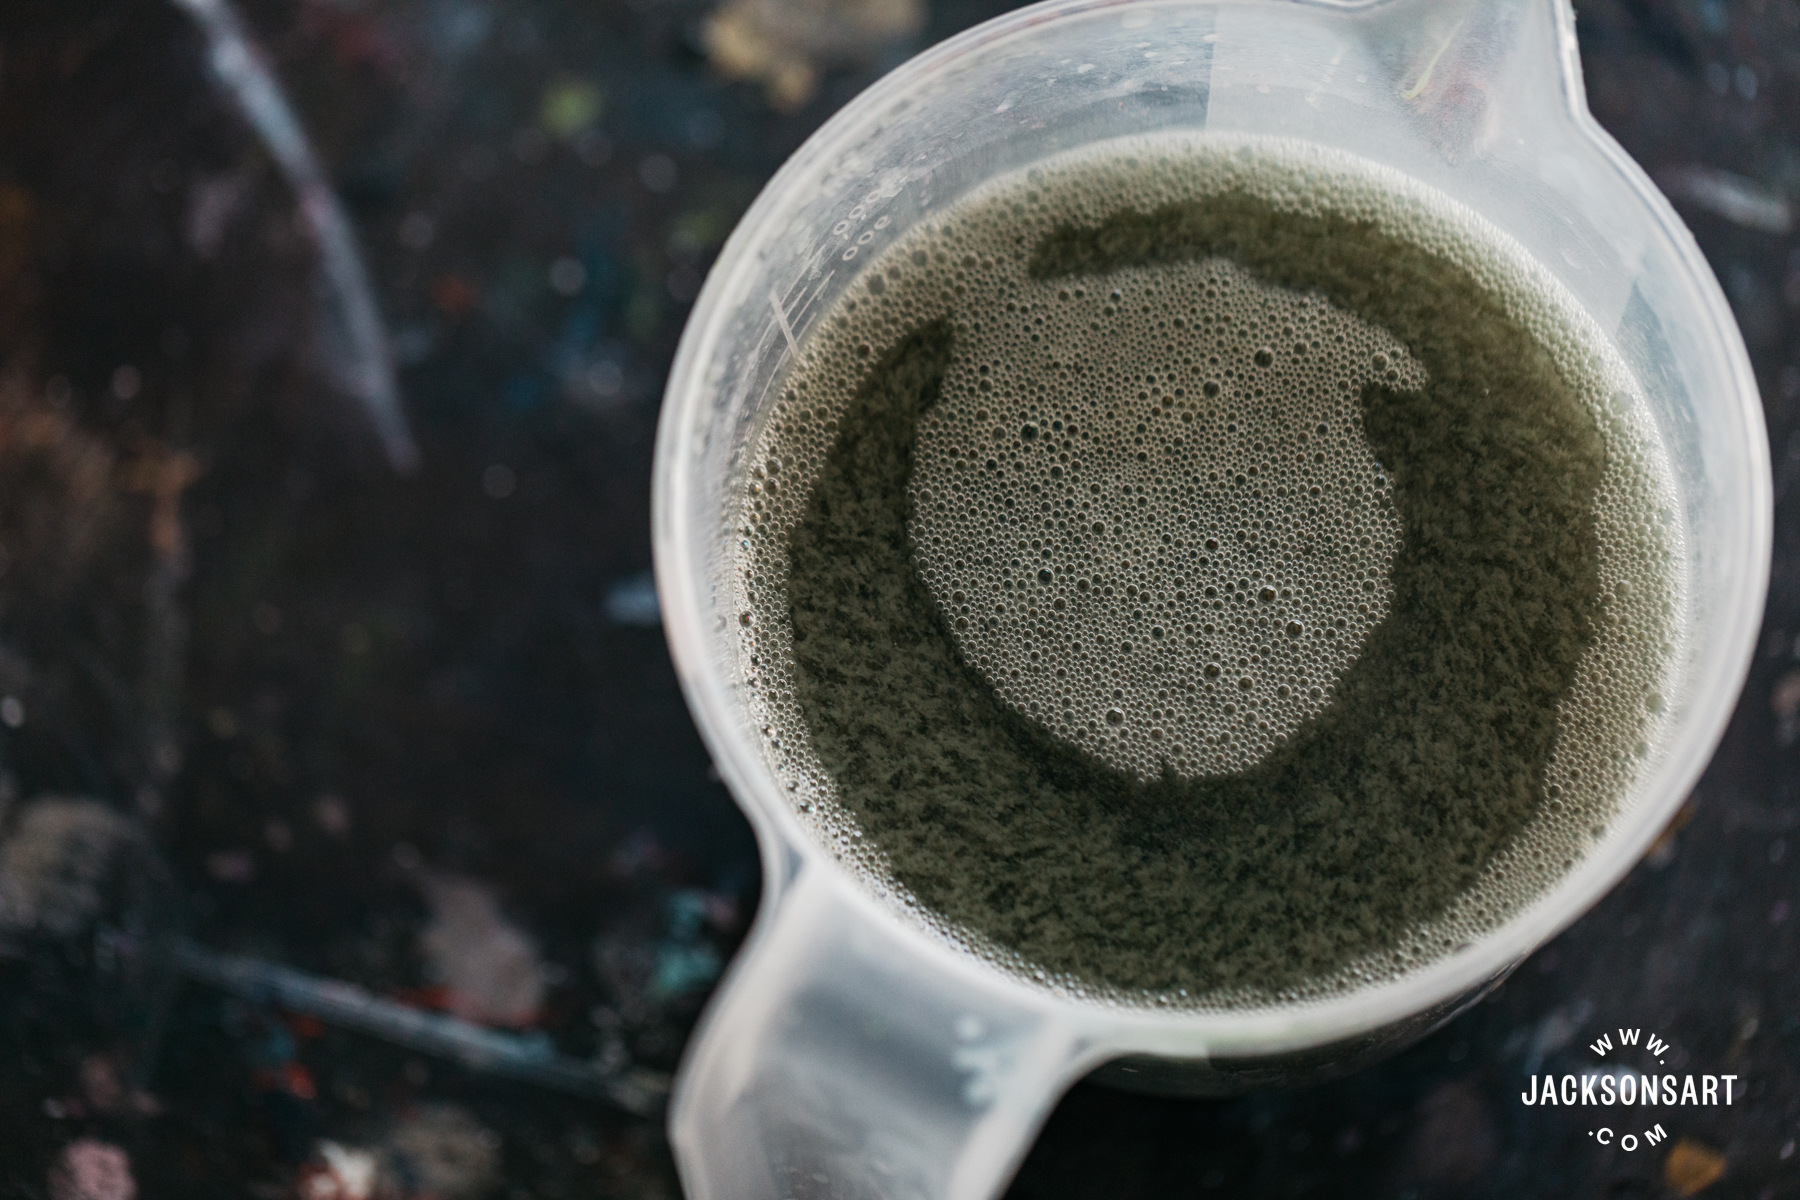
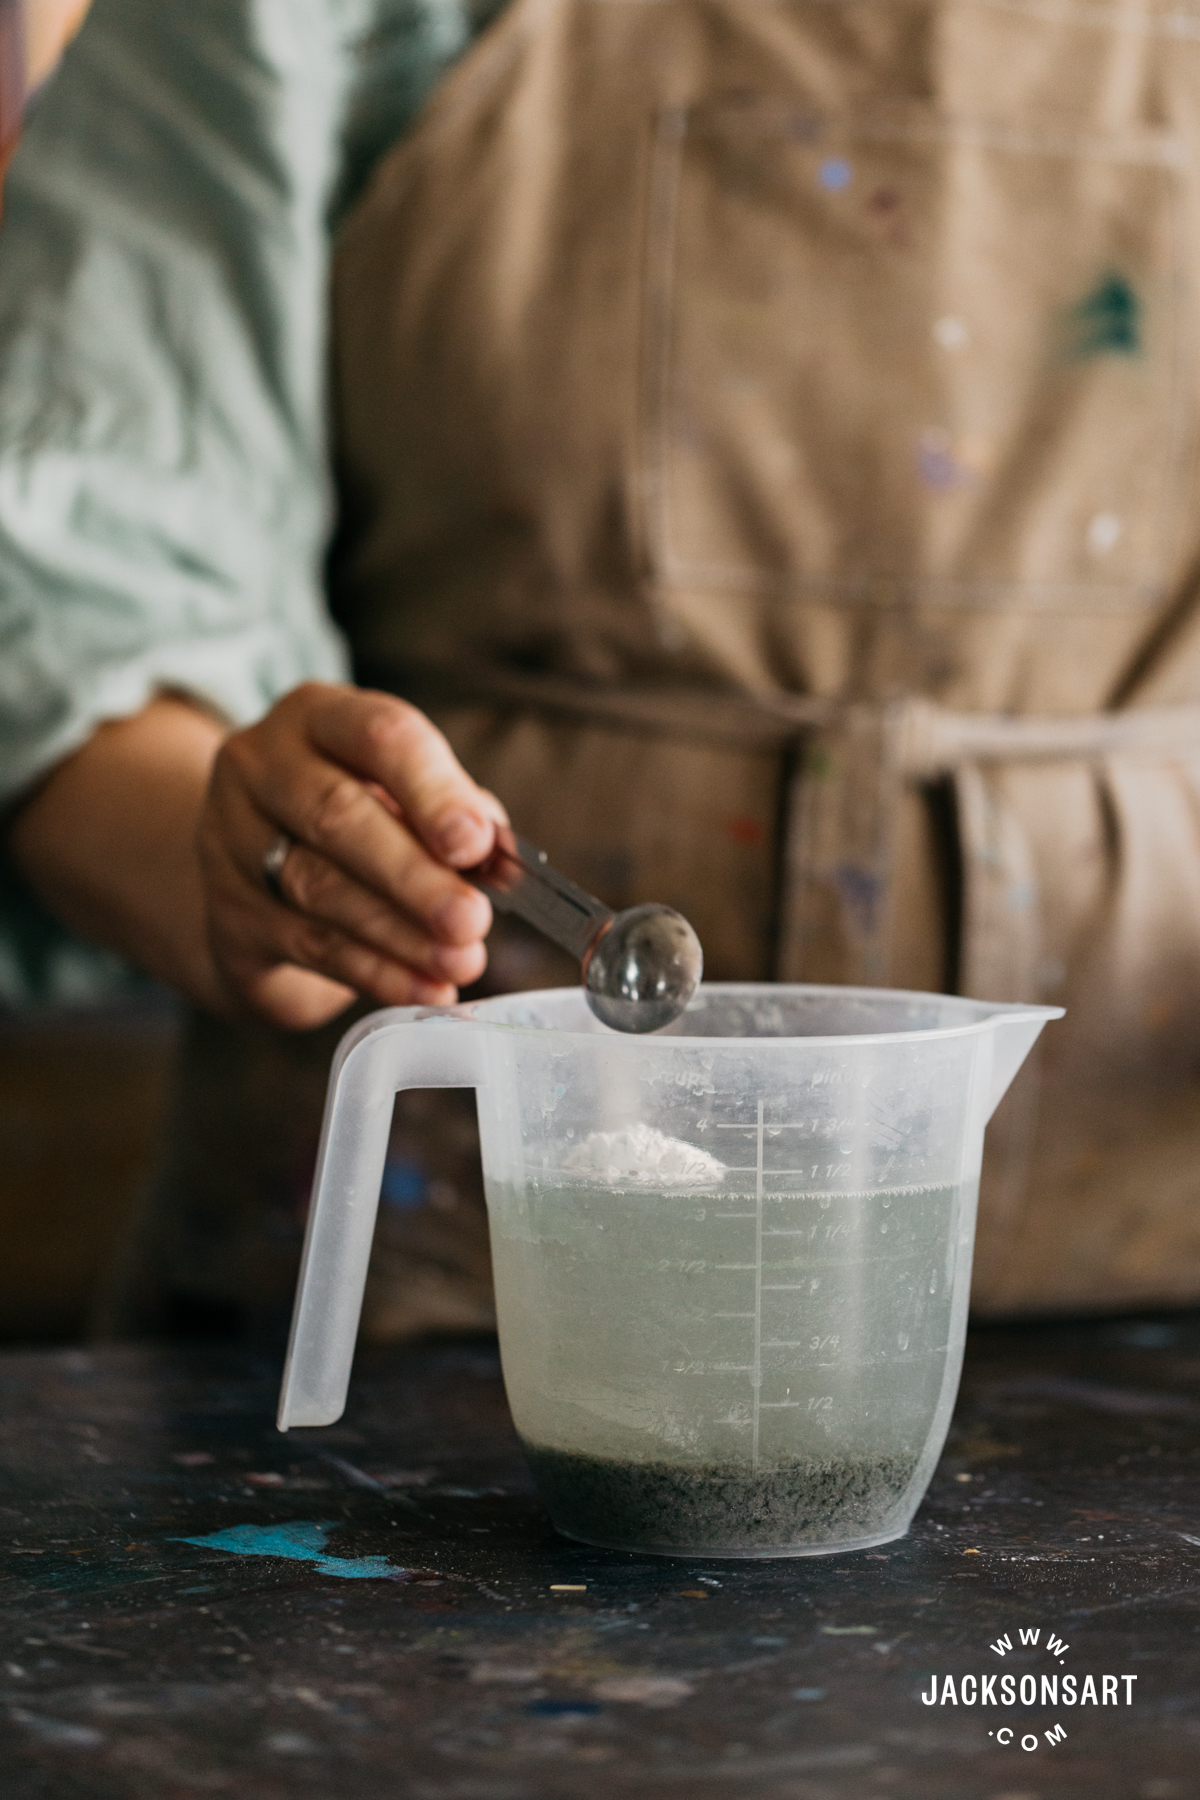
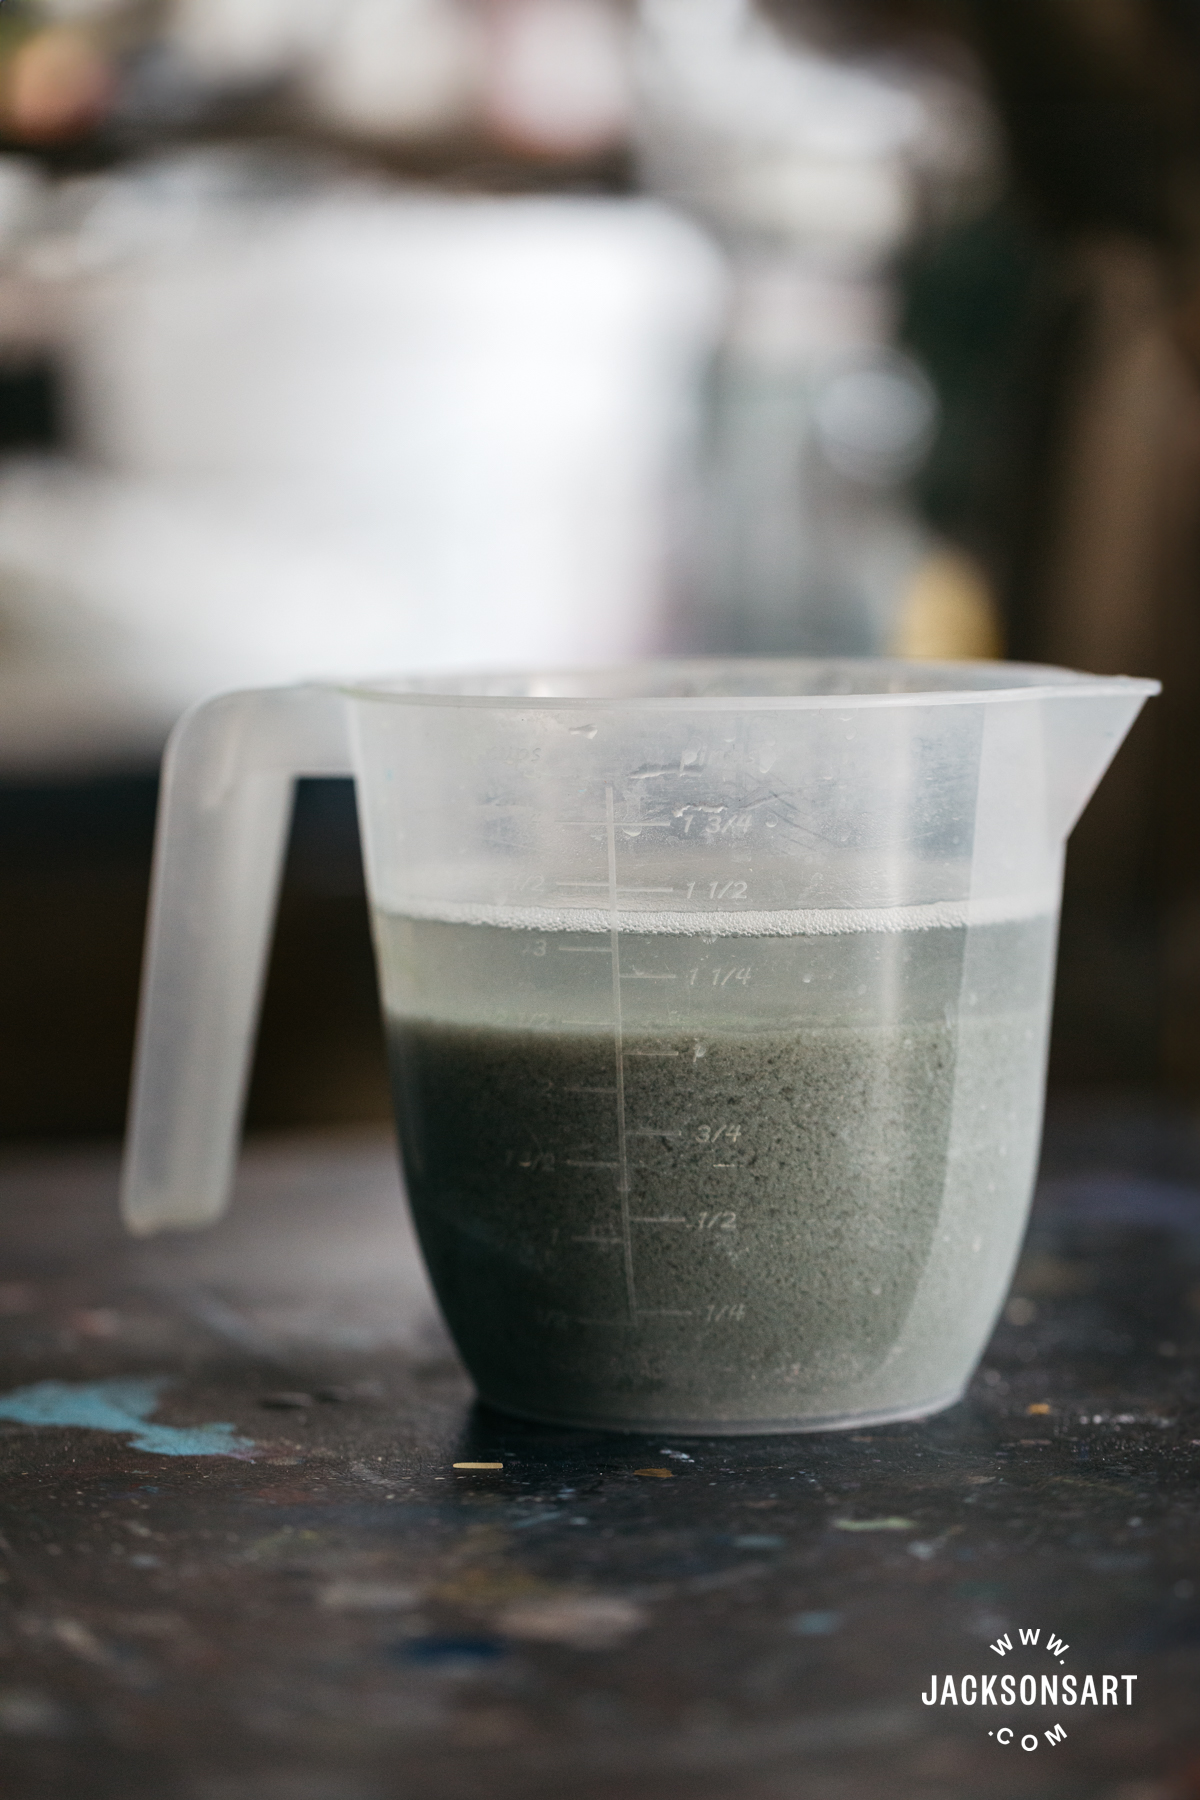
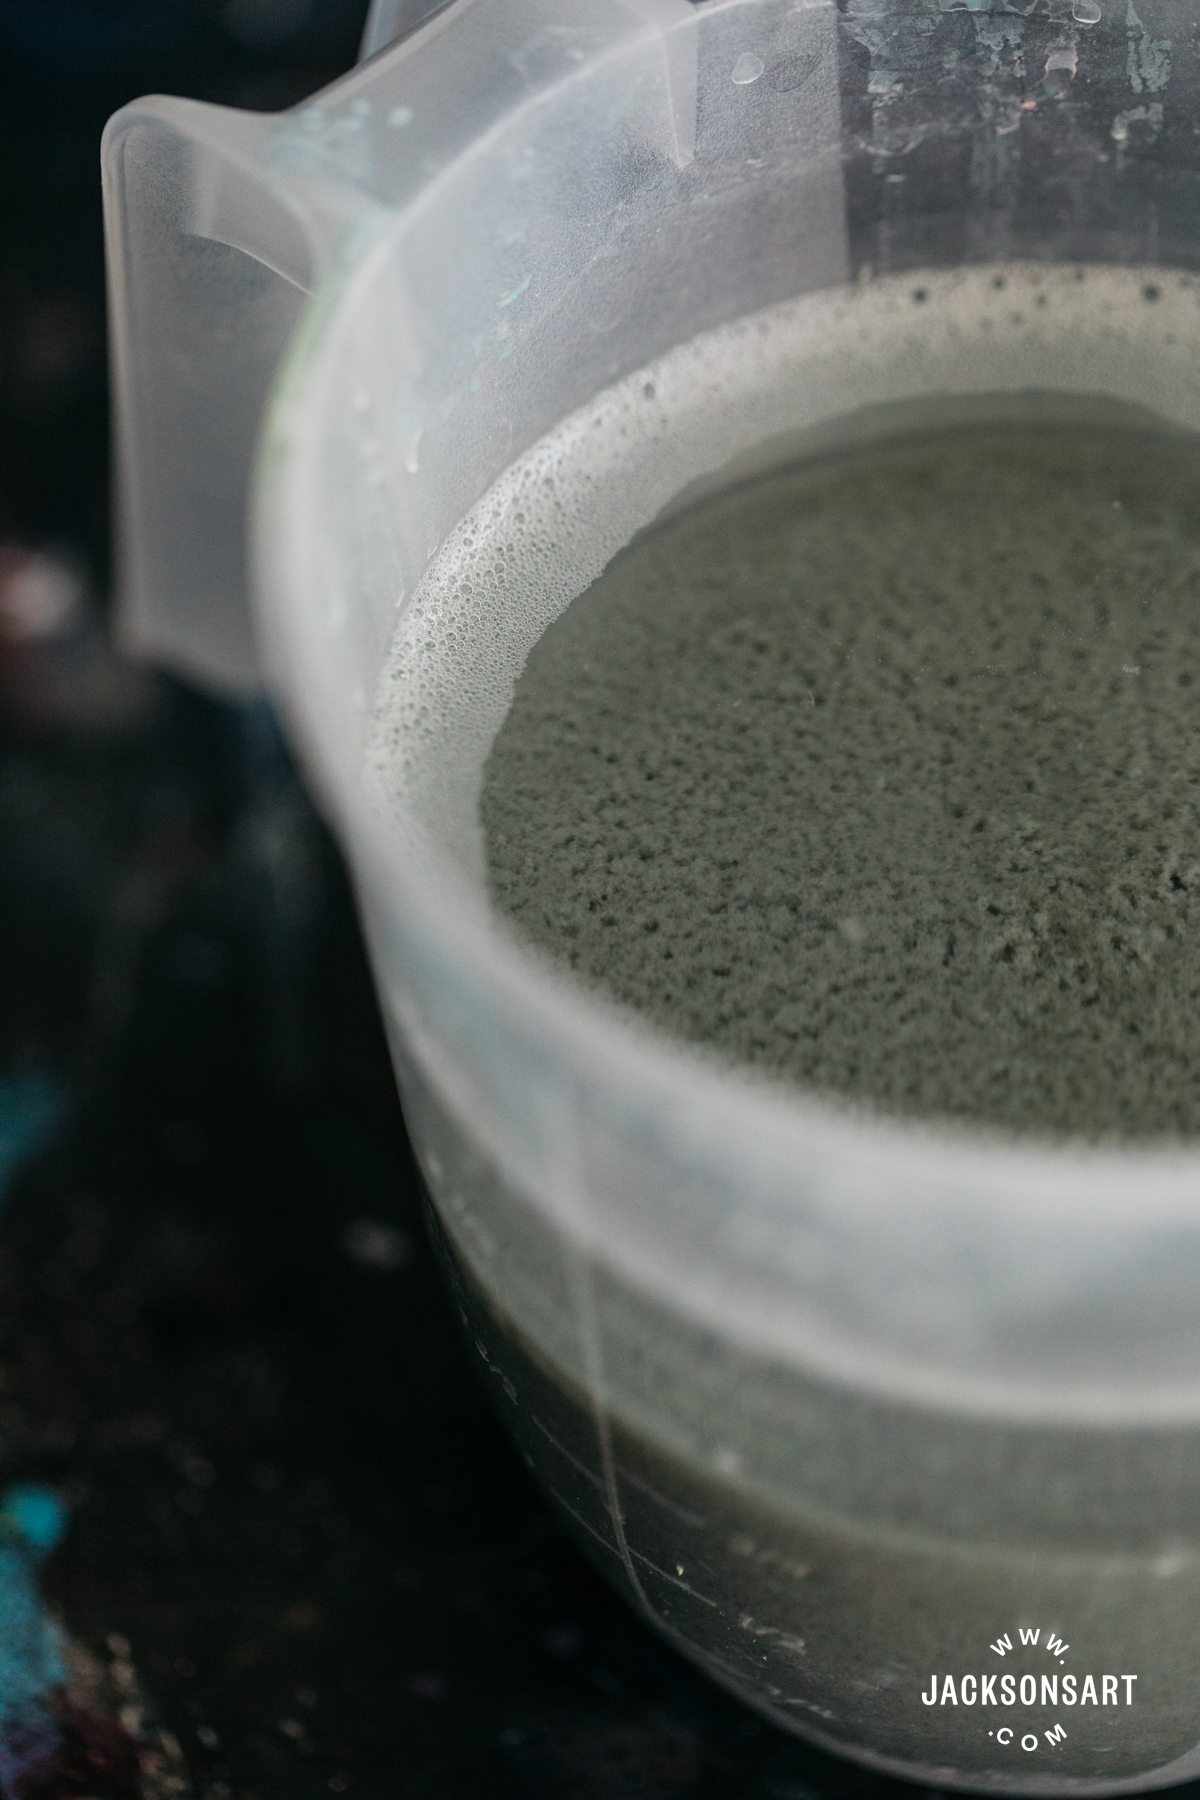
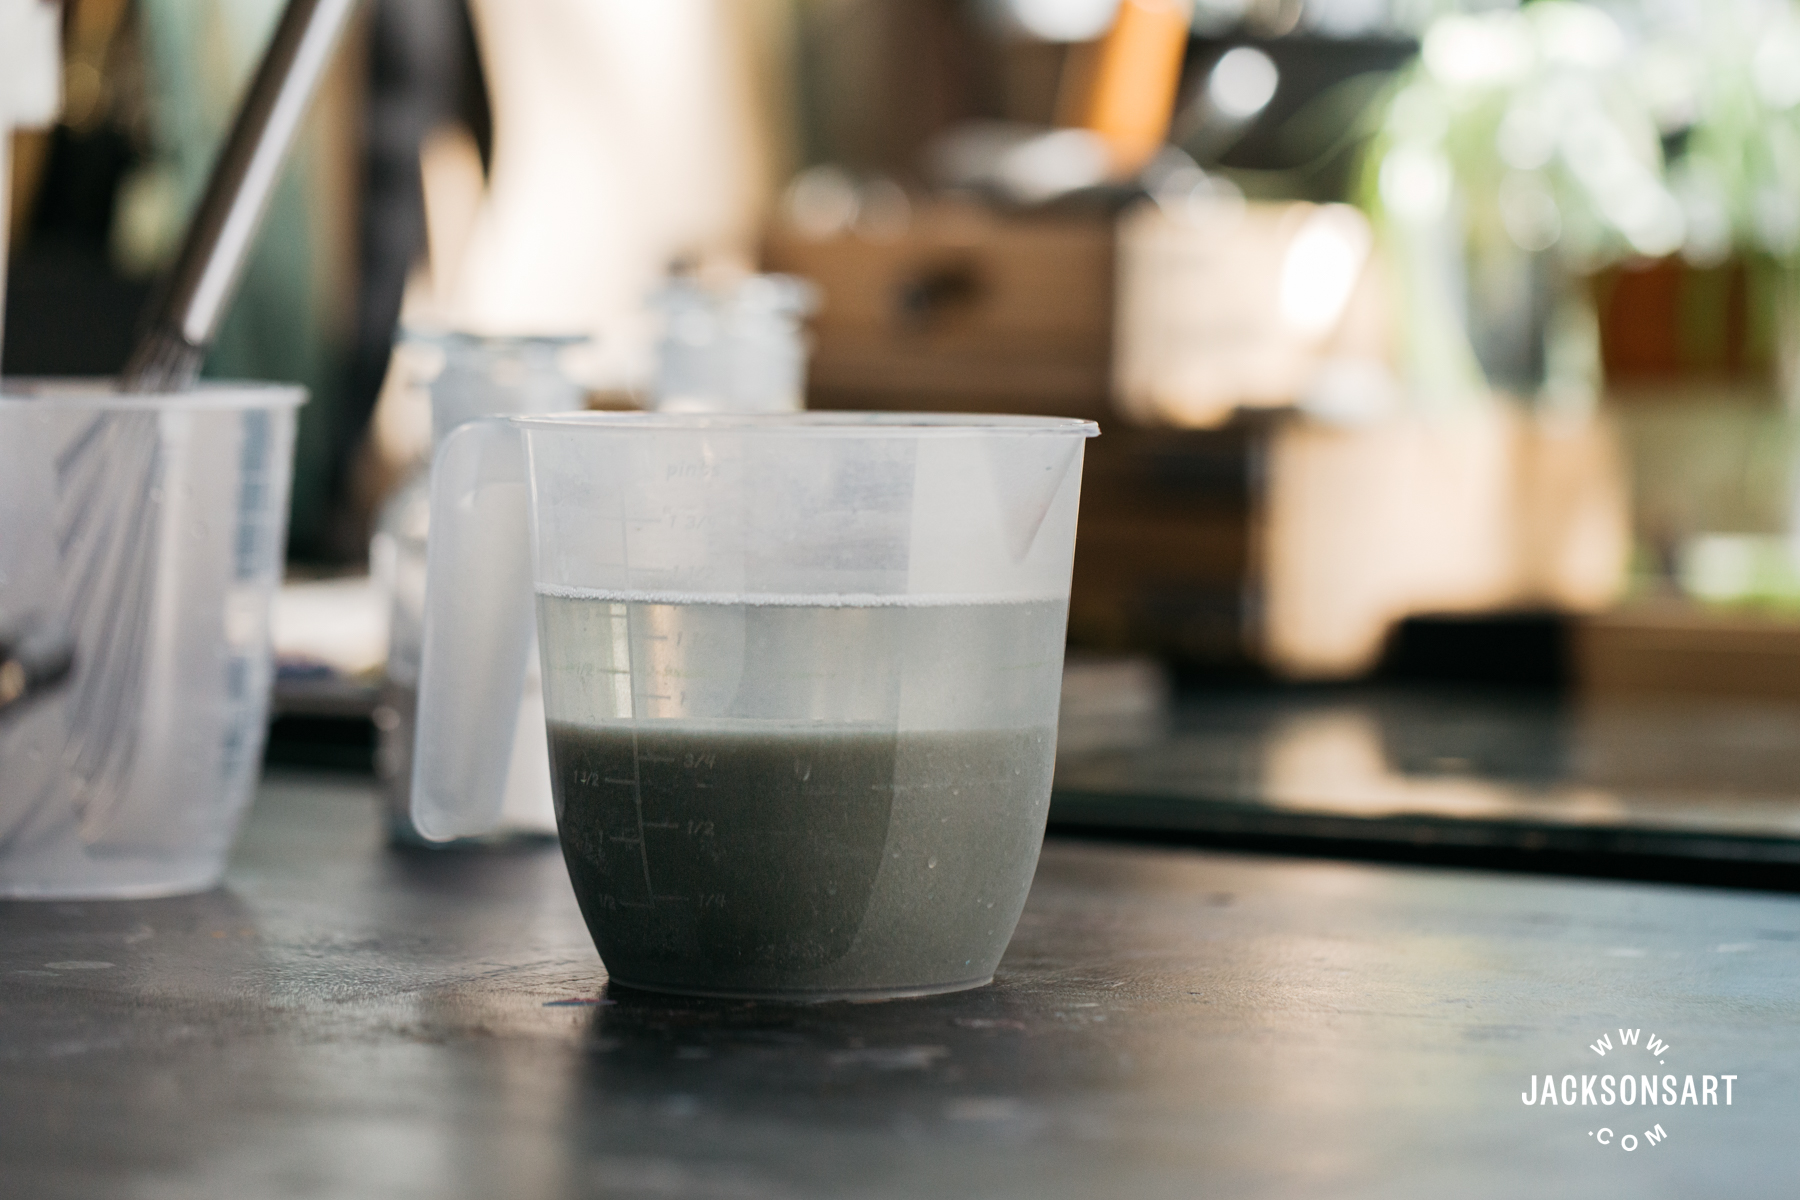
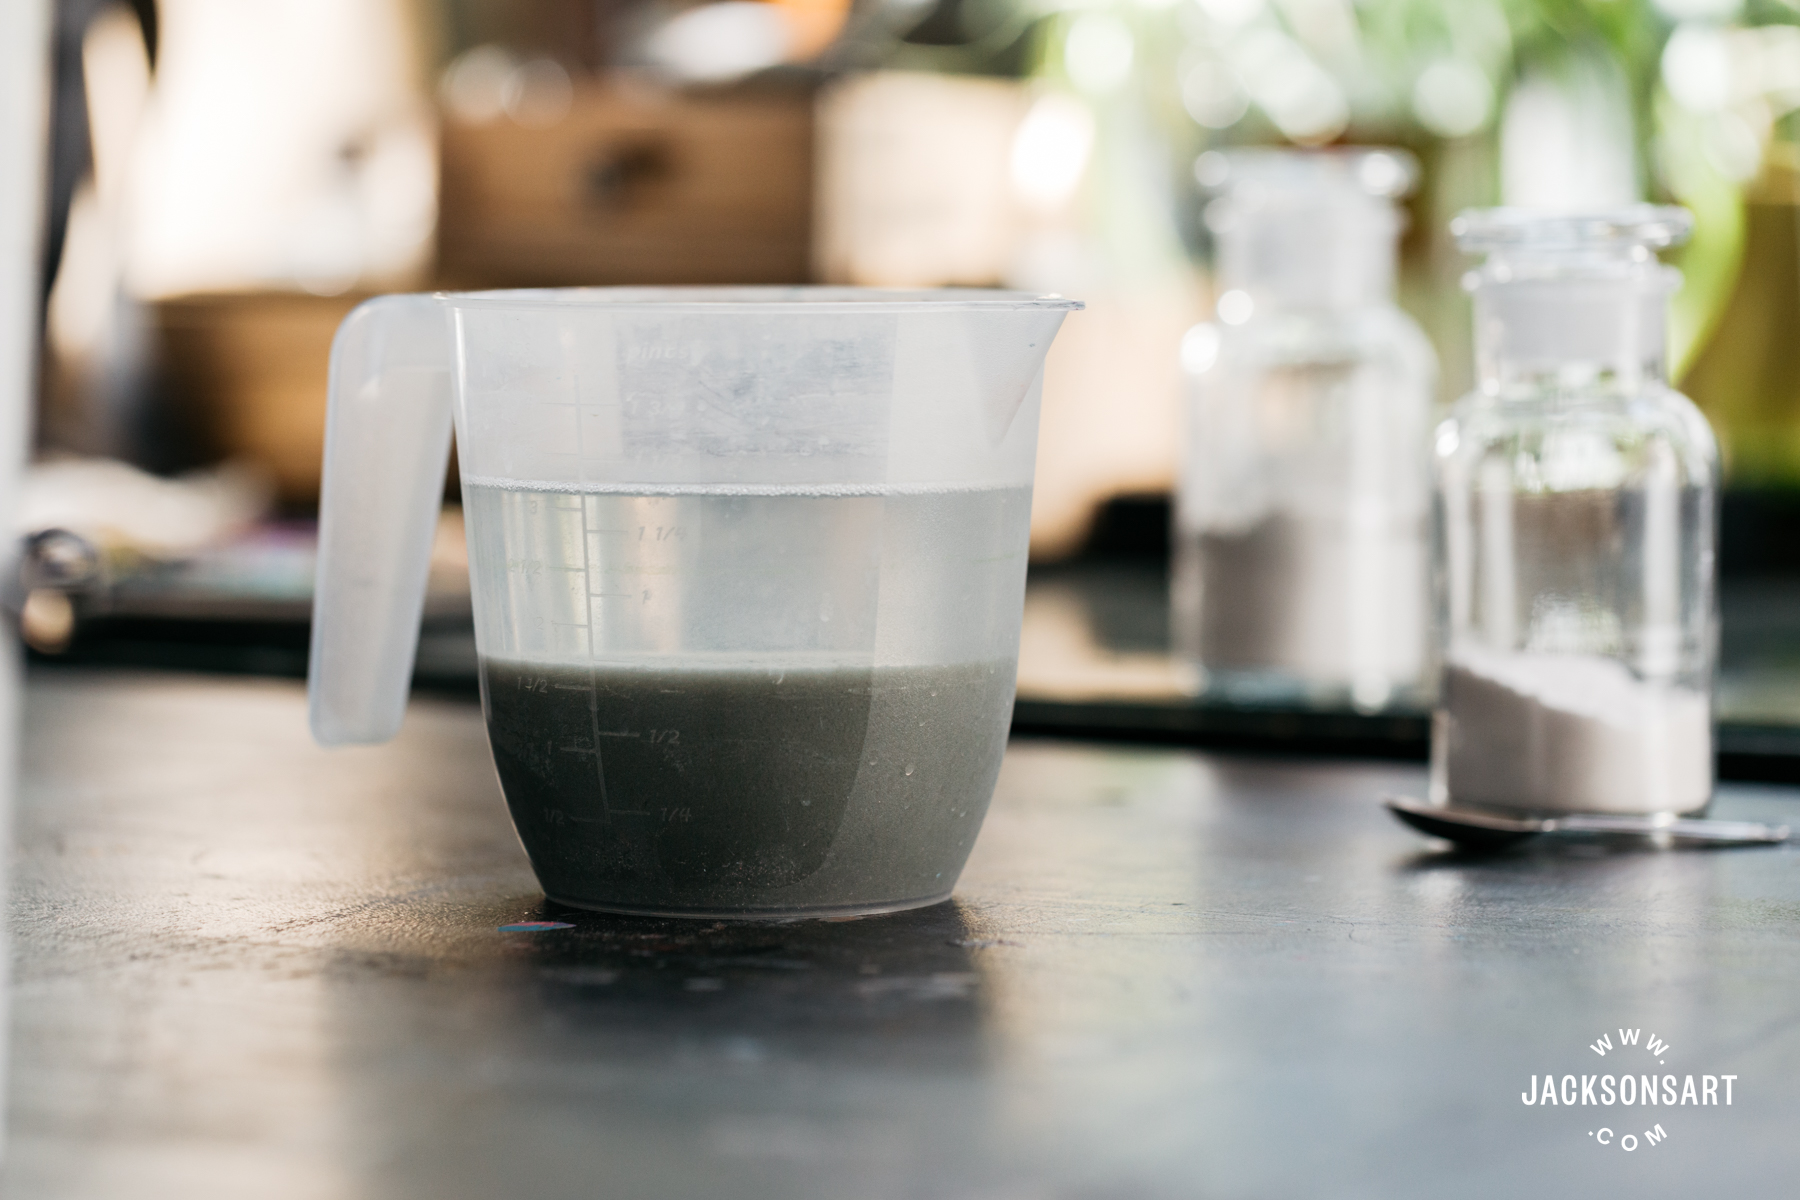
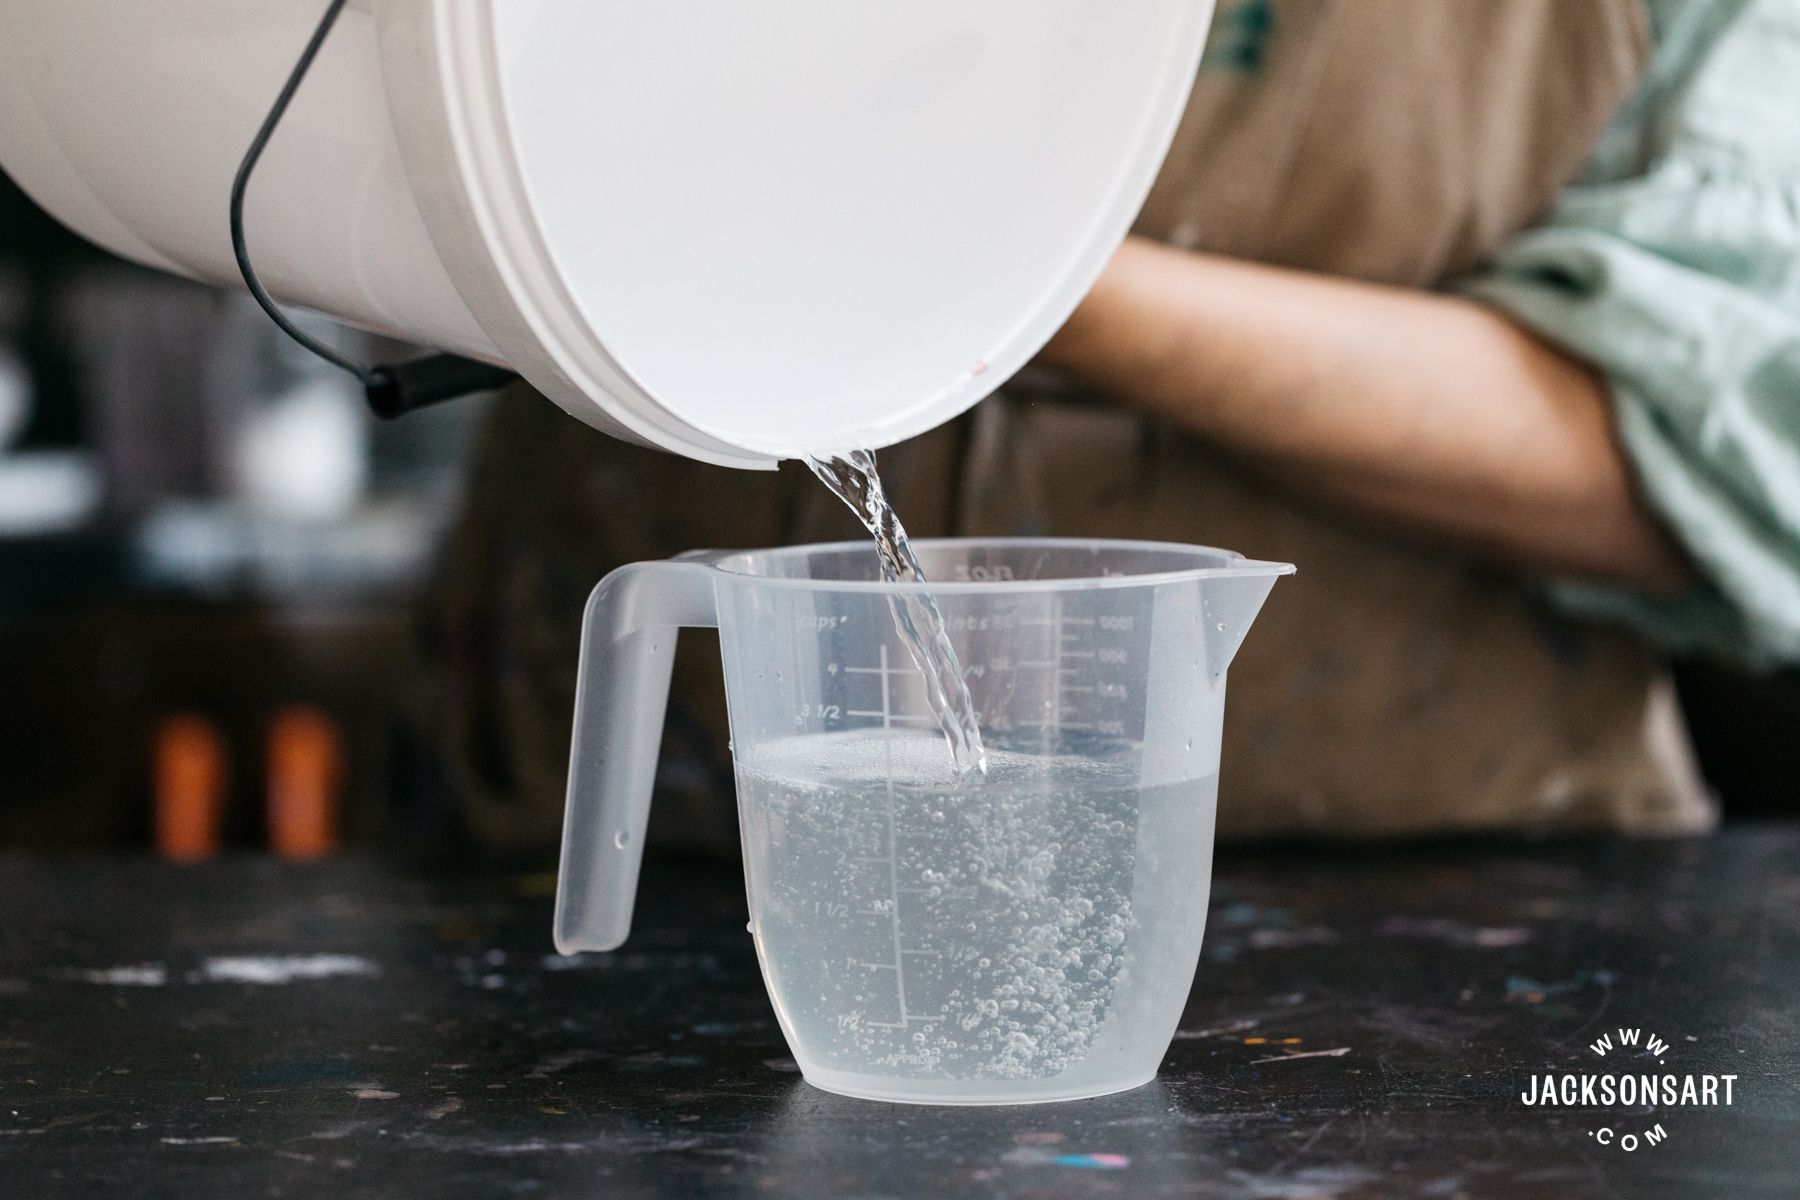
When you’ve accumulated at least one litre of dirty water, pour it into a one litre jug or bucket. To one litre of dirty acrylic paint water add a slightly rounded teaspoon of Aluminium Sulphate that you have first stirred into a tablespoon of water until it is dissolved, and whisk for one minute. Then add 3/4 teaspoon of Hydrated Lime and whisk for one minute. Solids should begin forming right away. Let the water settle for 15-20 minutes.
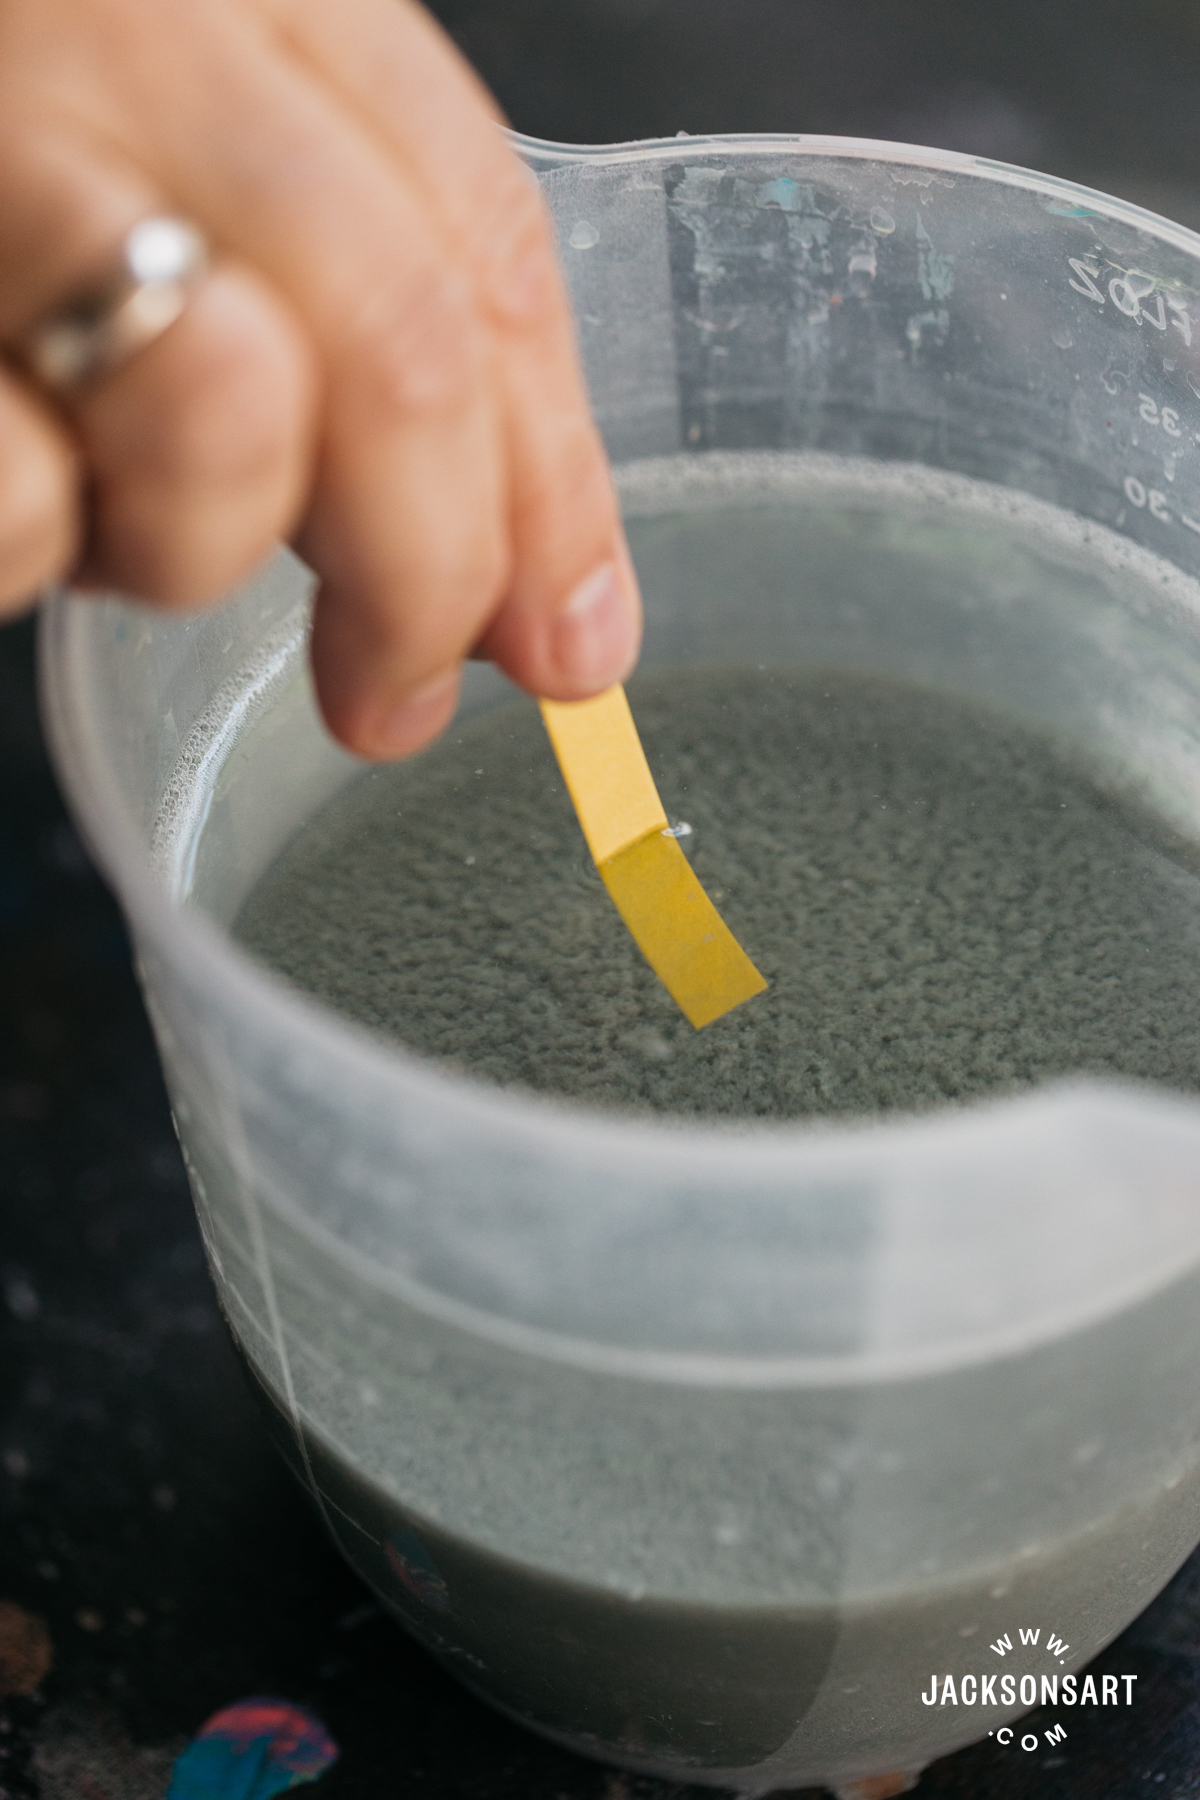
2. Test that the water is neutral.
Meanwhile, take a dry, unused pH strip and dip half in the water for one second. If the water is neutral there will be no colour change, just the colour change of the strip looking wet. If it does go green, orange or black then check its colour against the colour card that comes with the strips. If it shows it is too acidic add a little lime, if it is too alkaline add a little aluminium.
3. Filter the water.
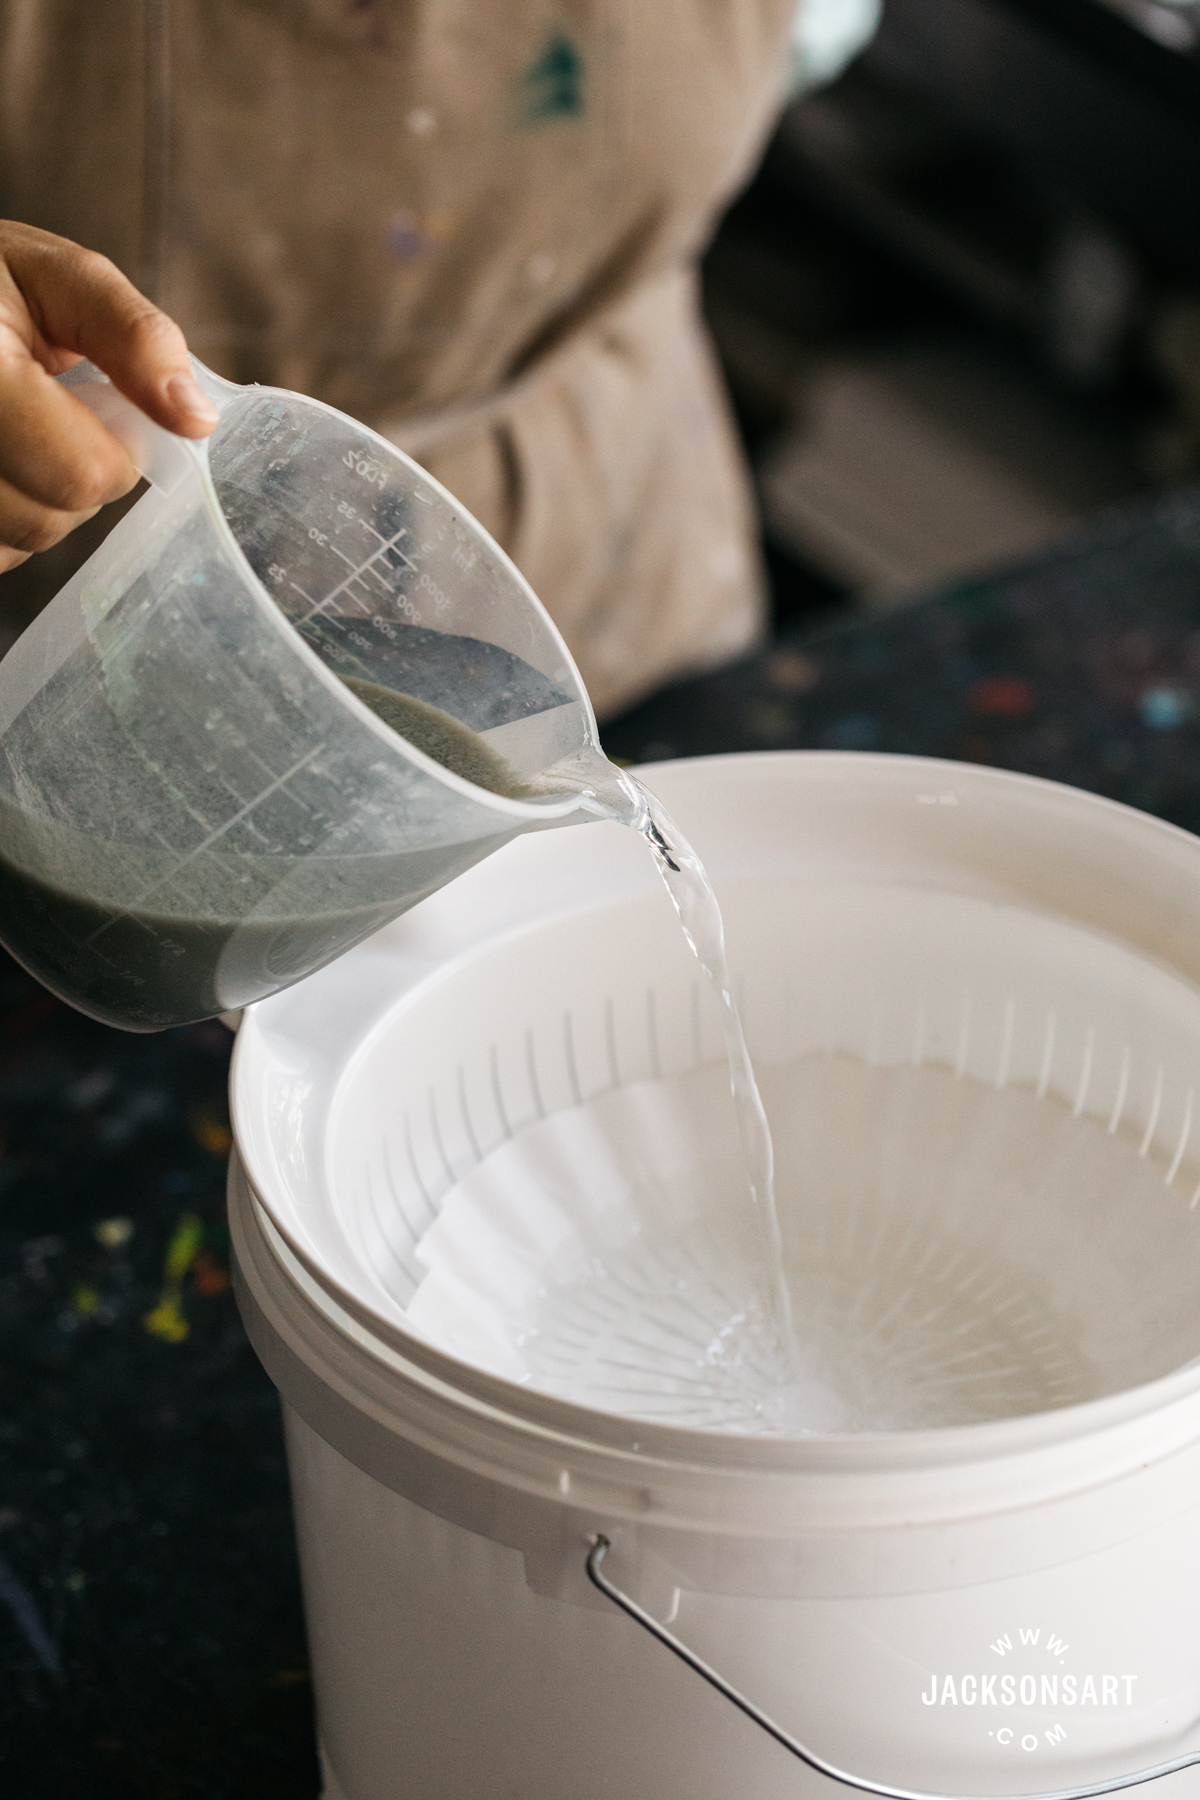
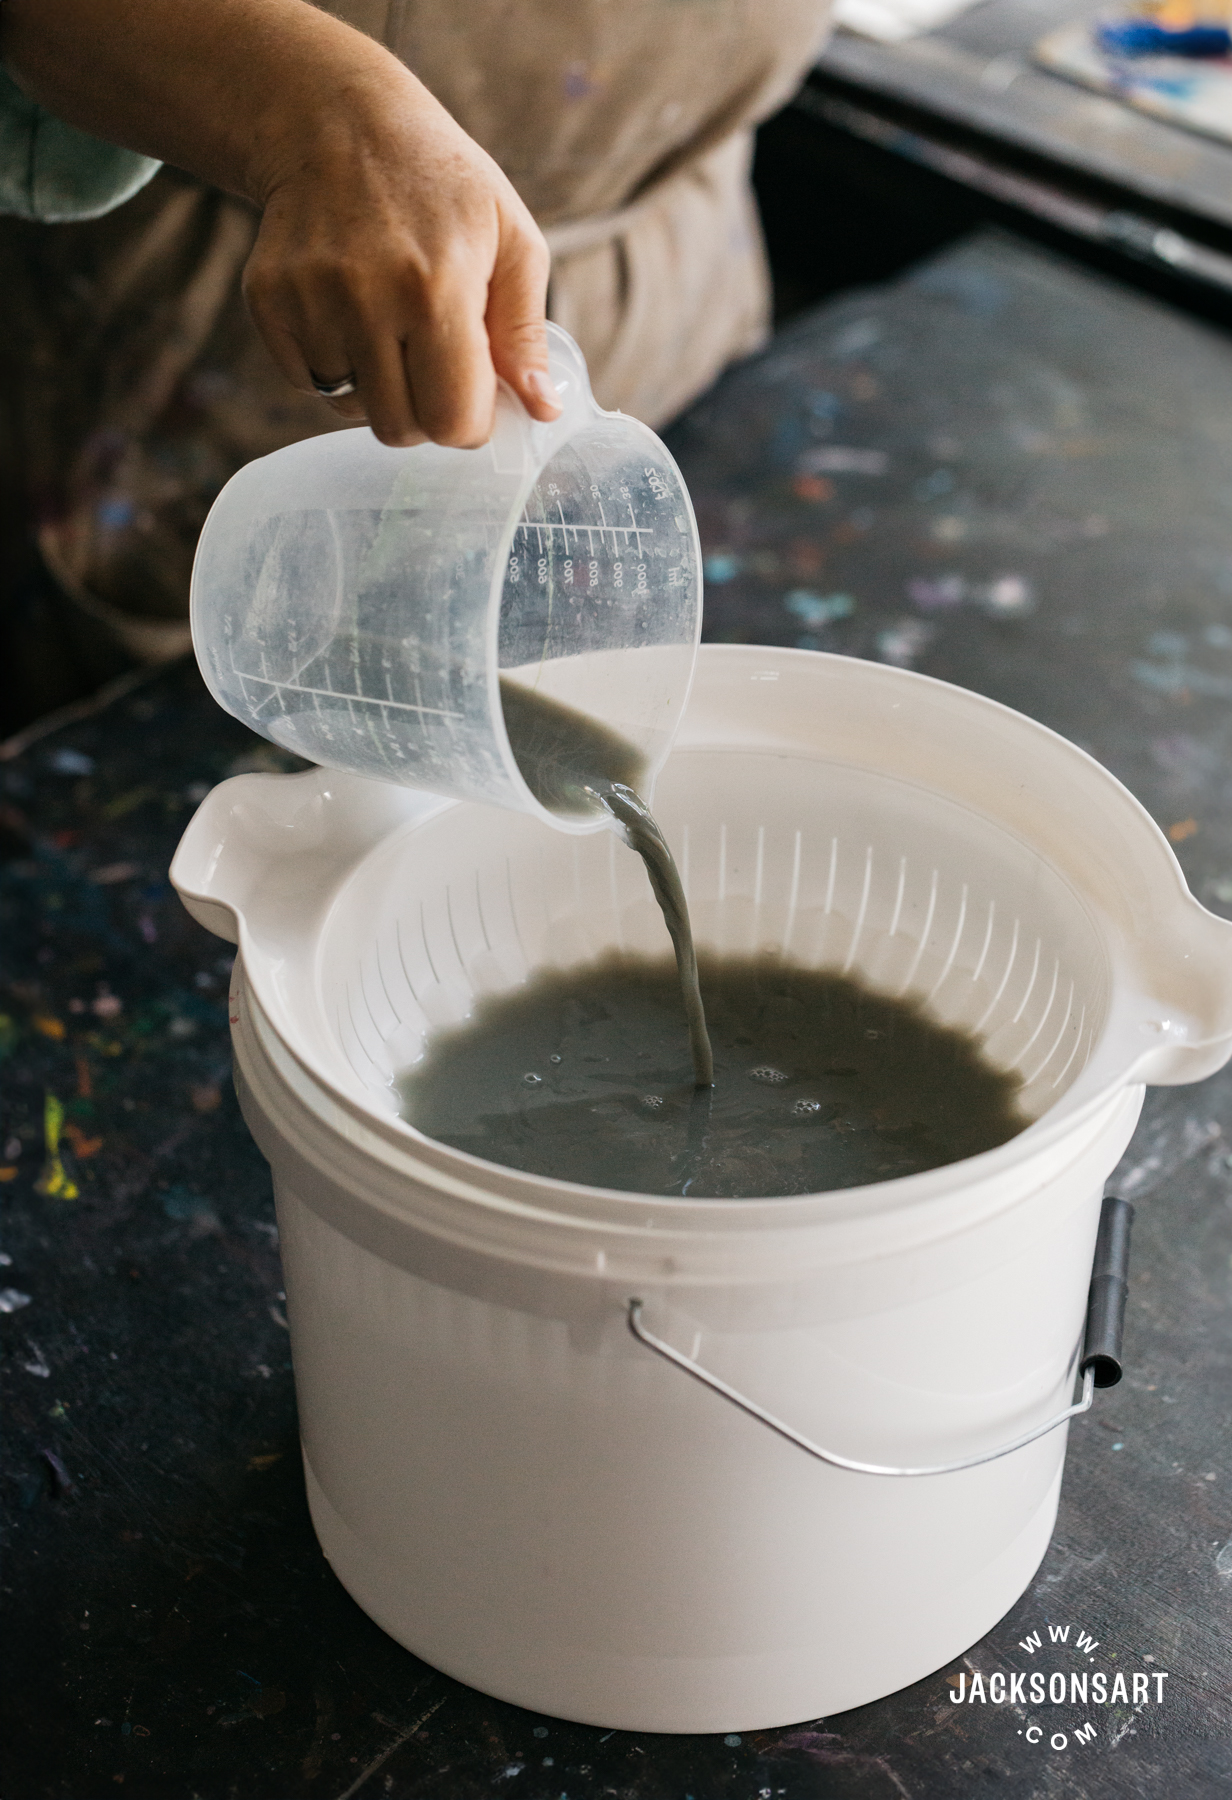
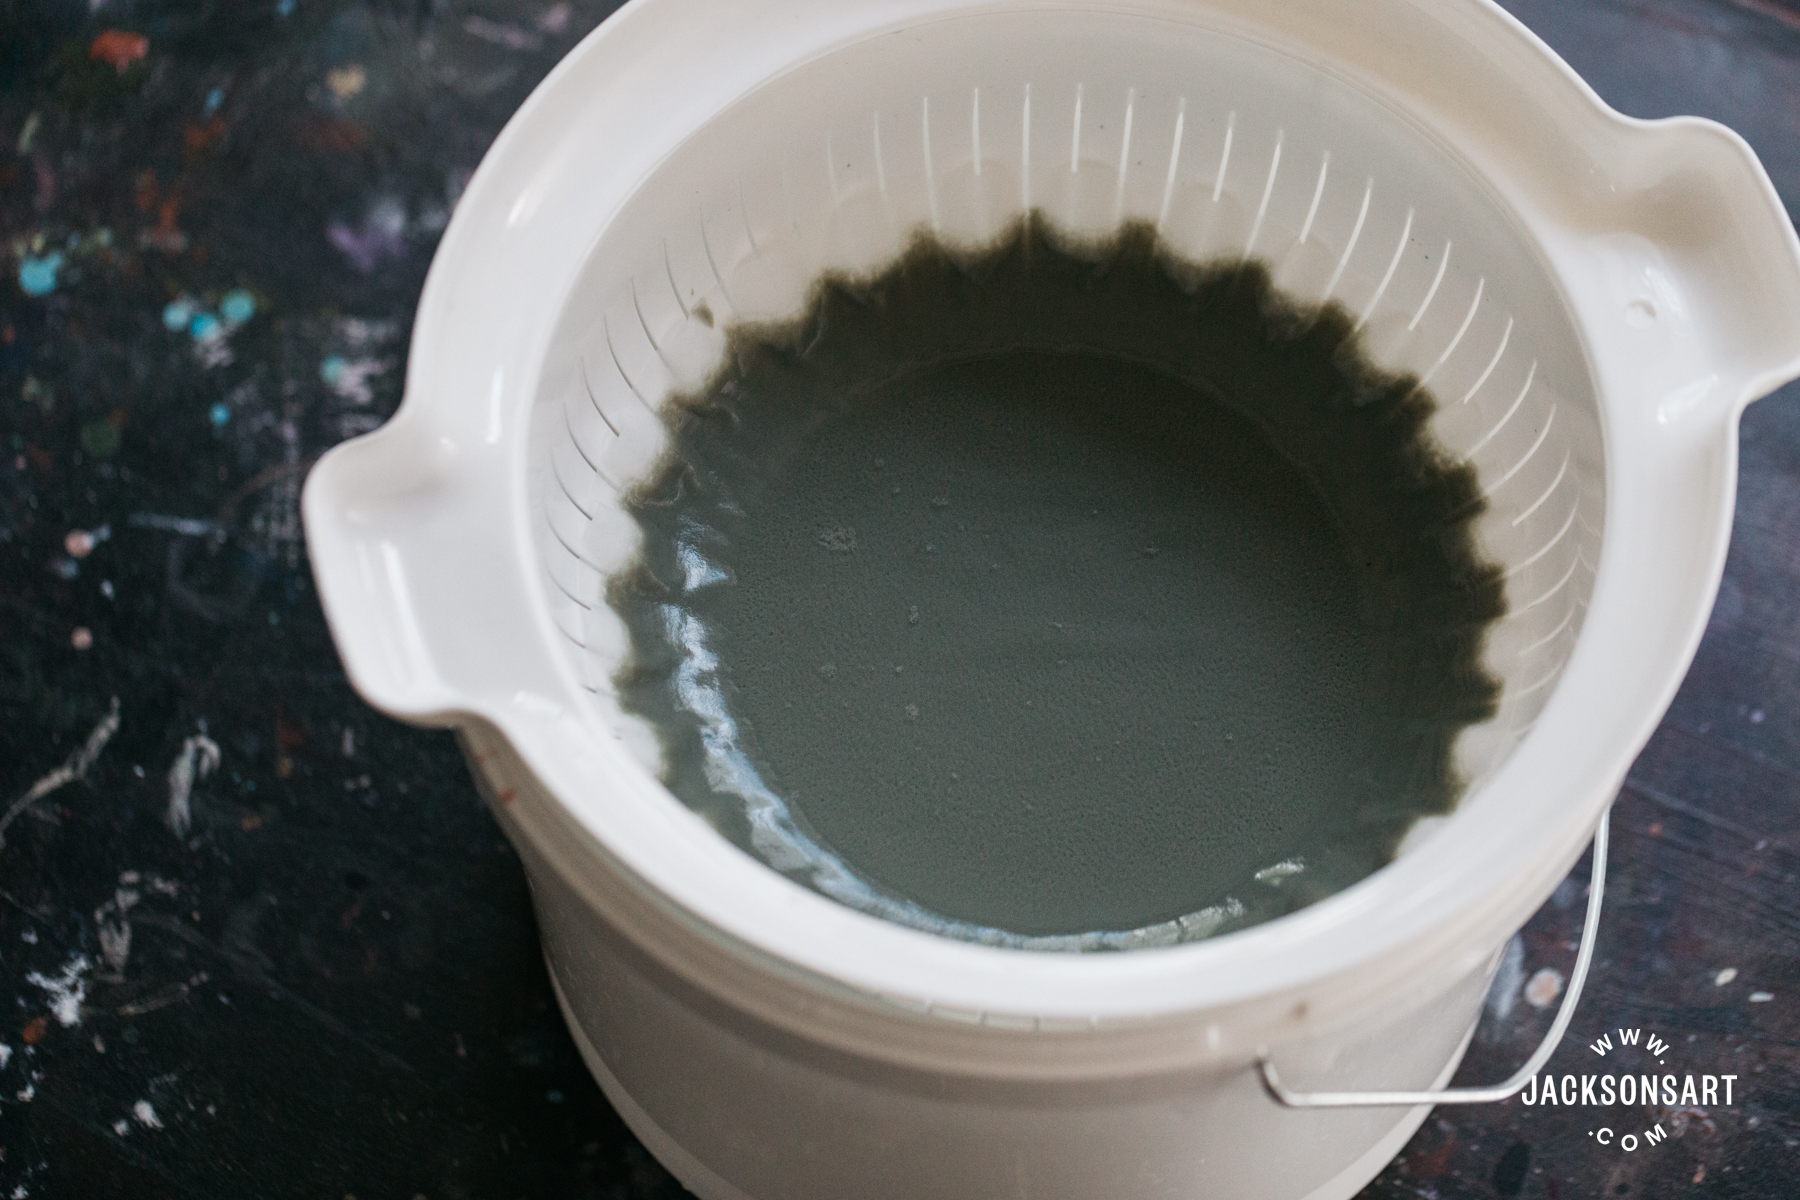
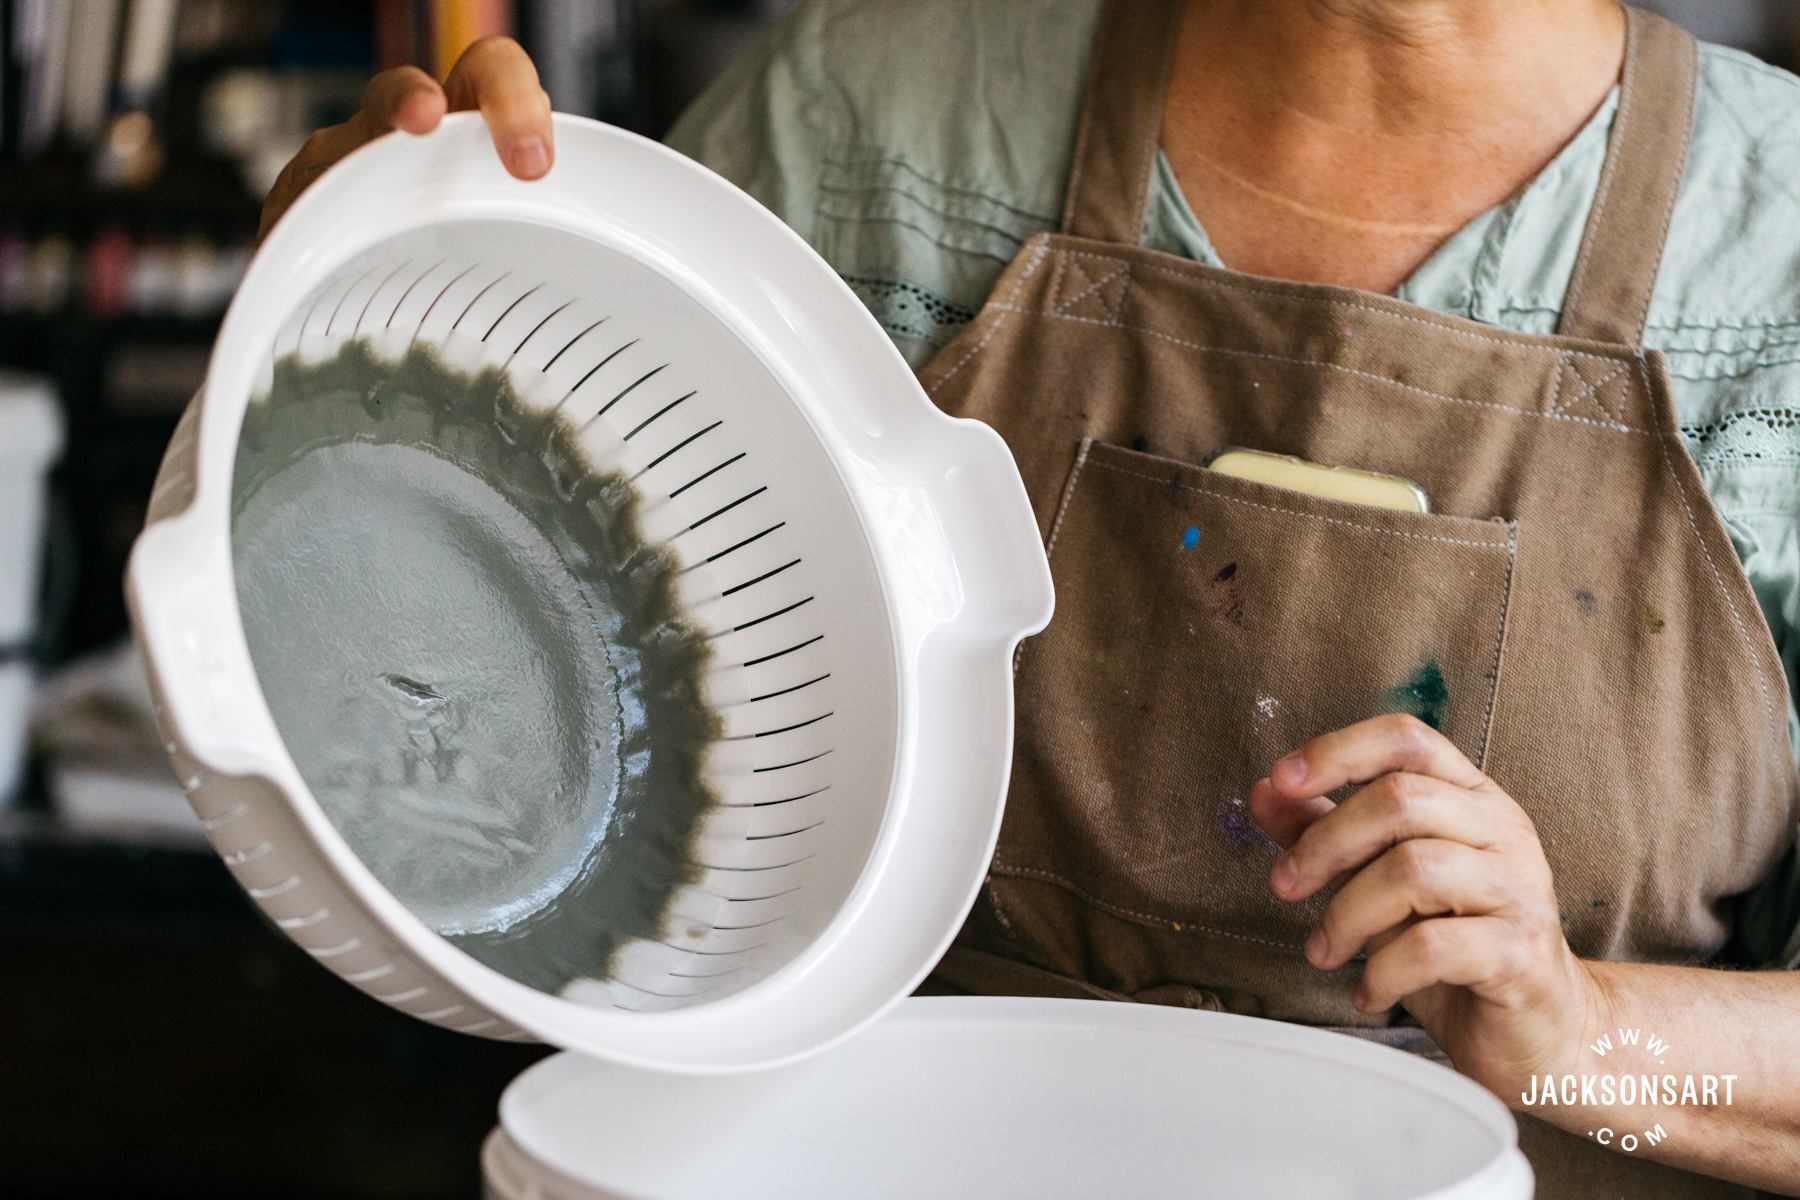
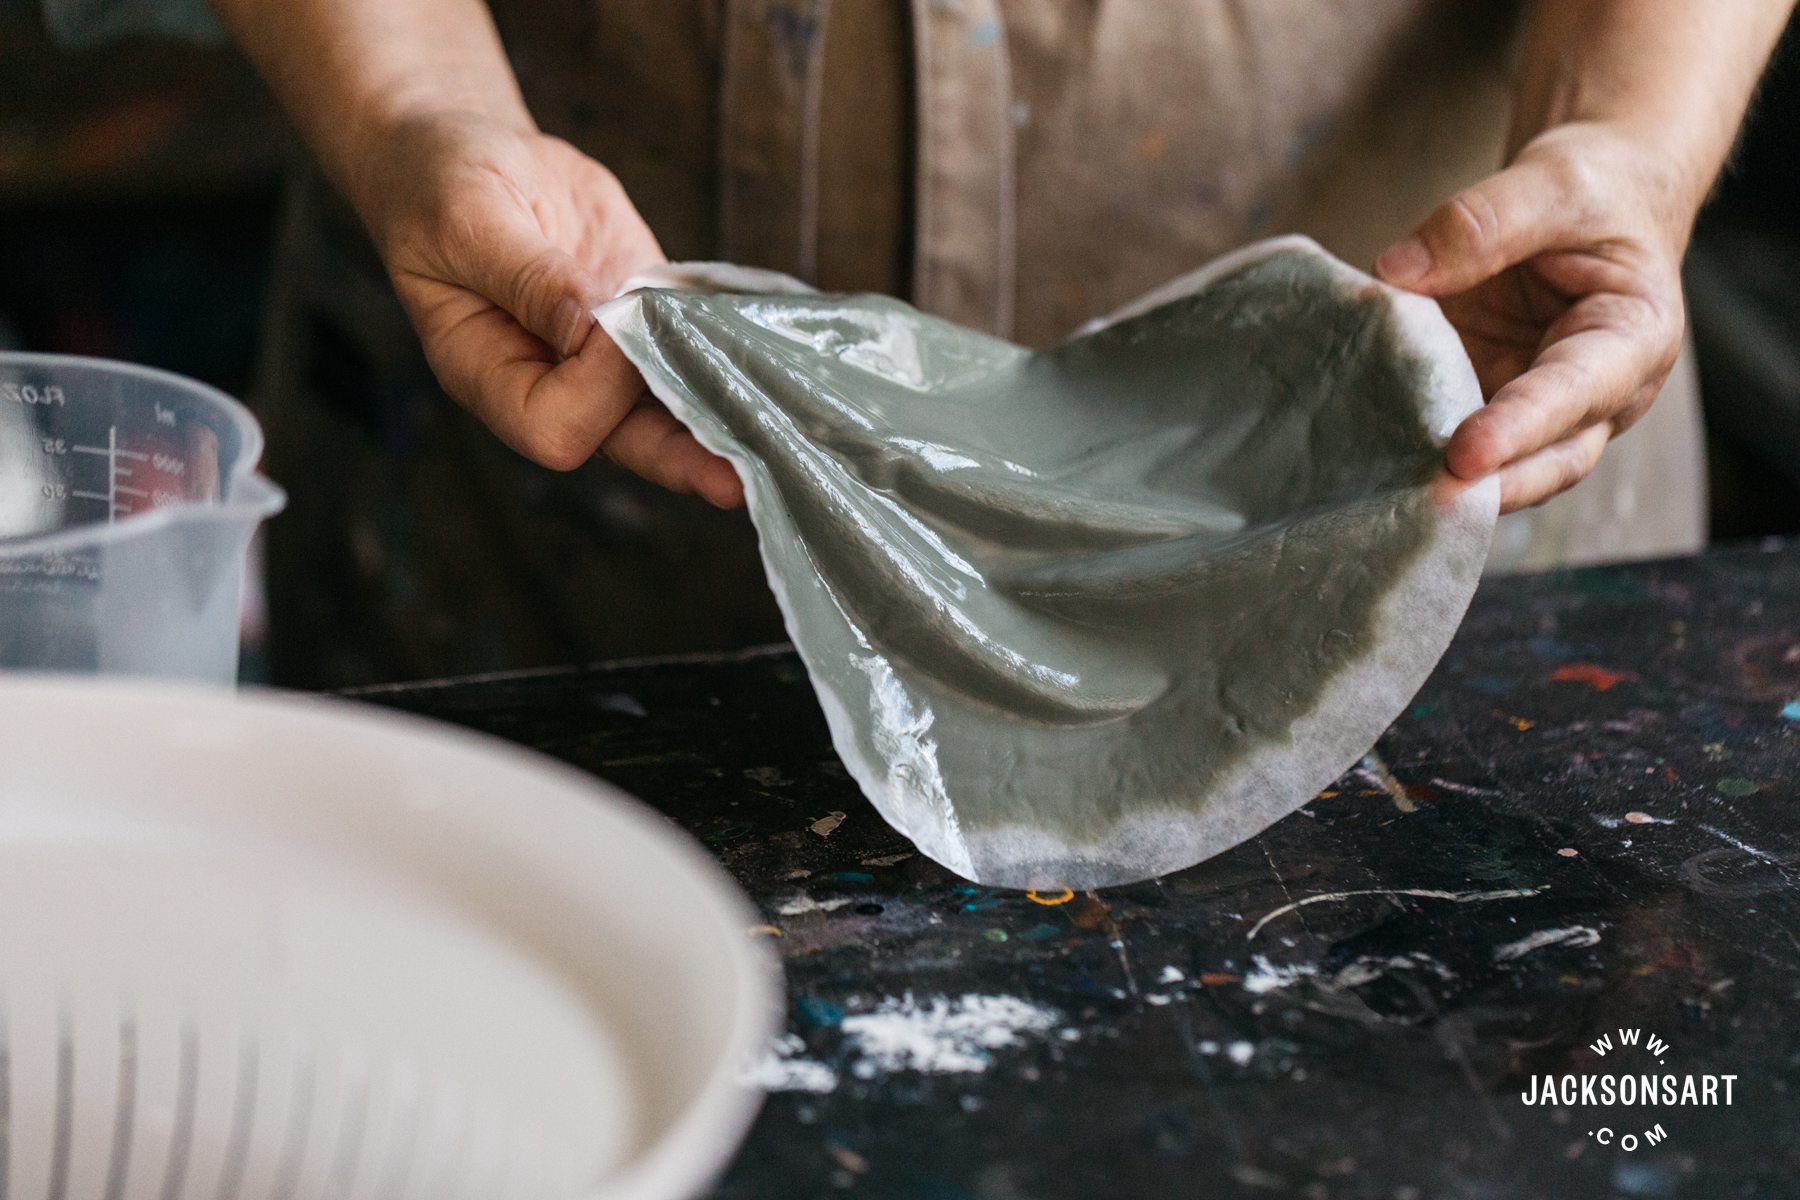
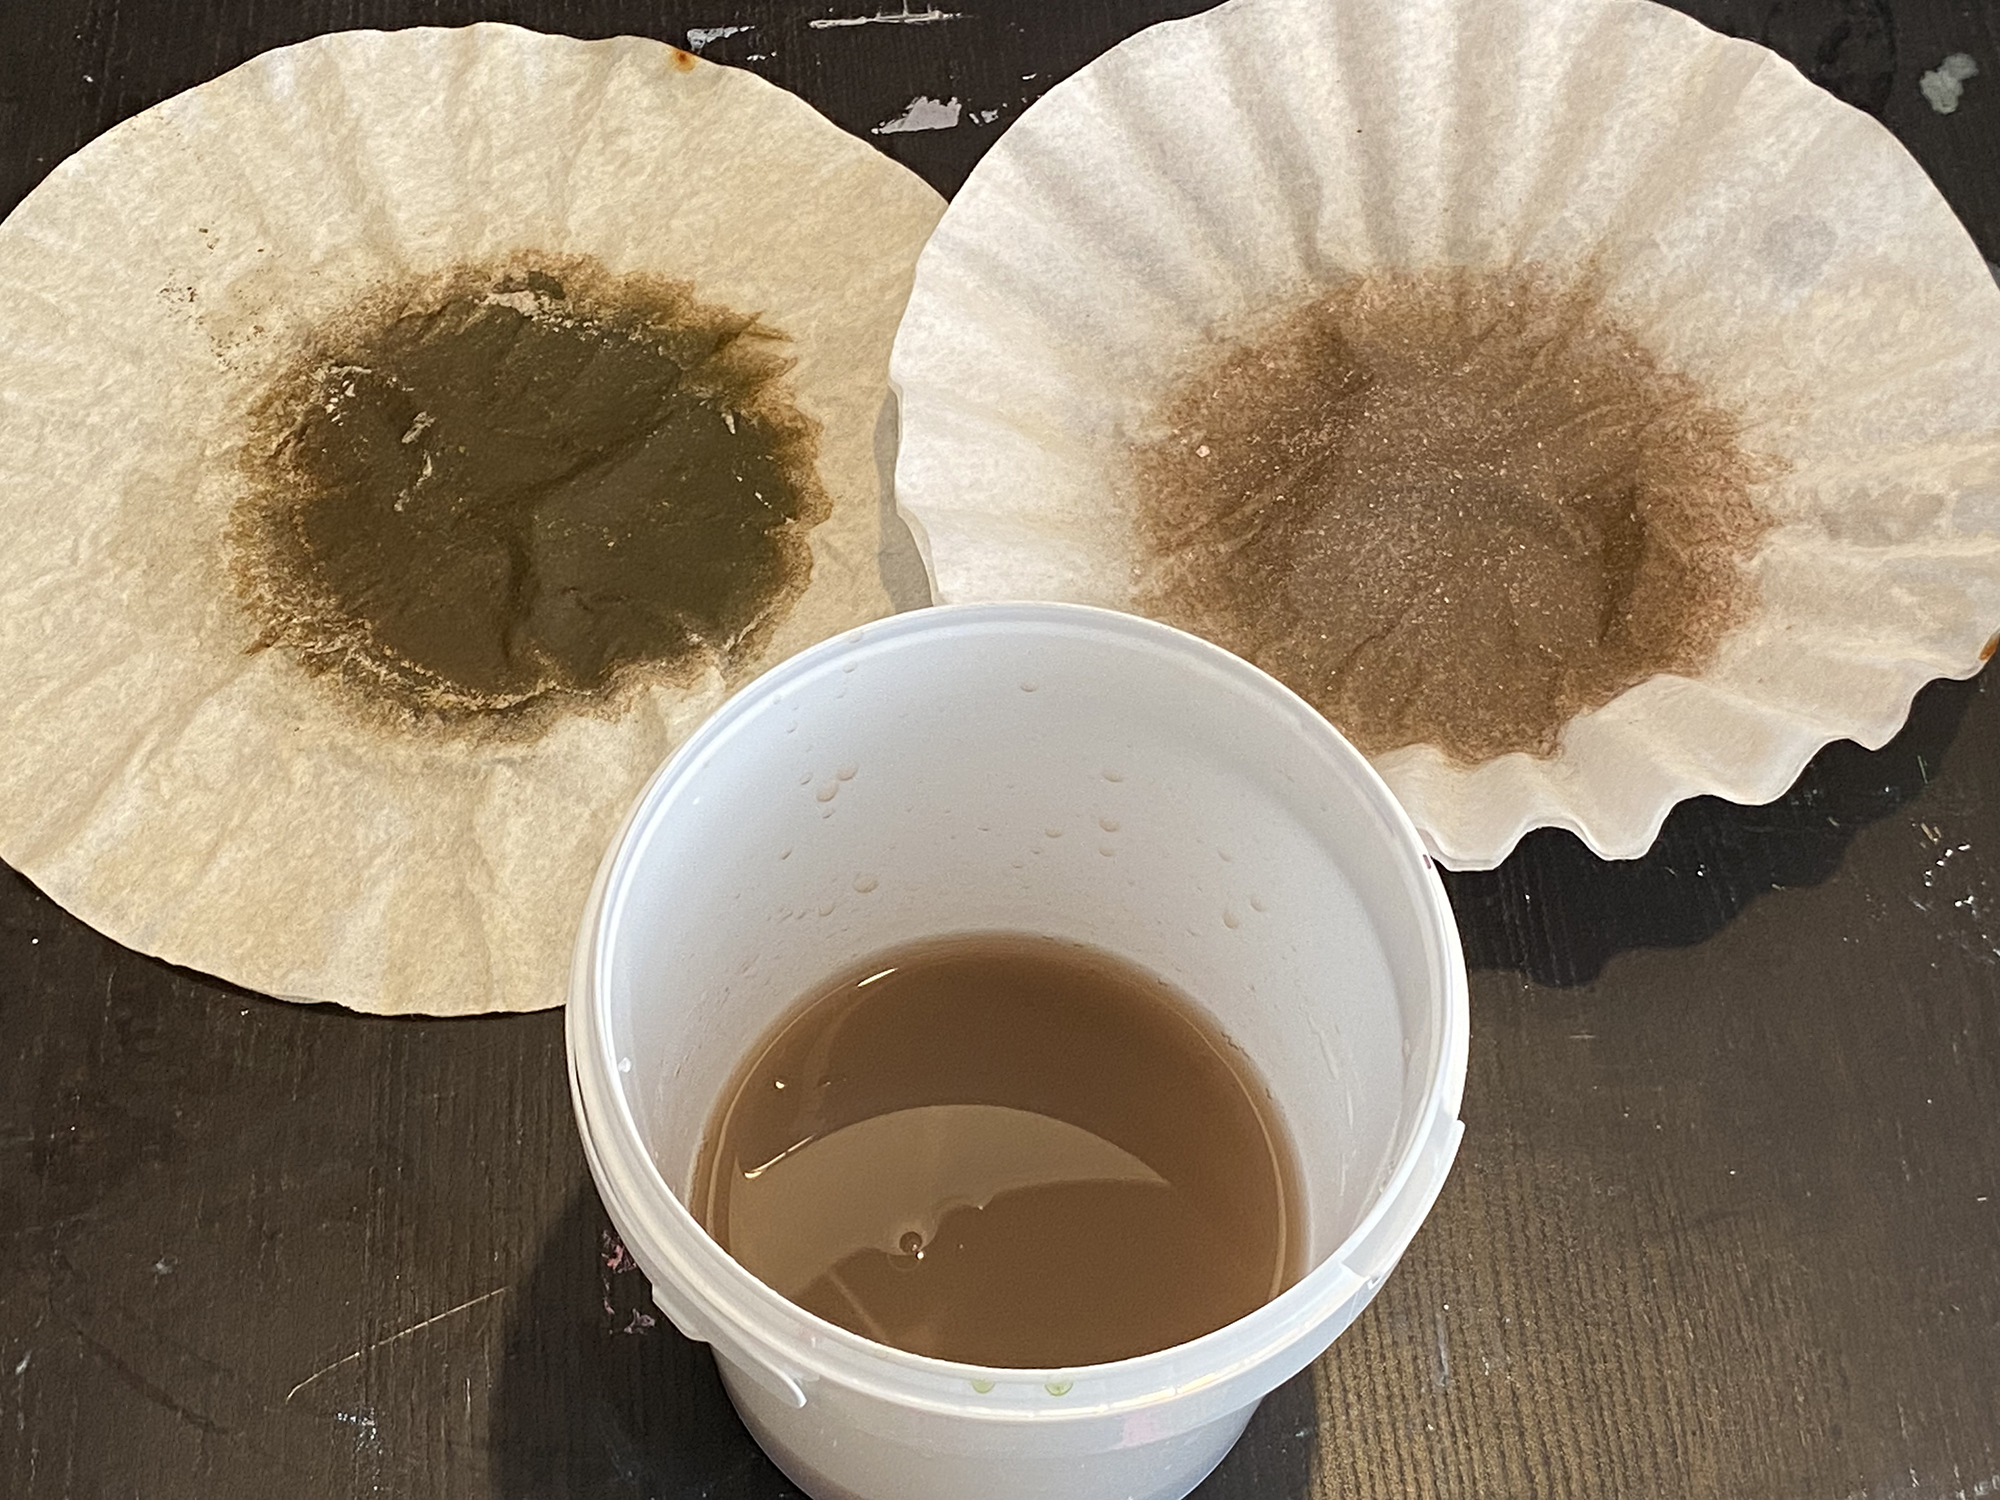
Put the colander over a bucket and line with two coffee filters. Pour your water through. Because most of the water is clear it goes through quickly and the last bit with the solids will fit without overflowing.
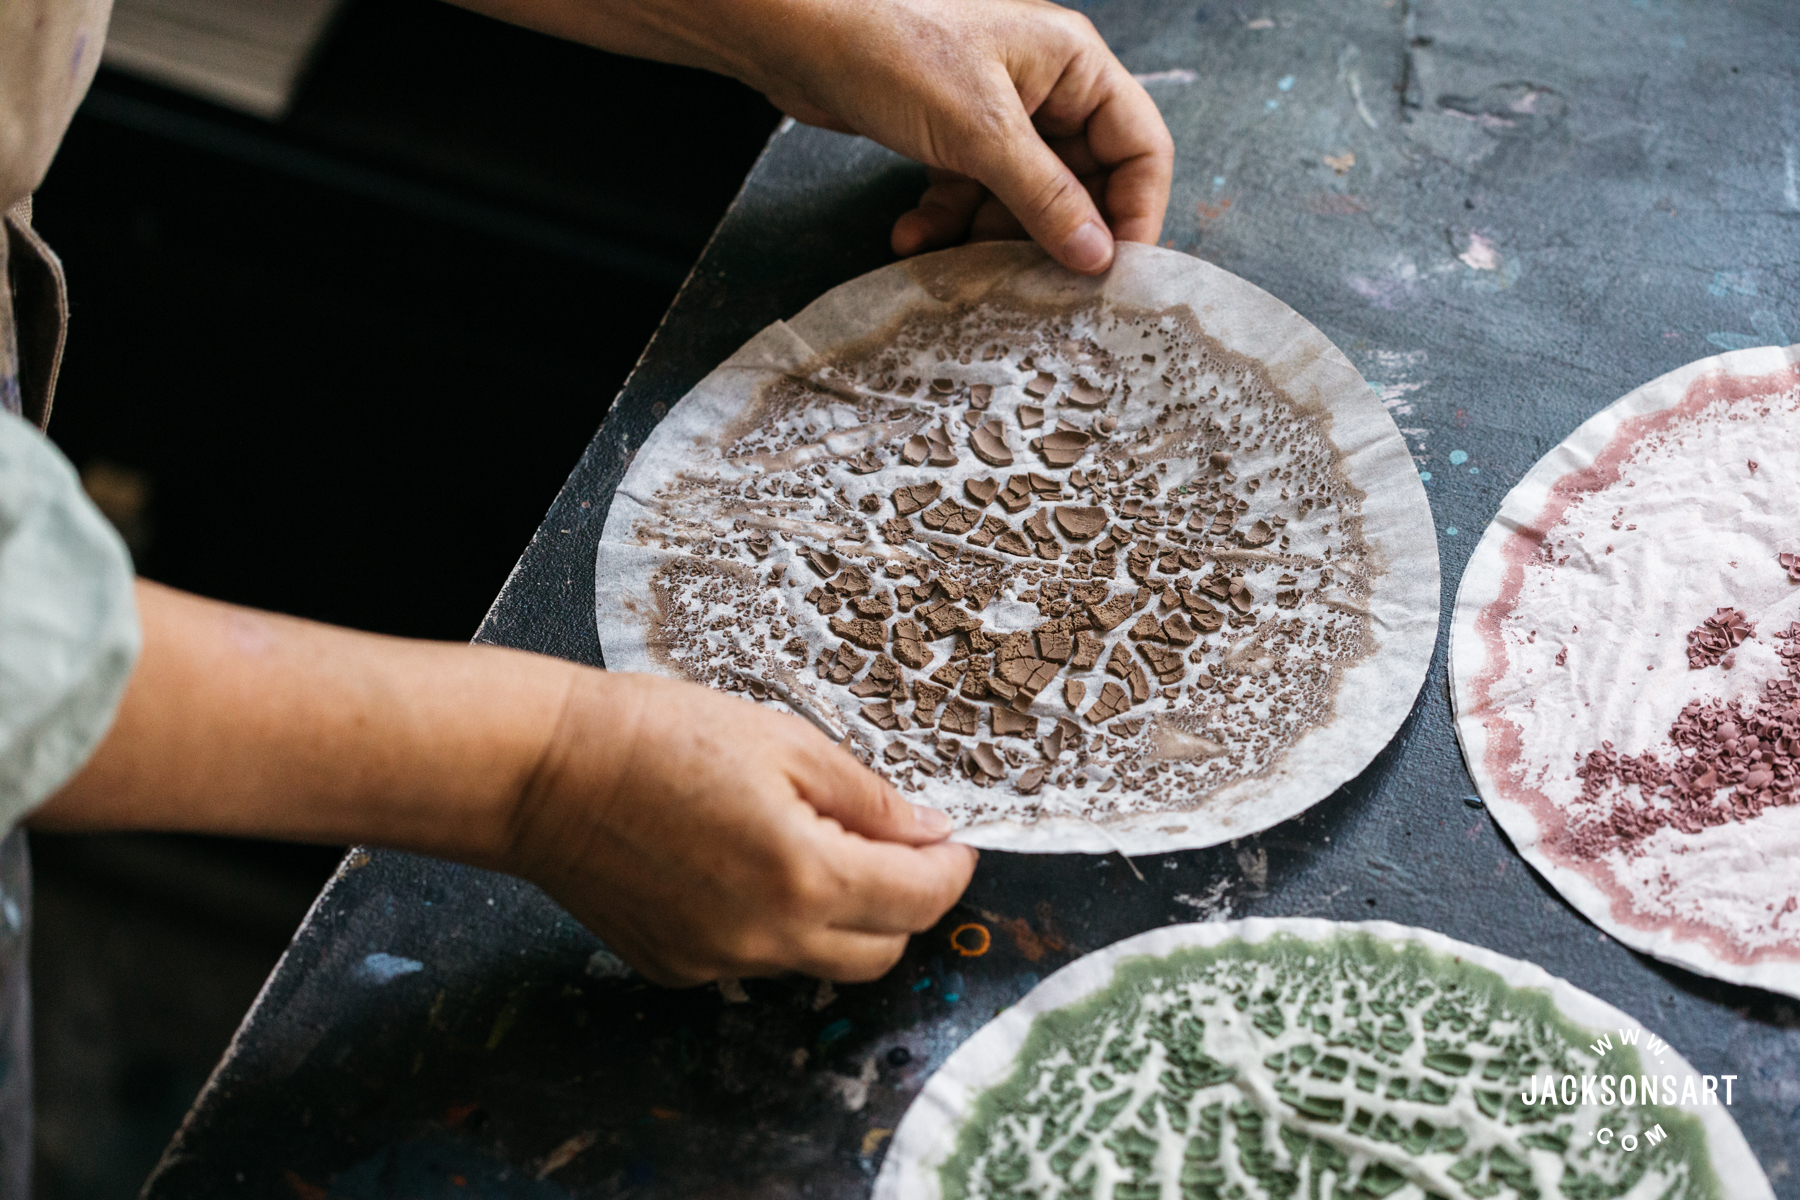
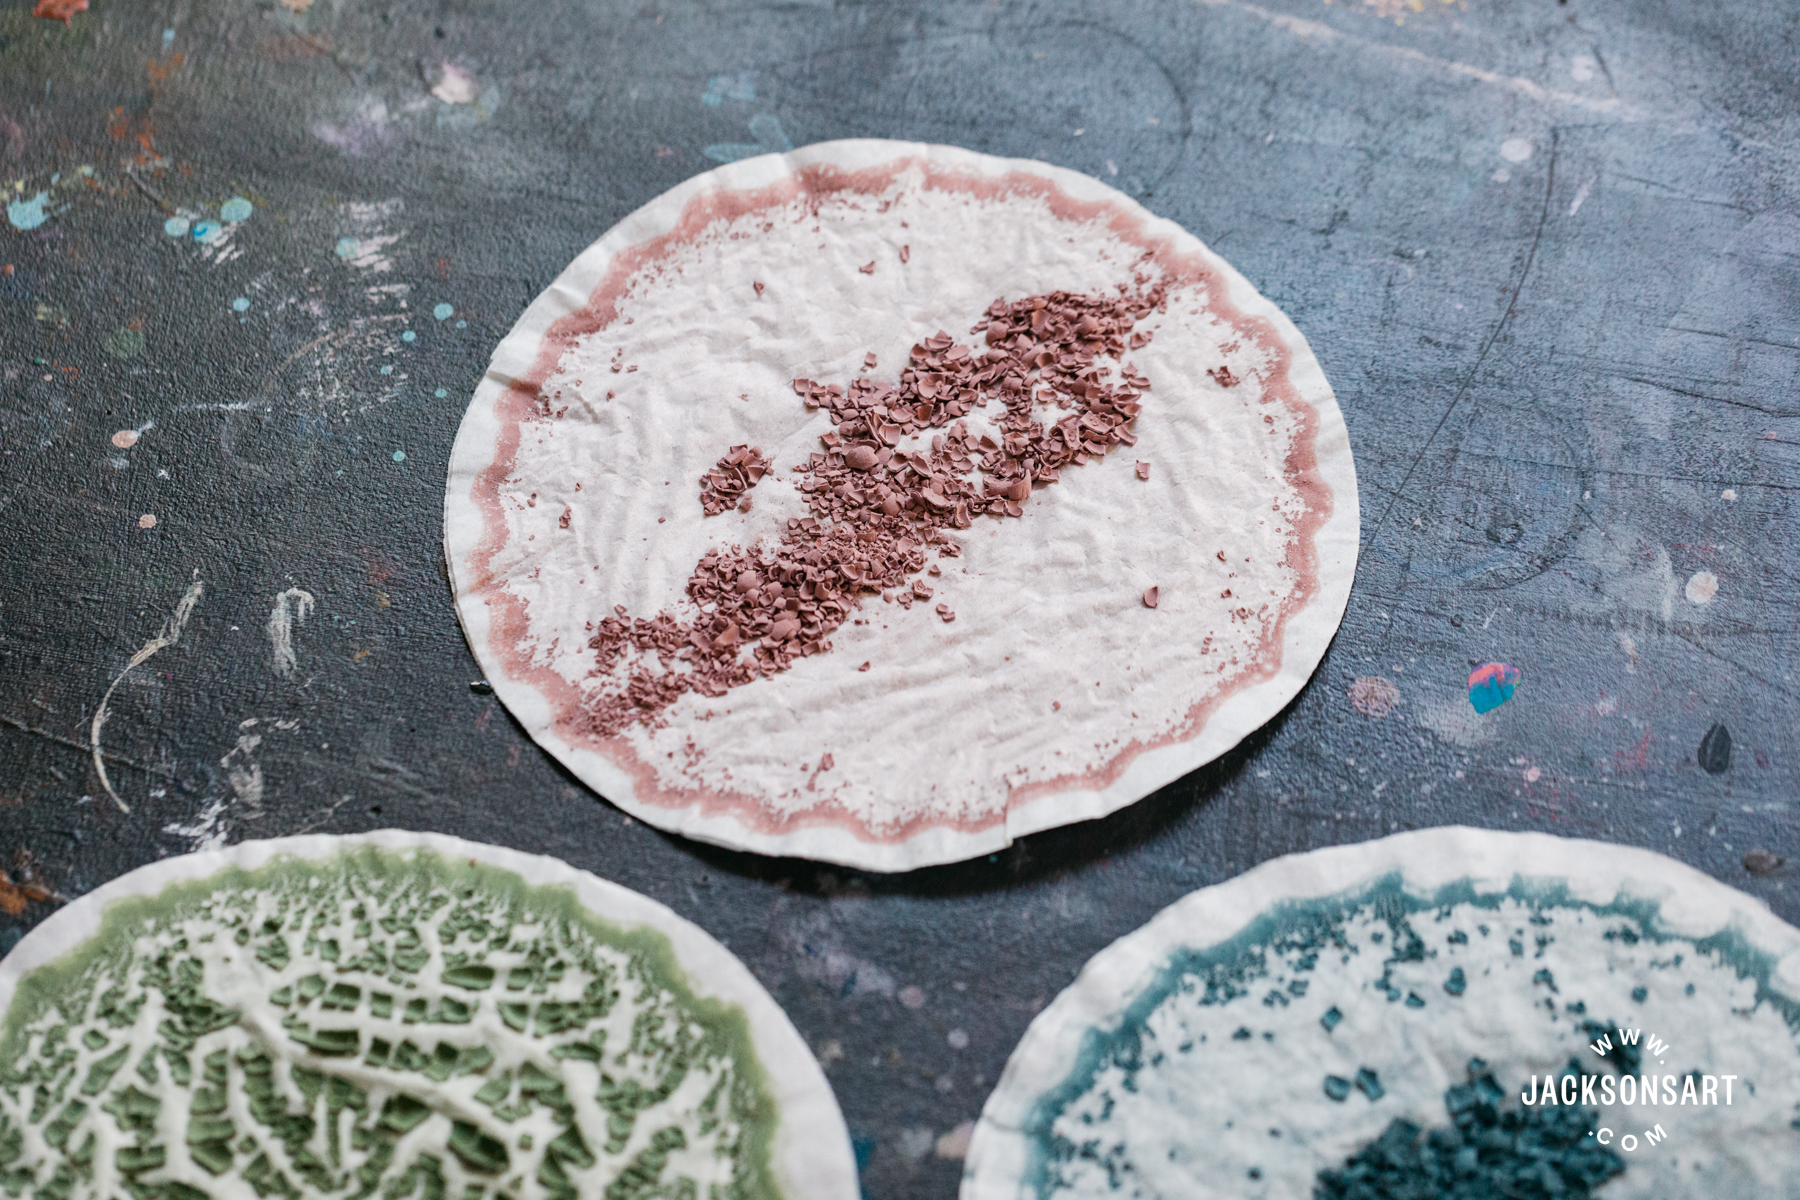
After 20 minutes or so, when it has drained, place the full coffee filter on a scrap of cardboard or similar to dry out. When it’s dried, add it to your regular rubbish. Pour the clear water down the drain or as many people do, use it to water your plants.
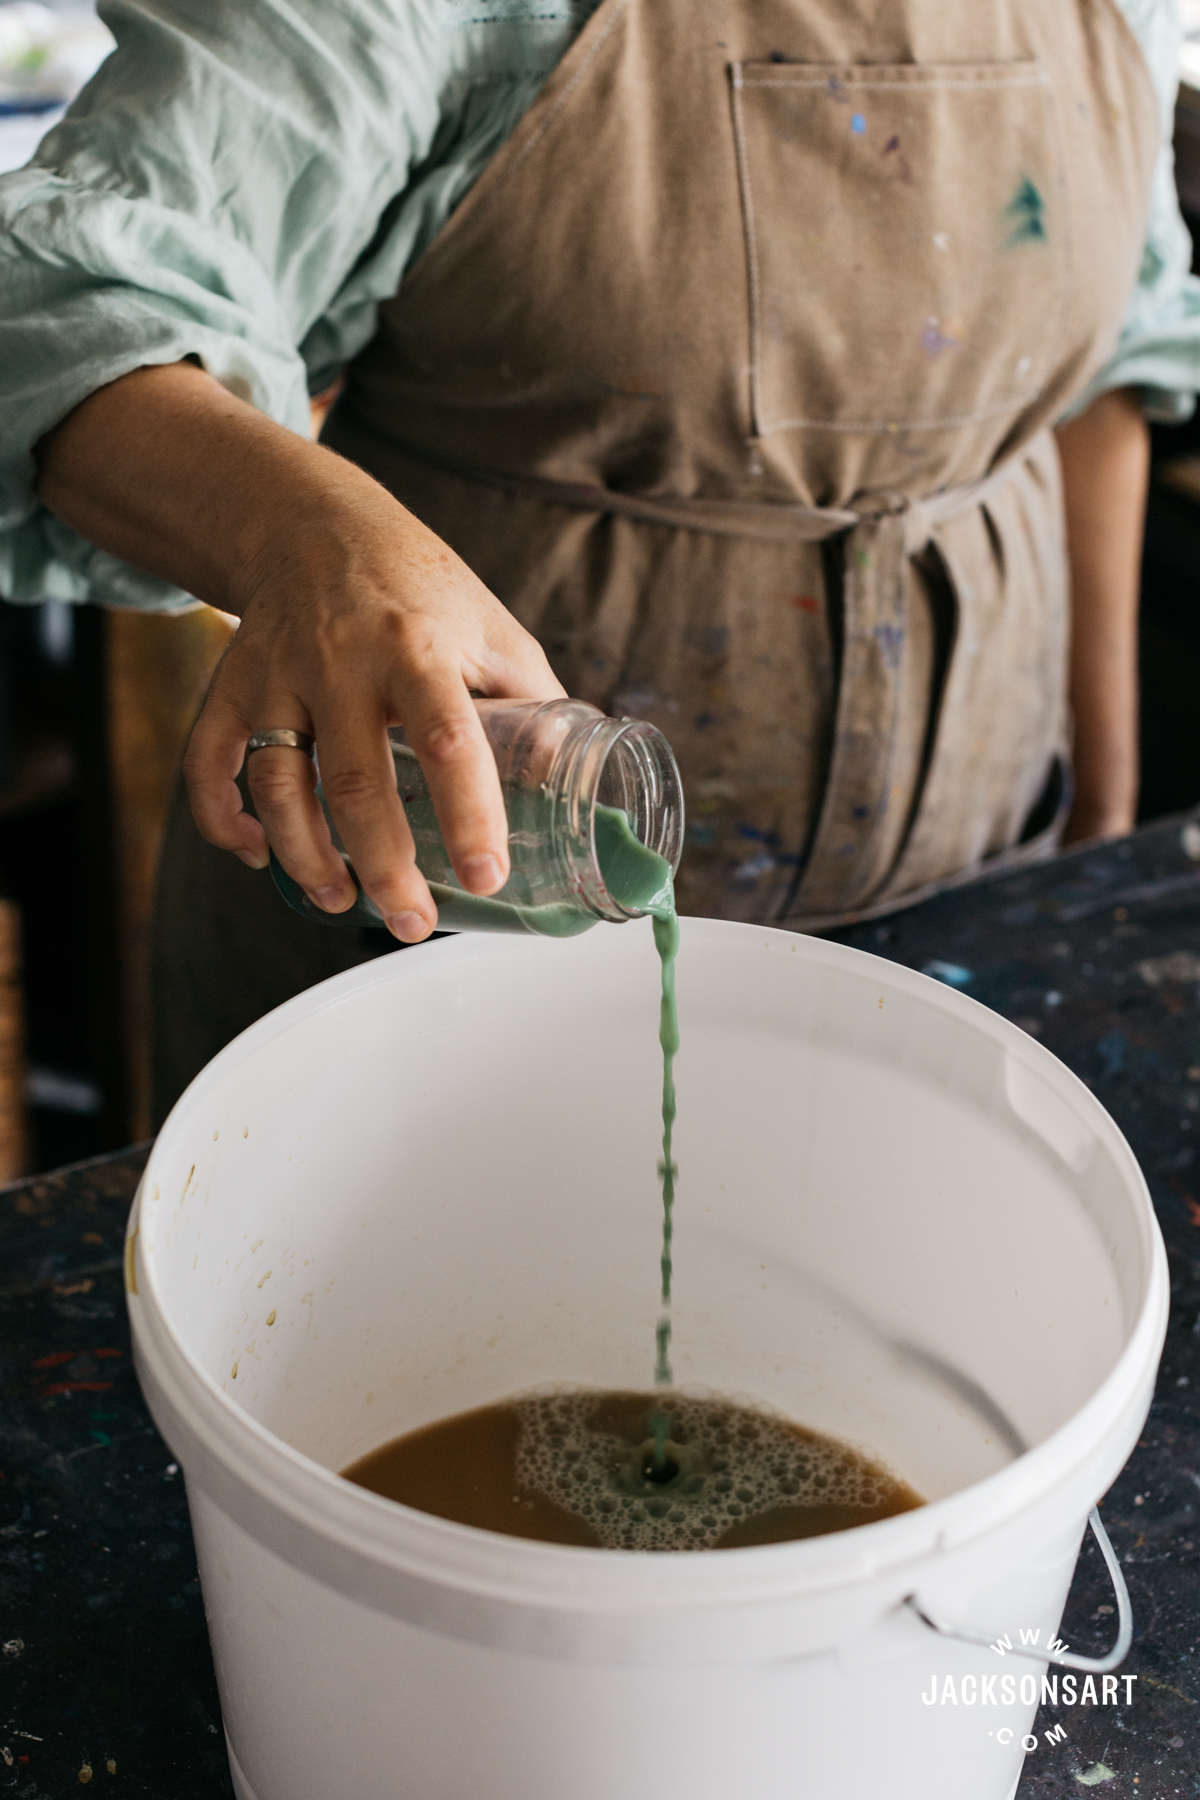
Gathering Your Materials
Both of these chemicals are garden products, soil improvers. You might already have them in your garden shed. Aluminium Sulphate, also called alum, is used to make soil acidic for acid loving plants, often used to turn hydrangea flowers from pink to blue. It is also used as a mordant to fix dyes in fabric. Most contain 17% alumina. It comes in the format of either kibbled (granular) or small crystals and so needs to be dissolved in a very small amount of water first. In water purification, aluminium sulphate causes the solids to flocculate or coagulate but leaves the water too acidic and the Hydrated Lime is added to do more flocculation and it also makes the water neutral so that it is safe to dispose of. Hydrated Lime is a kind of chalk, Calcium Hydroxide, used to “sweeten” soil, that is, to make it less acidic, more alkaline. It is also an ingredient in lime mortar for brickwork. Garden Lime, Calcium Carbonate, can be substituted as it may be more readily available at garden centres, but you should almost double the amount in the recipe, to about the same amount as the alum because it isn’t as watersoluble as the hydrated lime. The pH testing will tell you if you have the right amount. If the packaging is too large or not available you can order the hydrated lime online in smaller amounts as Calcium Hydroxide. The 25kg bags that garden lime often comes in are much more than you will use in the studio, as you are using just a teaspoon per litre. But, you could share it out with other acrylic painters. You can divide it up into yoghurt pots or small plastic bags. Again, scoop gently, don’t pour, to raise as little dust as possible and wear a good mask while doing this.
Safety
The alum is acidic and the lime is caustic. Treat them with respect and don’t get them on your skin until they’ve neutralised each other. Think of them like bleach or concentrated ammonia. And don’t breath the fine, caustic powder. Gloves and masks are recommended.
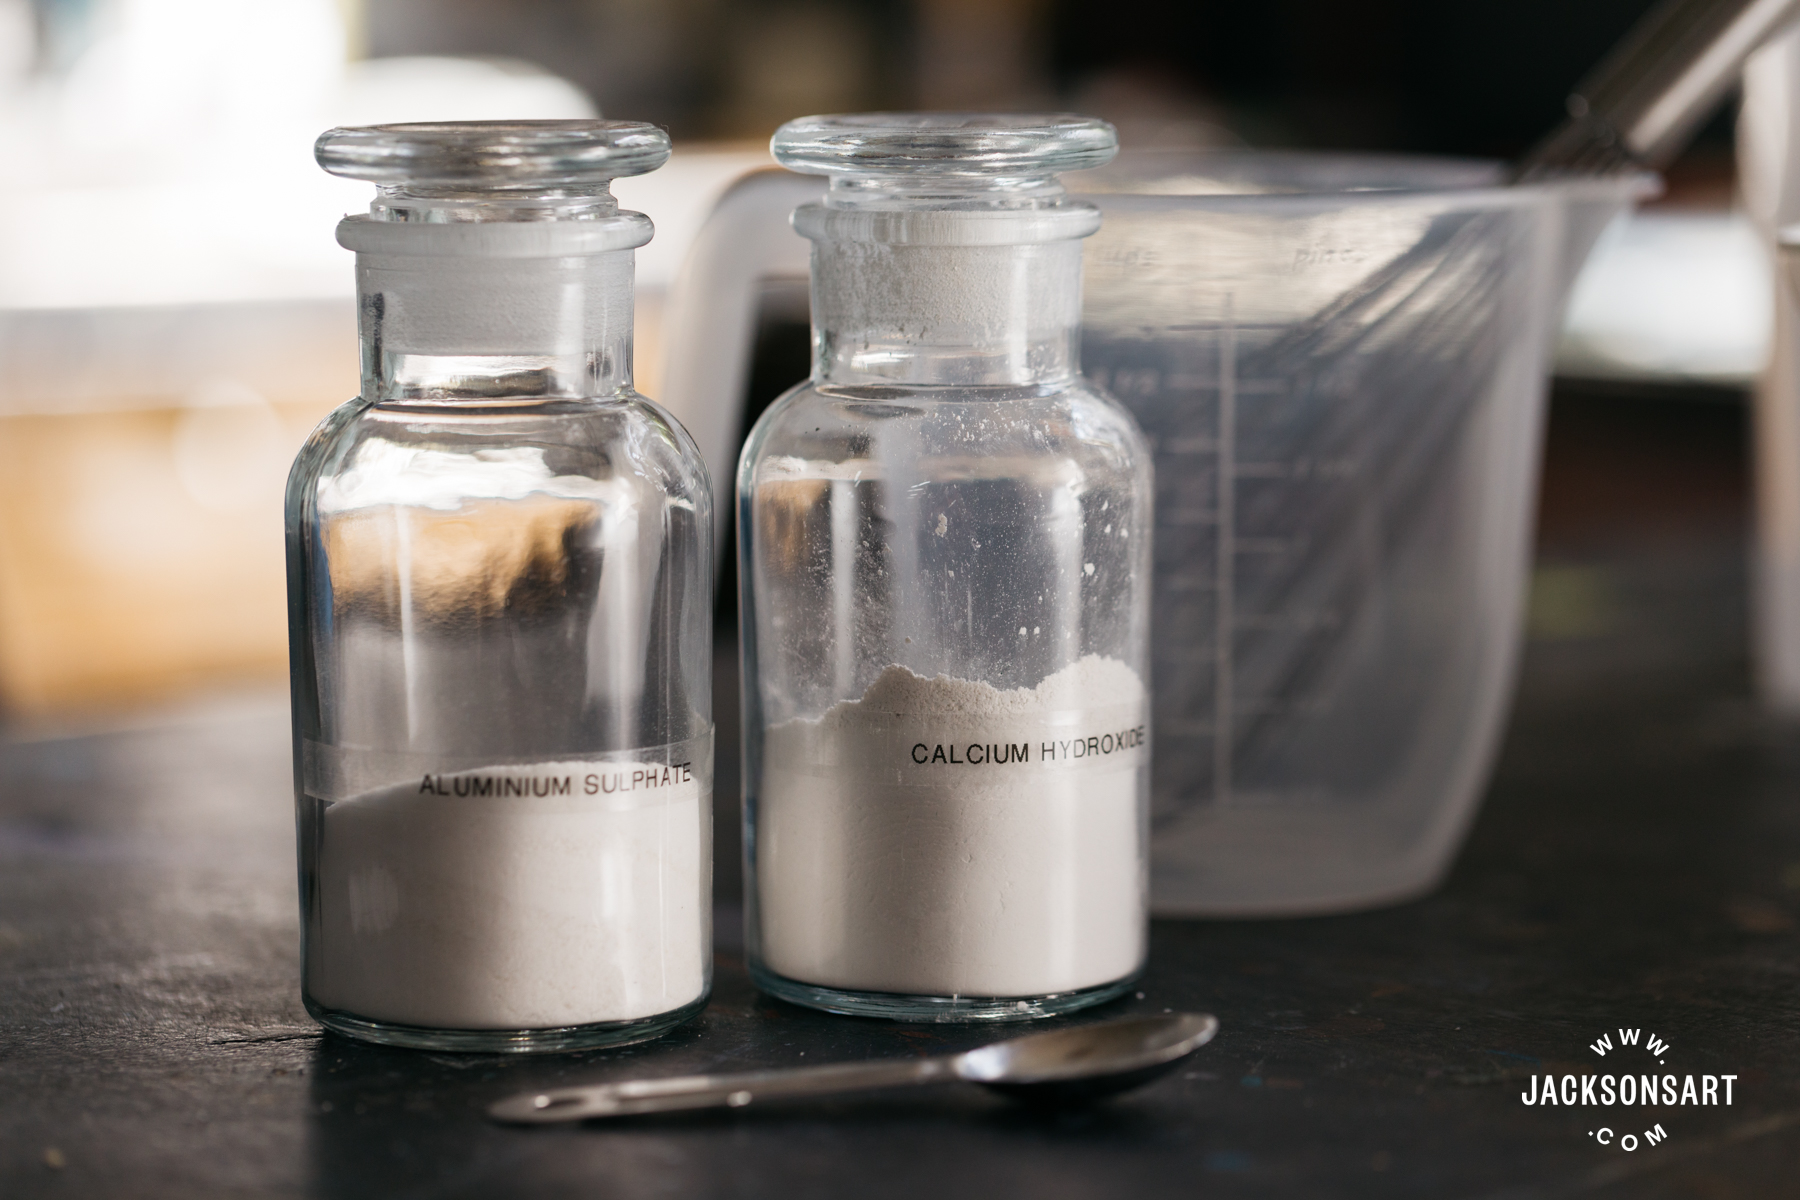
I bought both of the alum and lime powders in 500g packages. 500g of aluminium sulphate is 55 slightly rounded teaspoons each weighing around 9g. 500g of calcium hydroxide gives 125 of the 3/4 teaspoons weighing around 4g, so you’ll need to buy twice as much aluminium sulphate by weight as the calcium hydroxide. 1 kg of aluminium sulphate and 500g of calcium hydroxide will treat 110 litres of acrylic rinse water. It takes about 5 to 6 of my rinse jars to make a litre so it depends on how much you paint how long it will take you to create a litre of very mucky water.
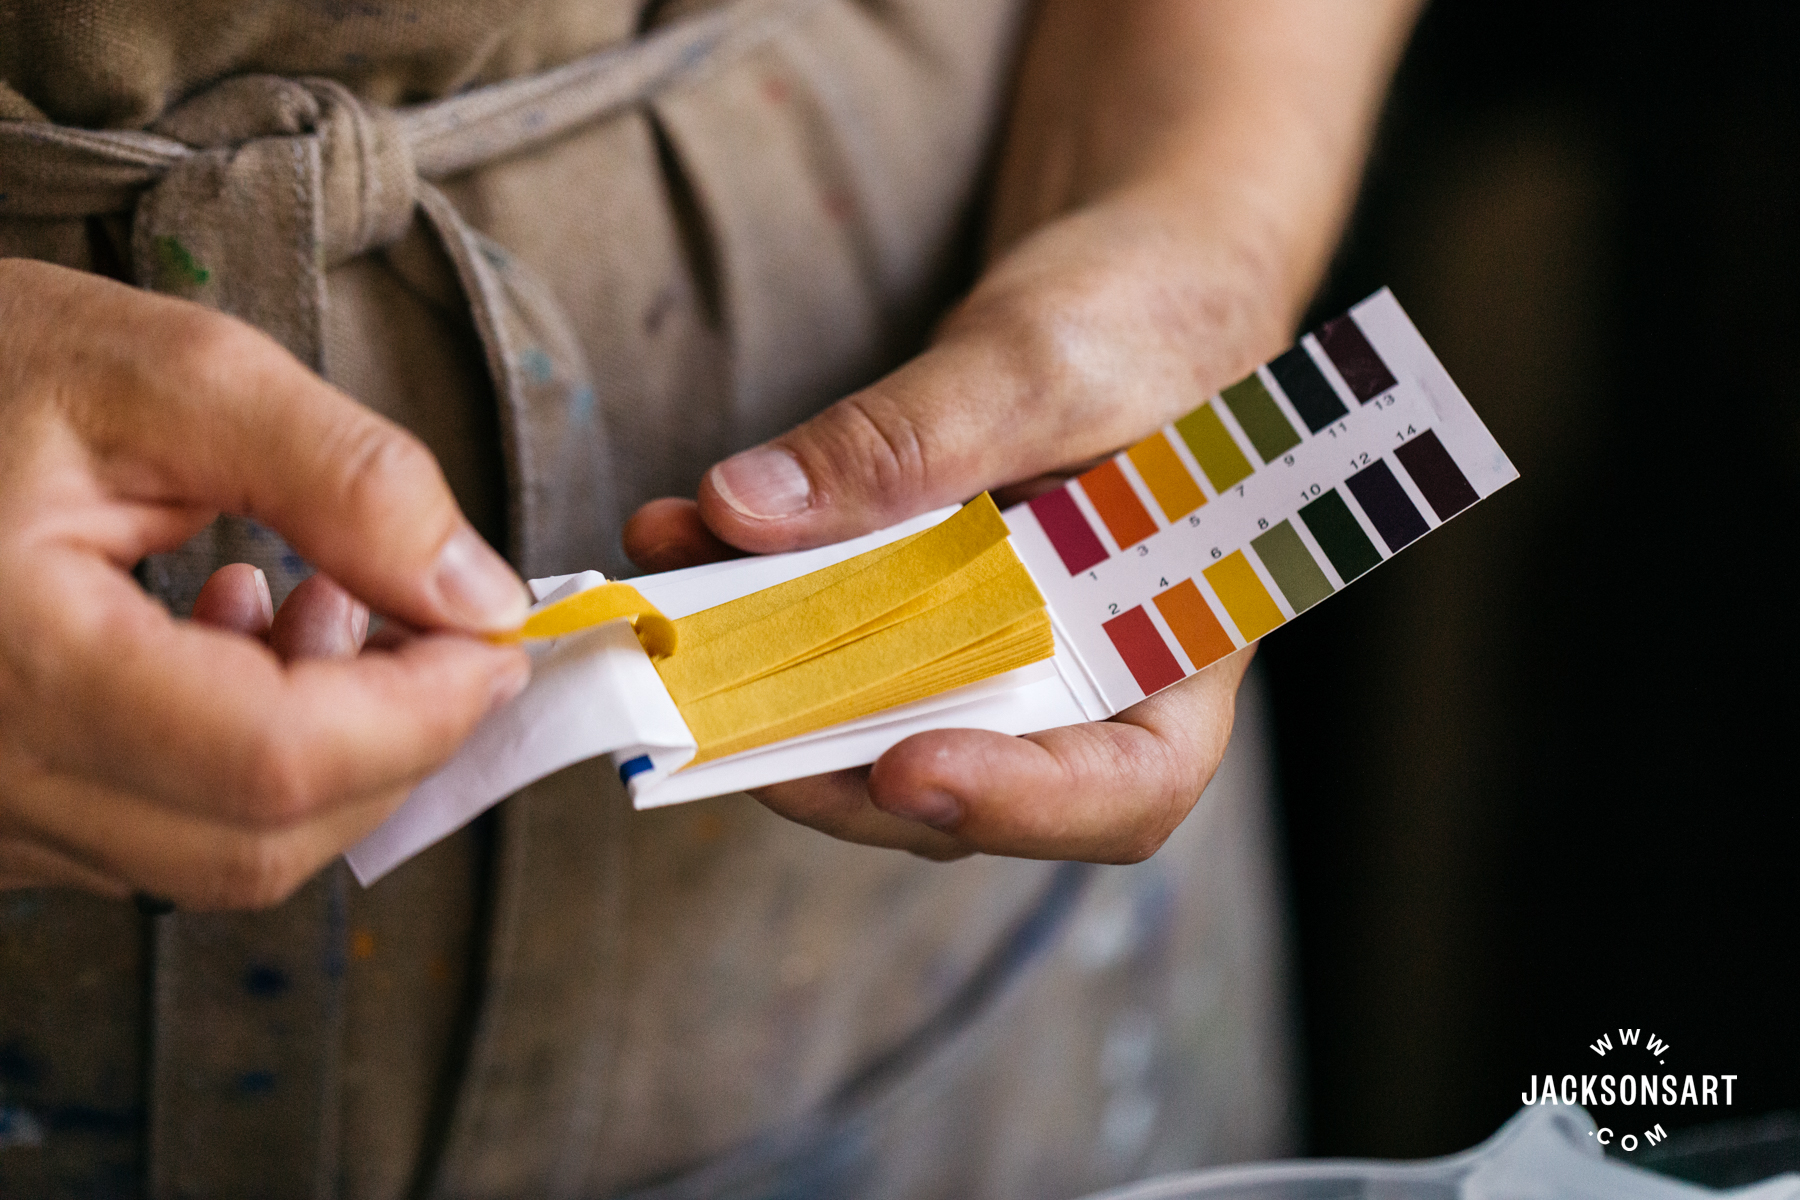
Soil pH testing is a normal activity for many gardeners. A pH test measures the acidity or alkalinity of soil or water: pH7 is considered neutral, above is alkaline and below is acid. A test kit is a small, inexpensive pack of 100 paper test strips that need to be kept dry. You cannot reuse a strip.
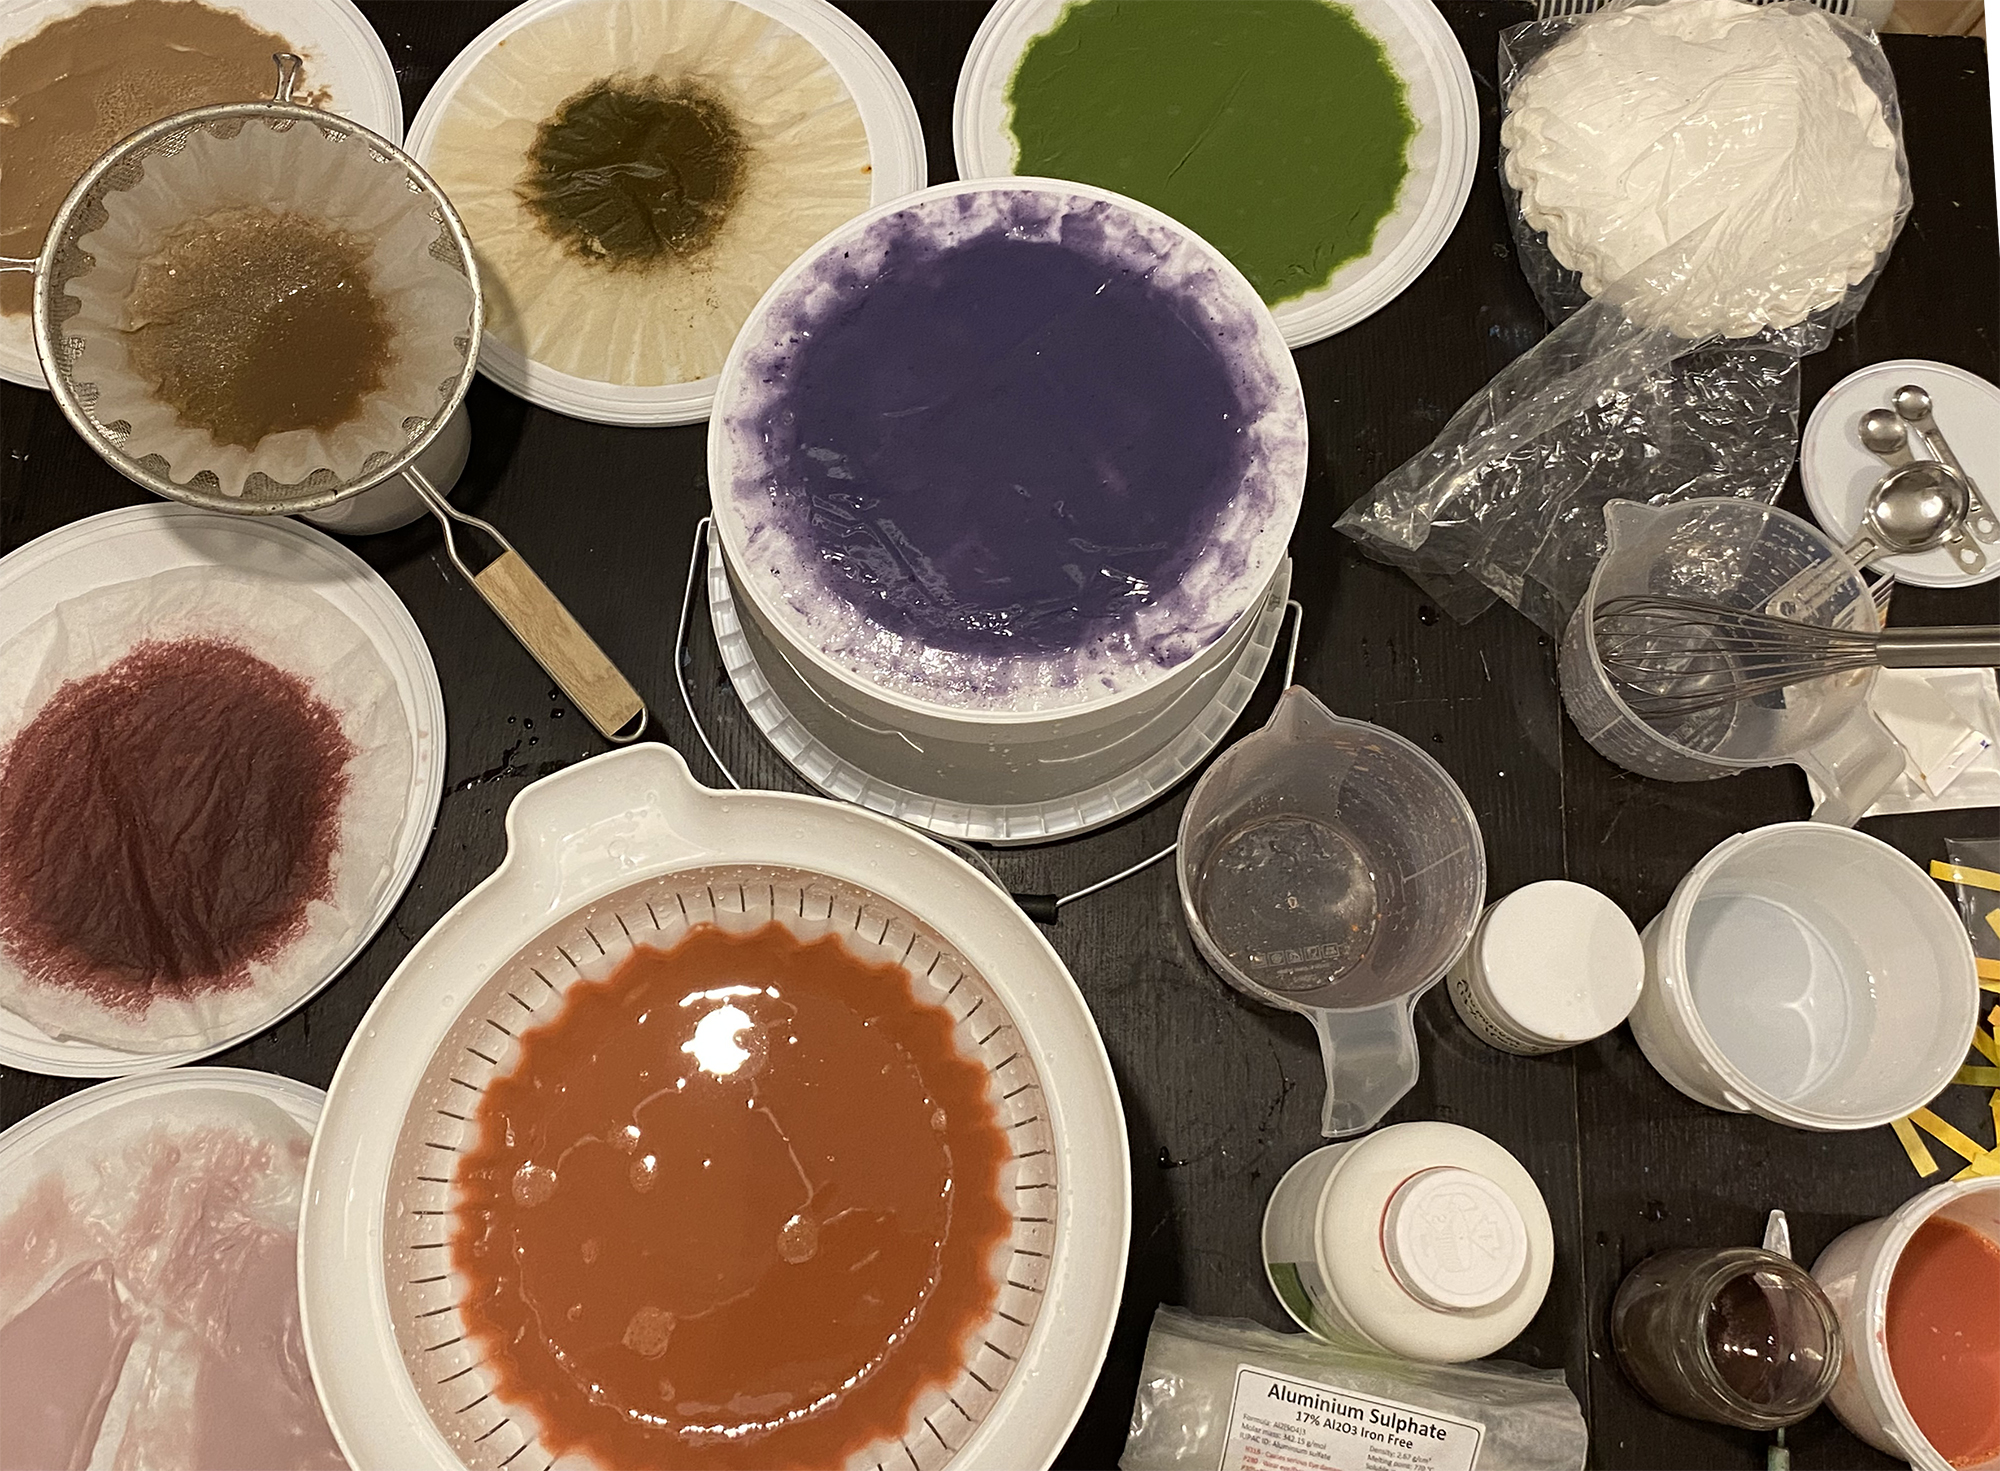
Details of the Method
I tried many combinations of different amounts of flocculant, stirring them in for different lengths of time, and waiting different times for the paint to clump up. I tested if you could get away with pouring it through a single filter or if you need a stack of two. I tested water that was a little dirty and water that was thick and sludgy. I also filtered rinse water without adding any flocculant. I incorporated the results into the instructions I’ve detailed above.
It’s the Amount of Paint Not the Amount of Water
It’s not the amount of water that determines how much of the two chemicals to add, but the concentration of paint in the water. If your water is concentrated from evaporation so that your litre of dirty water was formerly two litres, or it’s just extra mucky, you may need more of the two flocculants. I tried a couple of things for extra mucky water, and you can do one of two things. Double the quantities of both of the flocculants or do as usual but if the water is very cloudy afterwards, do the whole process a second time with the water. Or consider the nearly clean water to be a great improvement and good enough.
On the other hand if your water is only lightly dirty because you included your second rinse jar of nearly clean water or you use a 2 compartment container that must all be poured in, then treat it for the amount of solids it will produce and halve the amount of the chemicals. It’s not about the amount of water, but the concentration of paint in the water.
The amount of dissolved plastic and pigment is negligible in the second rinse water and later when soaping well-rinsed brushes, so it makes sense to not worry about that water and instead to concentrate only on the sludgy dirty water container.
One filter isn’t quite enough – the water that passed through is slightly cloudy and tinted. But when you use two the water is very clear. Because the second filter remains pretty clean it could possibly be reused as the top filter the next time, to save waste.
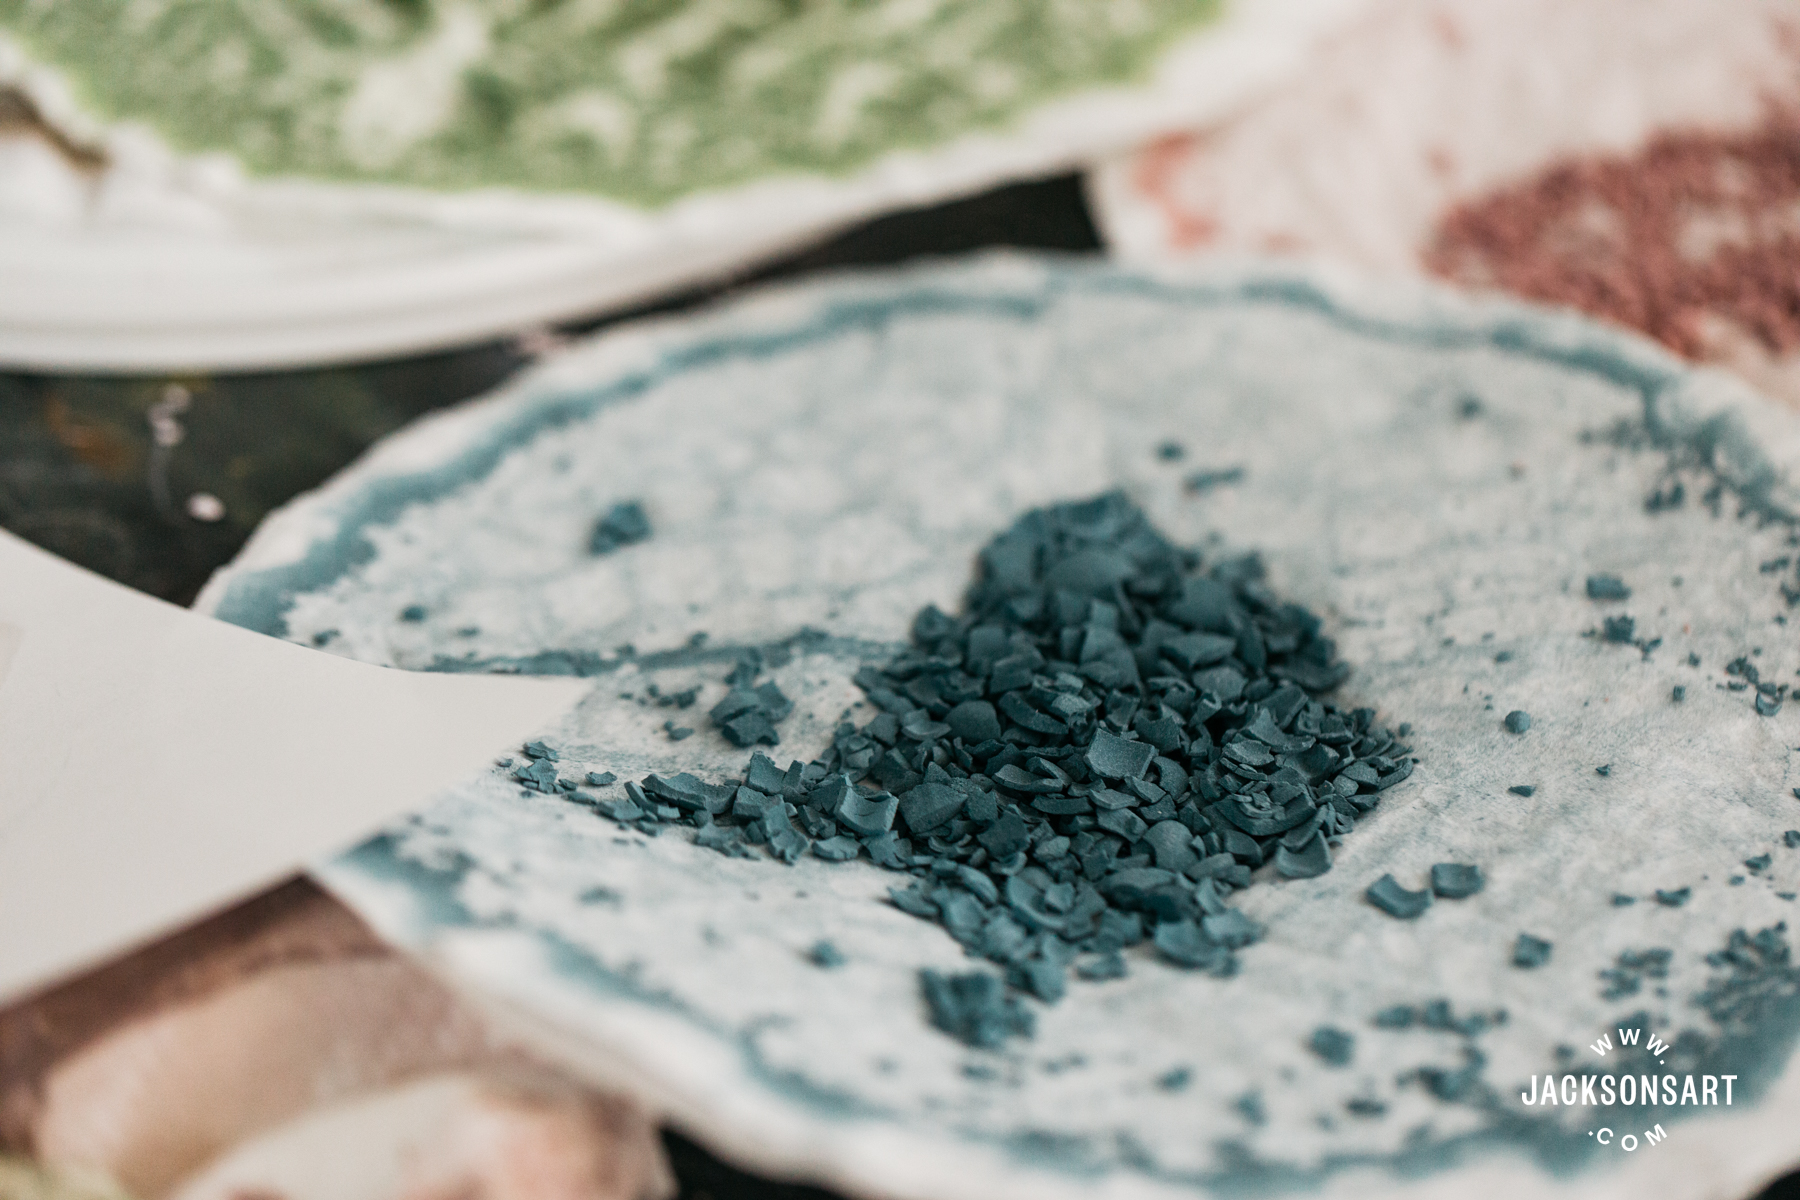
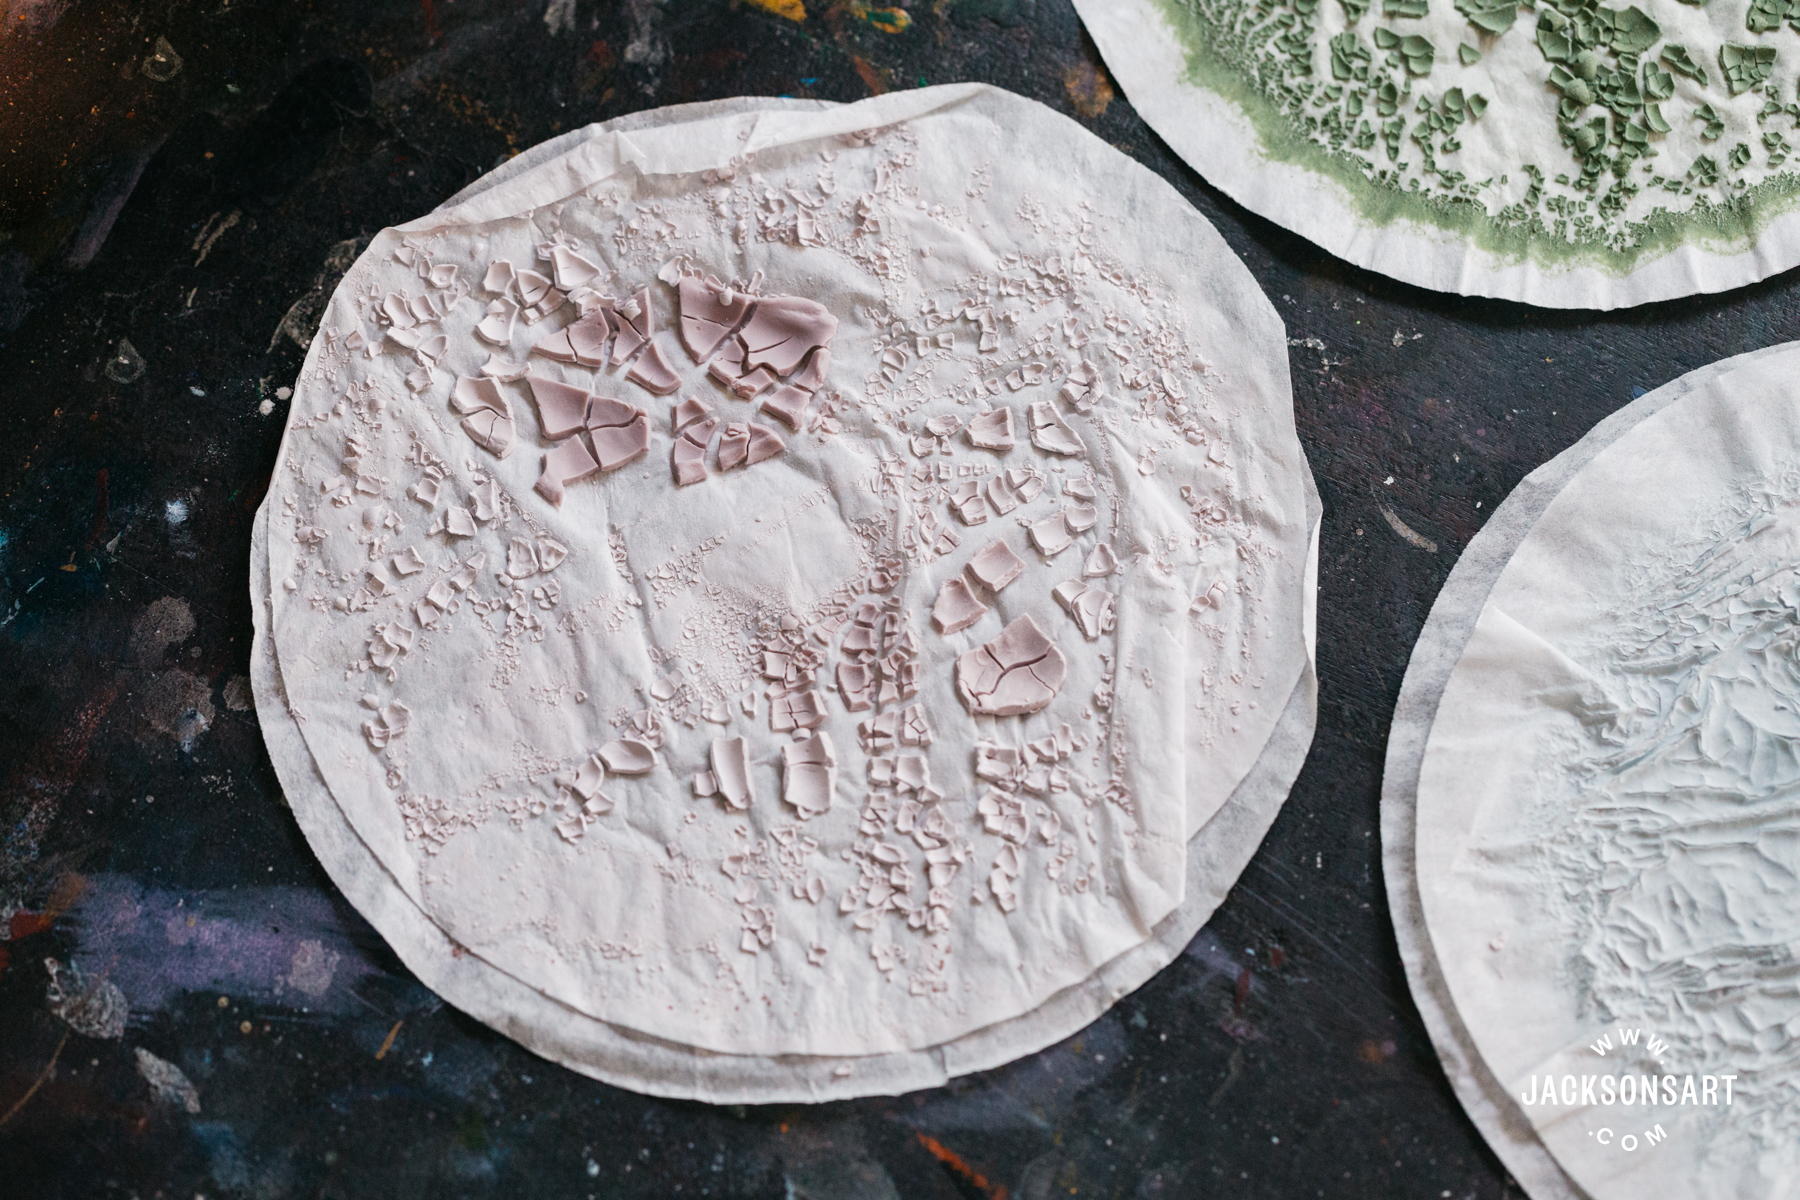
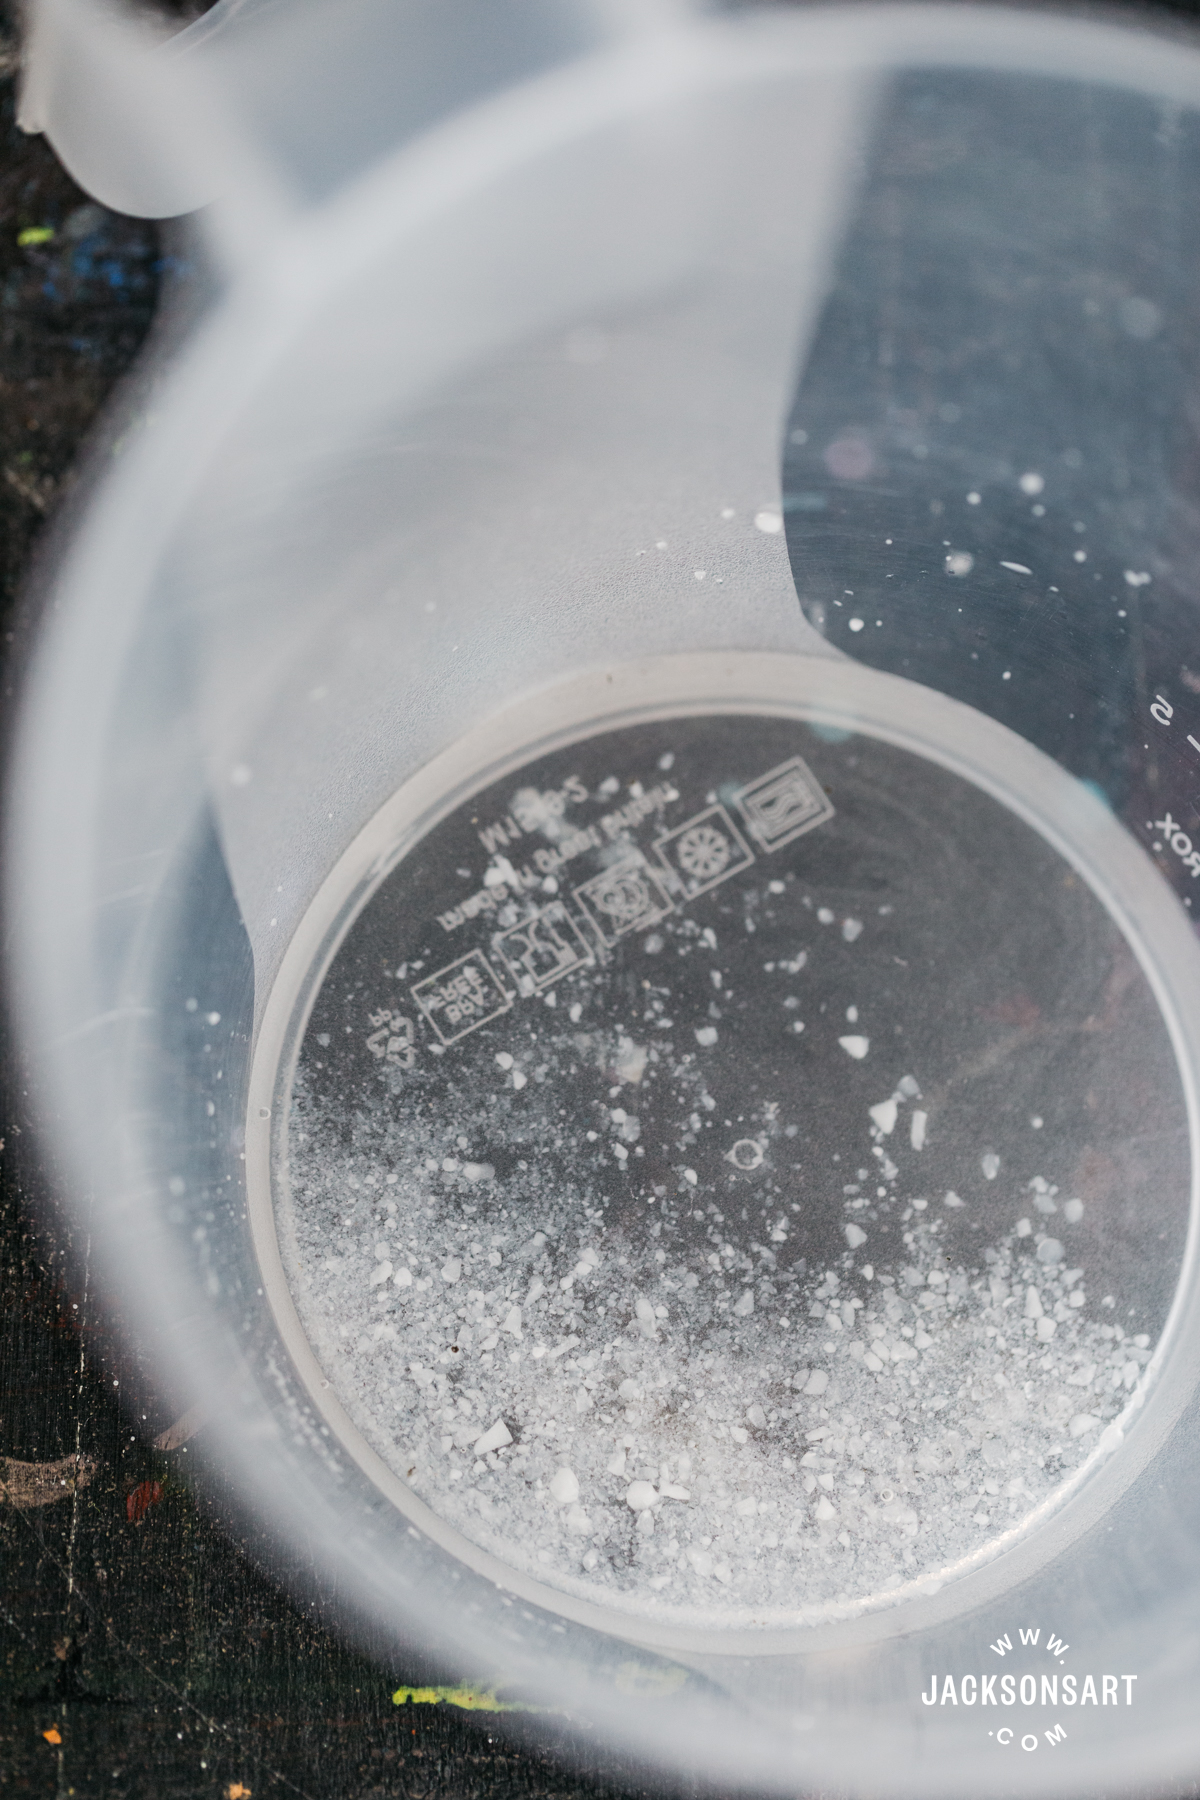
I treated plain tap water and there was a thick amount of cloudy particles in the water. This is the two chemicals, swollen in the water like flour thickens gravy. If you think your water isn’t too sludgy but a lot of stuff filters out, that is the alum and lime which swell up in the water.
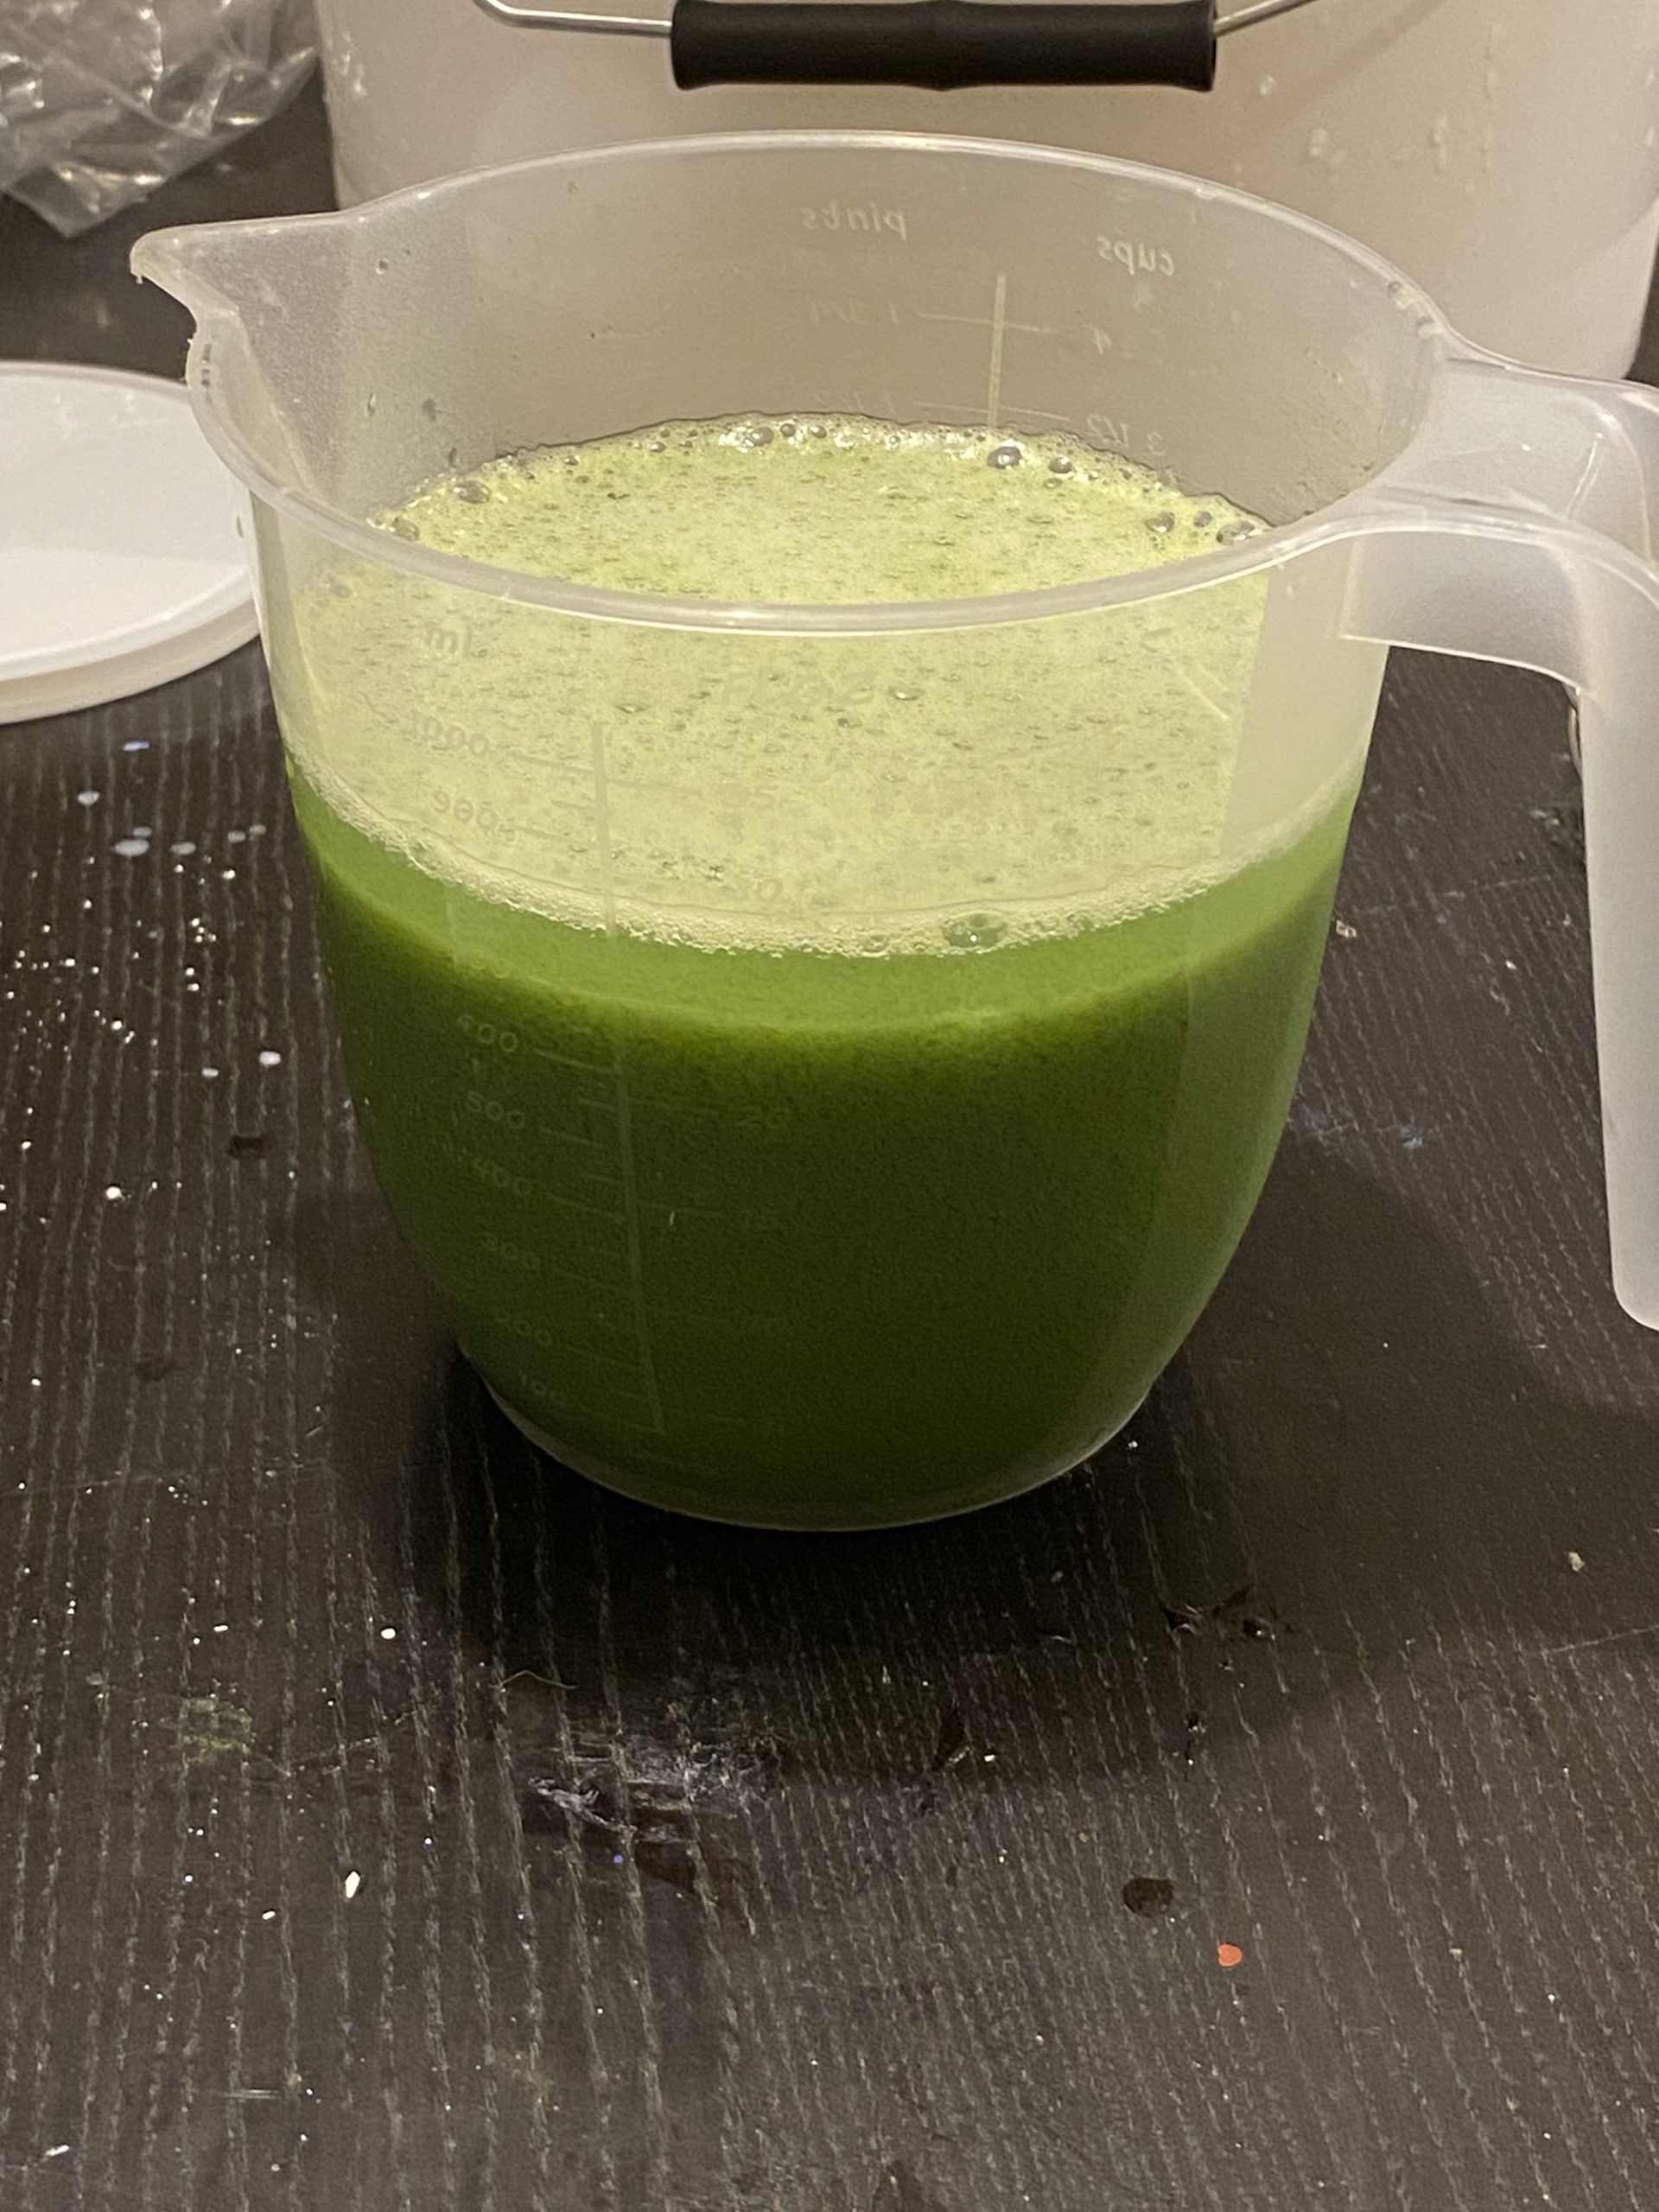
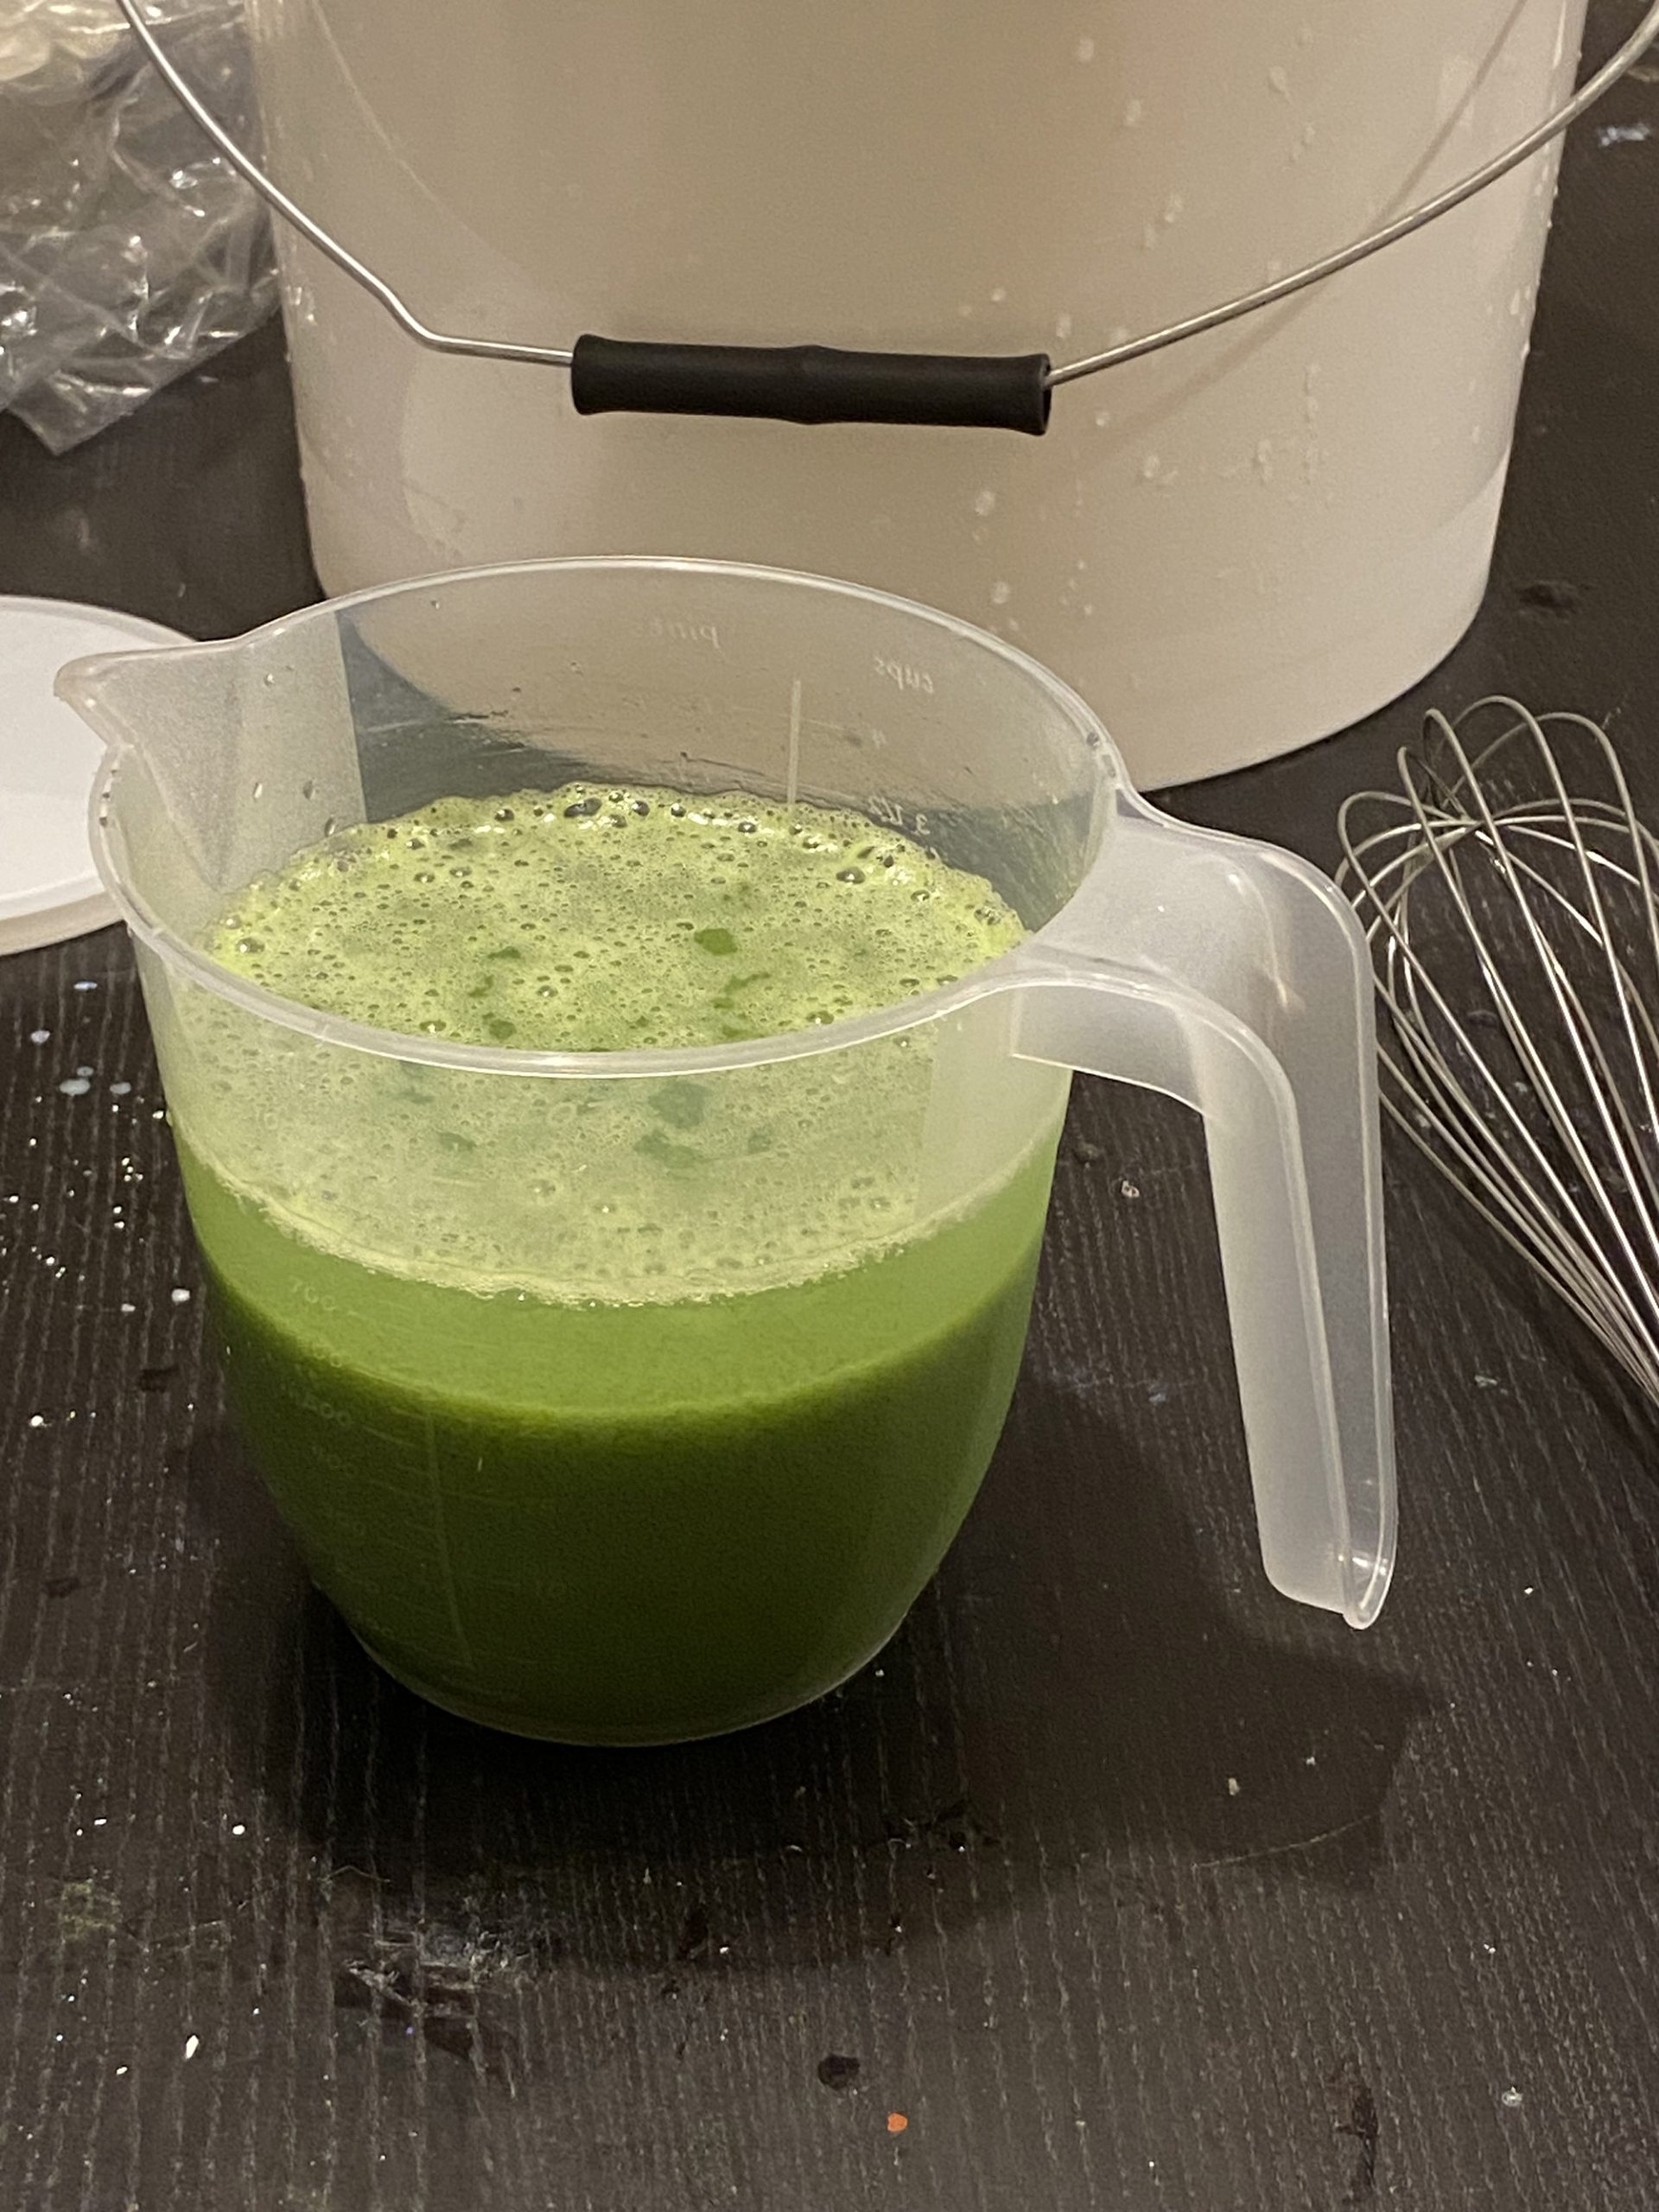
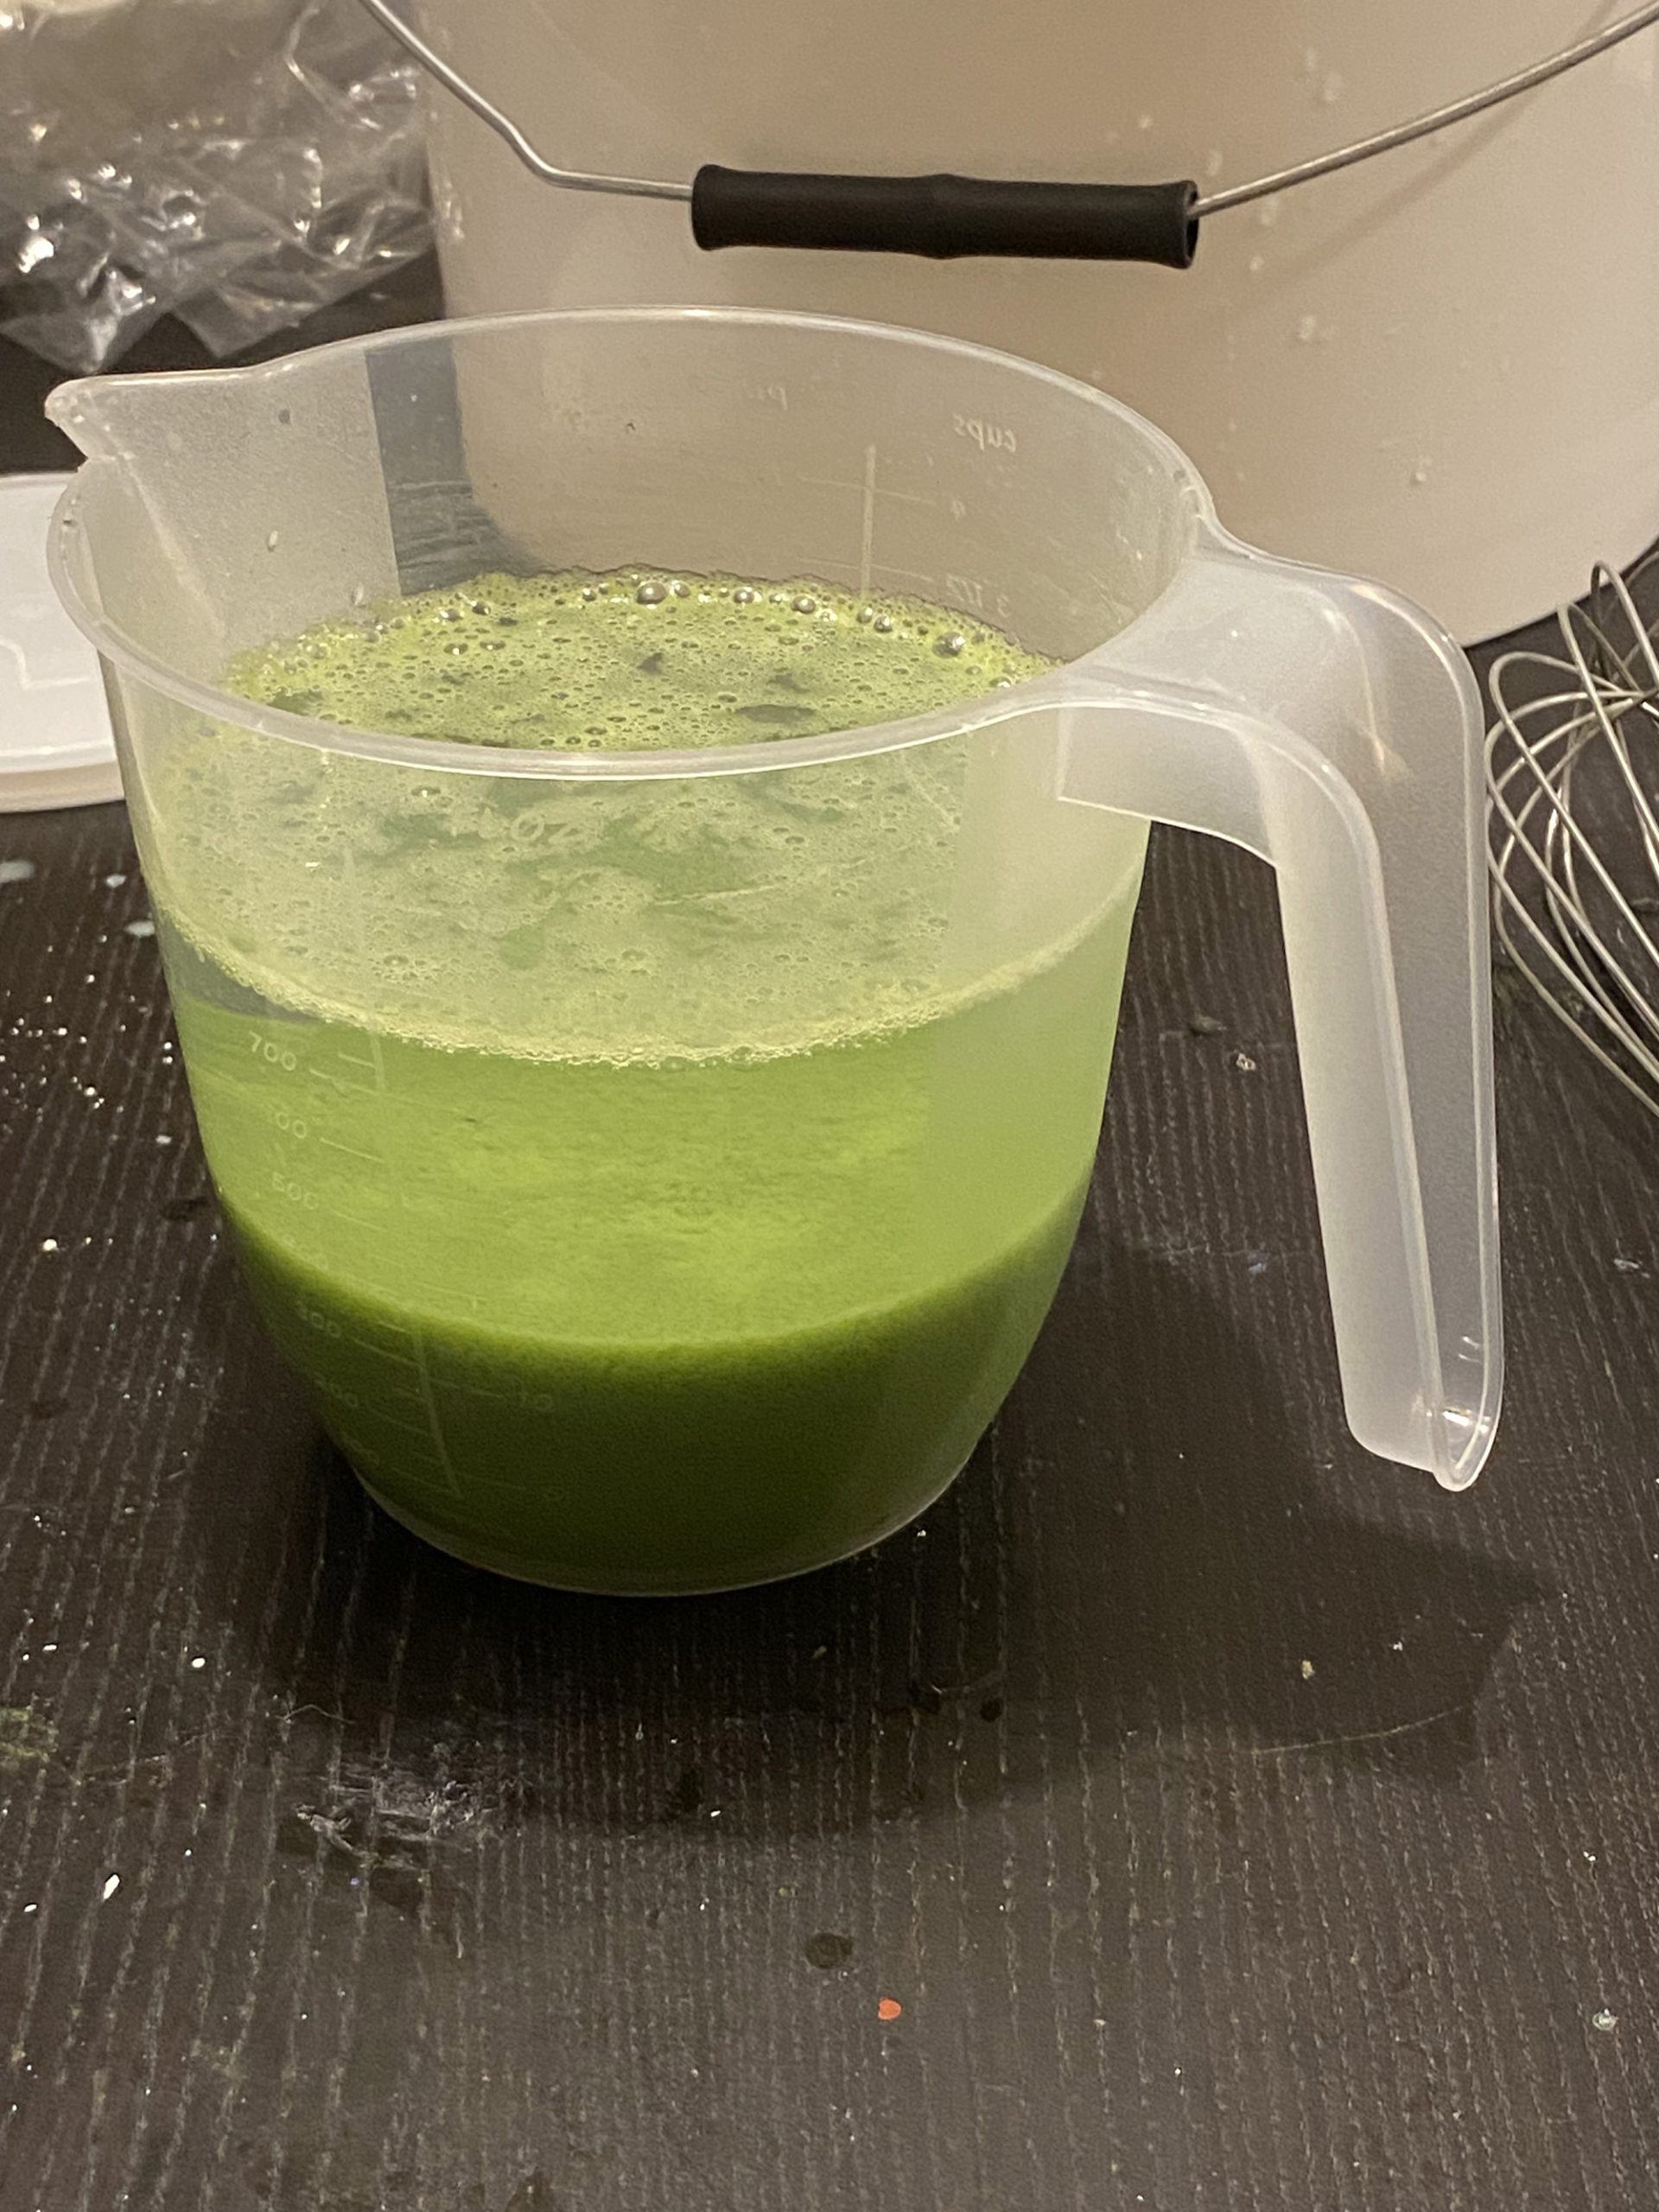
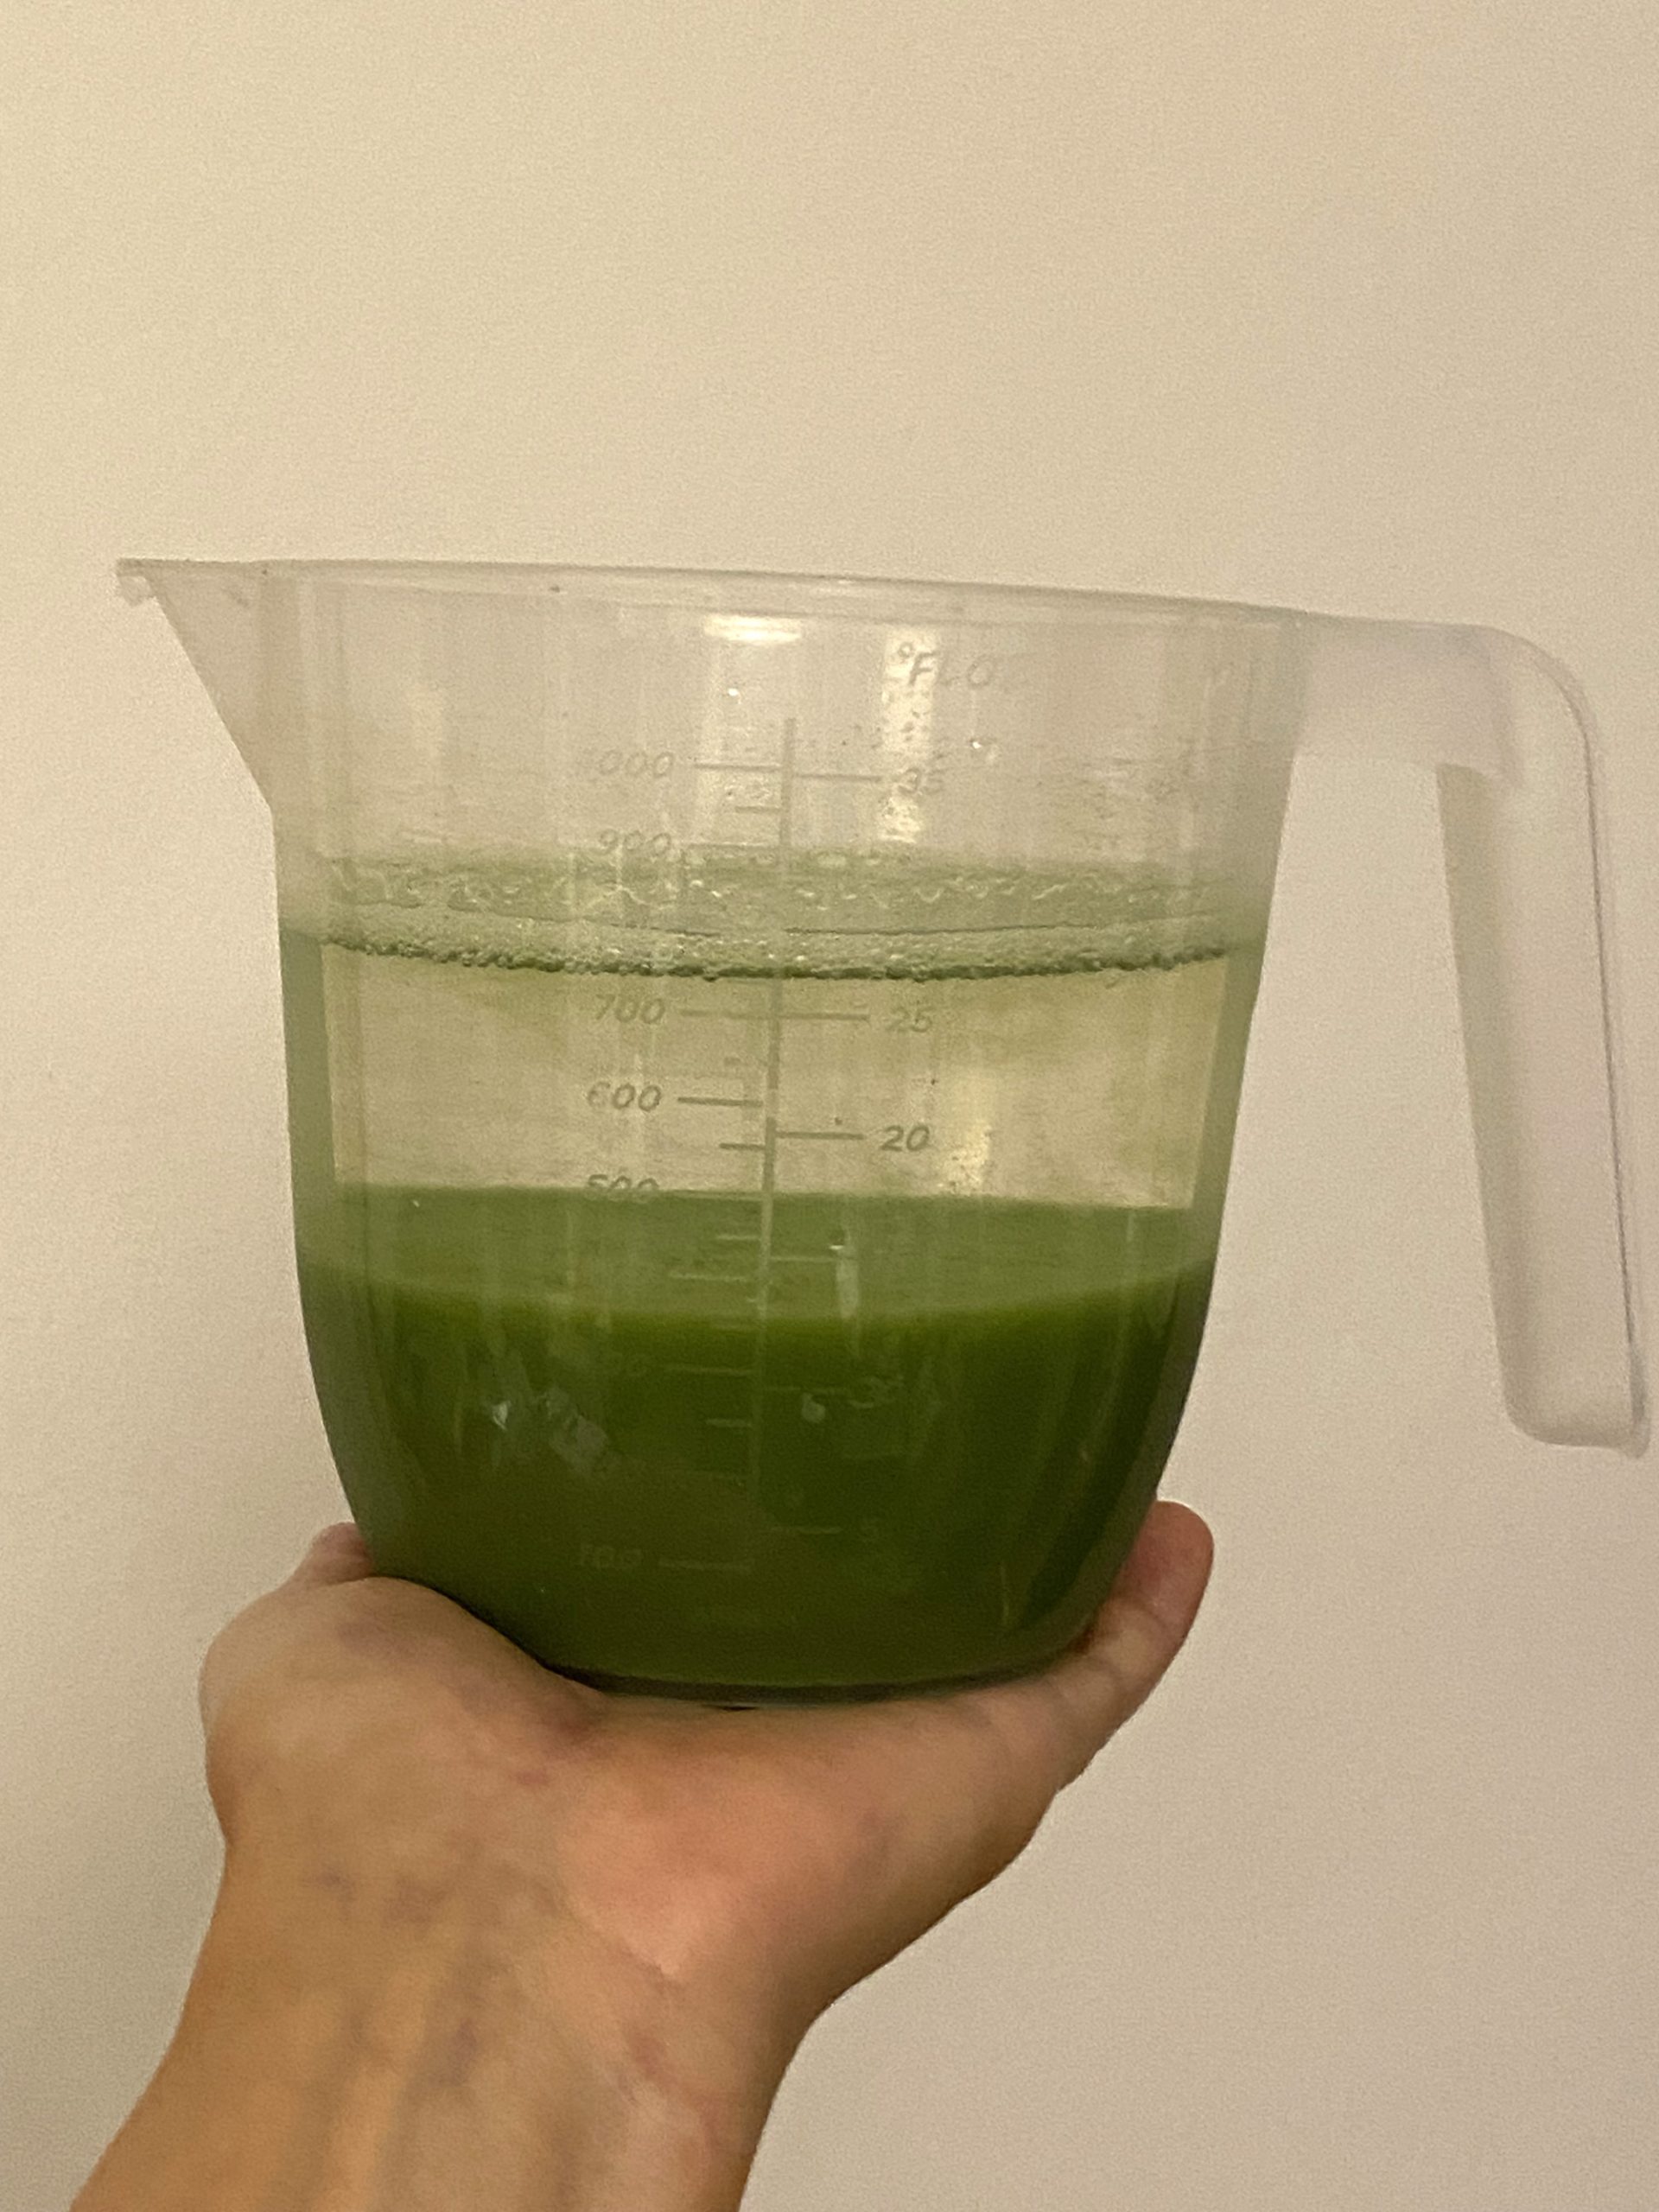
Untreated rinse water that I put through a double filter took 20 hours to go all the way through and the filtered water was very dirty with sediment at the bottom. I filtered that water a second time through another double filter and that took 12 hours and the water was still very dirty and had sediment. The plastic and pigment particles are too fine to be captured by the filter unless they are flocculated. You will find when you pour your flocculated water into the filter, that there is no layer of fine, settled residue left in the bottom of the container, because all of the very fine particles are now clumped together.
Acidity and Alkalinity
I found that the pH of the acrylic rinse water before any treatment was pH8 which means it is slightly alkaline (possibly because some acrylic paint has a small amount of ammonia in it) with the same pH as seawater. After aluminium sulphate was added, it became pH5, slightly acidic like black coffee. (Tap water is neutral at pH7.)
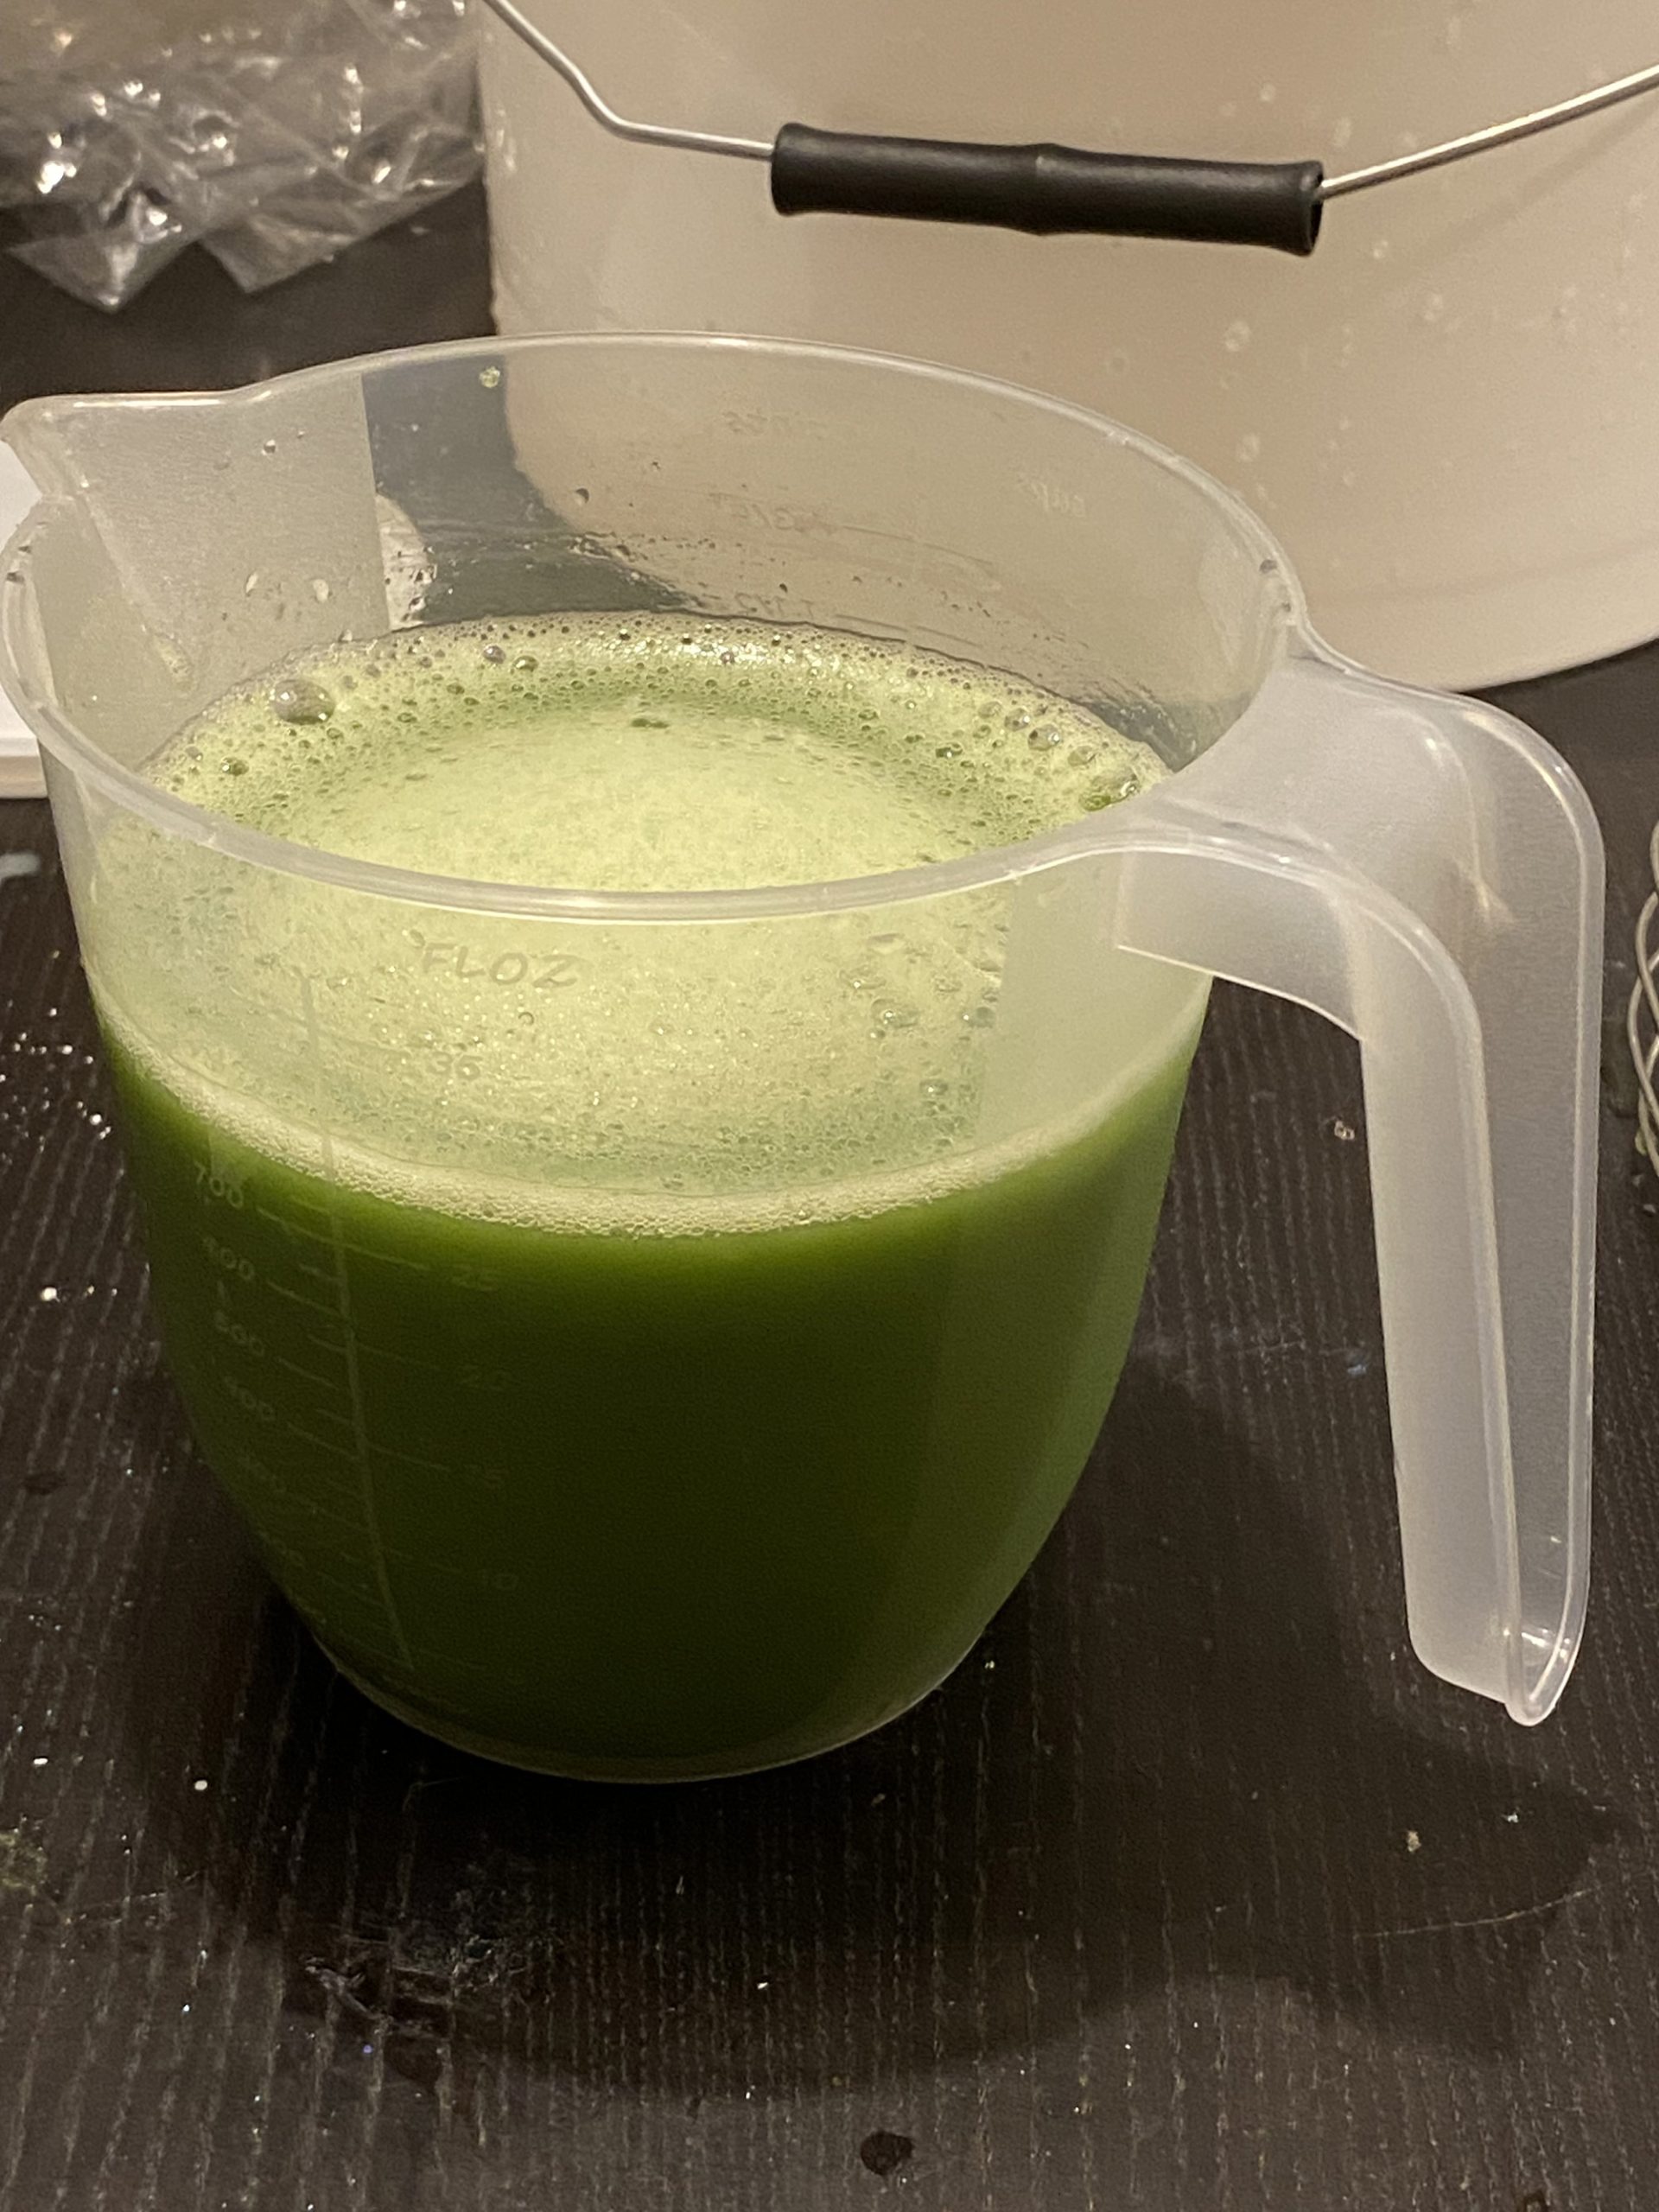
Flocculation is Fascinating
Which may make it less of a chore!
Further Reading
Environmental Ethics of Printmaking Series
Lutea Plant-Based Watercolours.
Our series on the 2014 proposed cadmium ban, with interesting discussions about art materials and the environment.
Shop Acrylic Painting on jacksonsart.com




48 thoughts on “Acrylic Painting, Microplastics, and the Environment”
I have a shallow terracotta pot with soil
in the sun, and pour all the residue of
acrylics paints and chemicals in addition
to cleanup water from pottery making. It
drys out quickly. I also use it to dump
household cleaning fluids. It’s easy,
effective and efficient.
Hi Dana. That sounds interesting! If no water come out of the bottom, that sounds like a great solution!
Hi Julie -as a member of World Book
Night United Artists I am working on a
project about sustainable practices in
the arts -using my own practice as a
case study and working with other
artists on material thinking . Once we
have our first findings we would be
interested in your thoughts -we have
referenced Anne Marie Godrevy and her
Lutea range /her interview and your
thorough work on waste water is very
intuitive and informative -thank you !
And Jackson’s art for these insights into
the use of art materials and
environmental considerations.
Hi Su. Your project sounds interesting. Keep us posted! Thanks for reading the blog!
You might like to join our free Eco-
friendly artists group where
we look at alternatives to
using acrylic paint. https://eco-friendly-
art.mn.co/share/QrytitzRXti8eGI3?
utm_source=manual
Thanks Cherry!
Excellent and thorough article!
Every acrylic painter should
read this. It is also nice to get a
perspective on our impact
(minimal), but have the best
information on how to filter our
paint water if we choose to do
so.
Thank you Elizabeth! Glad you found it useful!
I tried to find out about this subject a
few years ago. Not even art suppliers
could answer my questions so thank you
for putting such a lot of work in. I found
my own method which is to use cat litter.
I try to use the most natural material,
keep it in a covered bin, then empty into
normal waste bin when well
contaminated, or it starts to grow mould.
I’d be interested in thoughts about this
method.
Hi Terri
I’m glad you found it useful. It’s great to hear that you have been using a disposal system, well done!
I haven’t done complete research on the kitty litter method. My understanding is that it’s a type of clay that absorbs 15 times its weight in water. So its purpose is the same as evaporation, it removes the water so the plastic and pigment can be disposed of as a solid, it’s just faster than evaporation.
I assume that it doesn’t work to be used a second time, as it’s full of water. So I think the method is mostly intended for disposal of partial tins of house paint, a once in a decade DIY activity, not for regular use with loads of water. If used regularly like that it seems like you’d need to use fresh kitty litter as a sponge each time you threw away water. Are you binning it when it is a solid? I think natural kitty litters are pellets made of vegetable fibres. They are also just intended to absorb the water, but less efficiently.
The mould will be coming from the paint being so diluted that the fungicidal component is no longer sufficient to counteract the microbes in tap water. If you want to avoid the mould and accompanying bad smell, and still use the evaporation method – you could switch to wide, shallow trays, not covered except perhaps with some type of fine mesh to prevent insects falling in. Then when the water is gone, wipe out the sludge and bin it with the paper towel.
I use the cat litter method myself and plan
on sticking with it. It’s pretty easy to spiral
about what is the best environmental choice
but cat litter is really easy to get hold of and
a big bag lasts me a month or so. Part of the
key to getting the cat litter to last longer is
using some rags, paper towels. scrap paper,
offcuts of canvas etc. to clean the brushes
in addition to water. I usually try to get as
much paint off the brushes as I can before I
clean them with soap and water.
Thanks Chris!
A very valuable information. I have been
working with acrylic paint since the 80s. Oil
paint has never been kind to my health. As
an artist I have been concerned of the
impact of plastic to our environment for
sometime. Any small solution is a great
resolution.Thank you for this simple guide.
Also a thank you to ‘Jackson’s art’ for
considering the use of art material and be
kind to the environment.
Thank you Caterina! I’m glad you found the article useful.
Thank you , send it to all Art Schools.
It’s true, art schools could make a bigger impact than individual artists. Maybe people could direct them to the article.
Thank you so much for publishing this article. I stopped using acrylic paints a couple of years ago for just this reason. I mostly paint in sketchbooks, anyway, so watercolors, pencils etc. are fine for that.
Hi Katherine. I’m glad you liked the article, thank you for reading it.
If it was bothering you, then that sounds like a good choice. Watercolours are lovely! But remember, artists paints aren’t even a teensy part of the problem, we are very much smaller than that.
Great and useful article! I paint daily and use a 3 step
washing system and find that I very rarely need to change
my water, I’ll try to describe it. The first 2 containers are
plastic juice bottles that are cut in half with the top put
upside down in the bottom so that the top makes a funnel.
Fill these with water and when you wash your brushes the
paint will go down the funnel and gather at the bottom, the
water on top will stay pretty clean. The third container is a
pitcher of clear water that I use to refill the other 2. Every
once in a while I take the first and dirtiest and let it
evaporate in a shallow pan and replace it with a new plastic
setup. Of course, one of the easiest ways to reduce waste is
to keep an old towel and wipe off as much paint as
possible, or my favorite, paint out your brush in one of the
corners of your landscapes…makes an interesting
foreground!
Thanks Leslie! Those are all great tips!
I’ve been using this method of cleaning
acrylic paint water for years. I found the
diy method on the Golden site. I collect
to the discard water in a gallon jug
(sometimes two). It works like magic,
and keeps the residue out of the
plumbing of my 1903 building, and the
rest of the water system, too! Thank you
for making more artists aware, and also
for the discussion of the environmental
impact of what we do.
Thanks Betty! Glad to hear you were able to fit it into your painting clean up procedure so well. It may give hope to other painters who think it’s too much of a hassle.
And yes, it’s good to see our efforts in perspective of the whole picture.
Thank you for these thoughts. What is the
environmental impact of the paint
manufacturing process itself? What is the
environmental impact of disposing of solids
in the waste bin? Thank you for your
thoughts
Hello. Good question! We so often forget to think of the thousands of people and hundreds of steps involved in everything that is manufactured.
For all artist paints there is pigment that must be mined from the earth or created in the laboratory. That has some impact. But not as much as making a mobile phone does. The next step would be sourcing the liquid plastic, then mixing it with the pigment which sounds similar to making plastic mixing bowls but on a tiny scale, by comparison. Then packaging it. This sounds similar to hand wash bottles or shampoo bottles or washing up bottles. But again on such a tiny scale by comparison. And finally shipping. Like everything.
Making artists paints is so niche and so small. If you want to make an impact on your plastics usage, it would be more effective to take a look at plastic bottles and cups or synthetic fibres or other large scale plastics manufacturers.
Landfill is cleverly designed to filter out toxic substances, but it’s safer if the items are solid than liquid.
Plastics in the landfill do not biodegrade. So every time a broken kettle or an outdated tv is sent to the landfill it will be there forever. Worn out trainers every year, old children’s toys, broken umbrellas, broken pushchairs, disposable containers of all sorts, it is all piling up somewhere. And recycling isn’t possible for most of that. In some areas they burn what you put in your recycling bin. I’ve read that they no longer like recycling glass. And that recycling paper creates more pollution than making paper from specially grown trees. It’s all a big mess.
As an artist, I am grateful that artist paint contributes very little to the problem, and that my painting practice is probably the smallest part of my own environmental impact.
Thank you for this research! I was wondering
if there is any similar research on the impact
of oil paints (not solvent)?
Hi Carol. Glad you liked the article!
If you leave solvents out of the equation, the impact of artists oil paint is very low. It’s an environmentally friendly choice. The only part that gets into the water supply is when washing brushes at the sink. The main ingredient of oil paint is linseed oil (or walnut or safflower or poppyseed oil). These are all food oils so are safe. The second ingredient is pigment. You can choose pigments with no environmental impact by avoid heavy metals. To avoid siccatives or any other additives you’ll need to buy higher end paints, where they haven’t added things to make all the colours behave the same.
If you clean your brushes in a bucket of solvent or a bucket of oil, and then squeeze and wipe them out on cloth or paper, very little is washed out in the sink anyway.
I have a bucket full of cat litter. I pour my
jars of waste acrylic water into this and
take it to Stevenage for waste disposal.
Australia has an environmentally friendly
acrylic artists paint called Hydrocryl and I
have been asking British manufacturers to
make it here and Hydrocryl to sell it here.
Hi Anne
The kitty litter evaporation method sounds like it works for a lot of people.
I’m not familiar with Hydrocryl. I did a bit of reading on their website and a few others and I don’t think they are particularly environmentally friendly. The main ingredient is still acrylic polymer and the company is listed as a manufacturing business listed under chemicals and petrochemicals. The liquid plastic will still get into the water supply and the dried plastic is still not biodegradable. They say they use safer pigments and fewer additives. All student grade paints use safer pigments, because the heavy metal pigments are very expensive. They are not clear about what else is safer. Additives in good acrylic paints include anti-foaming agents. Perhaps they leave those out. Their claims seem mostly to be saying they are safer in the studio than oil paint because they don’t use solvents. But that’s true of all acrylic paint. Oil paint is much more environmentally friendly and can easily be used without solvent so the studio is safe as well. If you have more information about the paint that I couldn’t find, please let me know.
Great article, thank you! I just thought I would mention a system which suits me as I don’t have a water supply in my studio. It wouldn’t work for everyone, but I just use 2 or possibly 3 brushes and wipe them on kitchen roll between changes of colour. I don’t wash the brushes for days or weeks, but keep them wrapped up in the plastic that canvases come wrapped in. The kitchen roll can be reused multiple times once dry and any palettes can be reused and then peeled off when they are overflowing. It also works for priming brushes, though the brushes keep slightly better with clear gesso rather than white. It has to be canvas wrap not wood panel wrap, that isn’t so good. Not for everyone, but it works for me and I hate cleaning brushes!
Thanks for sharing your method, Niki! Anything that saves time with brush washing is great! I too love the plastic that comes wrapped around stretched canvases. It’s much more airtight than cling film so I use it to cover open containers. I also use it on my painting table when priming. It’s a good way to reuse it.
Great article, thank you for posting it. I have been concerned about my impact as an artist also and am moving away from acrylics, not replenishing when they run out. These methods are interesting, and make sense, but in the end, we’re still dumping the plastic into the landfill. There are so many things we use that aren’t earth friendly, and yet there are improvements made every day. Thank you again for reminding us and providing ideas to make it better.
Hi June. Thank you, I’m glad you enjoyed the article. It’s good to make conscious choices. What paints are you switching to when you run out of acrylics?
A few years ago I stopped buying synthetic
clothes and gradually all my wardrobe and
bedding became natural fibres except one
dressing gown. The acrylic paint down the
drain soon came into it and I shifted to oils.
This was a fascinating read thank you. It’s
quite complicated though. I used to just
leave waste water to concentrate and then
wipe out the sludge. Not as thorough but
some readers might make that effort. By the
way I highly recommend the move to natural
fibres too
Hi Samantha. It’s great that you’ve made such conscious, ethical choices!
Yes, evaporation is a simple method that I mention in the article, but it can take ages if you have a lot of water, and this flocculants method is quick and good for artists that paint a lot.
Hi Julie as a fine art printer and acrylic
artist I have a simple method of pouring
the ink or paint into a saw dust compost
bin which soon makes a solid, which when
dry can safely be deposited onto land fill
recycle centres and less harmful to the
environment, Cheers Pete
Hi Pete. That sounds great! It sounds similar to the kitty litter method, using absorption and evaporation to get rid of all the water, then binning all the solids.
Do you have to use a lot of sawdust? How much rinse water do you pour into it each time? Thanks!
Thank you for addressing this, I have
been concerned about using acrylics for
some time. Very informative article.
Thanks Fiona! It is good to hear artists are concerned. I’m glad this helped.
Interesting article.
I use old newspapers or reused kitchen towel to wipe my paintbrushes out on to remove the excess paint before putting in the bin. I then wash the brushes out
three times with as little water as possible.
I expect if you use a water brush you could wipe out directly on kitchen towel and leave to dry before binning so little or no water to worry about 🙂
Sounds great George! Sending as little paint down the drain as possible is the way to go!
Thank you for explaining this so well! As a
sustainable marbling artist I have been using
alum and lime to filter my acrylic paints for a
number of years.
I remove paint from the marble bath water
surface using old newspapers allowing the
papers to dry before disposing later. The
marble bath is then poured through filters
just as you have described.
Though as an avid tea drinker, I have
recently started stitching together washed
and dried tea bags, making them into filters,
as coffee filters are expensive and I drink
copious amounts of tea when working…Tea
bags can be double layered for a tighter
filter.
The marbling paints in my jars do evaporate
with use, but get cleaned with my brushes
using the filtering method at least once a
week, as bacteria will form, even if the
watered down paints are kept in the fridge – I
use filtered water for my marbling paints, as
tap water causes a reaction in the marble
bath.
Cleaning up paint jars and brushes in this
way takes time to do, but helping the
environment feels so good. I am even
looking at putting in a filtering system under
my sink, where I can slide in the filter
papers.
Hi Rachel. It sounds like you have found a good way to add good practices to your daily studio routine. Bravo on the teabag filters, ingenious! An under sink filter sounds very convenient.
You are making it too hard! Just get a bucket and fill it with kitty
litter. Tip all paint water in, water evaporates and the paint sticks to
the litter. When it absorbs as much as it can it goes to landfill
(several months worth) and you put a fresh lot in the bucket.
Hi Emma. I think it depends on how much water you use. Kitty litter is not meant to absorb pints of water. And so if you have lots of paint water, it’s not that different from just putting your water in a bucket to evaporate and letting the sludge dry at the bottom. Kitty litter works well for sucking the moisture out of a half tin of house paint so it can be binned.
How much water do you put in yours and how long does it take to evaporate? Do you find that the kitty litter keeps absorbing water, the more you add?
Here’s another very simple solution which relies on the acrylic settling out from the liquid:
1. Use as little water as possible to clean brushes.
2. When the water is too dirty pour it into an empty (washed) milk container – 2.5 or 5 litre or whatever you buy. Keep doing this.
3. When the container is full put it to one side and don’t disturb it. Start a new container.
When the second container is full inspect the first one. You’ll find a grey-white acrylic residue/sludge will have settled out leaving a clear coloured liquid above it. The colour is the dye from organic pigments (pthalocyanines etc). Pour the liquid down the sink making sure you don’t disturb the acrylic layer. If the acrylic hasn’t settled out yet you need third milk container but I find it only takes a couple of days.
5. Start using container 1 again (with the original acryic sludge still in it).
6. And so in a simple cycle. When a container has too much sludge, put it in the plastics recycling.
Hi Phil
I used to use a multi bucket system but the water never got very clear. At the time I was trying to let the pigment settle out and it worked a little bit, I got a thin film of pigment at the bottom. But the water I poured off was cloudy with liquid plastic. Getting all the suspended solids to settle to the bottom using flocculants, means the water you pour off is crystal clear and free of plastic.
Great article Julie and you’ve answered my nagging
question about which is more eco- friendly (oils better than
acrylics). I will pass these tips onto my class. Alison
Thanks Alison. Thanks for reading the blog and glad to hear it was a useful article. But since artist paints are so insignificant, your students might wish instead to prioritise other changes that make a bigger impact like wearing natural fibres or using fewer products in plastic bottles.
Comments are closed.