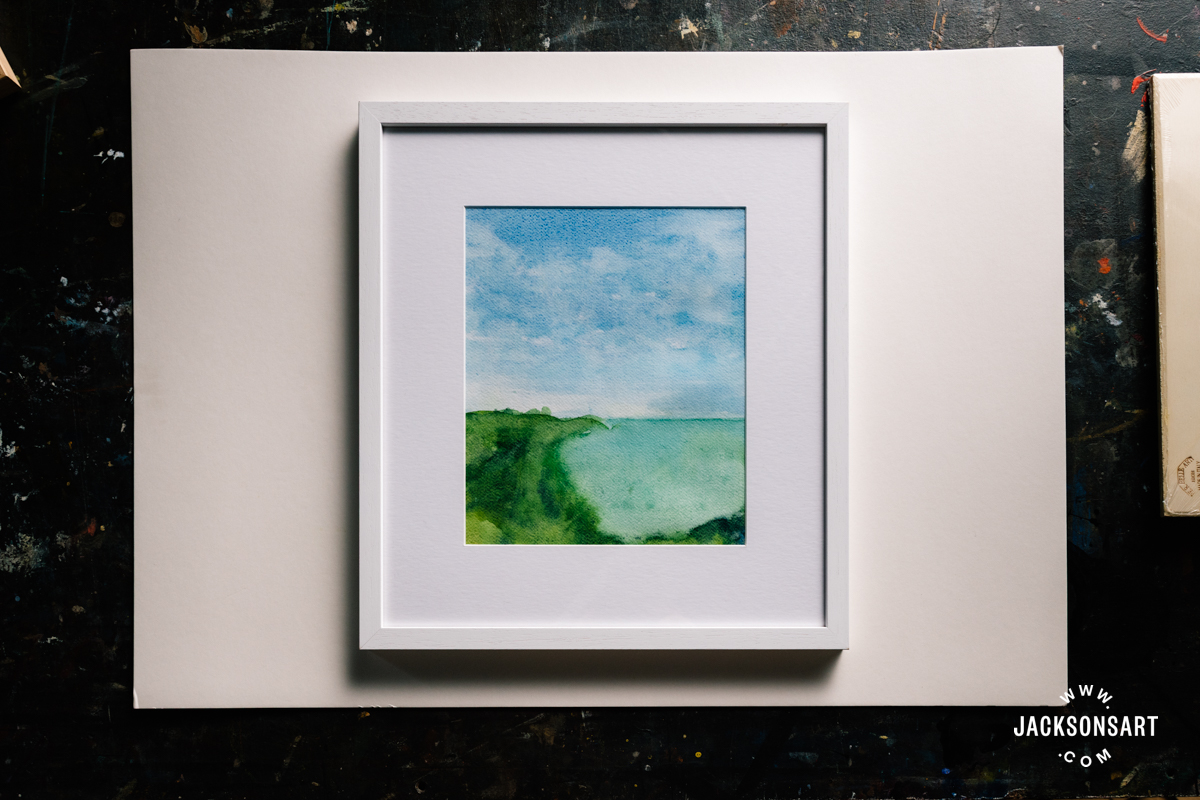
What if there was a surface that mimicked the texture of a cold-pressed watercolour paper, with the sturdiness of a panel? The answer is the Ampersand Aquabord – an innovative and archival support for watercolour painters, that can also be used with gouache, acrylics and ink. In this review, I test the Aquabord with water-based mediums, describe preparing and exhibiting the panels, and show the difference in appearance of the same colours applied to watercolour paper. And then I demonstrate its most exciting features for watercolourists – the ability to layer glazes of colour without lifting or shifting the previous ones, and the freedom to wipe the whole painting away to start fresh again.
Exploring Ampersand Aquabord with Watercolour and Wet Media
About the Development of the Ampersand Aquabord
Ampersand launched the Aquabord in 1997 after the brilliant success of the Claybord, which was the founding product of the company in 1993. Both products are uniquely designed artists’ surfaces that foster new techniques and finishes for the artist mediums they’re designed to be used with. To this day, Ampersand is a small woman-owned company operating in Texas, with a dedication to producing the highest quality surfaces for artists. The Aquabord allows watercolourists to work en plein air without stretching paper, display their work without the need for framing or placing it behind glass, and wipe their surface back to the white of the panel to start again or edit their work.
Properties of the Aquabord
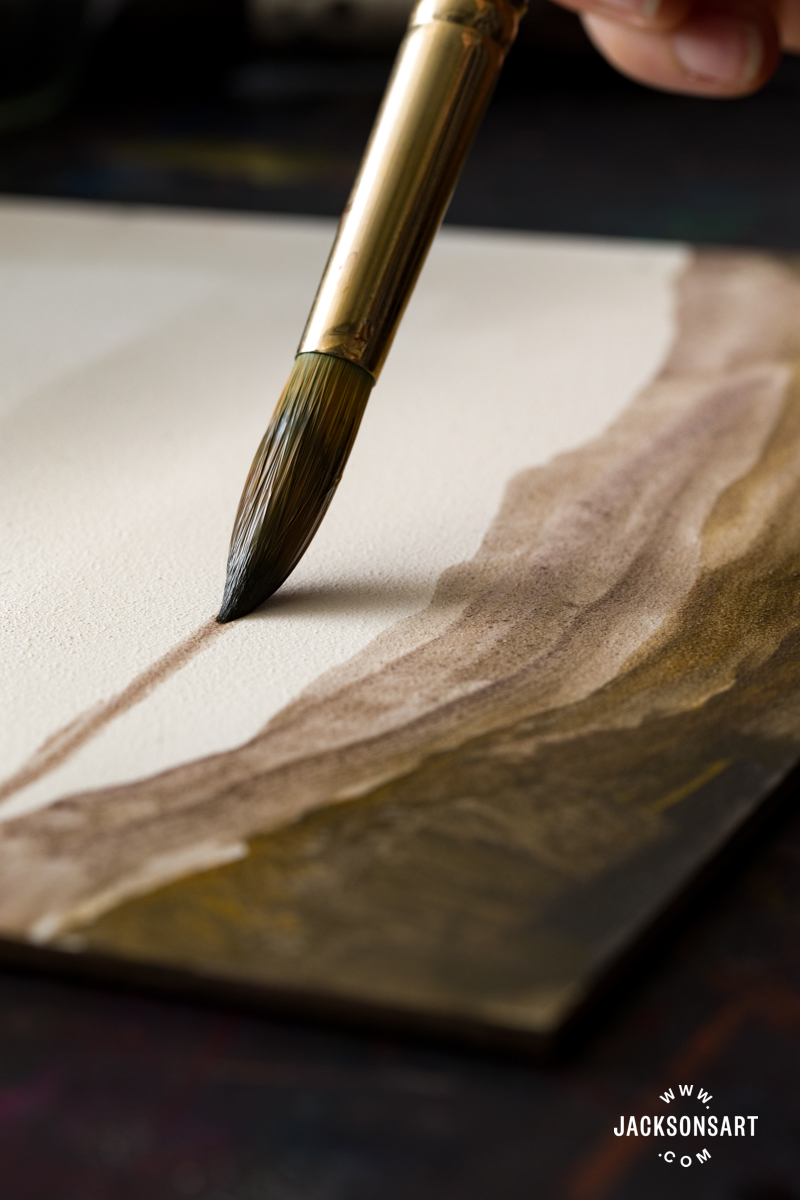
The Aquabord’s ground is made with an archival and acid-free clay and mineral formula. The finish of the surface feels similar to a cold-pressed watercolour paper, with much greater rigidity from the panel support. Paints appear especially vibrant on Aquabord because the pigments remain on the surface of the clay-based coating as they dry.
The Aquabord is an incredibly convenient surface for plein air watercolourists, since it doesn’t require any mounting or stretching like watercolour papers do. The uncradled panels would be very easy to transport in a bag and are relatively light.
The Ampersand Aquabord is available cradled or uncradled. The uncradled panel, which is just the painting support with no back bracing, is 3 mm deep. The cradled panel has a 22 mm profile, which makes it possible to hang directly on a nail frame-free and adds extra stability to the surface. All of the cradles on Ampersand supports are made to the highest quality by hand from premium 13-ply birchwood. The hardboard base of the Aquabord is treated with their Archiva-Seal coating, which prevents discolouration and seals the surface of the wood. In general, cradled panels have greater stability than uncradled ones, since the back bracing prevents the substrate from warping.
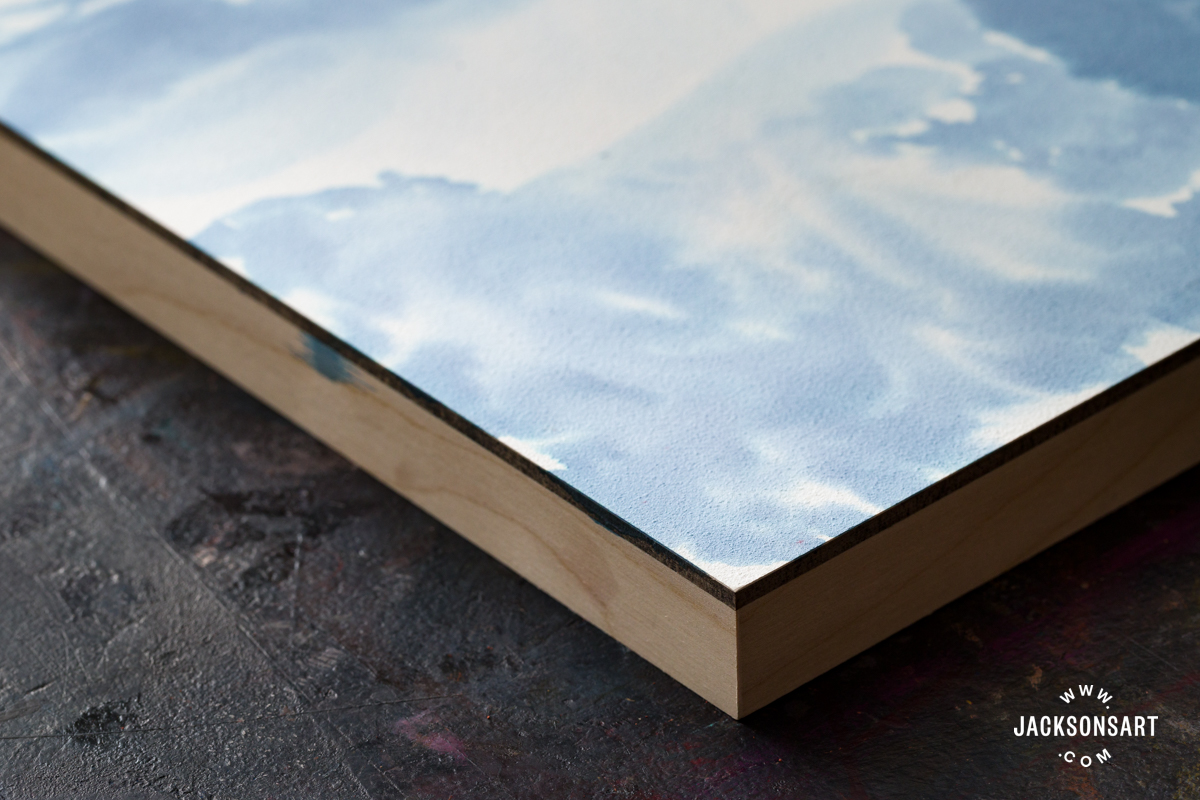
For display, one of the key assets of the Aquabord is the freedom to exhibit watercolours without putting them behind glass. Toward the end of this article, I describe the fixative process in detail, which allows you to safely hang paintings on the Aquabord without the fear of UV or environmental damage to the surface.
Preparing the Aquabord for Painting
Ampersand recommends washing over Aquabords using a flat watercolour brush dipped in clean water to ‘flush out’ the surface before you begin painting. This dampens the ground and releases any trapped air bubbles. Once no more air is visibly coming to the surface, and the entire face feels damp, you’re ready to start working. To demonstrate this technique, I washed over my Aquabord panel with a Willow Wolfe Callia Brush: Size 3/4, since it holds a lot of water. I repeated the process twice to ensure no air was still pushing up.
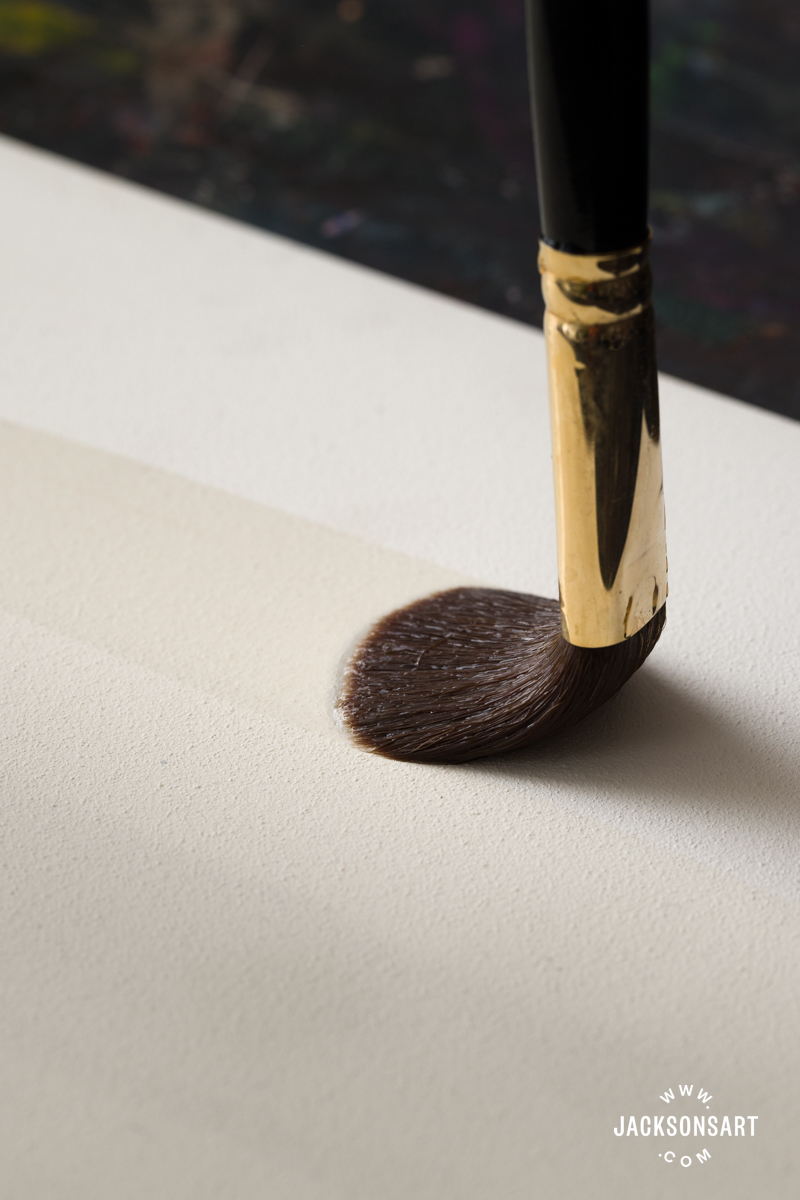
The wetted Aquabord has a darker neutral tone than when it’s dry, so you’ll always be able to notice when it’s damp. As you work, you may have to continue to rewet the surface of the Aquabord, depending on how hot your environment is, or how long you spend on your painting in one sitting. I found that the surface dries fairly quickly, so unless you work rapidly too, you’ll need to keep a clean jar of water close by.
Painting on the Aquabord in Watercolour
Next, I tested painting on the Aquabord in watercolour, gouache, acrylics and ink, to compare the differences. The primary medium for the Aquabord is watercolour, so I tested this first by creating a painting using a few different techniques – wet-on-wet, glazing, and lifting.
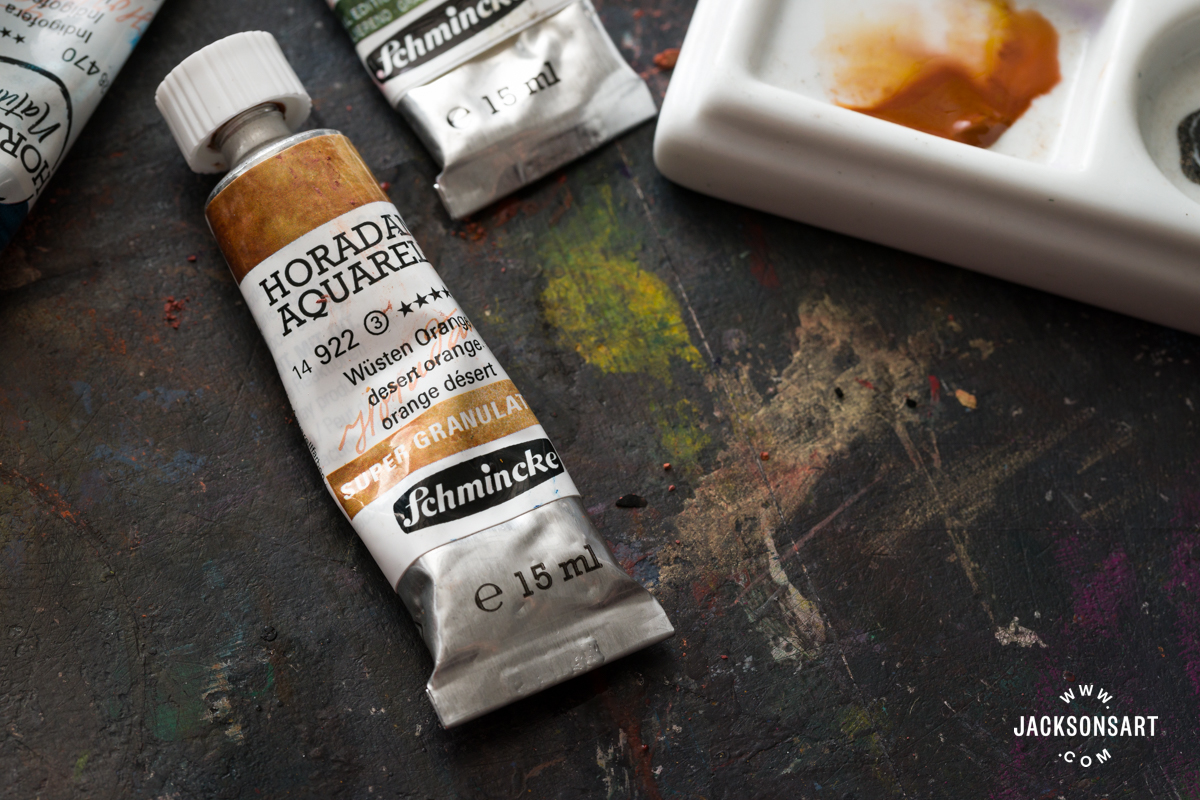
After flushing out my Aquabord with water, I painted four strips of colour down the left-hand side to see if they would make a wet-on-wet diffused mark or stay in place. The results varied – some of the colours bled beyond the applied stroke, like the green Forest Brown, while others stayed put, like Indigo. Two of my Horadam colours – Forest Brown and Desert Orange – are part of their supergranulation range, which are designed to dry in organic textured patterns. Whereas Indigo and Quinacridone Violet are part of their core range of watercolours. This explains why some of my colours behaved slightly differently on the wet Aquabord than others, just as they would on paper.
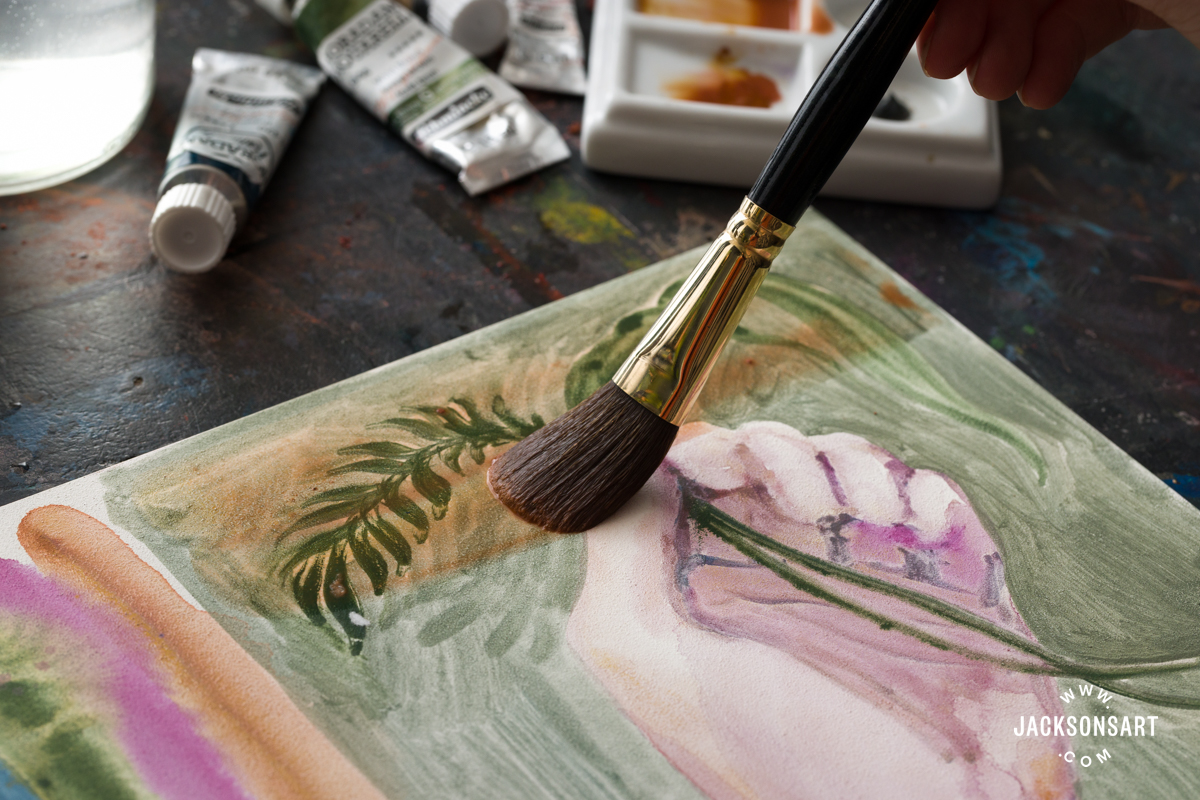
Next, I painted an image of a hand holding some grasses using the same colours in one layer. I love how the colours appear where they have lightly bled together, and where some of the pigment has pooled at the base of the hand and below the fingers. The Aquabord is especially brilliant for watercolourists who love to add lots of water to their surface, since the risk of buckling, shrinking, or ripping a paper surface is eliminated.
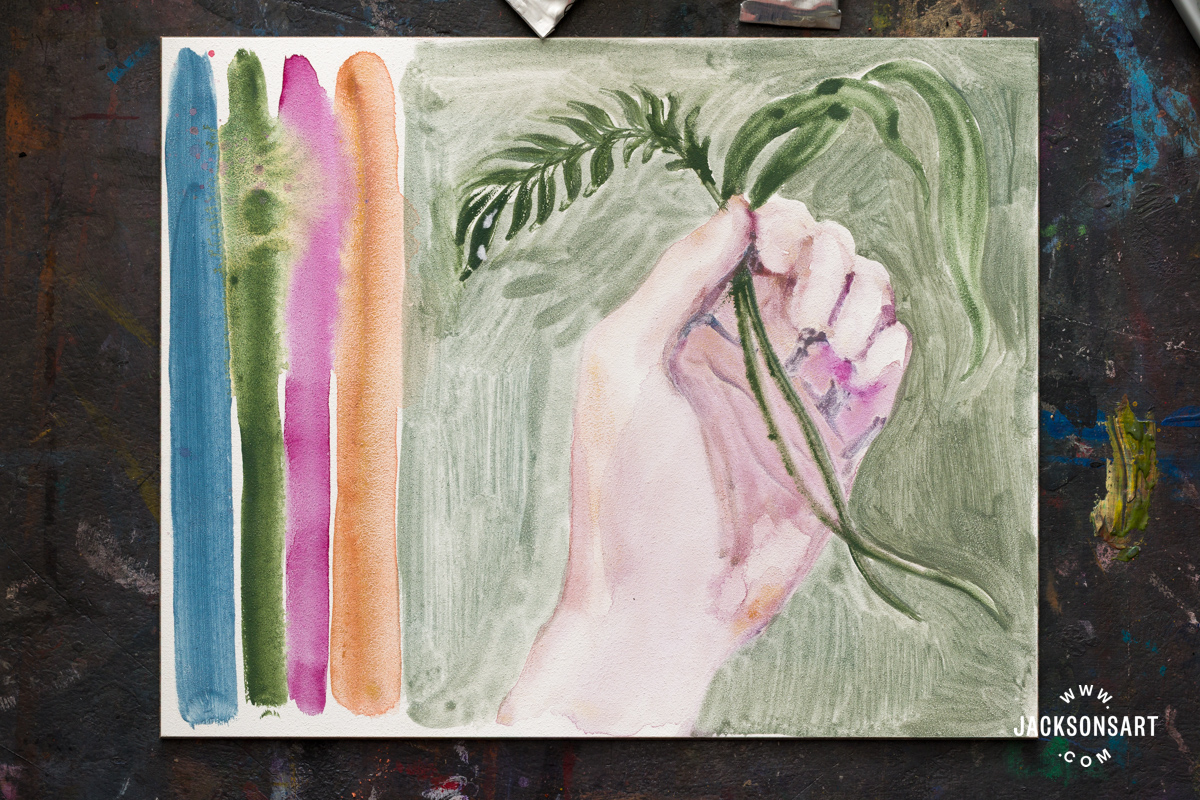
Perhaps the most exciting facet of the Aquabord for watercolour painters is the ability to layer glazes without fear of the previous layers lifting. The same complexity is very difficult to replicate on paper, since brushing over dried paint may rewet and shift it, or the colours become too muddy. When previous layers of watercolour have completely dried on the Aquabord, you can continue to glaze on top of them with a soft brush.
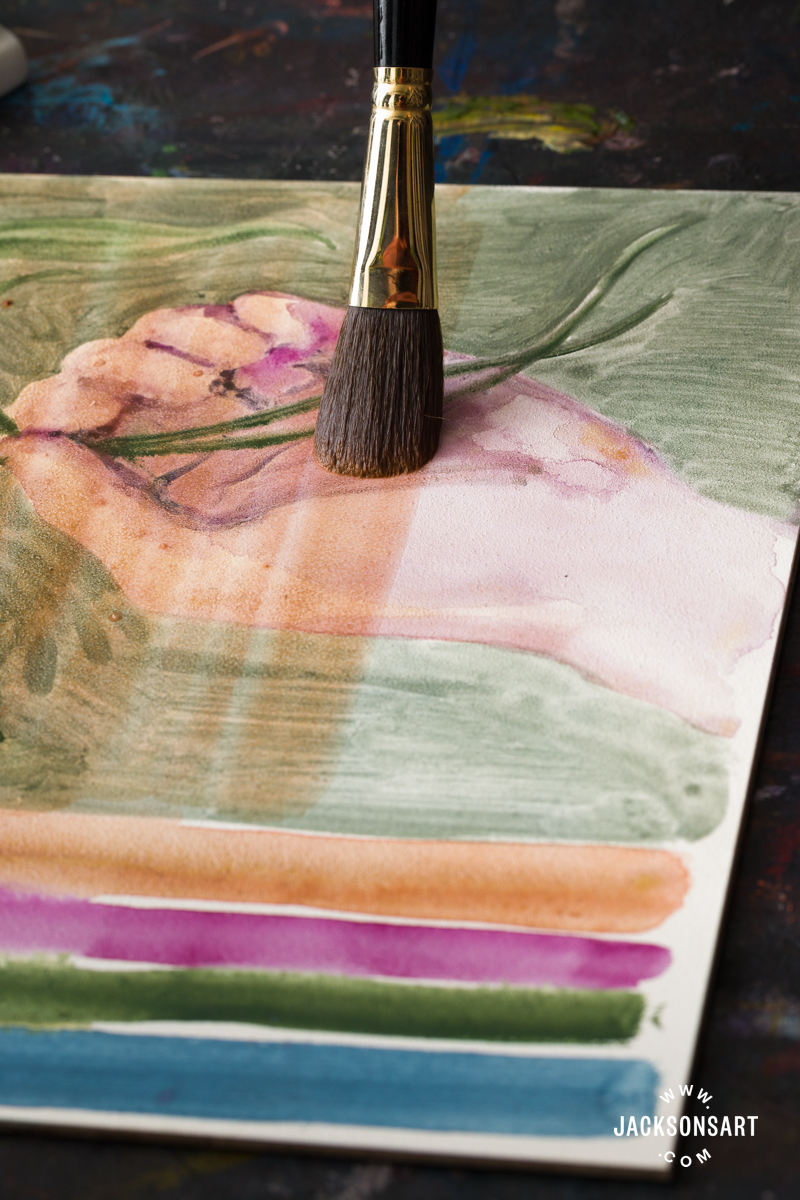
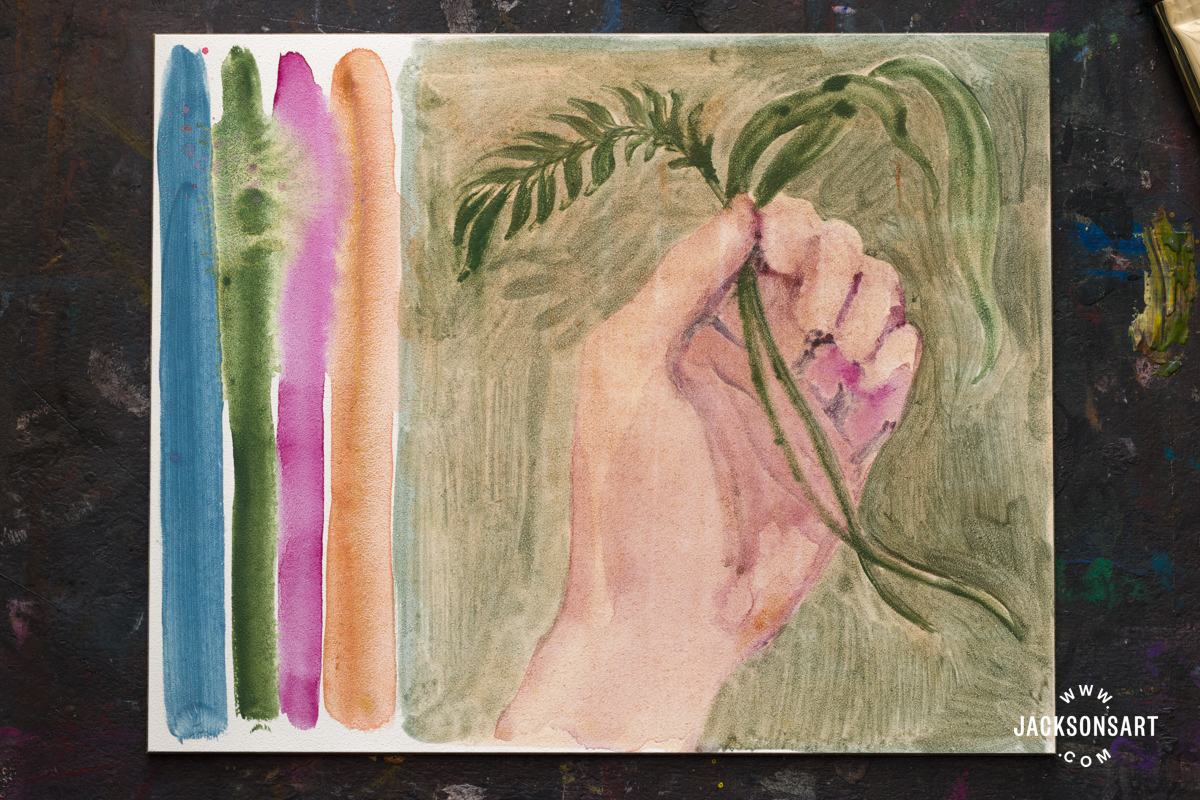
I glazed over my painting using Desert Orange, giving warmth to the image. Once this layer dried down, I glazed Indigo on the left side of the background and within the shadows of the clasped hand. I’m confident I could repeat this glazing process several more times without any shifting. Just remember that it is very important to have your layer of paint dry before glazing another color on top.
It’s best practice to work in layers, from thin to thick, on the Aquabord, as this allows you to gradually build up complex colour and gradations of tone. To dry the paint between layers, you could use a hairdryer for speed.
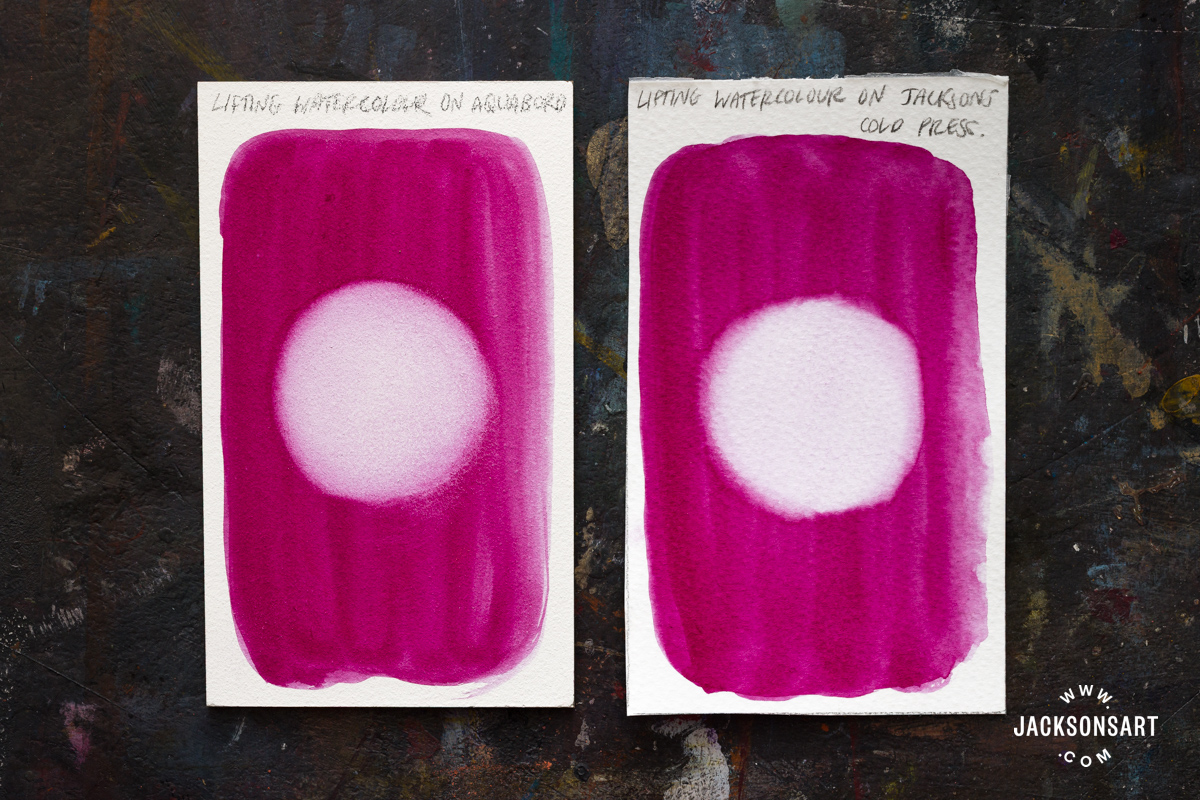
Although you can layer up several glazes on the Aquabord without lifting, this doesn’t mean that lifting is impossible. Ampersand states on their website that “you can even lift all the way back to the white of the Aquabord surface”, which I wanted to put to the test. I made a comparative swatch on an Aquabord and a sheet of Jackson’s Cold Pressed Watercolour Paper to demonstrate the effect of lifting the same colour with a clean brush. As you can see, the swatch on paper is slightly brighter white, but the paper is almost at the stage of piling. If I lifted the same area again, I’m confident the paper would produce lint. On the other hand, the slightly duller Aquabord surface is completely undamaged.
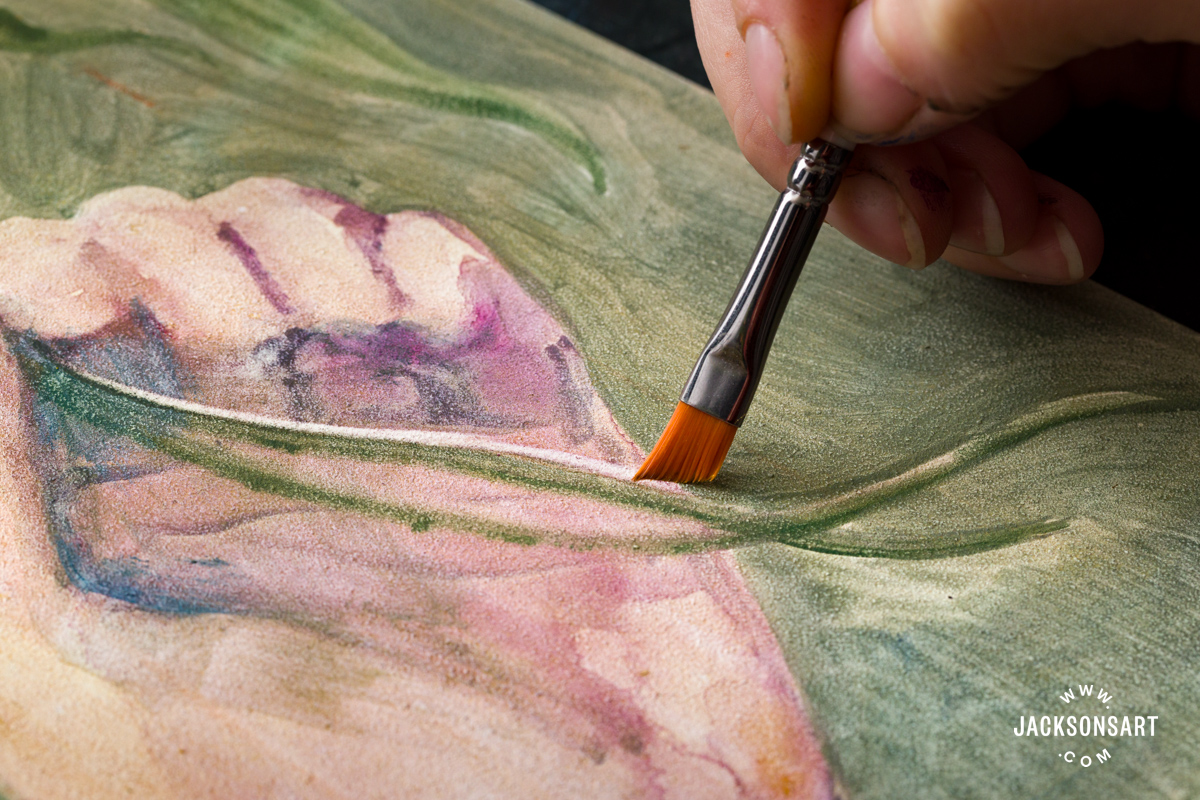
On a smaller scale, you can selectively edit areas of the painting and use finer tools like cotton buds to pick out highlights. This could eliminate the need for masking fluid in some instances, saving you time and product. This is because the paint doesn’t penetrate the surface as deeply as it does on paper, making the Aquabord extremely forgiving. In my painting, I used a small, fine brush with stiffer hairs to lift a highlighted edge off the grass stems.
This facet allows you to correct common errors, like unwanted bleeding, muddiness of colour, or to regain transparency. You can also use a tool or a sharp edge to scratch paint from the surface of the Aquabord, to add texture or fine lines.
Painting on the Aquabord in Gouache
Although watercolour is the primary use for the Aquabord, it also makes a lovely surface for gouache paints. I began my test by painting a light watercolour of a head in profile, using the Indigo and Quinacridone Violet from the previous examples.
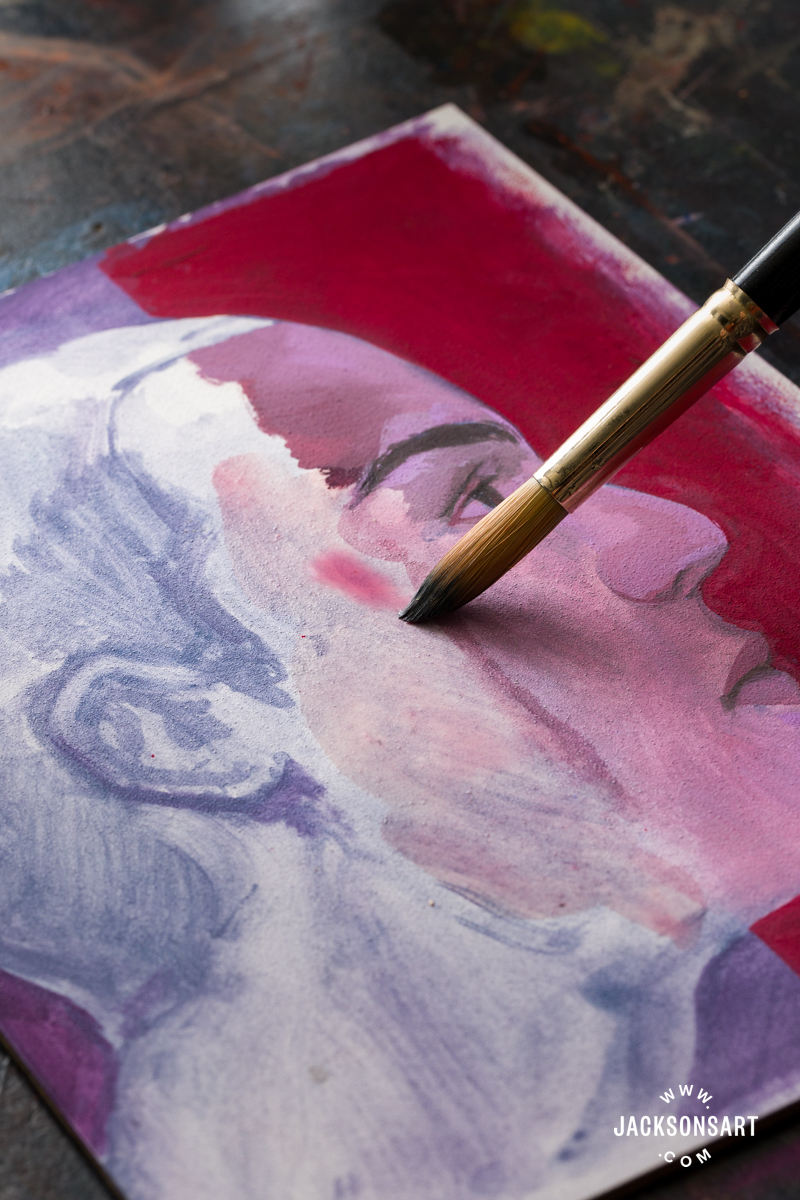
Once this layer was fully dried down, I began painting on top of it using Daniel Smith Extra Fine Gouache in Wisteria, Hematite Genuine, and Permanent Alizarin Crimson. The slight tooth of the surface caught the pigment, and brought the best out of the matt opacity and vibrance of my colours. I painted the right side of the face with paint almost straight from the tube, and then diluted the paint more across the cheek. Working in washes and pure gouache in combination gives the work depth and movement.
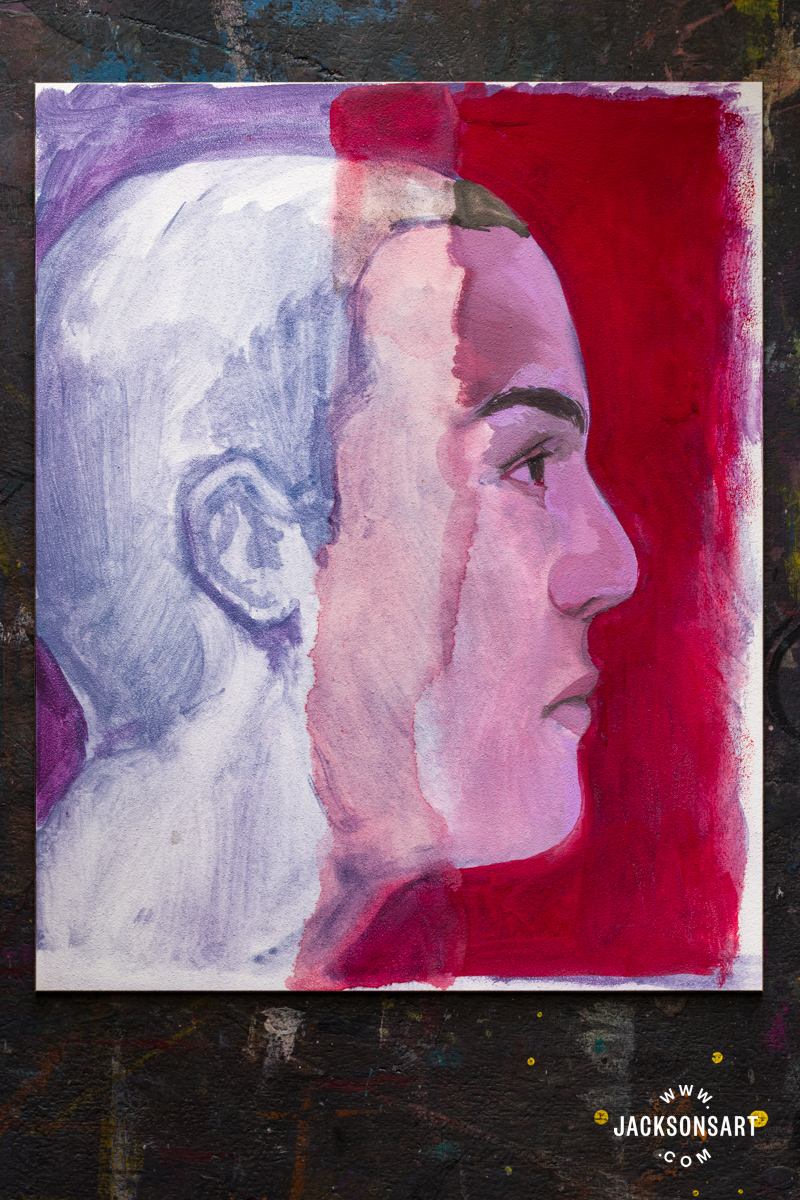
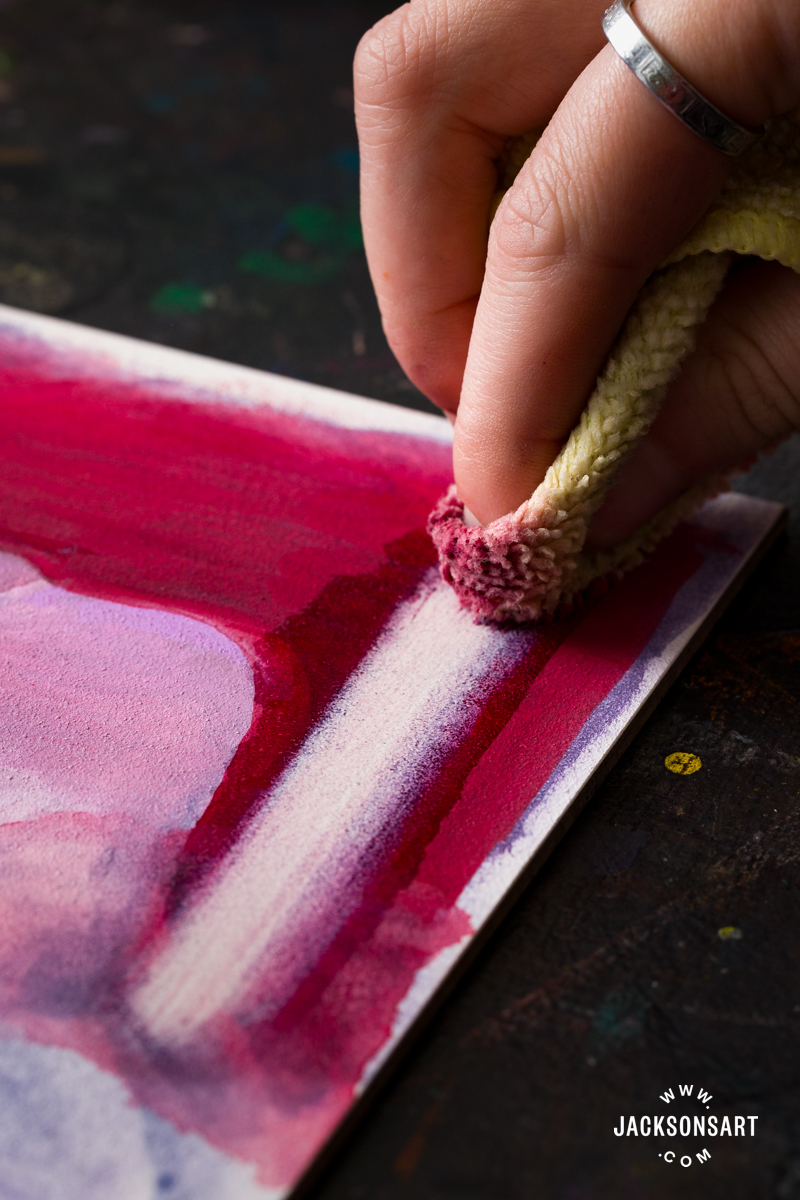
Gouache can also be lifted on the Aquabord, with the same ease as watercolours. Similarly, gouache painters will revel in the ability to edit their work without rubbing a hole in their sheet of paper. In my painting, I used a rag dipped in water to lift a strip on the bottom. If I wanted to remove all the watercolor or gouache from the Aquabord, I simply need to run the board under a faucet and use a soft brush to remove the pigment, being careful not to gouge the soft clay surface when it is wet.
Painting on the Aquabord in Ink
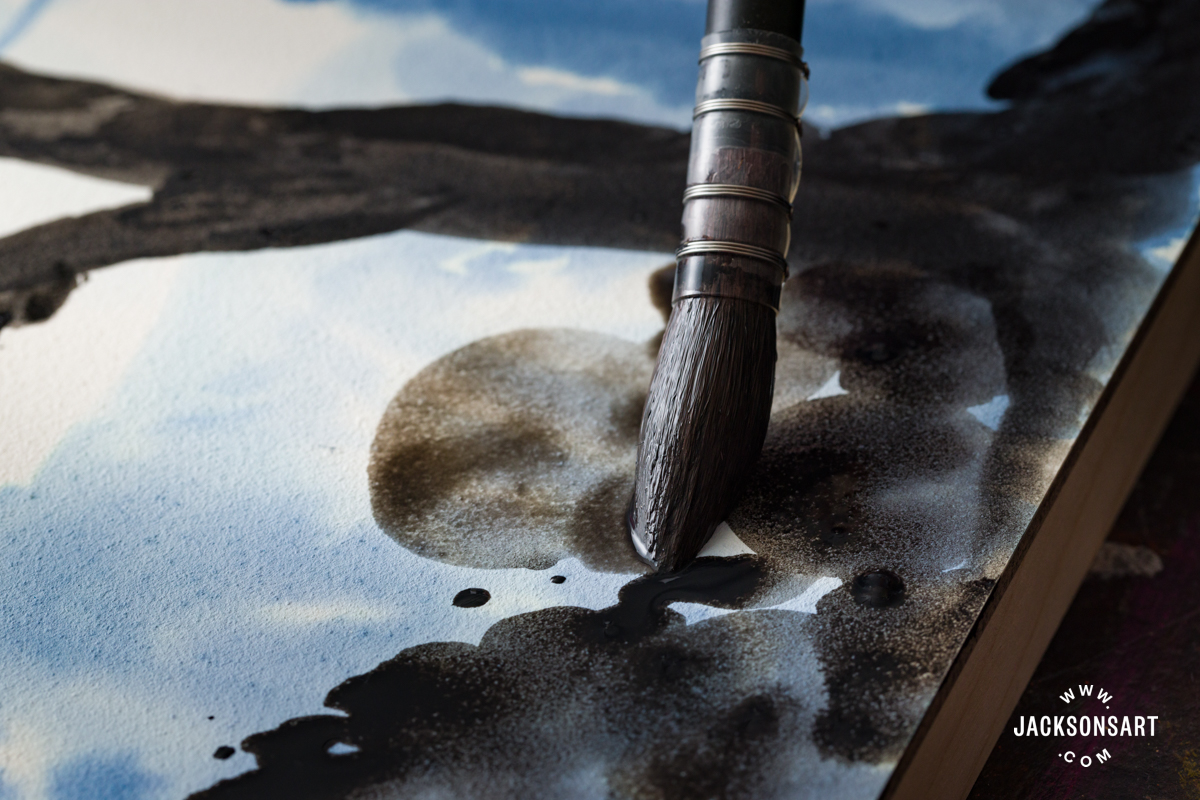
The Aquabord also works beautifully for making ink paintings – especially when you take advantage of its capability to be used in a wet-on-wet style. To begin my ink example, I washed over the entire surface in preparation with clean water, and then strategically added extra water to the areas that I wanted the ink to spread organically on, like the bottom left corner, and the texture of the tree trunk.
I painted with a Royal Talens Ecoline Liquid Watercolour Ink in Indigo to start, allowing the ink to disperse freely. I love the organic dappled shapes it created, and the surprise textures from letting the ink disperse somewhat randomly.
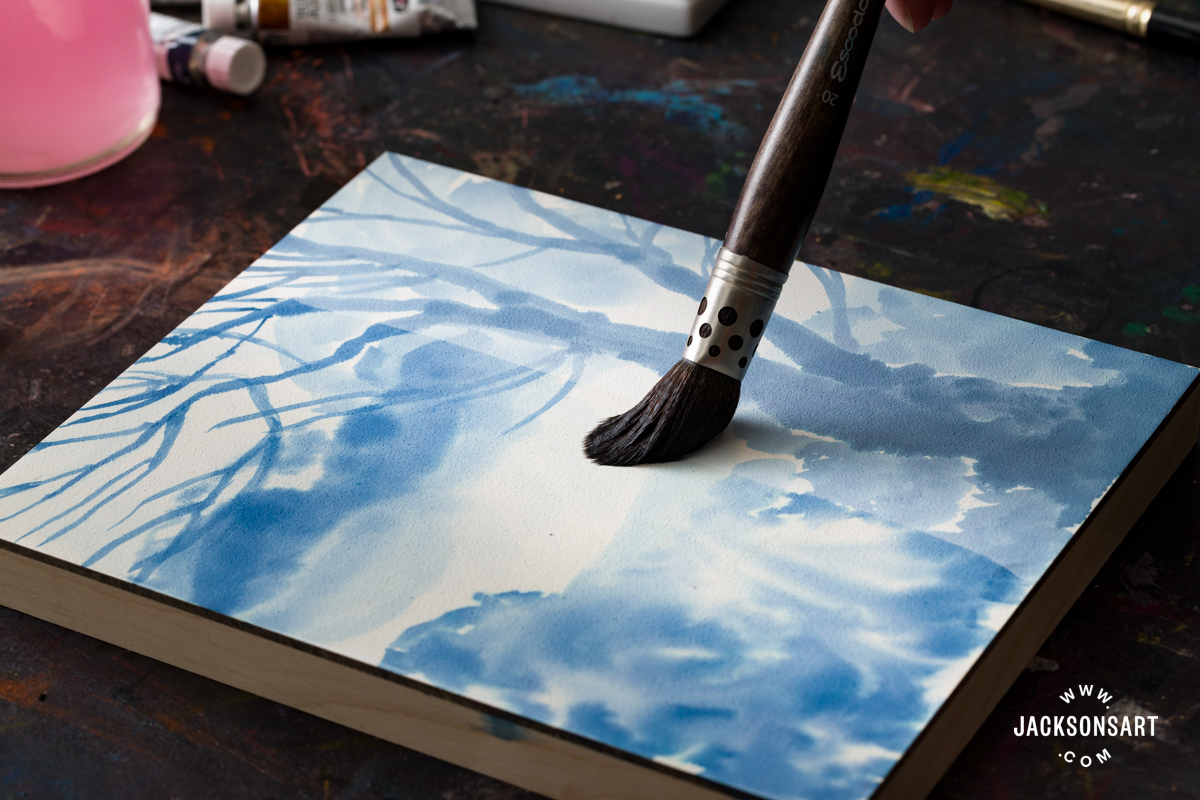
I allowed the surface to fully dry so my first layer adhered properly. I noticed the intensity of the colour was a lot paler after full drying, having sunk into the ground more than the previous watercolour and gouache examples had.
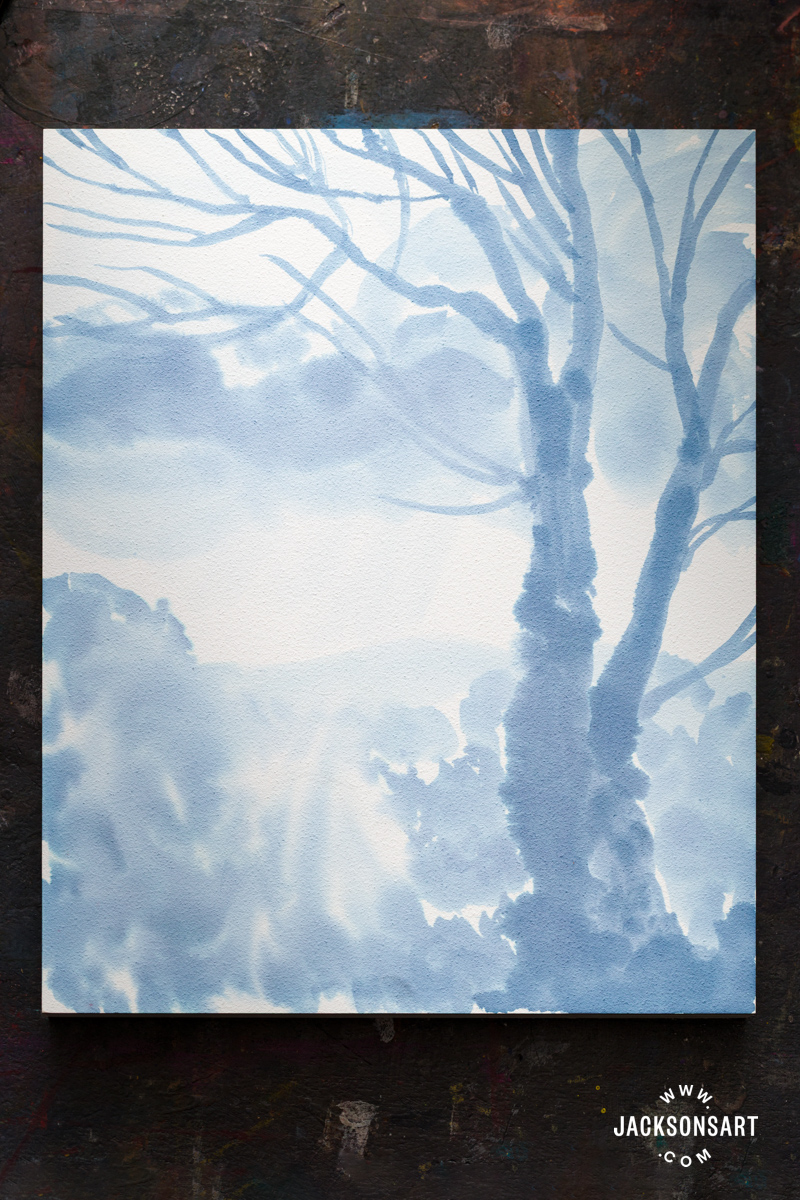
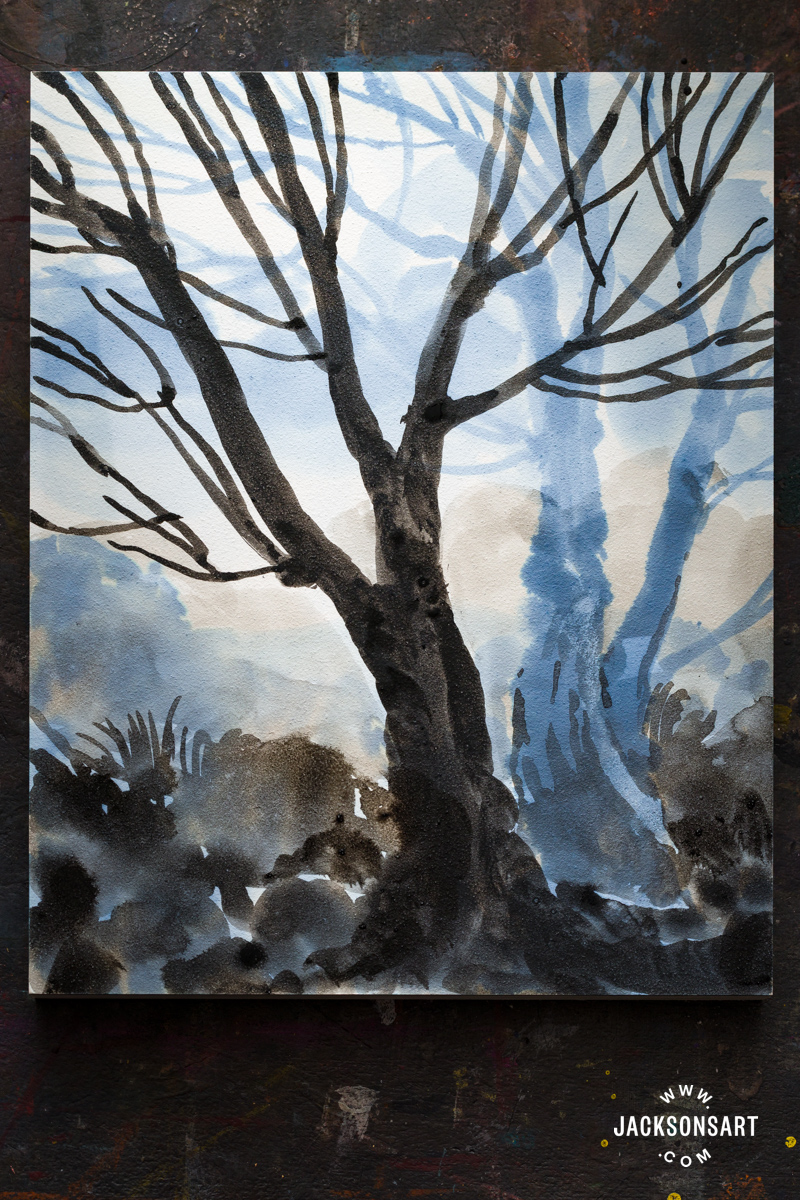
Next, I rewetted the entire board and applied Sennelier Indian Ink to create a second tree, nearer to the foreground. I worked with ink straight from the pot for the tree, and diluted it more for the dappled environment. I was also able to apply a very light wash of grey over the background to create the mist in my trees, which didn’t shift the blue ink painting below at all.
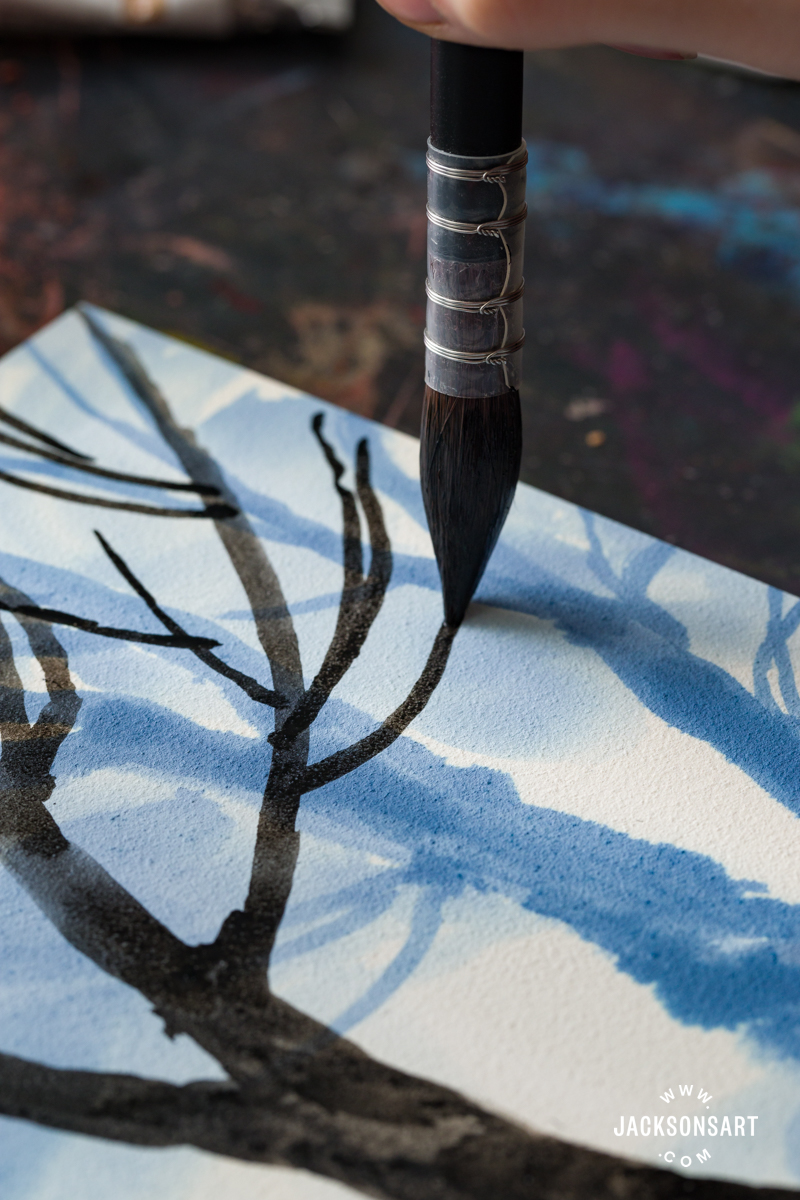
Inks on Aquabord cannot be removed like watercolor or gouache. I tried lifting the ink with a wet rag, but it’s impossible to completely remove the ink. However, I did discover that the areas of pure black on the tree trunk that I rubbed with the rag create a half-removed, sprayed, or sponge-like texture.
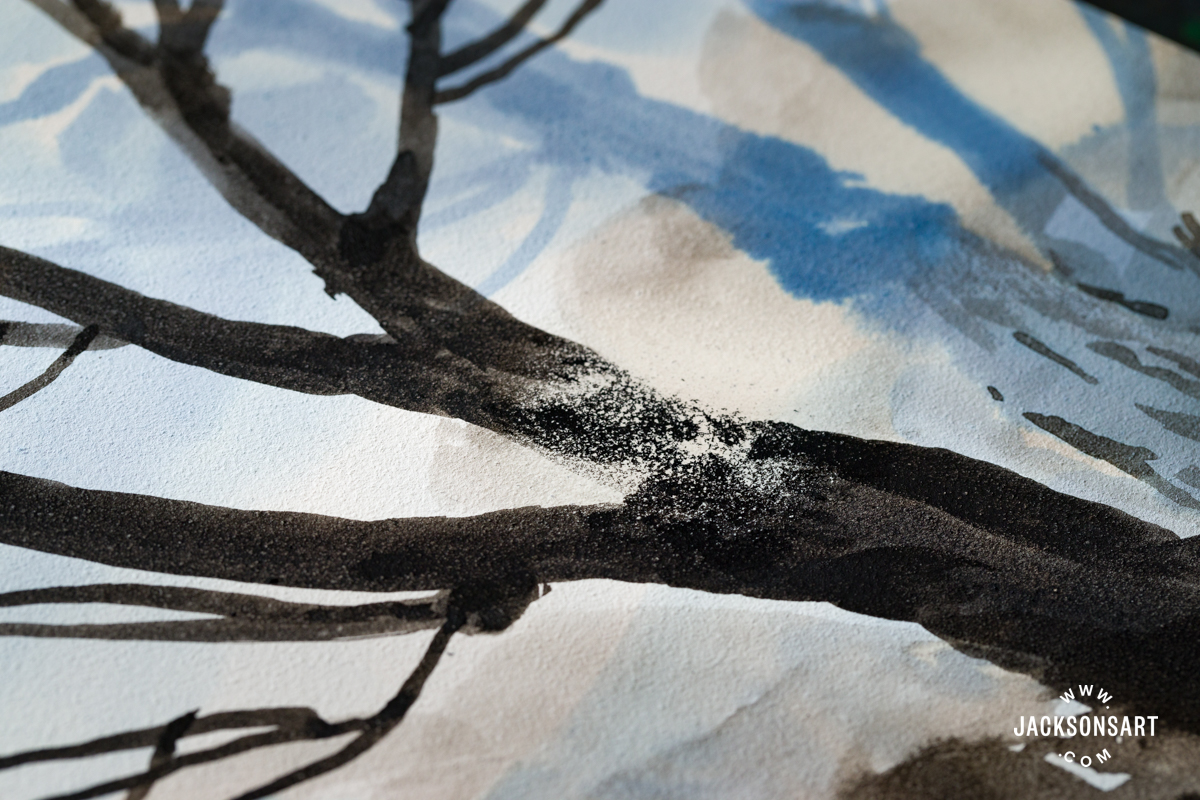
I think this effect would be very difficult to replicate by other means, and that it added a lot to the atmosphere and tonal variation to my painting.
Painting on the Aquabord in Acrylic Paint
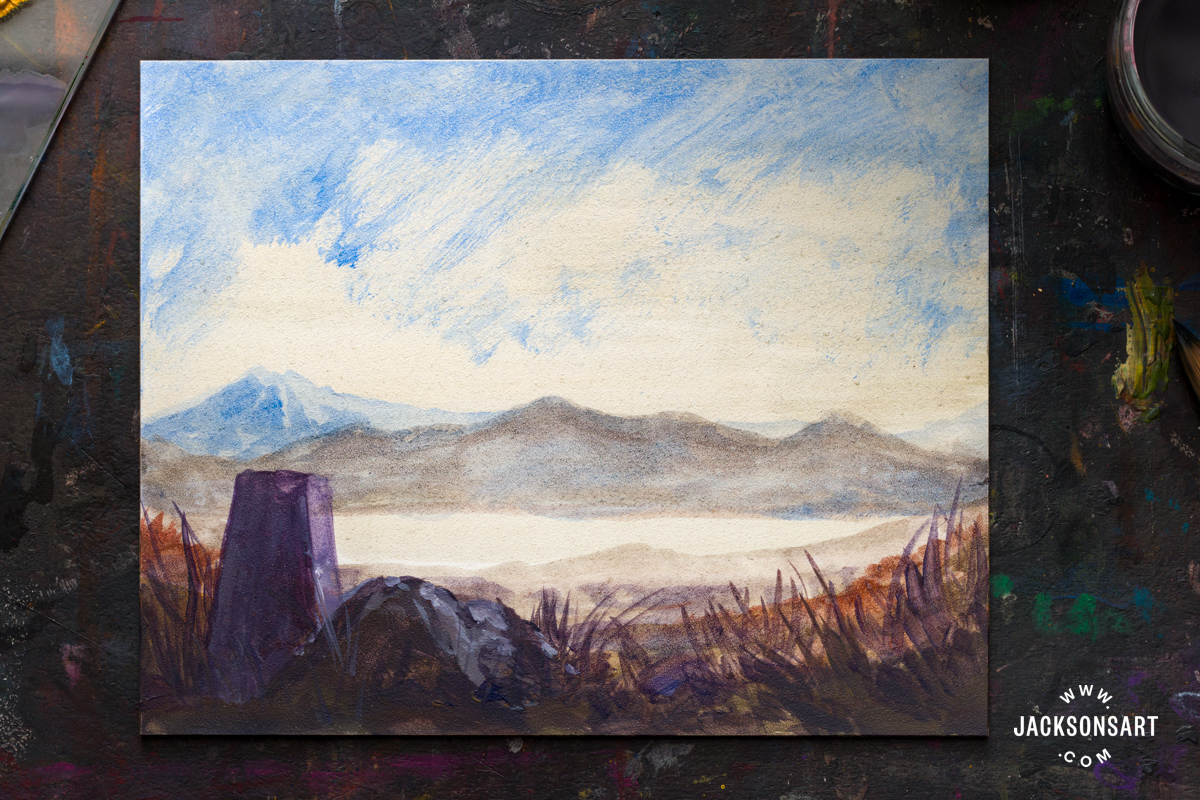
Acrylic paint also performs very well on the Aquabord, since its absorbency allows you to build the painting in thin layers, which can also be applied thickly with the rigidity and tooth of the surface. If the surface of the Claybord feels too smooth for you, using the Aquabord instead is a brilliant solution. To test painting in acrylics on the Aquabord, I wanted to make an example painting that ranged in finish from the lightest glazed layers to thickly applied paint for visual variety. I used Deep Violet, Ultramarine Blue, Yellow Ochre, and Titanium White Rutile.
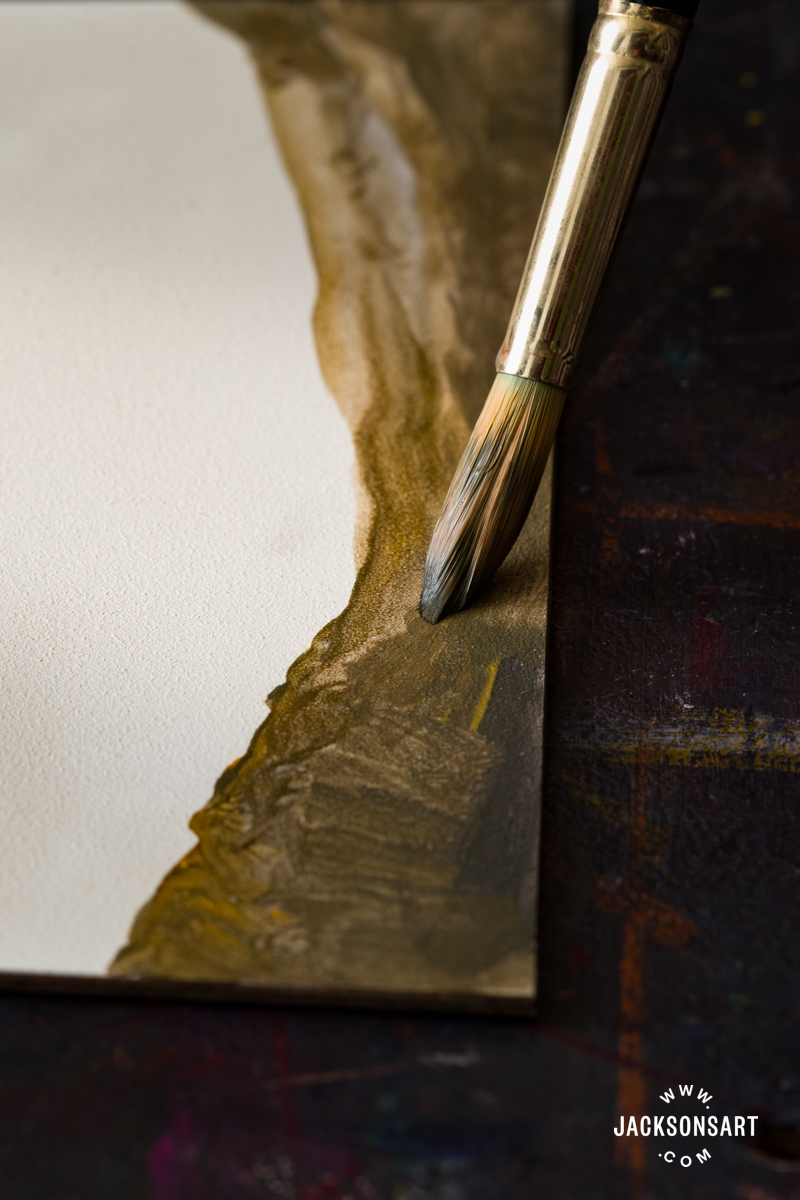
I painted with thin layers of acrylic for the receding mountains and loch, a medium amount of water for the scrubbed texture of the sky, and painted with the acrylic straight from the tube for the close foreground.
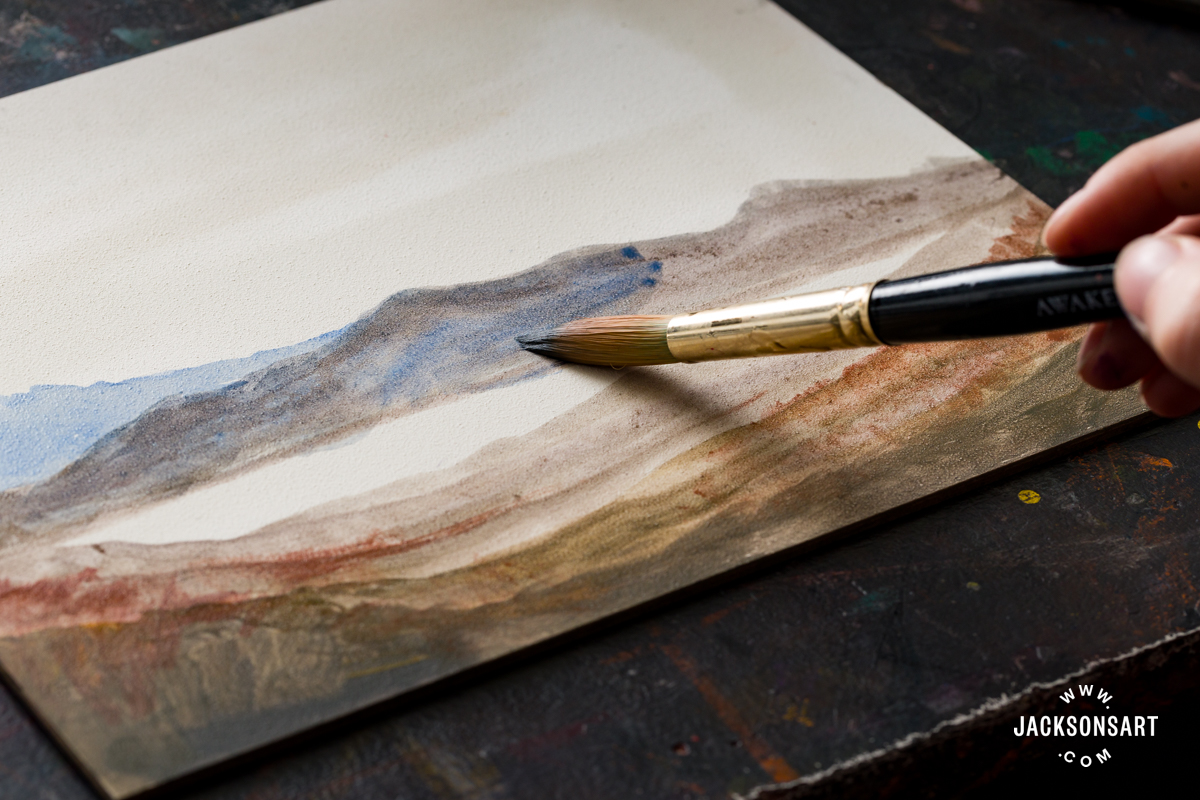
I think with the layers of thin washes, and the matt surface of the panel, the painting doesn’t appear like it’s made from acrylics. It has a watercolour quality that would be hard to replicate with acrylics on paper without it piling or warping.
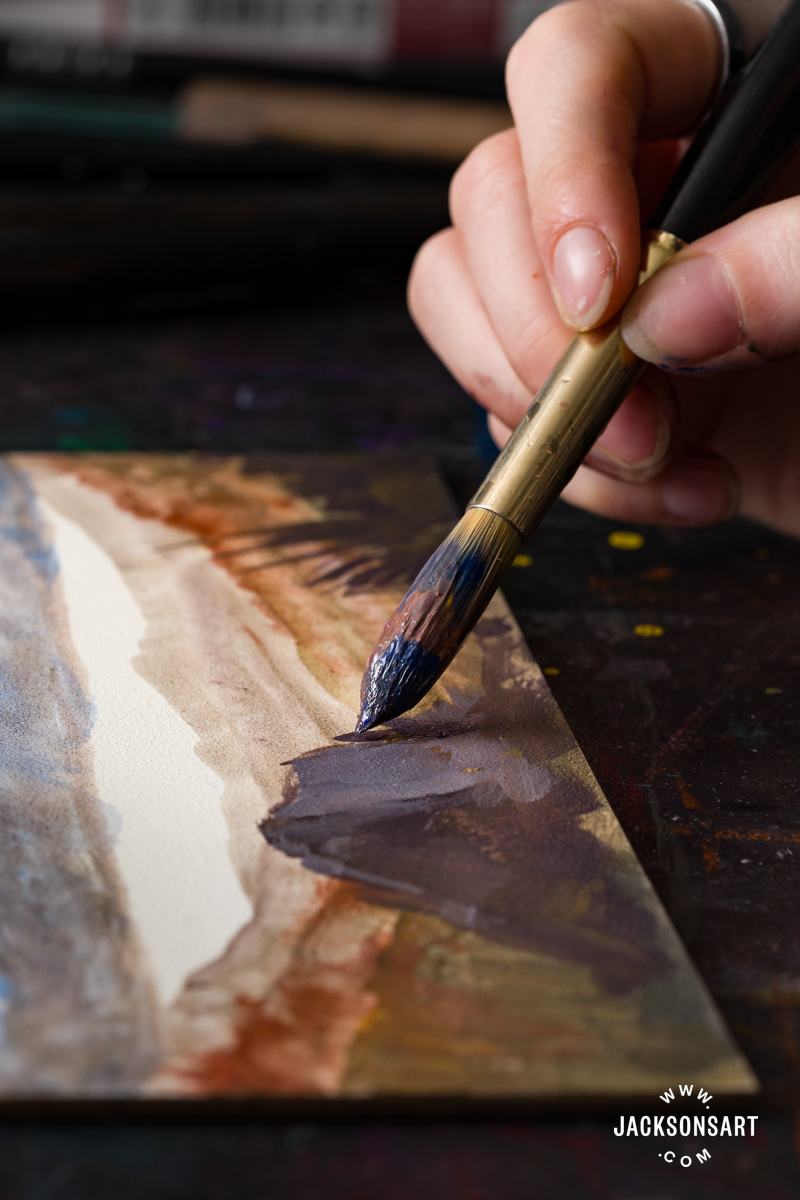
To finish my painting, I glazed over the entire image using Yellow Ochre. Acrylic paints won’t lift on any surface once dried, so you can build colours thinly with total freedom.
Comparing Watercolours and Gouache on the Aquabord to Paper
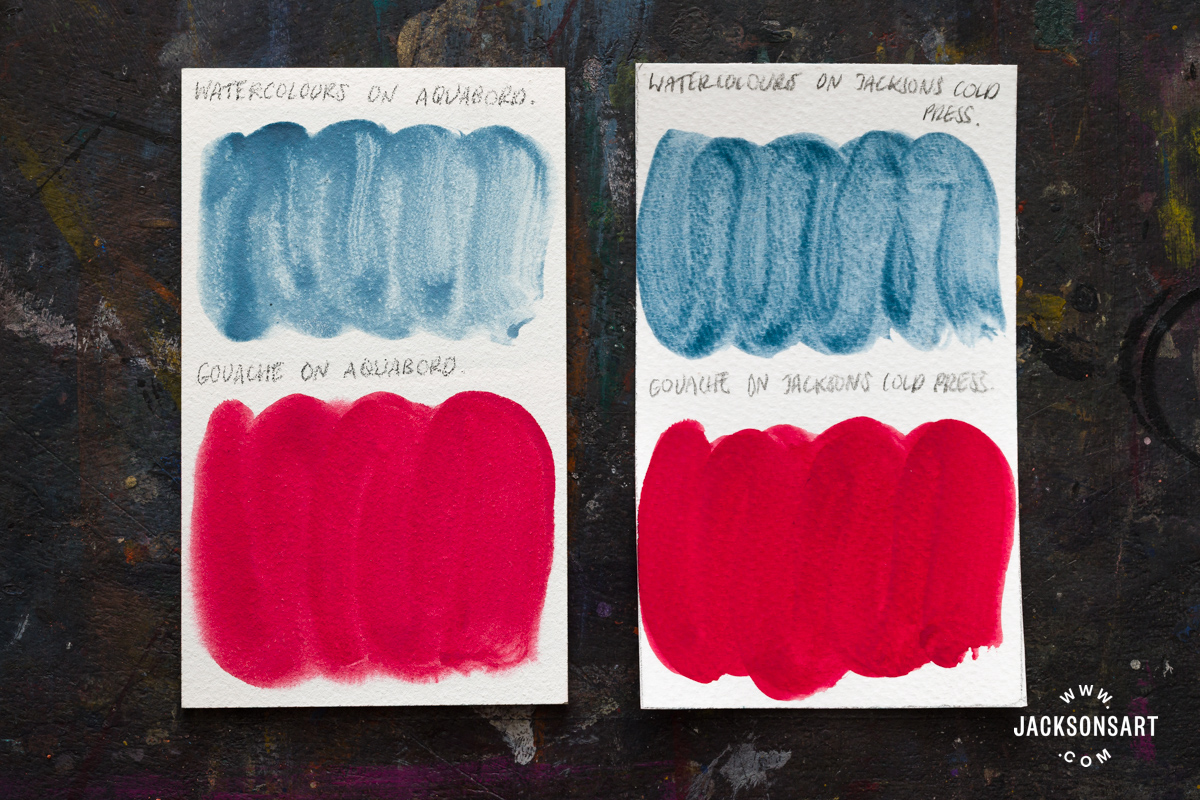
Next, I wanted to directly demonstrate the difference in colour clarity and vibrancy on the Aquabord next to a sheet of Jackson’s Cold Pressed Watercolour Paper. For my first example, I painted a brushstroke of Indigo watercolour and Permanent Alizarin Crimson gouache onto both surfaces, noticing that the Aquabord examples were slightly lighter. I think this is because the surface is highly absorbent, so the paint sunk slightly into the ground. What sets it apart is that I could continue to build up and work on top of that base colour more freely, in more layers than on the paper.
Sealing Paintings on the Aquabord
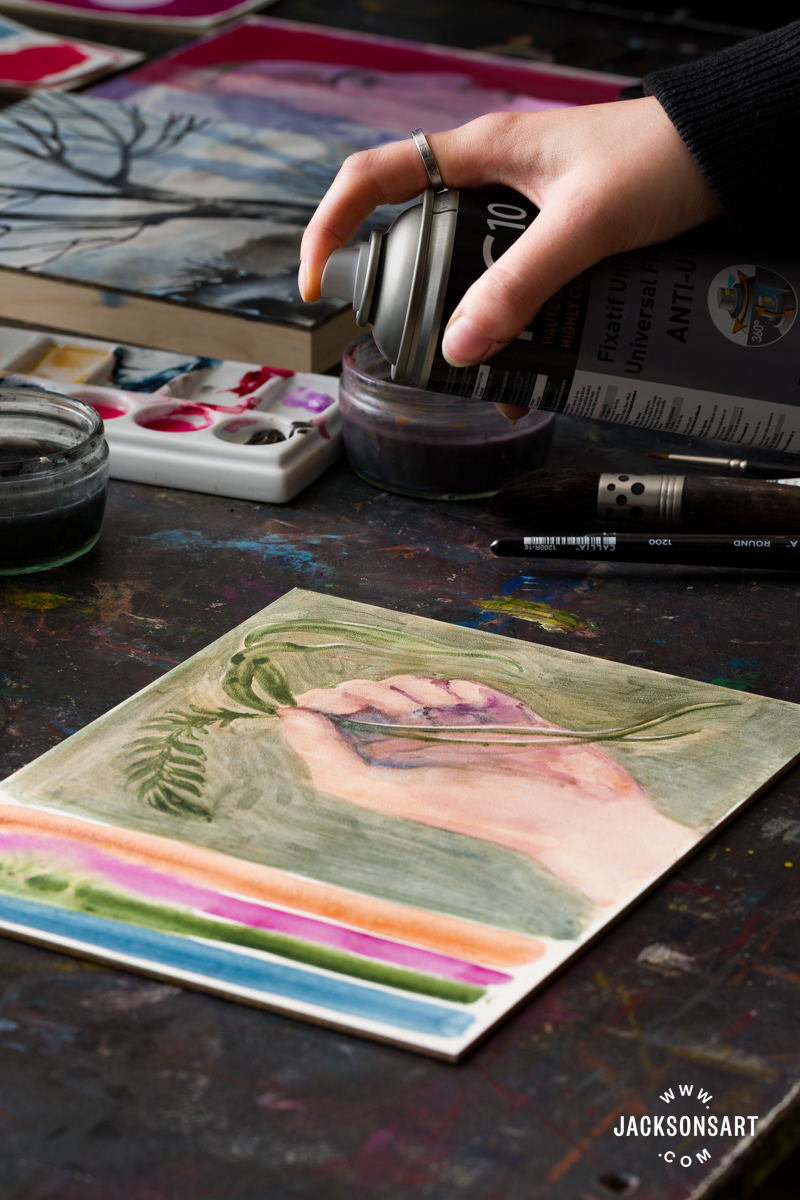
One of the assets of the Aquabord is that watercolours on it can be safely displayed without glass if they’ve been sealed. Ampersand recommends sealing paintings on the Aquabord with a spray-on varnish, preferably with UV protection. Some options which are available from Jackson’s Art include the Krylon UV Archival Varnishes, Schmincke Watercolour Fixative Aerosol, and Sennelier HC10 Universal Aerosol Fixative.
To demonstrate this process, I used the Sennelier HC10 Universal Aerosol Fixative in five layers, following advice from Ampersand’s site which suggest a minimum of four coats.
These spray-on layers may be enough protection for your purposes. But if you want to seal your work further, you can also add a brush-on polymer varnish on top of the sprayed surface to provide additional protection. It’s sensible to check that whichever varnish you choose at this stage is compatible to sit on top of your aerosol layers. If you’re really unsure, test layering your materials on a scrap piece of paper to see how they sit. Some example products for this purpose available at Jackson’s Art include the Jackson’s Acrylic Polymer Varnishes with UV Stabilisers and Derivan Matisse Polymer Varnishes.
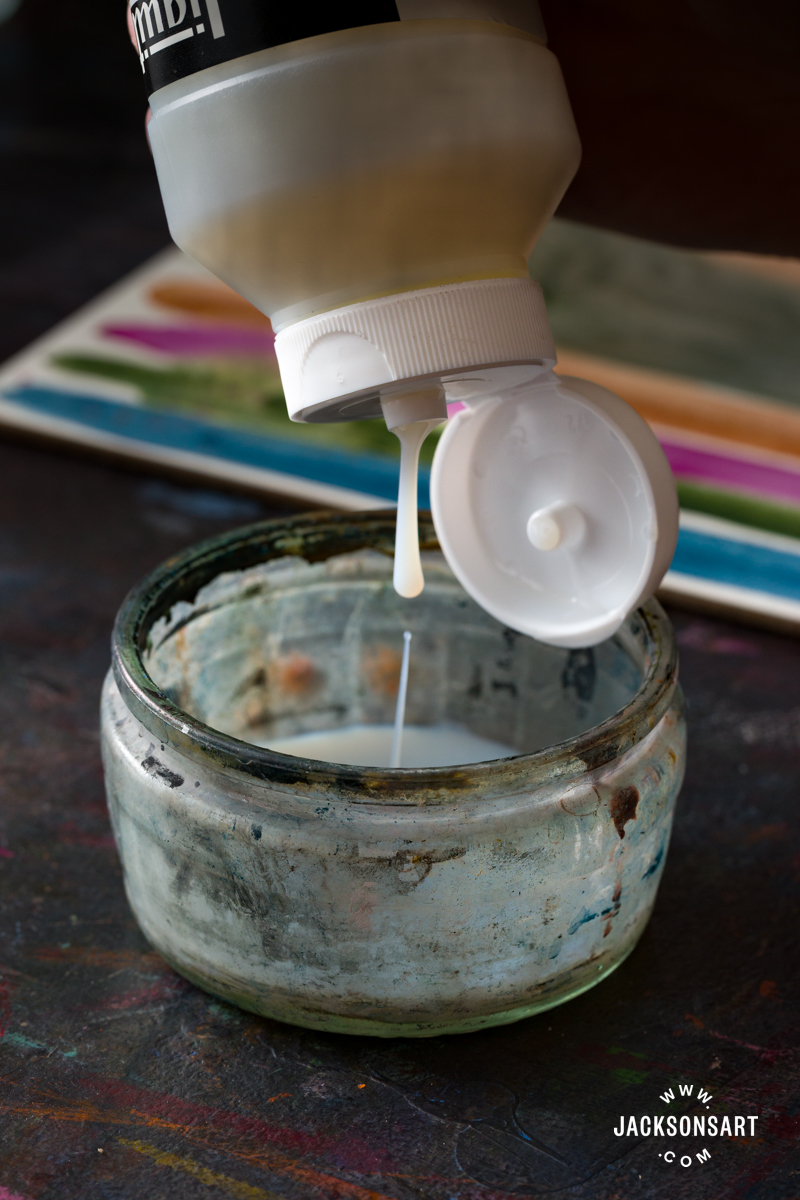
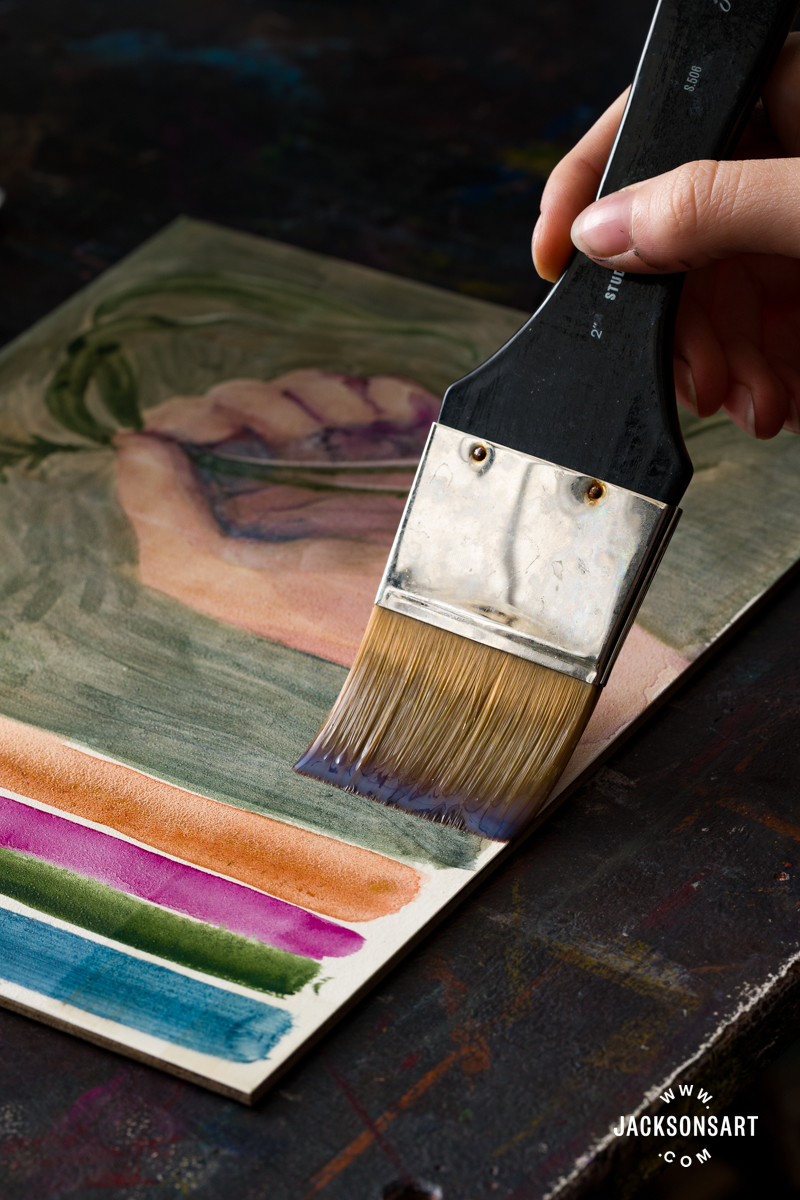
To demonstrate this final step for sealing the Aquabord, I applied a satin varnish in two thin coats, allowing it to fully dry down between layers, and changing brush direction for each coat. I was pleasantly surprised that the watercolour didn’t shift at all, since it feels so unusual to apply varnish to a watercolour when you’re used to working on paper.
It’s an unusual and liberating experience to use an alternative to paper for water-based media. The Aquabord gives watercolourists especially an enticing freedom from the restrictions of paper – warping, shrinking, stretching, and rips. The ability to wash off watercolors and gouache or selectively bring back highlights, is perhaps the most transformative asset, eliminating spoiled paper from the bin. Beyond that, having these paintings presented on a professional panel that is ready to hang immediately elevates the work and saves on framing costs. The rigidity of the surface also allows for use outdoors or on the go. Anyone who has felt frustration with the fragility or permanence of their work on paper in watercolour, gouache, ink or acrylic will relish the versatility of the Aquabord.
Further Reading
Testing Ampersand Claybord in Painting, Drawing, Printmaking, and More
What is the Difference Between Watercolour and Gouache?
Wet-on-wet Techniques for Watercolour, Gouache, and Ink
A Guide to Watercolour Painting
Shop Ampersand on jacksonsart.com