


Introduction to Ink
Ink is a versatile medium used for drawing, painting, and printmaking. Its viscosity depends on how it's used. For drawing and painting, it's a fluid liquid. For some printmaking techniques, it can be a thick paste.
A key feature of ink is its lightfastness. Inks made with pigments usually don’t fade, while those made with dyes can lose their colour over time. Dye-based inks are often used because their colours are vibrant. These works are usually kept in a sketchbook or reproduced.
If you want to try working with ink for the first time, A Beginner's Guide to Ink is a great introduction. It explains the different types of ink available, the tools and surfaces best suited to each, and includes helpful tips for getting the most out of this versatile medium.
What’s the difference between ink and paint?
The main difference between ink and paint is how they are made and used.
Artist quality paints use single pigments. This allows you to mix colours without losing their brightness. They work well for fine details and thick layers. They can also be mixed with mediums to create different effects.
Inks, on the other hand, are less flexible. They are made for specific uses like pen work, printmaking, or adding colour with brushes or pipettes. Some inks can still be mixed with certain mediums to change how they behave.
To learn more about paint thickness, the 'Dairy Scale of Paint Viscosities' compares the thickness of paints and inks to dairy products.
What do I need to get started with inks?
To get started with inks, you will need the following:
- Inks: Choose the colours and types of ink you want to work with
- Tools: Dip pens, hake brushes, and bamboo pens are great for applying ink
- Surface: You can use paper, panels, or canvas
- Blotting paper: Used for fixing mistakes and soaking up extra ink
- Palette: For mixing and holding ink
- Water pot: For diluting with ink and brush cleaning
Drawing Ink, Painting Ink, and Calligraphy Ink
Inks used for drawing, painting, and calligraphy are usually very thin. They can vary in how transparent they are, how well they resist fading, and whether they dissolve in water.
Drawing inks can be made with either pigments or dyes. Dye-based inks are less lightfast and may fade with time. Waterproof drawing inks are usually made with pigment and a binder, like shellac or acrylic. They can be thinned with water while still wet. Watersoluble inks can be rewet, allowing more time to work with them. These are great for use in refillable fountain pens.
Calligraphy inks can be waterproof or watersoluble. Dip pens work with both. For fountain pens, use watersoluble ink so it doesn’t clog. Calligraphy inks are thicker and more opaque than drawing inks.


What tools can I use with drawing inks?
Drawing ink requires minimal equipment. First of all, you need to decide which tool you wish to use to apply your ink – a dip pen or a brush, or a combination.
A brush will allow you to vary the width of your mark depending on the pressure you apply, and it’s also easy to control the colour saturation.
Pens on the other hand are best for a uniform application of colour – both in terms of colour saturation and the width of your line, though you can vary the width of your line by changing the pressure you apply. There is a wide range of nibs for dip pens to allow you to make a variety of different marks.
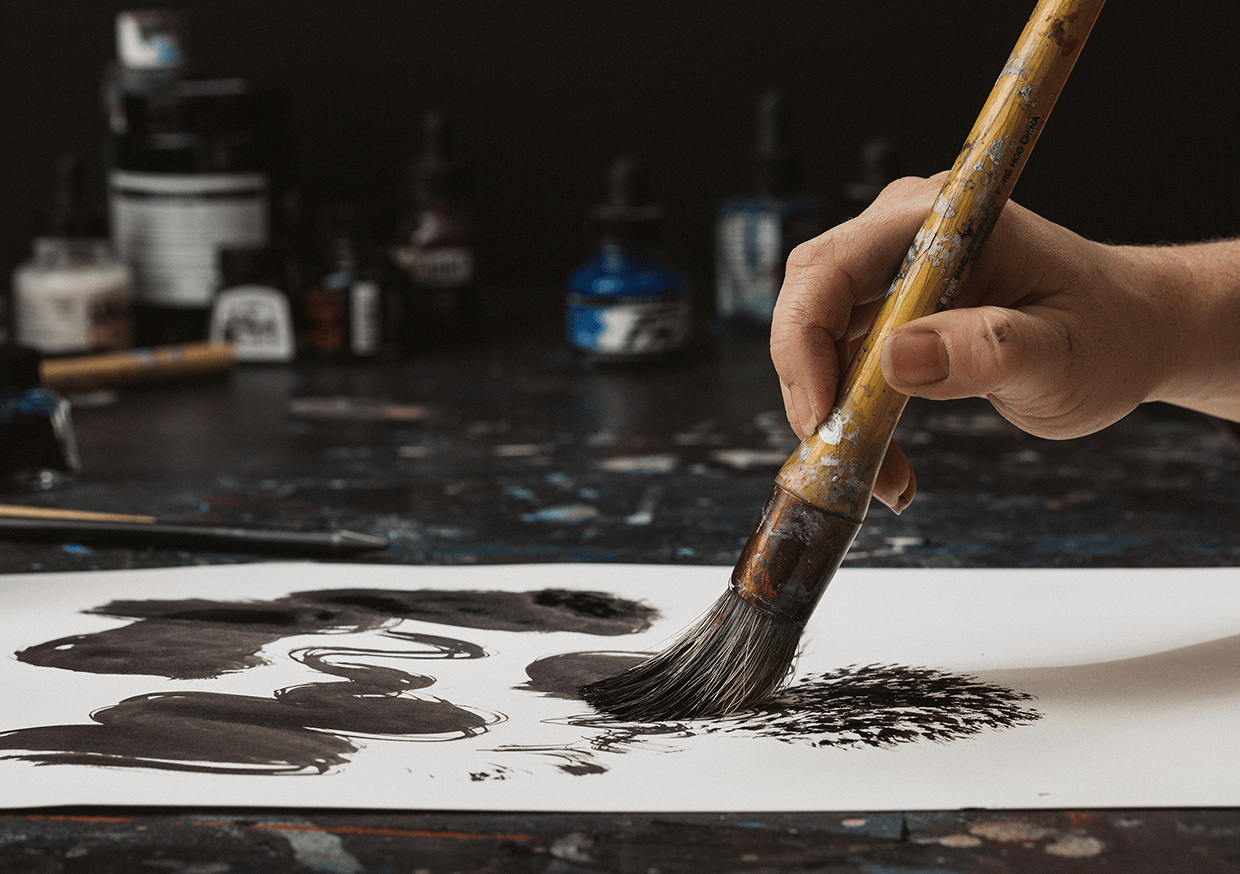
Brushes for Ink
Soft watercolour brushes are great for use with ink. You can choose natural or synthetic hair. Hake brushes, made from goat hair, are great for Sumi-e ink techniques.
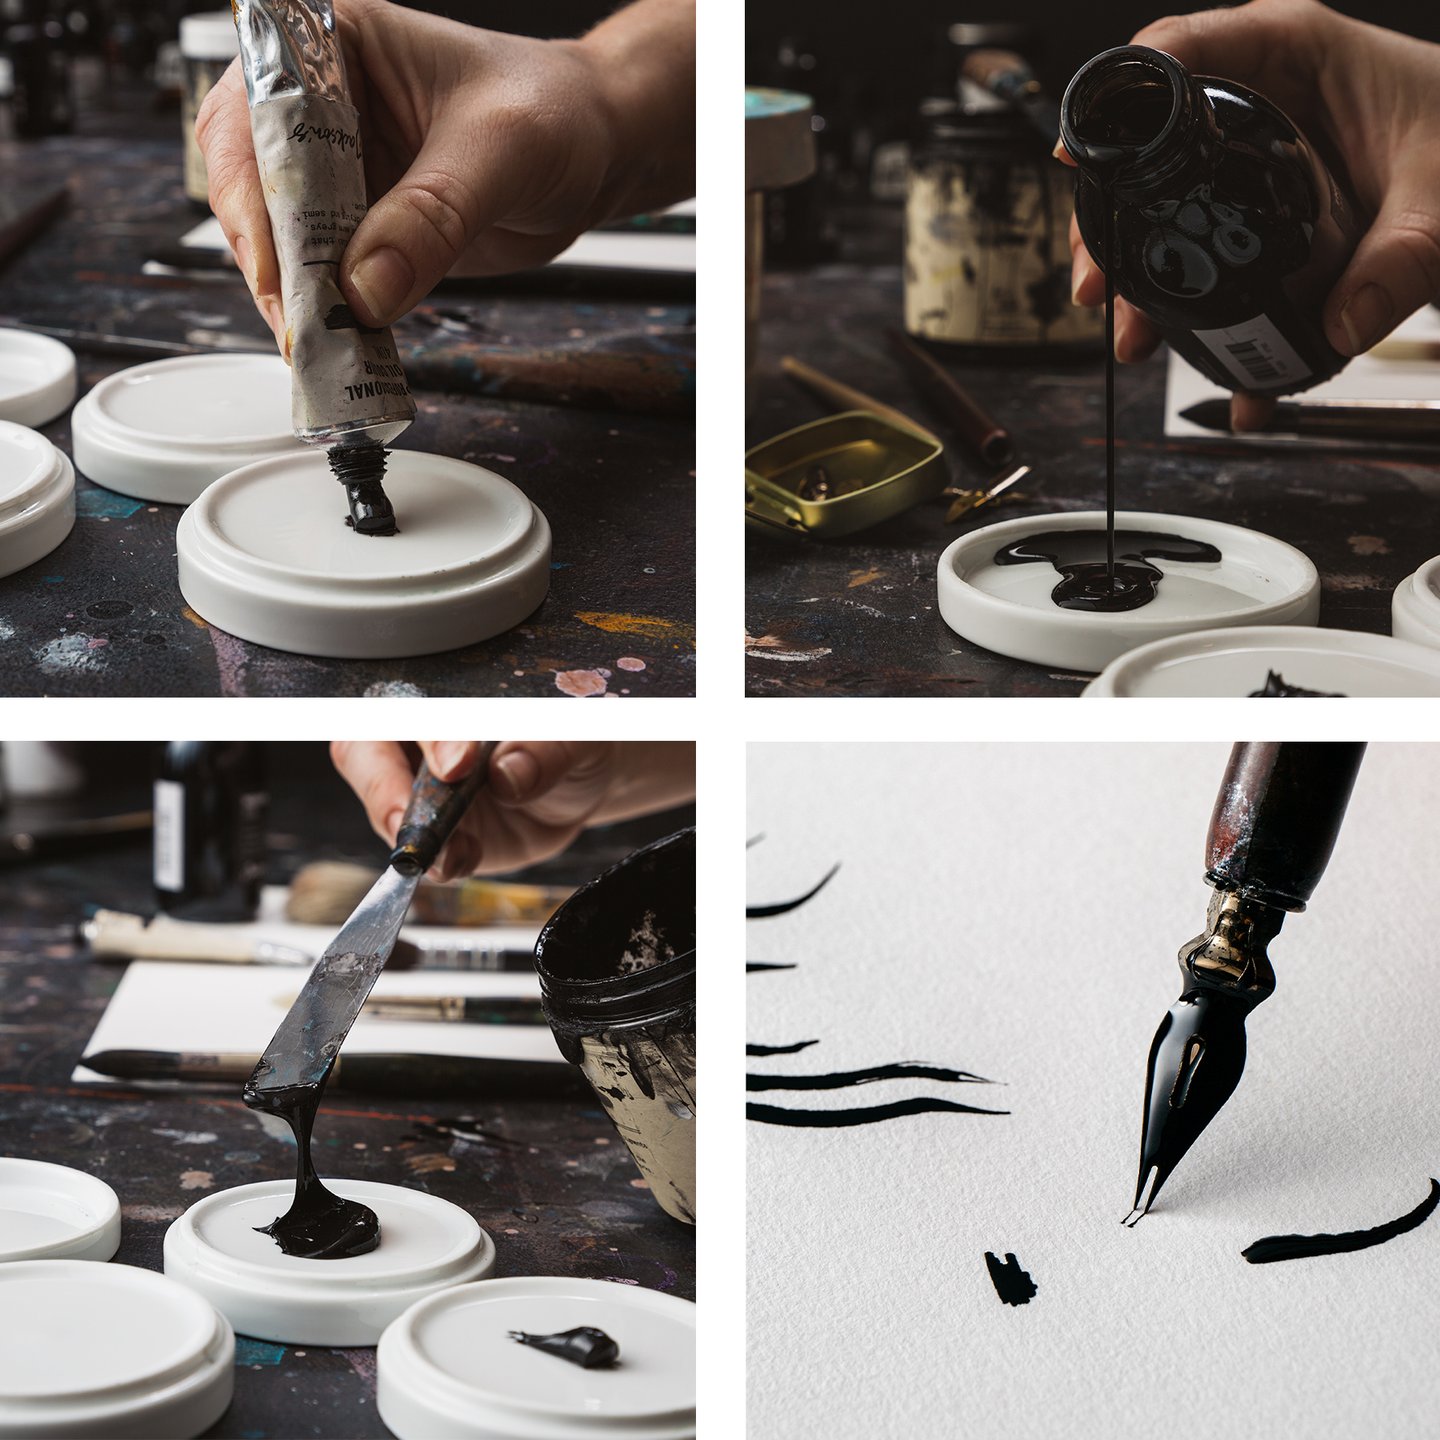
Dip Pens and Drawing Ink
Modern fountain pens don’t have the same characteristics and don’t really prepare you for the experience of drawing with a dip pen. Most dip pens will only draw downward strokes, and they will invariably run dry halfway through a long, smooth stroke. Rembrandt will have used a pen with these limitations every day.
Modern dip pens can create many different textures, from smooth, flowing lines to rough, scratchy scribbles. Unlike older quills or pens, some can make both upward and downward strokes.
You can start using a dip pen with a few nibs. Drawing and mapping nibs are good for beginners. You'll also need a pen handle that fits your nibs, ink, and the right paper. Another option is to choose a Joseph Gillott nib and handle set from William Mitchell Calligraphy, available in Drawing and Mapping styles.
Most dip pen nibs come coated in wax to stop them from tarnishing in storage. To draw with them, you will need to submerge them in boiling or just boiled water for half a minute or so, which melts the wax and allows ink to flow freely from the nib onto the page. Your nib should also be washed clean and dried completely after every use to prevent it from rusting.
It’s helpful to have a sheet of paper just for doodling when you first pick up the pen or change nibs. Practice hatching for laying down tints - large areas of uniformly spaced lines which describe the shape of an object. This will give you a sense of how the ink flows from the nib, what colour the ink is, and how the width of the line varies with pressure. Try cross-hatching too, drawing quickly to make your strokes more decisive.
Bamboo Pens
Bamboo pens are made of dried bamboo sticks that are hollow so that the pen can be dipped into ink and then dragged across the surface on which you are working. Lines created with bamboo pens are expressive and vibrant.
Bamboo pens need frequent dipping as they do not hold a lot of ink. They are not made to create long unbroken lines, so are best used for short lines where blotchiness and variation in the width of the line do not matter too much.
Bamboo pens are available with a flat nib and a pointed nib. The flat nib can be used to make a wider range of marks, while the pointed nib will produce finer marks. Once the ink starts to run out they are capable of making dry, textured marks.


What’s the best surface for drawing ink?
Once you have decided on your tools, you’ll need a surface to work on.
Paper is a popular choice, and any kind of paper can be used. Its colour, texture, and absorbency will have an impact on how the ink behaves when applied, as well as the overall finished results.
If a paper is not sized or is soft sized (such as printmaking paper), drawing ink is likely to bleed or feather on it when applied. Harder sized watercolour papers may feel scratchy when drawn on with a pen and are more suited to crisp fine lines. These differences will play a part in the quality of your finished work.
You can also use gesso panels, which are smooth and partially absorbent, or canvas. The texture of the canvas is great for applying ink with a brush.


Indian Ink and Chinese Ink
Indian and Chinese ink are made from lamp black pigment mixed with water to form a liquid. Shellac or gelatin can be added to make the ink more durable when dry.
The first Indian inks were made simply with just soot and water. Their use dates back to Neolithic China in the 3rd millennium BC. They were first used by Chinese painters, however the ink was often imported from India. This is why they're called both Chinese ink and Indian ink.
Chinese ink is available in both liquid and solid forms (ink sticks), while Indian ink is typically only available as a liquid. Chinese ink sticks become usable ink when ground on an ink stone with a little water.
Indian ink almost always dries waterproof, depending on the amount of shellac. The more shellac, the more waterproof. Indian ink can be used with bamboo pens, brushes and sticks, on surfaces including paper, canvas, wood, and fabric.
Indian ink is not commonly mixed with mediums. Shellac can be added to make it glossy. Watercolour mediums can be used if the ink is water resoluble.
For more on Chinese ink painting, read our Guide to Chinese Ink Painting.
Sumi Ink
In Japanese ink painting (also known as ‘Sumi-e’), ink stones and sticks are still used today. The carbon for sumi ink comes from either the soot of rapeseed oil, the soot of pine sap, or from industrial oils that produce a cheaper sumi, which has a brown tone. Sumi ink is also available in a liquid form.
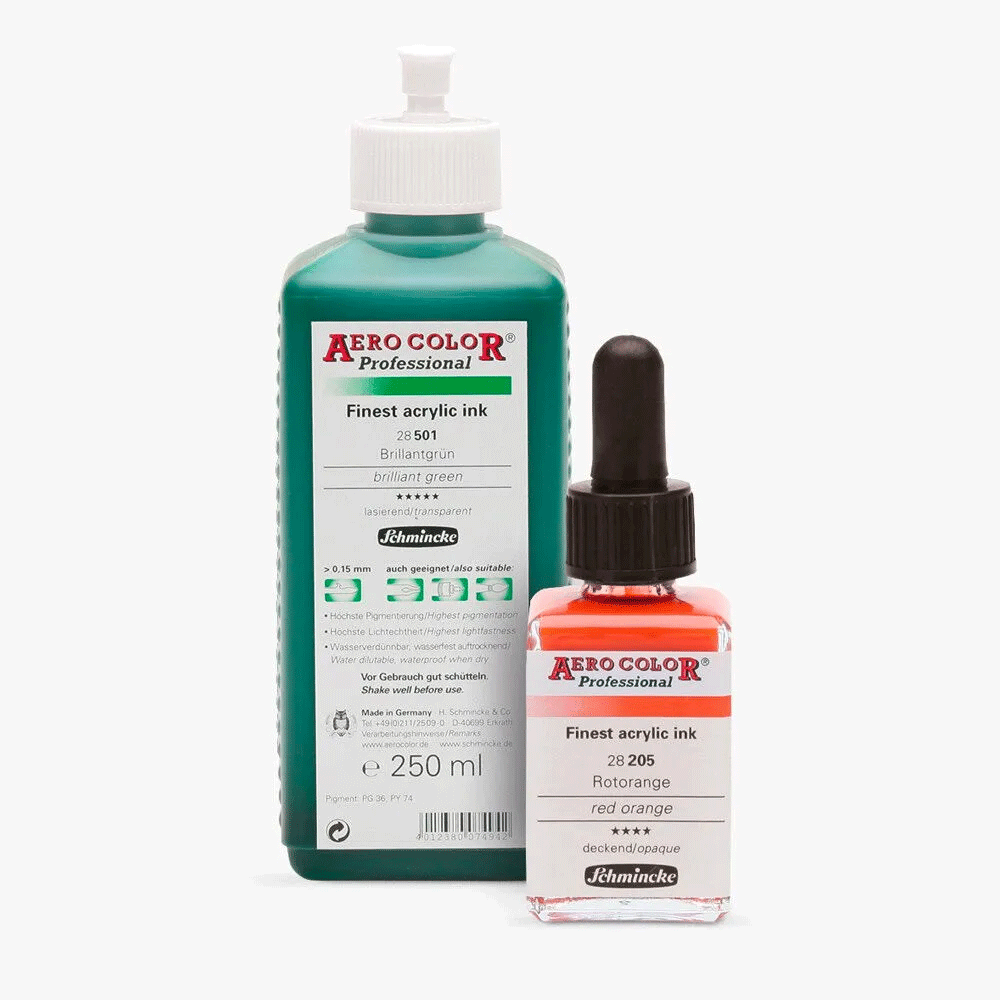
Acrylic ink and airbrush ink
Airbrush inks are very thin, allowing smooth flow and easy control. They are acrylic-based and work on any surface. The inks dry waterproof and can also be used with dip pens and brushes.
To start airbrushing, you need airbrush tools, colours, and a surface like paper, card, canvas, or metal. A spray booth can help keep your work area tidy.

Alcohol ink
Alcohol inks are fast drying, vibrant inks. They create bright, flowing textures, often used in pour painting. Once dry, you can re-wet it with rubbing alcohol. This creates unique effects that you can't get with mediums like acrylic paint.
You can use a brush, pen, or drop the ink straight from the bottle. Popular surfaces include paper, card, canvas, and panels. To clean, blot brushes on a paper towel before rinsing them with 70% alcohol.
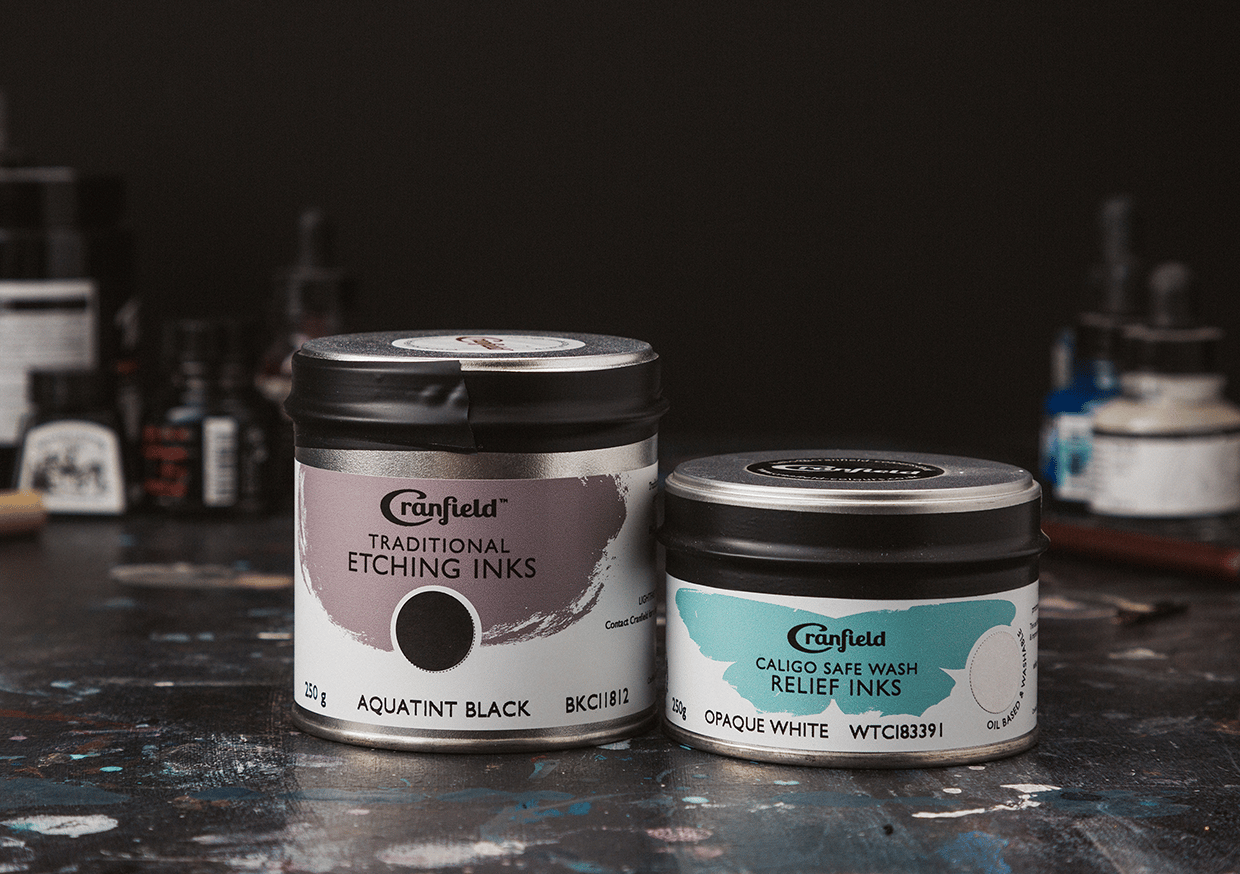


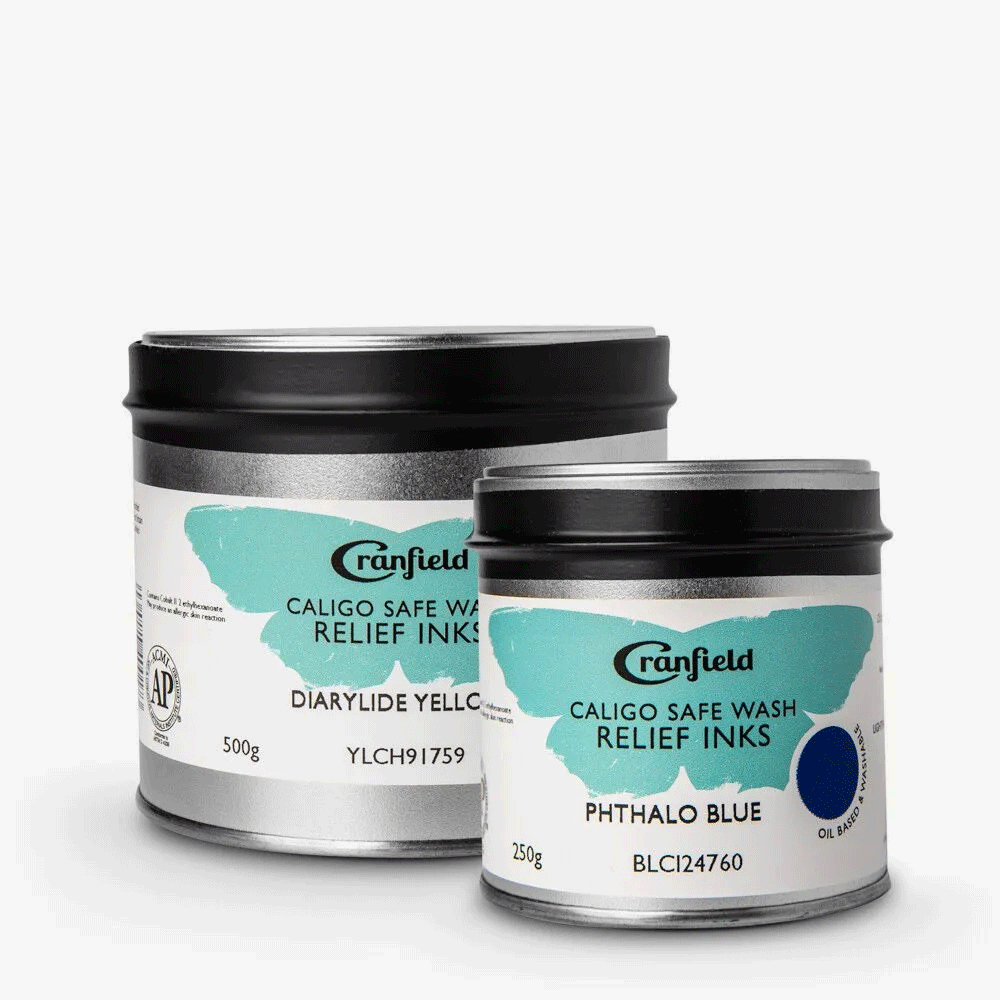


Ink for relief and intaglio print
Relief printing inks and intaglio inks are thicker than drawing inks. Their texture is closer to oil or acrylic paint.
Relief inks can be water, acrylic, or oil-based. Intaglio inks are thick and oil-based. Akua Intaglio Ink is made from soy and can be mixed with water. Water washable inks like Caligo Safe Wash make cleaning easy without the need for solvents.
To start relief printing, you need a matrix, such as wood or lino. This is carved using lino, wood cutting, or engraving tools. A roller is used to apply a thin, even layer of ink to the matrix. Afterwards, place a sheet of paper on top and apply pressure to create an imprint. For Japanese woodblock printing, a thinner, water-based ink or watercolour is applied with a soft brush.
Intaglio printing involves engraving into a matrix, like copper or acrylic. Ink is applied to the plate and wiped off, leaving ink in the engraved lines. A print is made by placing damp paper on the plate and using an etching press to transfer the ink onto the paper.
Read Linocut Printmaking for Beginners for more on Linocut Printing. You can also read more about etching here on Jackson's Art Blog.

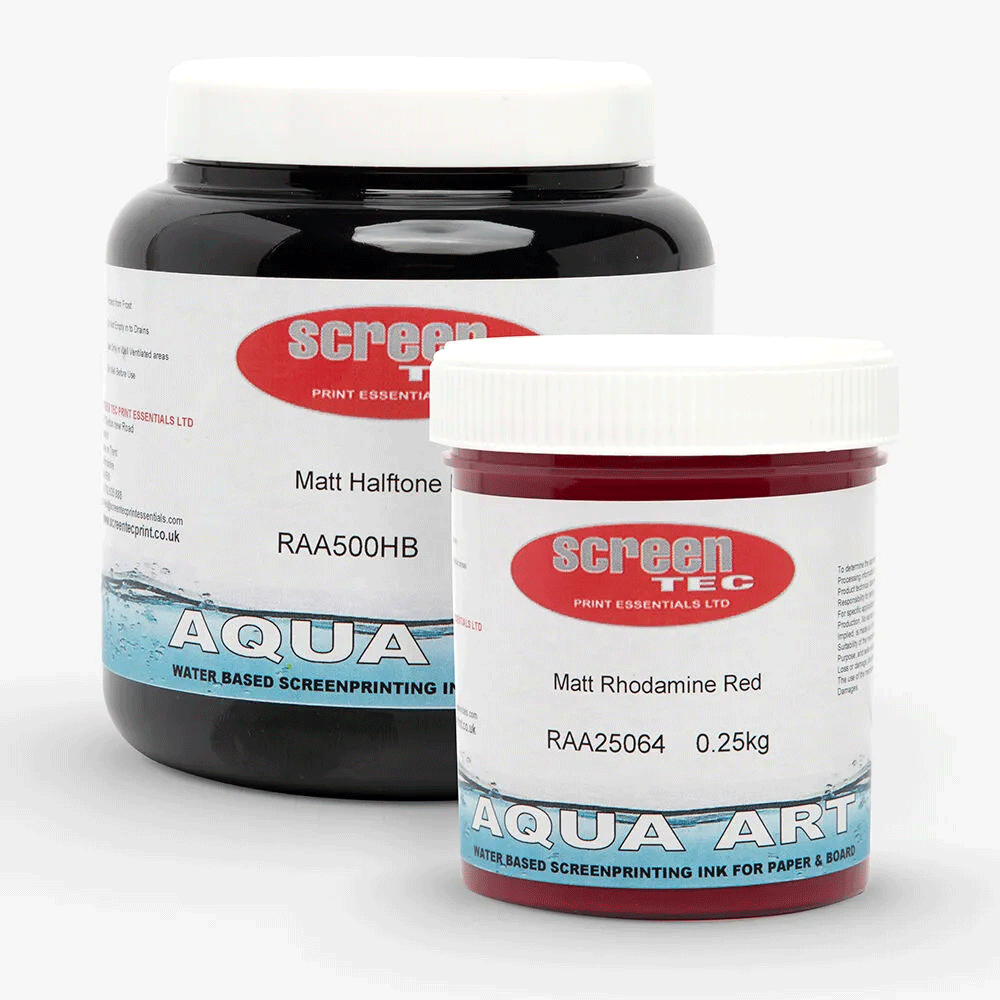
Screen printing ink
Screen printing ink can be water or oil-based. Water-based screen printing ink is thin and pourable, while oil-based ink tends to be thicker. It has a lower tack than relief or intaglio ink.
Plastisol inks have a PVC binder that is heat set. These are popular for use when printing garments, but require solvents for cleaning.
All screen print inks are made to be easy to control with a squeegee and to push through a fine mesh stretched over a frame. To create a certain shape in a screenprint, a mask is made to ensure ink is only applied in the desired places.
Screen printing works on surfaces like paper and fabric. You can mix acrylic screen printing medium with paint to make it stick better. You can also use ready-made screen printing inks, with some made just for fabric.
Visit our Screen Printing Department for all the tools you need to start screen printing.

Lithography ink
Lithography is a planographic process. It uses a greasy substance to draw on a plate or stone. Water and gum arabic are applied to the plate, and then it is inked with oil-based ink. The water and gum arabic prevent the ink from sticking to areas without grease, so only the image is printed.
The process needs a lot of pressure, which is provided by a lithography press. Chemicals like nitric acid, gum arabic, and alum are used in lithography to prepare and fix the plate. These chemicals help set the image on the plate.
You can try 'kitchen lithography' at home without needing a press. Instead of acids, use items like cola or vinegar. Aluminium replaces the stone. You can draw with crayons, paint, and other tools. The final prints look like paintings or drawings and can be reproduced many times.
Lithography requires a thin layer of ink, so it must be highly pigmented with a stiff oil binder. This prevents the ink from moving when pressure is applied. Relief ink was once used in place of lithography ink, but only a small amount is needed for control. Lithography works by keeping oil and water apart, so don’t use water-washable inks. These inks can spread and ruin the print.


Frequently Asked Questions
Artist Ink: Popular Questions from Artists
No, it is formulated with extremely fine pigments in a low-viscosity emulsion. This allows it to flow smoothly while maintaining its intense colour.
Yes, unlike many dye-based drawing inks, acrylic inks typically use lightfast pigments that won’t fade over time when exposed to light.
Acrylic ink is not recommended for traditional fountain pens as the binder can clog the internal feed. However, it is suitable for dip pens, technical pens, and airbrushes.
Further Reading
A Guide to Dip Pens and Drawing Ink
Two Illustrators Draw With Jackson’s Indian Ink
Fluid Painting With Jackson’s Alcohol Inks
Jackson’s Metallic Drawing Inks on Black Khadi Watercolour Paper
Making Natural Ink: The Process and Recipe for Yellow Ink
Brush Pens: The Definitive Guide
Glossary
A
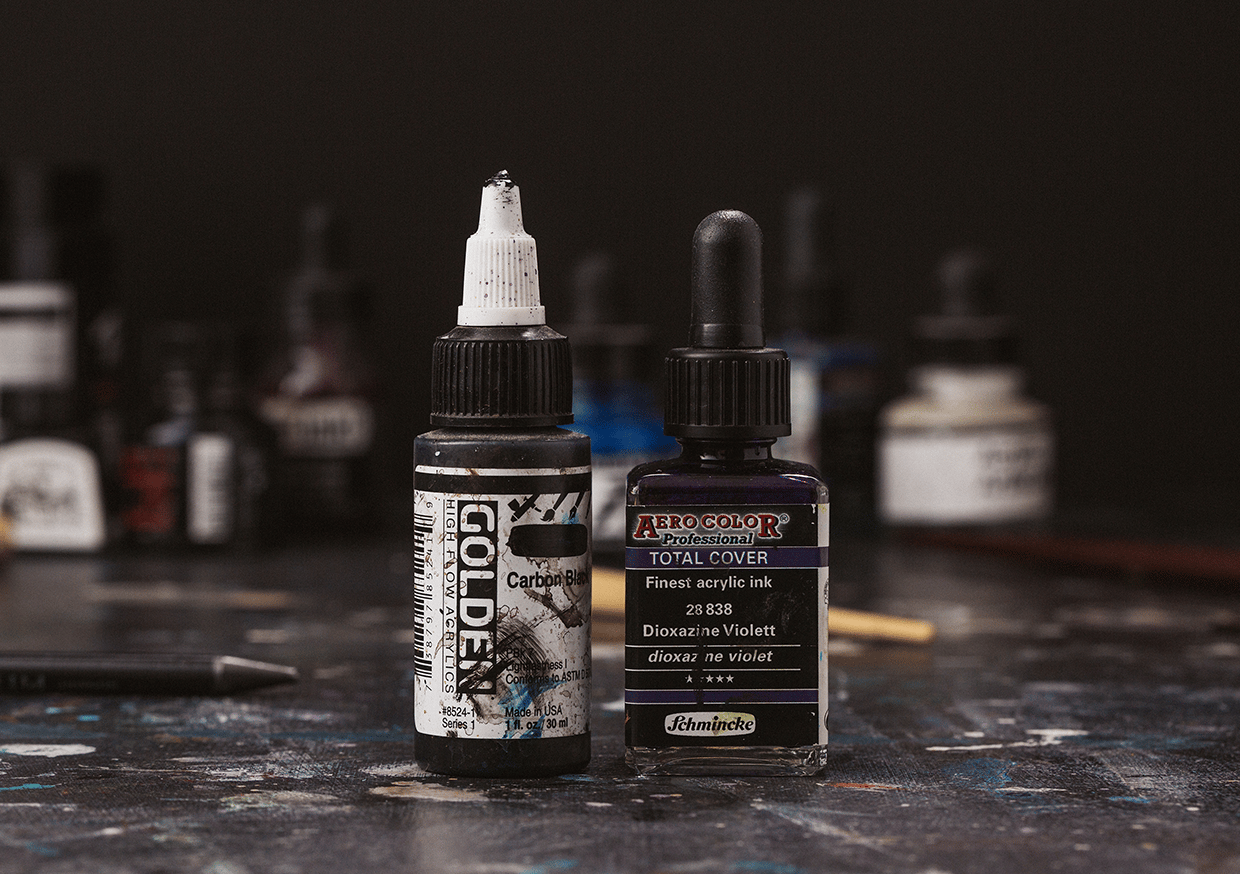
Acrylic Ink
A highly fluid acrylic paint. Intense colour with a glossy or satin finish. Waterproof when dry.
Airbrush Ink
A thin, fluid ink for use with airbrush tools. Typically acrylic-based and fast-drying.
Alcohol Ink
A vibrant and fast-drying ink. Alcohol-based. Best used on non-porous surfaces such as Yupo paper.
B
Binder
The substance that holds pigment or dye together in ink. Common binders are shellac and acrylic polymer.
Blotting Paper
Absorbent paper used to soak up excess ink or correct mistakes.
Bamboo Pen
A dip pen made from hollow bamboo. Used for expressive, textured ink lines.
C
Calligraphy Ink
An ink made for lettering. Can be waterproof or watersoluble. Used with dip pens or fountain pens.
Carbon Ink
An ink made from fine carbon particles. Permanent and waterproof when dry.
Chinese Ink
A traditional ink made from soot and glue. Available in both liquid and solid stick form.
D
Dip Pen
A pen with a removable nib that must be dipped into ink before drawing or writing.
Drawing Ink
A highly fluid ink. Used for illustration, calligraphy, and painting. Can be pigment-based or dye-based.
Dye-Based Ink
Ink made from dyes instead of pigments. Bright but less lightfast.
E
Etching Ink
A thick, oil-based ink. Used in intaglio printmaking techniques like etching and drypoint.
F
Fountain Pen Ink
A fluid, watersoluble ink. For use in fountain pens. Often dye-based and non-waterproof.
G
Gum Arabic
A natural binder used in some inks. Increases flow and transparency.
H
High Flow Acrylic
A very thin acrylic-based ink. Suitable for use with pens, brushes, and airbrushes.
I
India Ink
A deep black ink made from carbon black and shellac. Permanent and waterproof when dry.
Ink
A coloured fluid or paste used for writing, drawing, and printing. Ink was used in Ancient Egypt for writing and drawing on papyrus from at least the 26th century BC.
Ink Stick
A solid block of ink that is ground on an ink stone with water to create liquid ink.
Intaglio Ink
A thick, tacky ink. Used for printmaking processes where the ink is held in engraved lines.
L
Lightfastness
The resistance of ink to fading when exposed to light. Pigment-based inks are more lightfast than dye-based inks.
Lithography Ink
A stiff, oil-based ink. Used in lithographic printmaking.
M
Metallic Ink
Ink made with metallic pigments or powders. Creates a shimmering effect.
O
Opacity
The degree to which ink covers the surface. Opaque inks hide what is underneath, while transparent inks allow layering effects.
Oil-Based Ink
Ink that contains oil as a binder. Often used in printmaking.
P
Pigment-Based Ink
Ink made with finely ground pigments. More lightfast and permanent than dye-based inks.
Printing Ink
Any ink used for printmaking. This can include relief, intaglio, and screen printing.
R
Relief Ink
A thick ink used for linocut, woodcut, and letterpress printing.
Resist Technique
A technique where ink is repelled by a surface treatment like wax or masking fluid.
S
Screen Printing Ink
Ink made for pushing through mesh screens to create prints. Can be water or oil-based.
Sepia Ink
A warm brown ink. Traditionally made from cuttlefish ink, now often synthetic.
Shellac
A resin used as a binder in waterproof inks like India ink.
Sumi Ink
A type of Japanese ink used for calligraphy and painting. Made from soot and glue.
W
Waterproof Ink
Ink that becomes permanent when dry. Often acrylic or shellac-based.
Watersoluble Ink
Ink that dissolves or reactivates with water. Can be used for washes and blending.
Wash
A diluted layer of ink. Used to create transparent effects.